Building a Trail Rig: The Easy Route
To some, building a trail rig is as easy as gathering a few small parts that will fit between the groceries and the dry cleaning on the backseat of the SUV. Then they comprise a list that will likely include some type of fuel-injected motor, like maybe a new Hemi. Next on the list is probably an Atlas transfer case or Super Dana 300. And topping it all off is a reverse pinion Ford 9-inch and a Dana 60. The next step is a simple matter of checking the balance on the gold card, dropping off the list along with those parts in the backseat to your local builder, and before you know it you have a rock-ready rig in less than 6 months.
The True Offroading Experience
To a rare few that’s the recipe to a quick and easy weekend at Moab. To most of us, that’s a recipe for boredom. To us, the sport of offroading does not start at the trail; rather it begins in the garage. It begins the minute we decide to spend countless hours getting filthy and grimy turning every nut and bolt that holds our rig together. It begins the second we tell ourselves that we will know every nook, cranny, and cubbyhole on our vehicle.
Choosing the Right Project
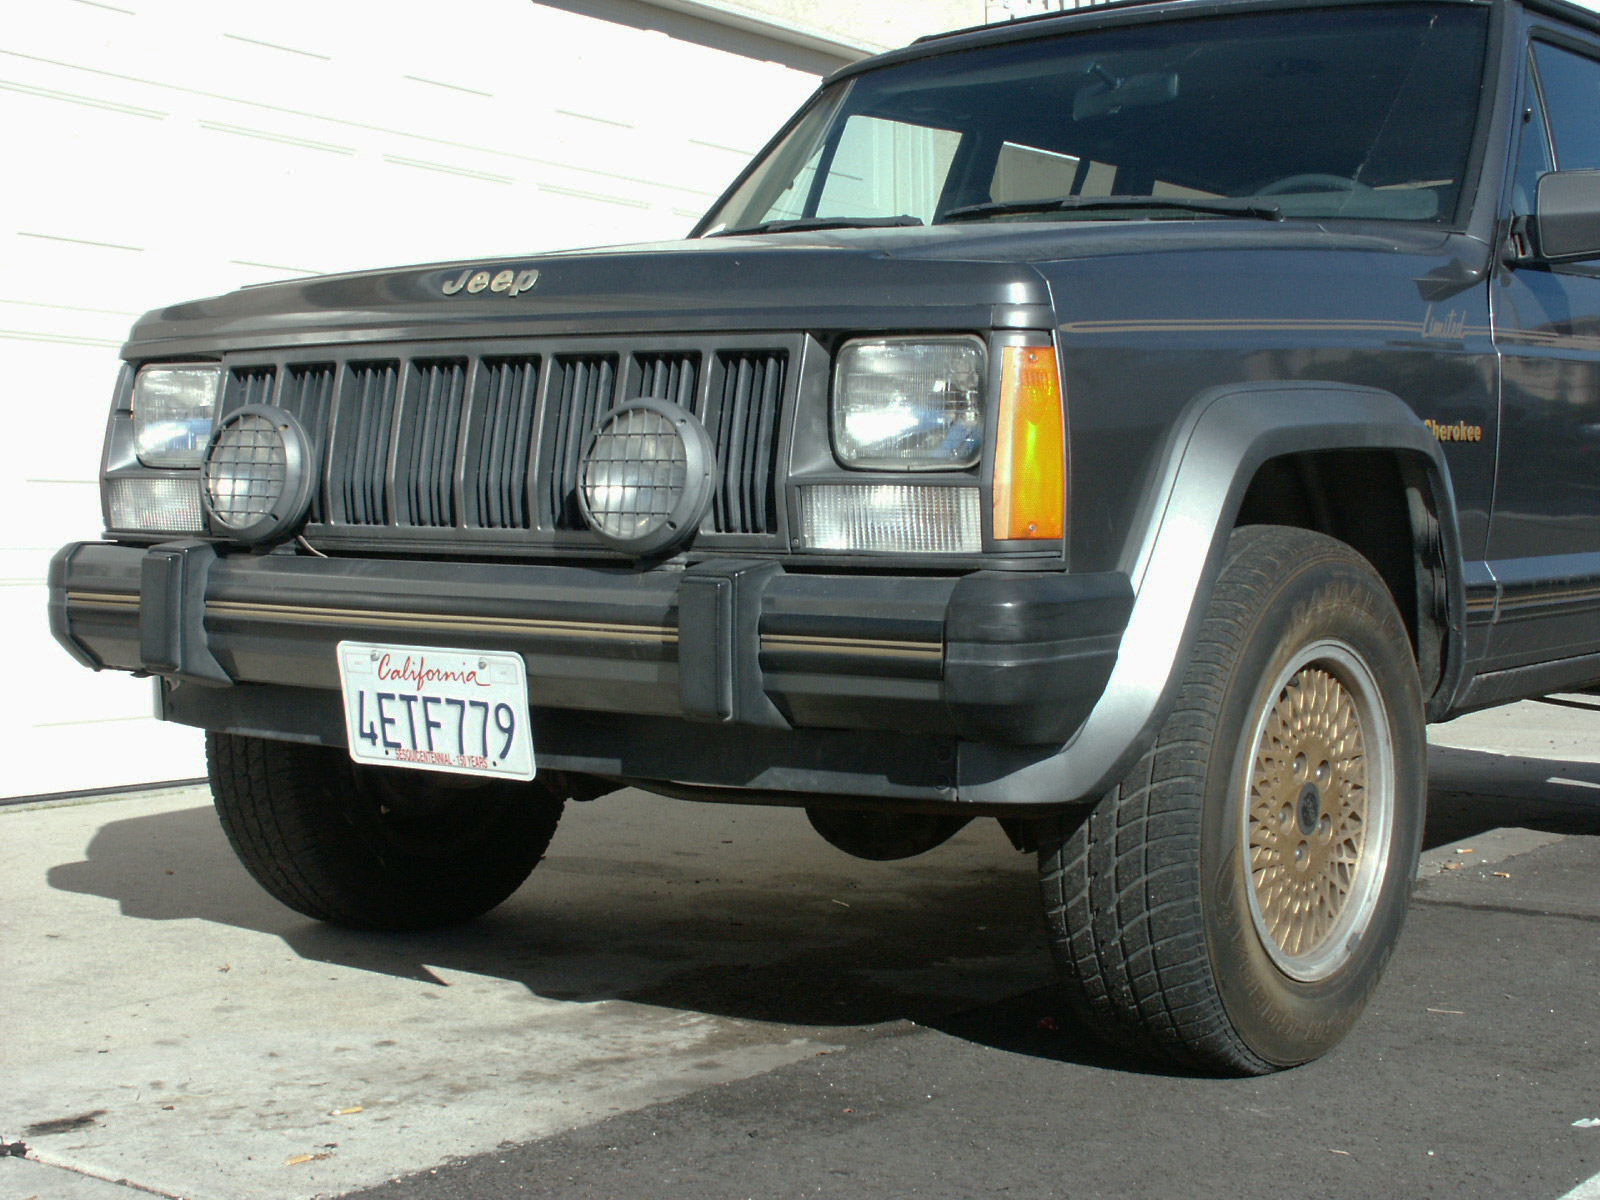
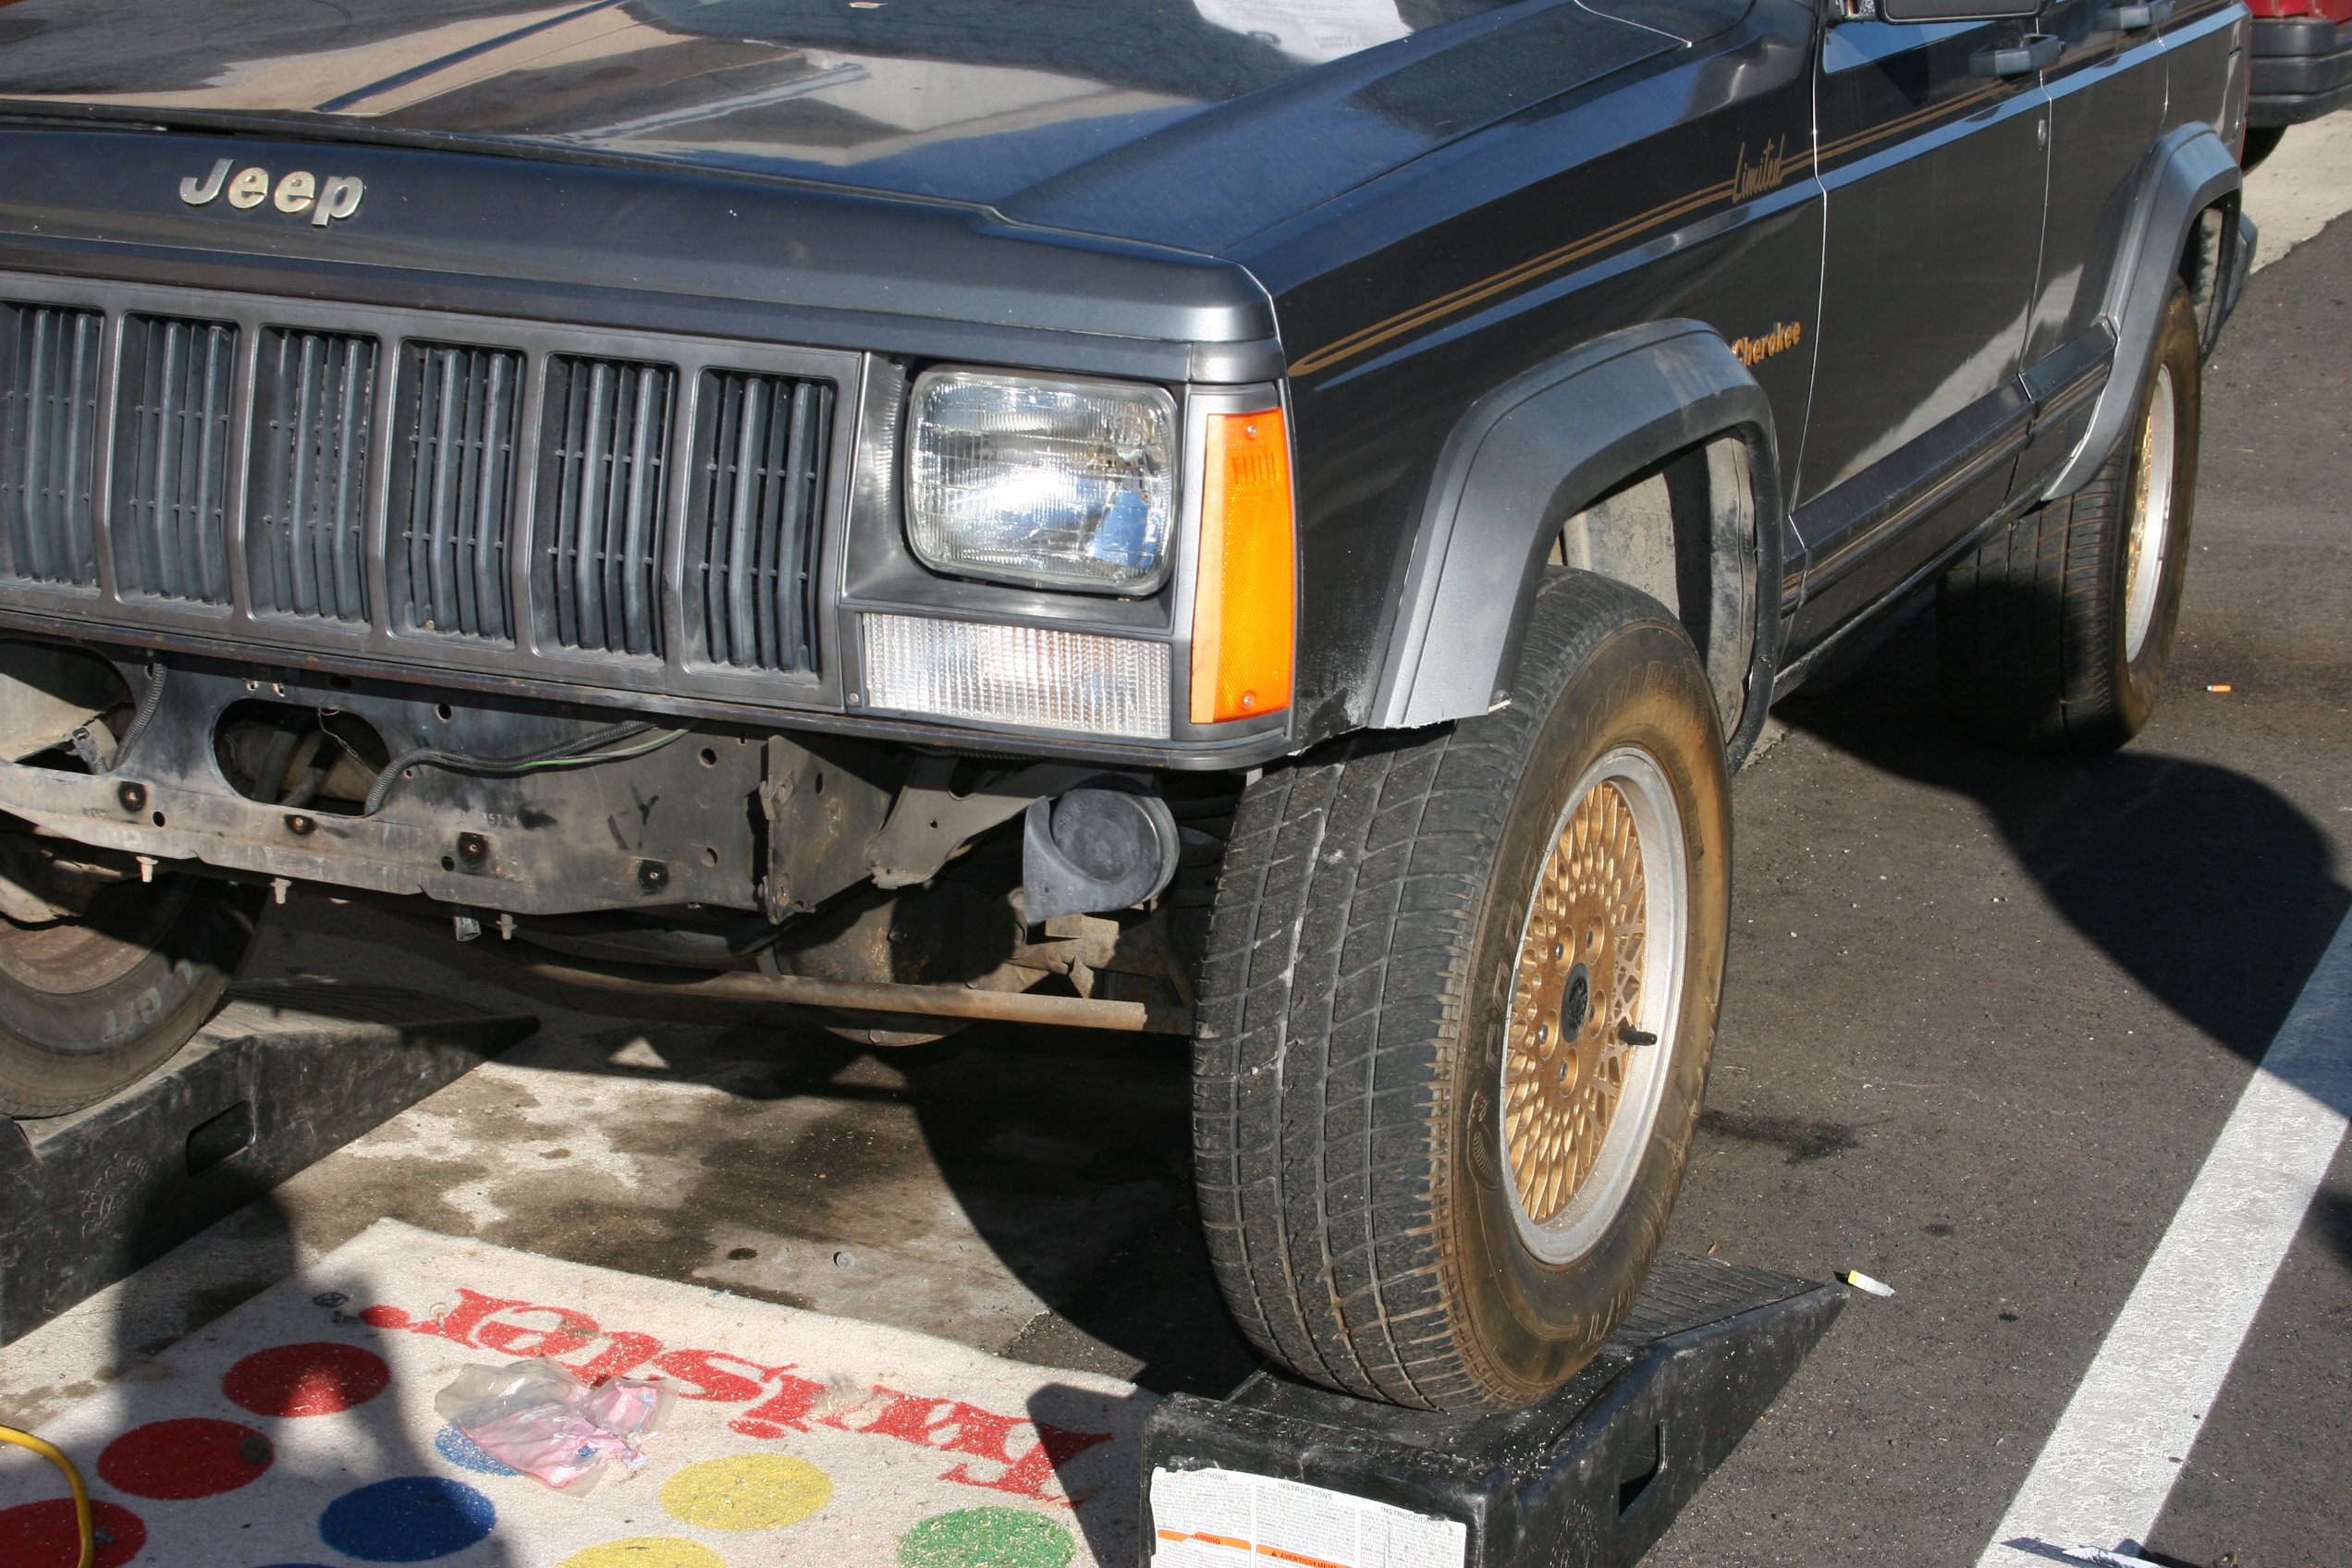
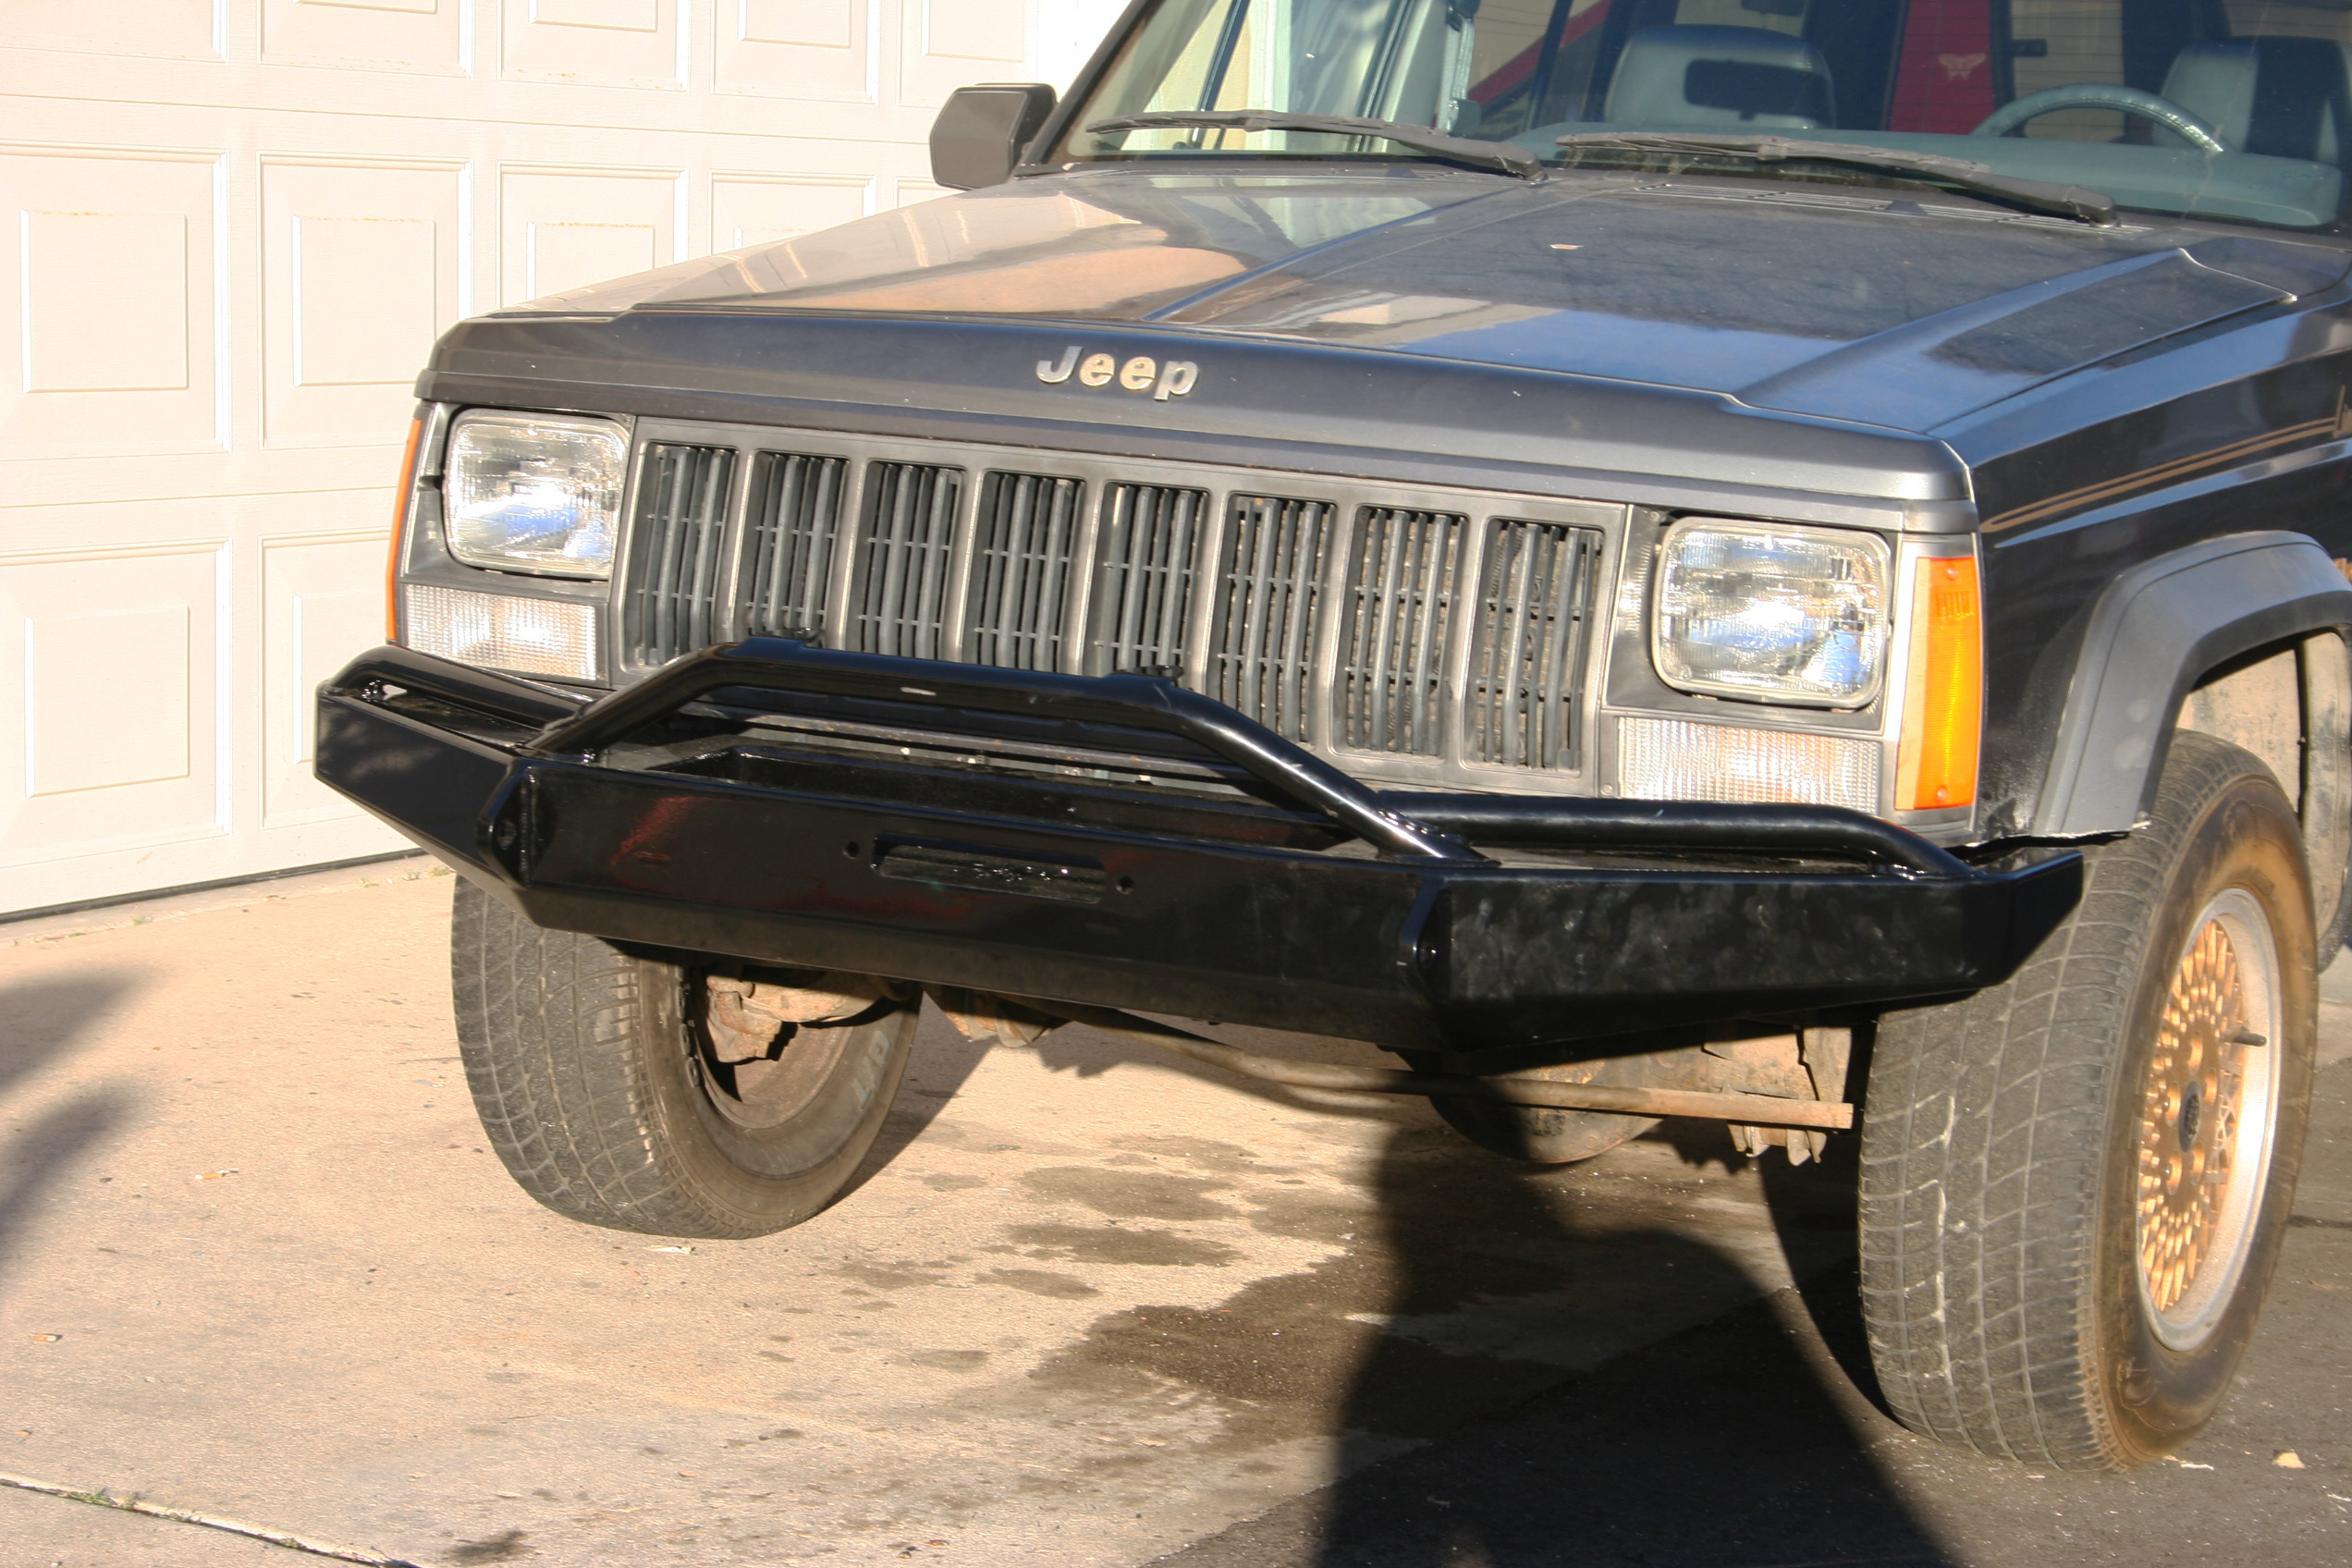
Although most of us like to think we know the difference between a command track NP242 and an eggbeater, we understand there are certain parts to any build that just cannot be reasonably done at home. So when we decided to put together a new project, we wanted something that had a vast array of readily available bolt-on parts. We also wanted something that would serve a dual purpose; both a recovery rig, and a daily driver. After a lot of debate (and a whole lot of hazing from our buddies with Toy’s) we opted to go with an XJ Cherokee. There are a ton of great deals on these Jeeps and we were lucky enough to find a non-running 1988 4×4 limited creampuff for only $500.00. It’s always a little scary buying any vehicle without being able to start it up and hear the motor purr, but this Jeep came with receipts showing the motor being completely rebuilt only 3000 miles ago! We hit pay dirt and promptly dragged it home. Well, as luck would have it, with only a cheap tow, a crankshaft sensor, and a few oily nights changing all the fluids and resealing all the gaskets, we were able to fire the 4.0-liter up on the first shot. This was definitely the score of the century. Now it was time to turn this jewel into a jaw-dropper.
Starting with the Front Bumper
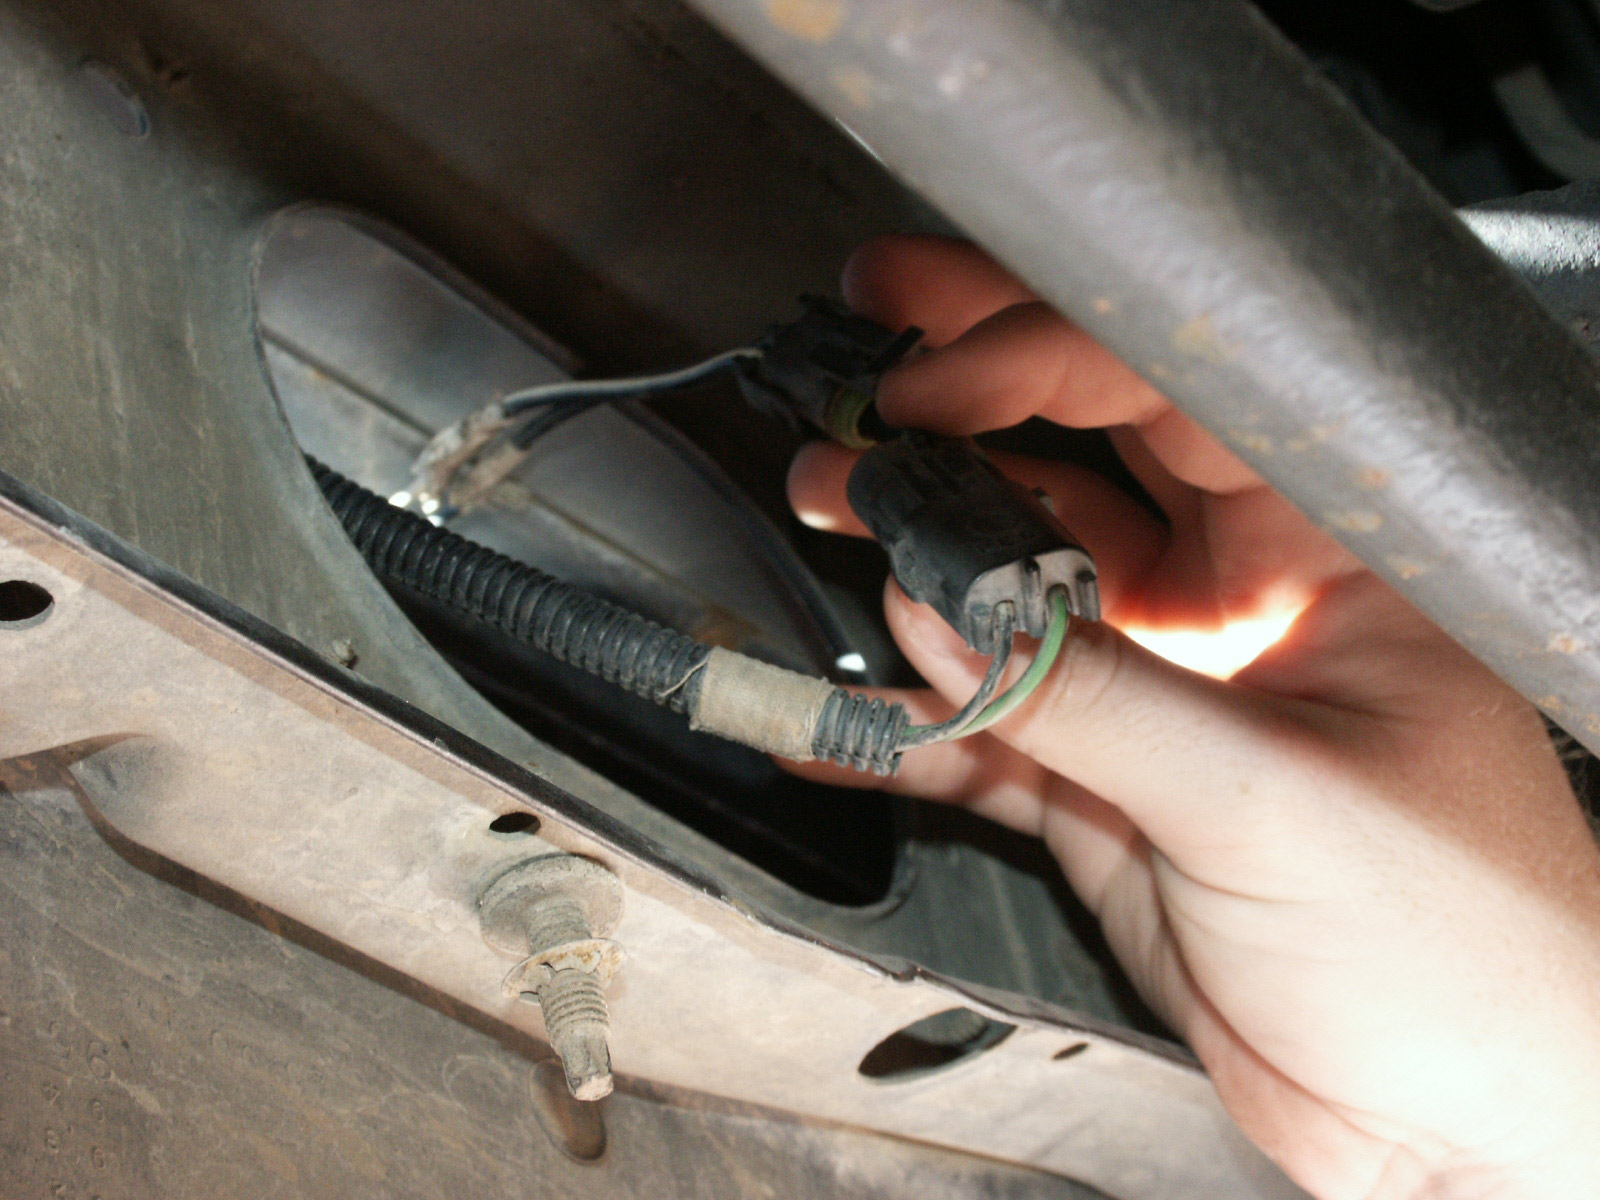
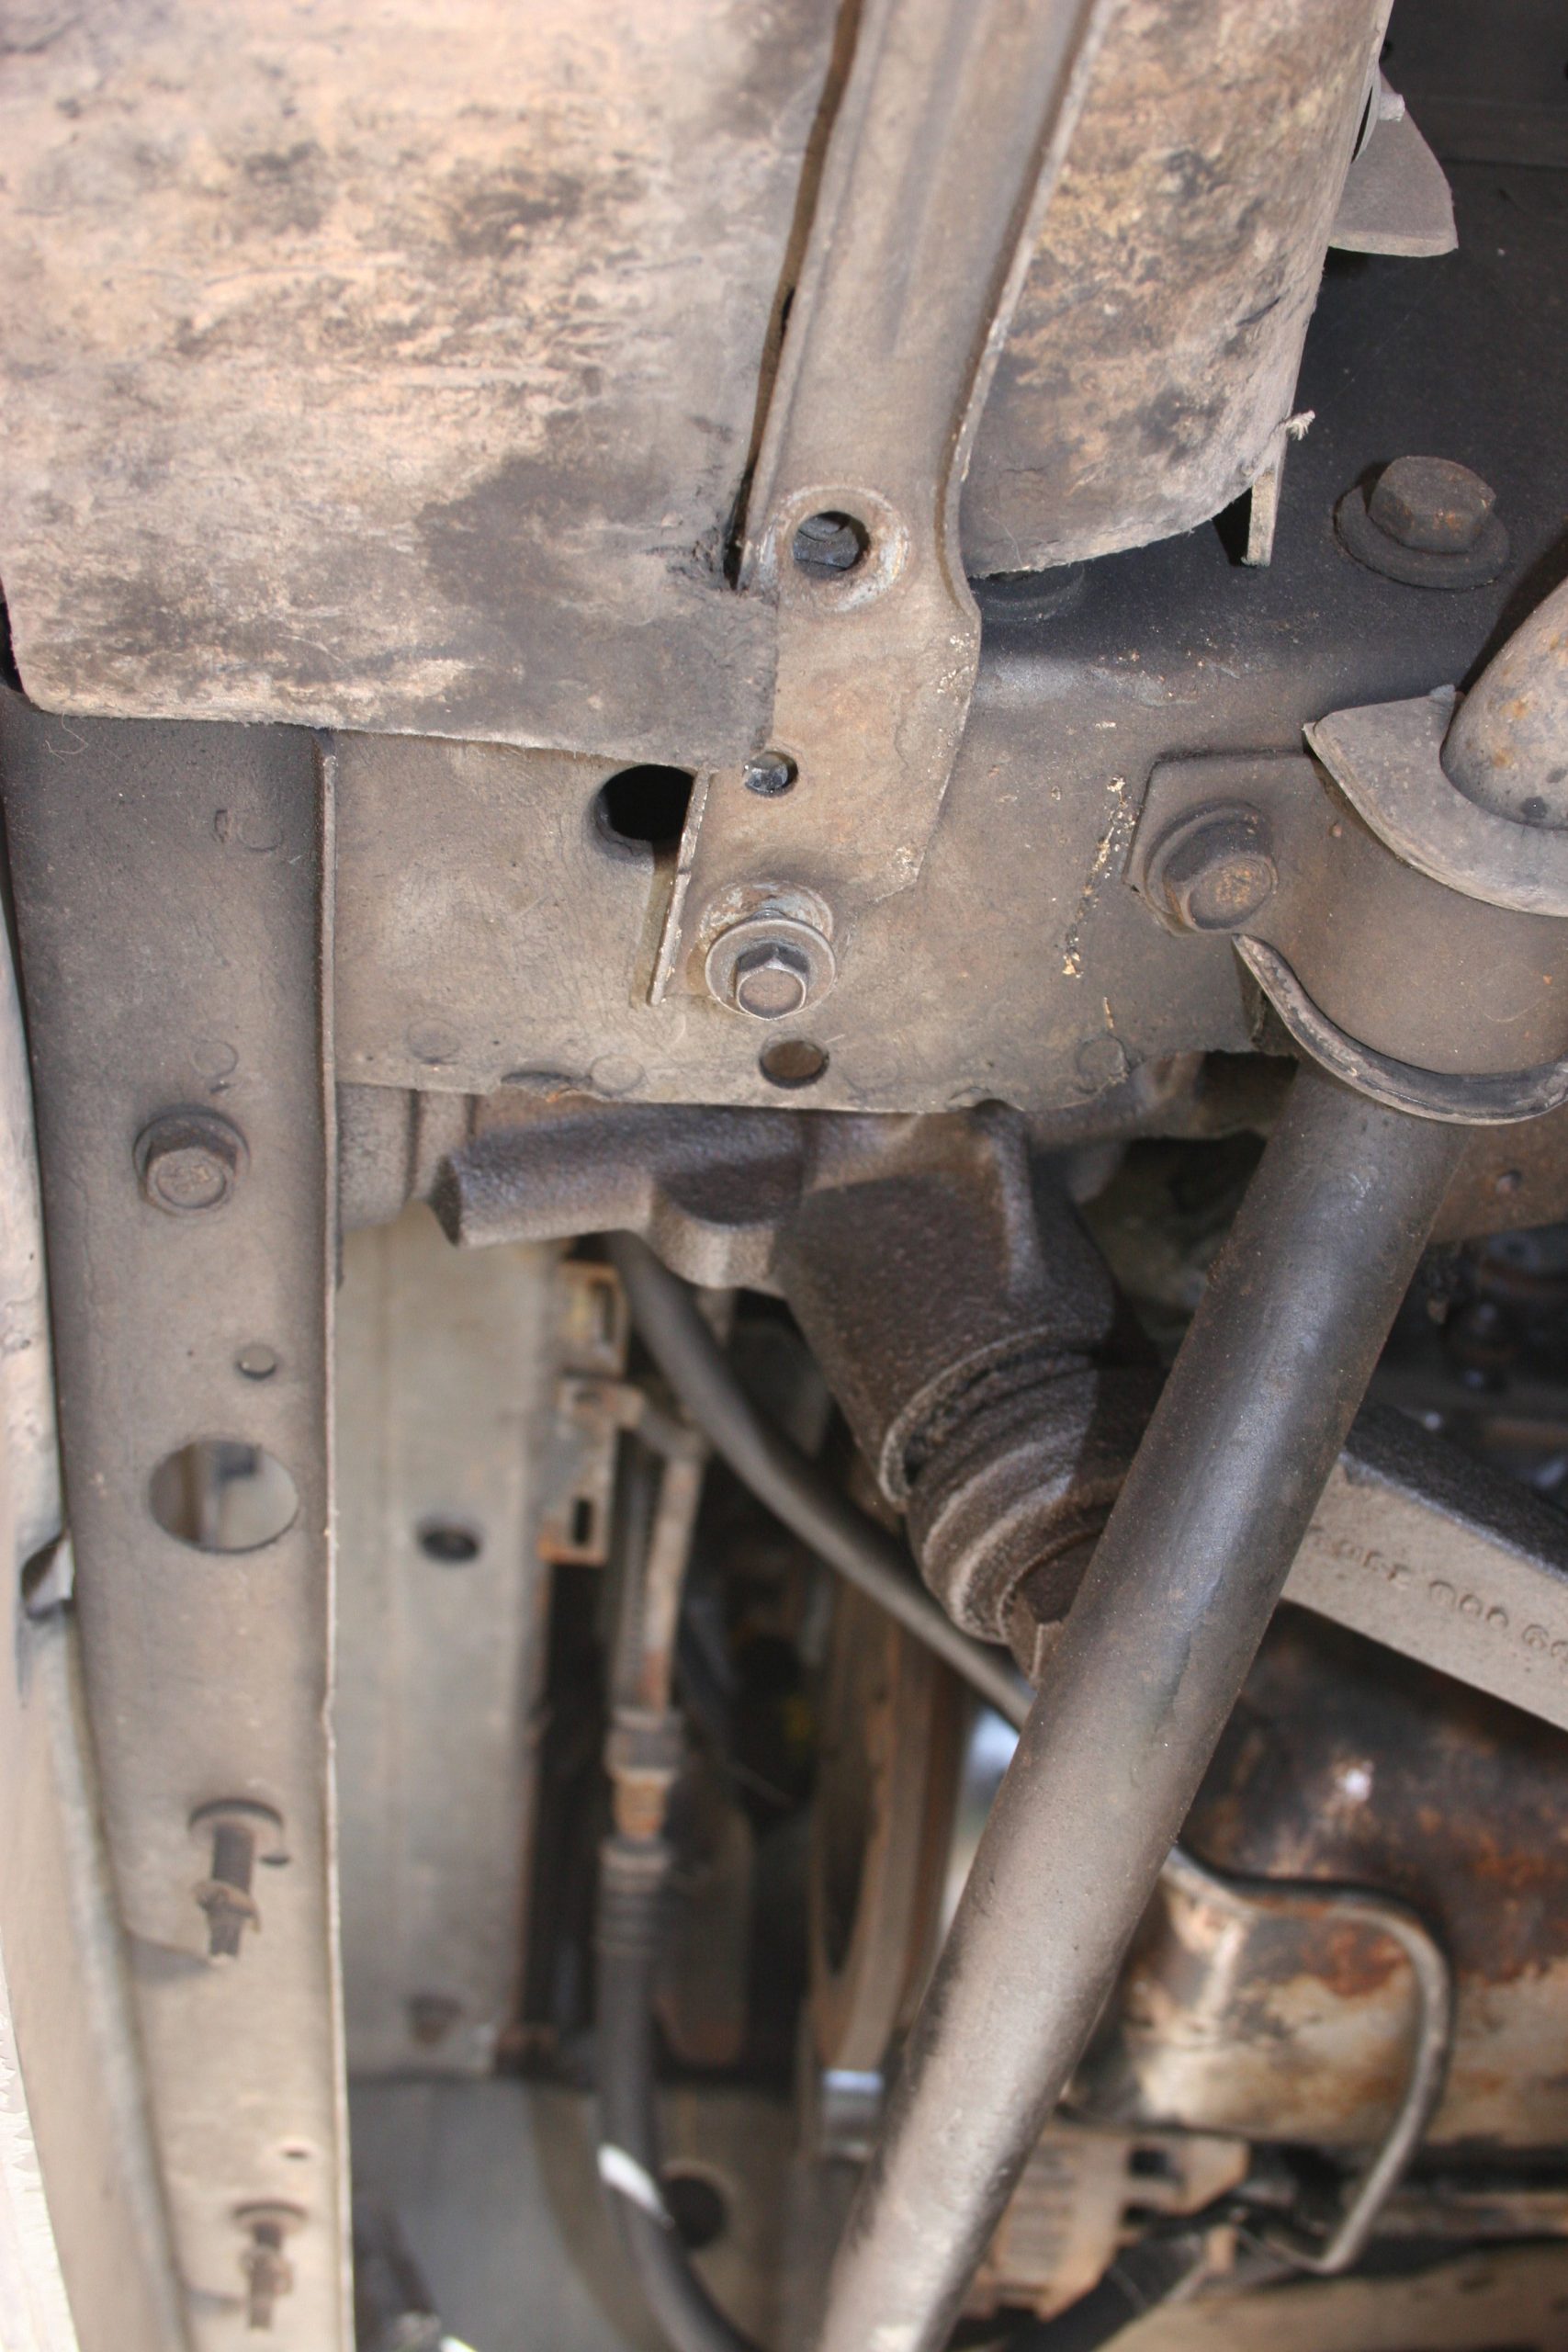
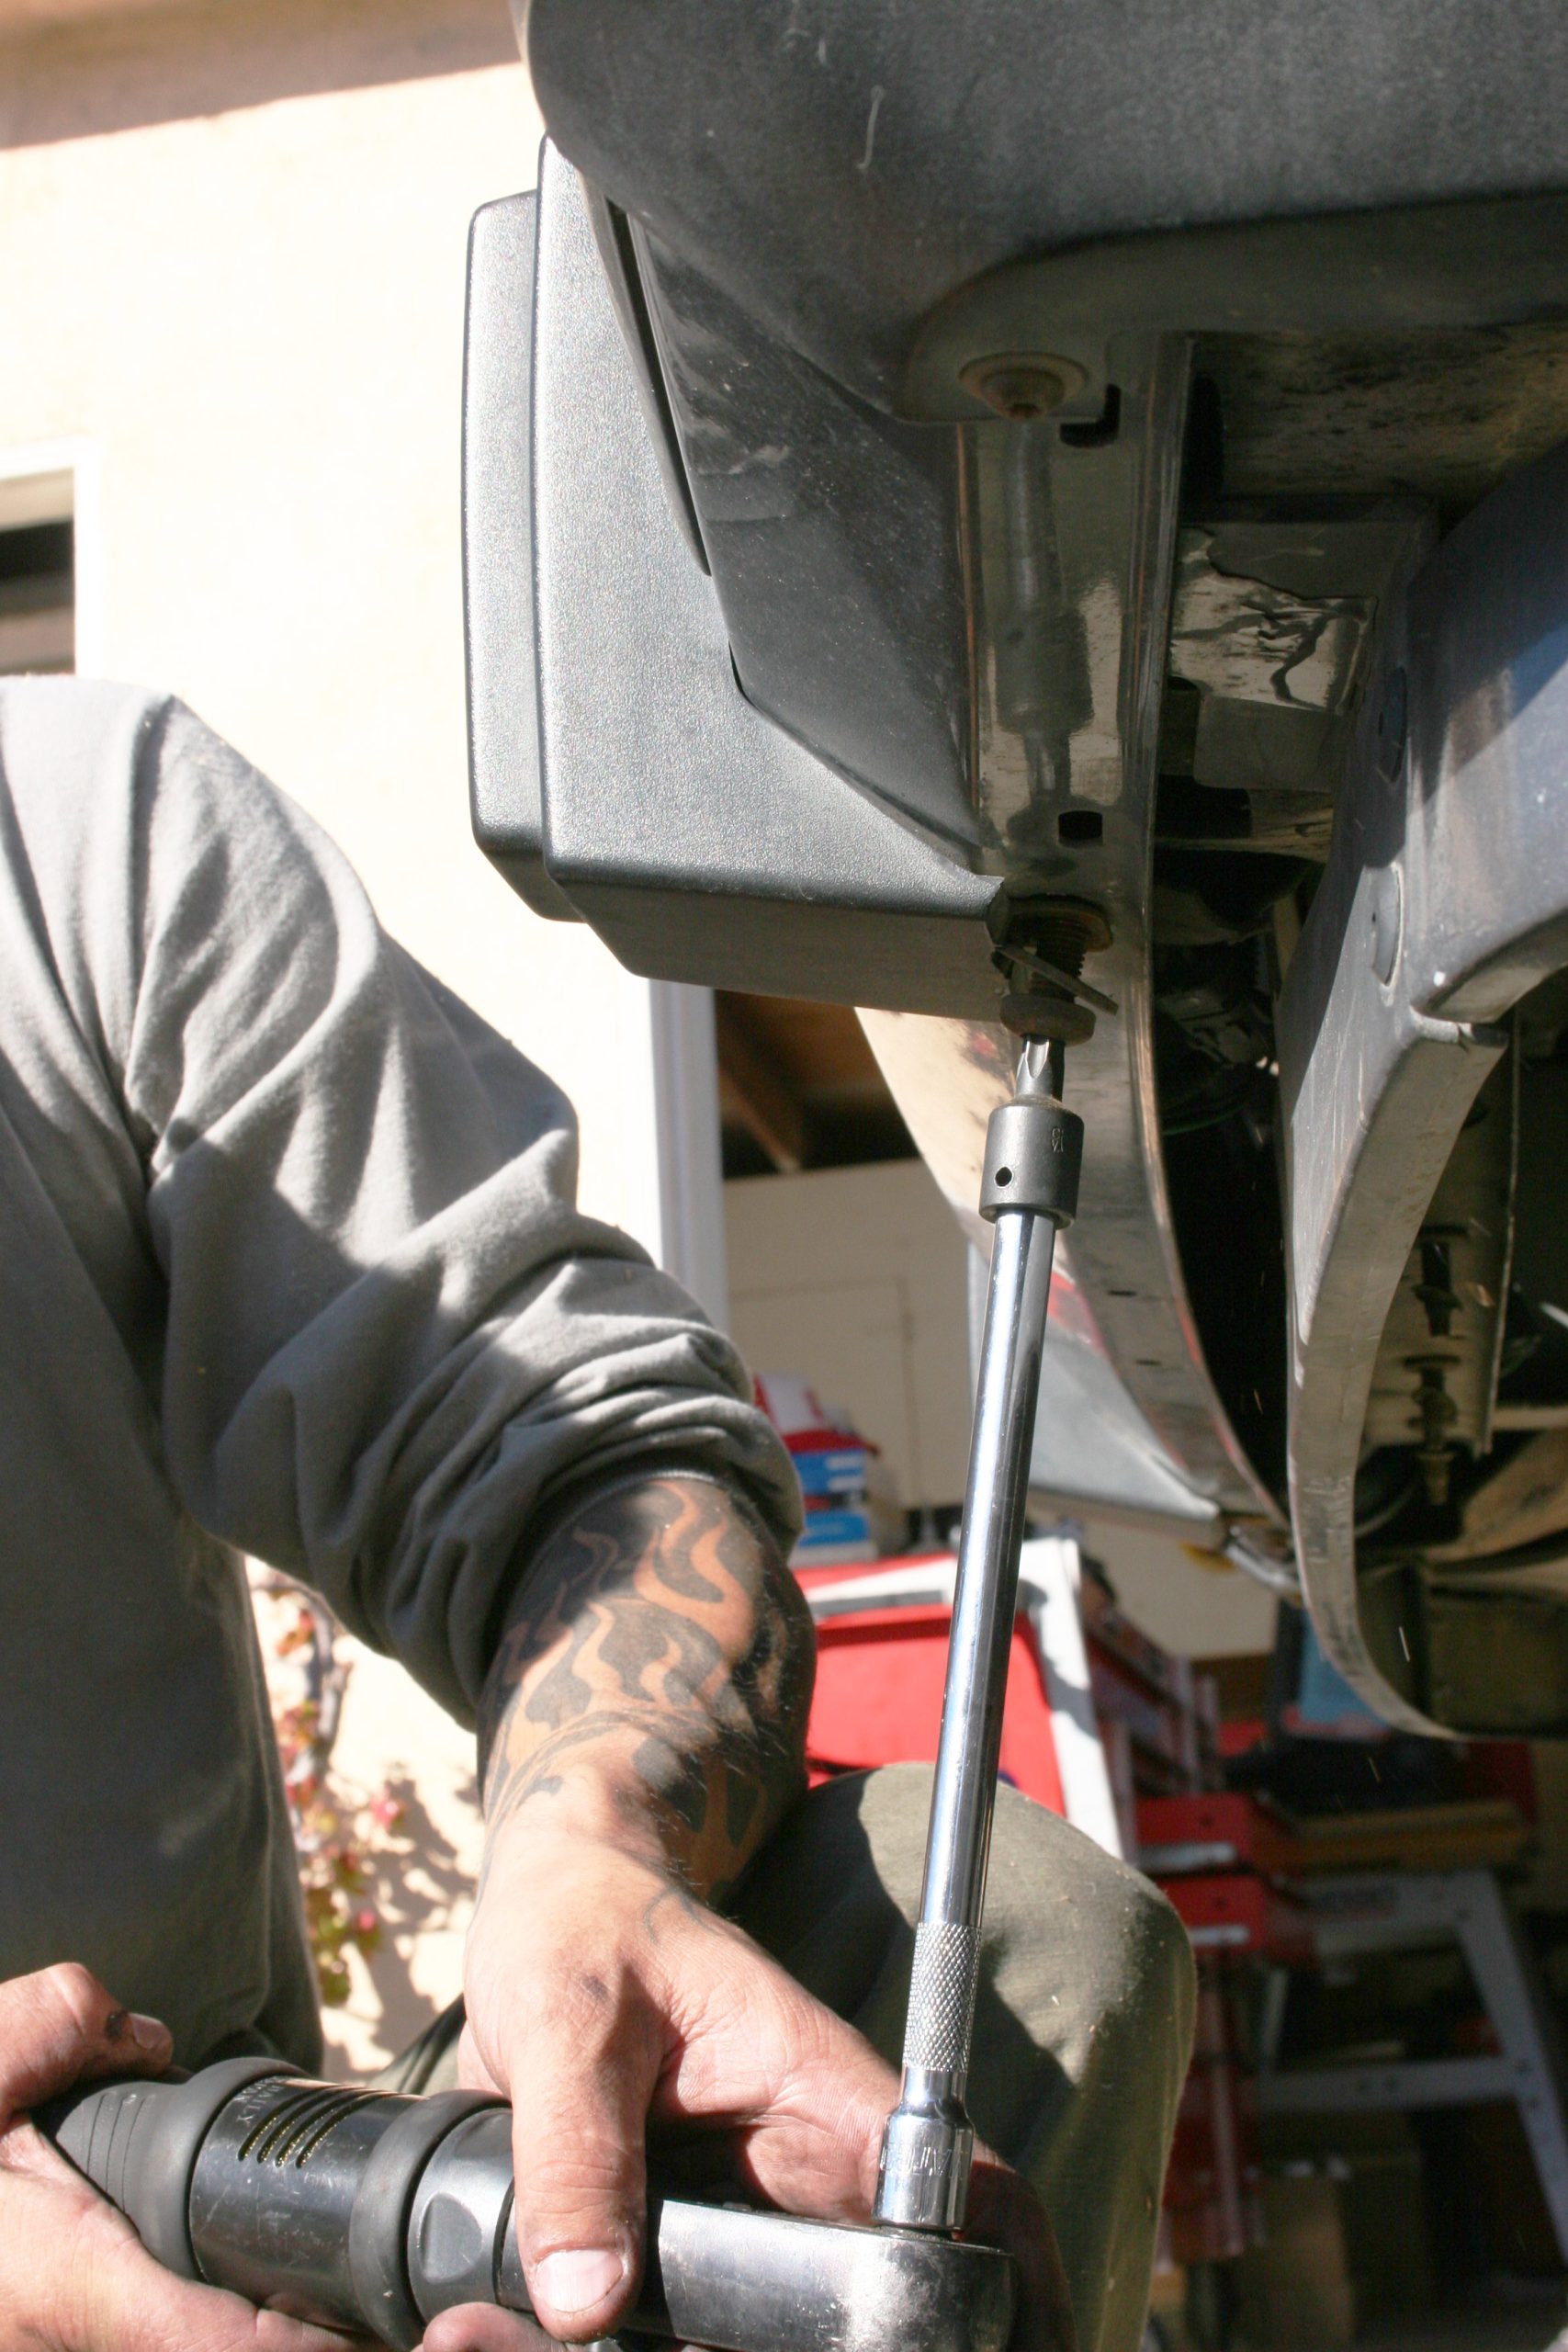
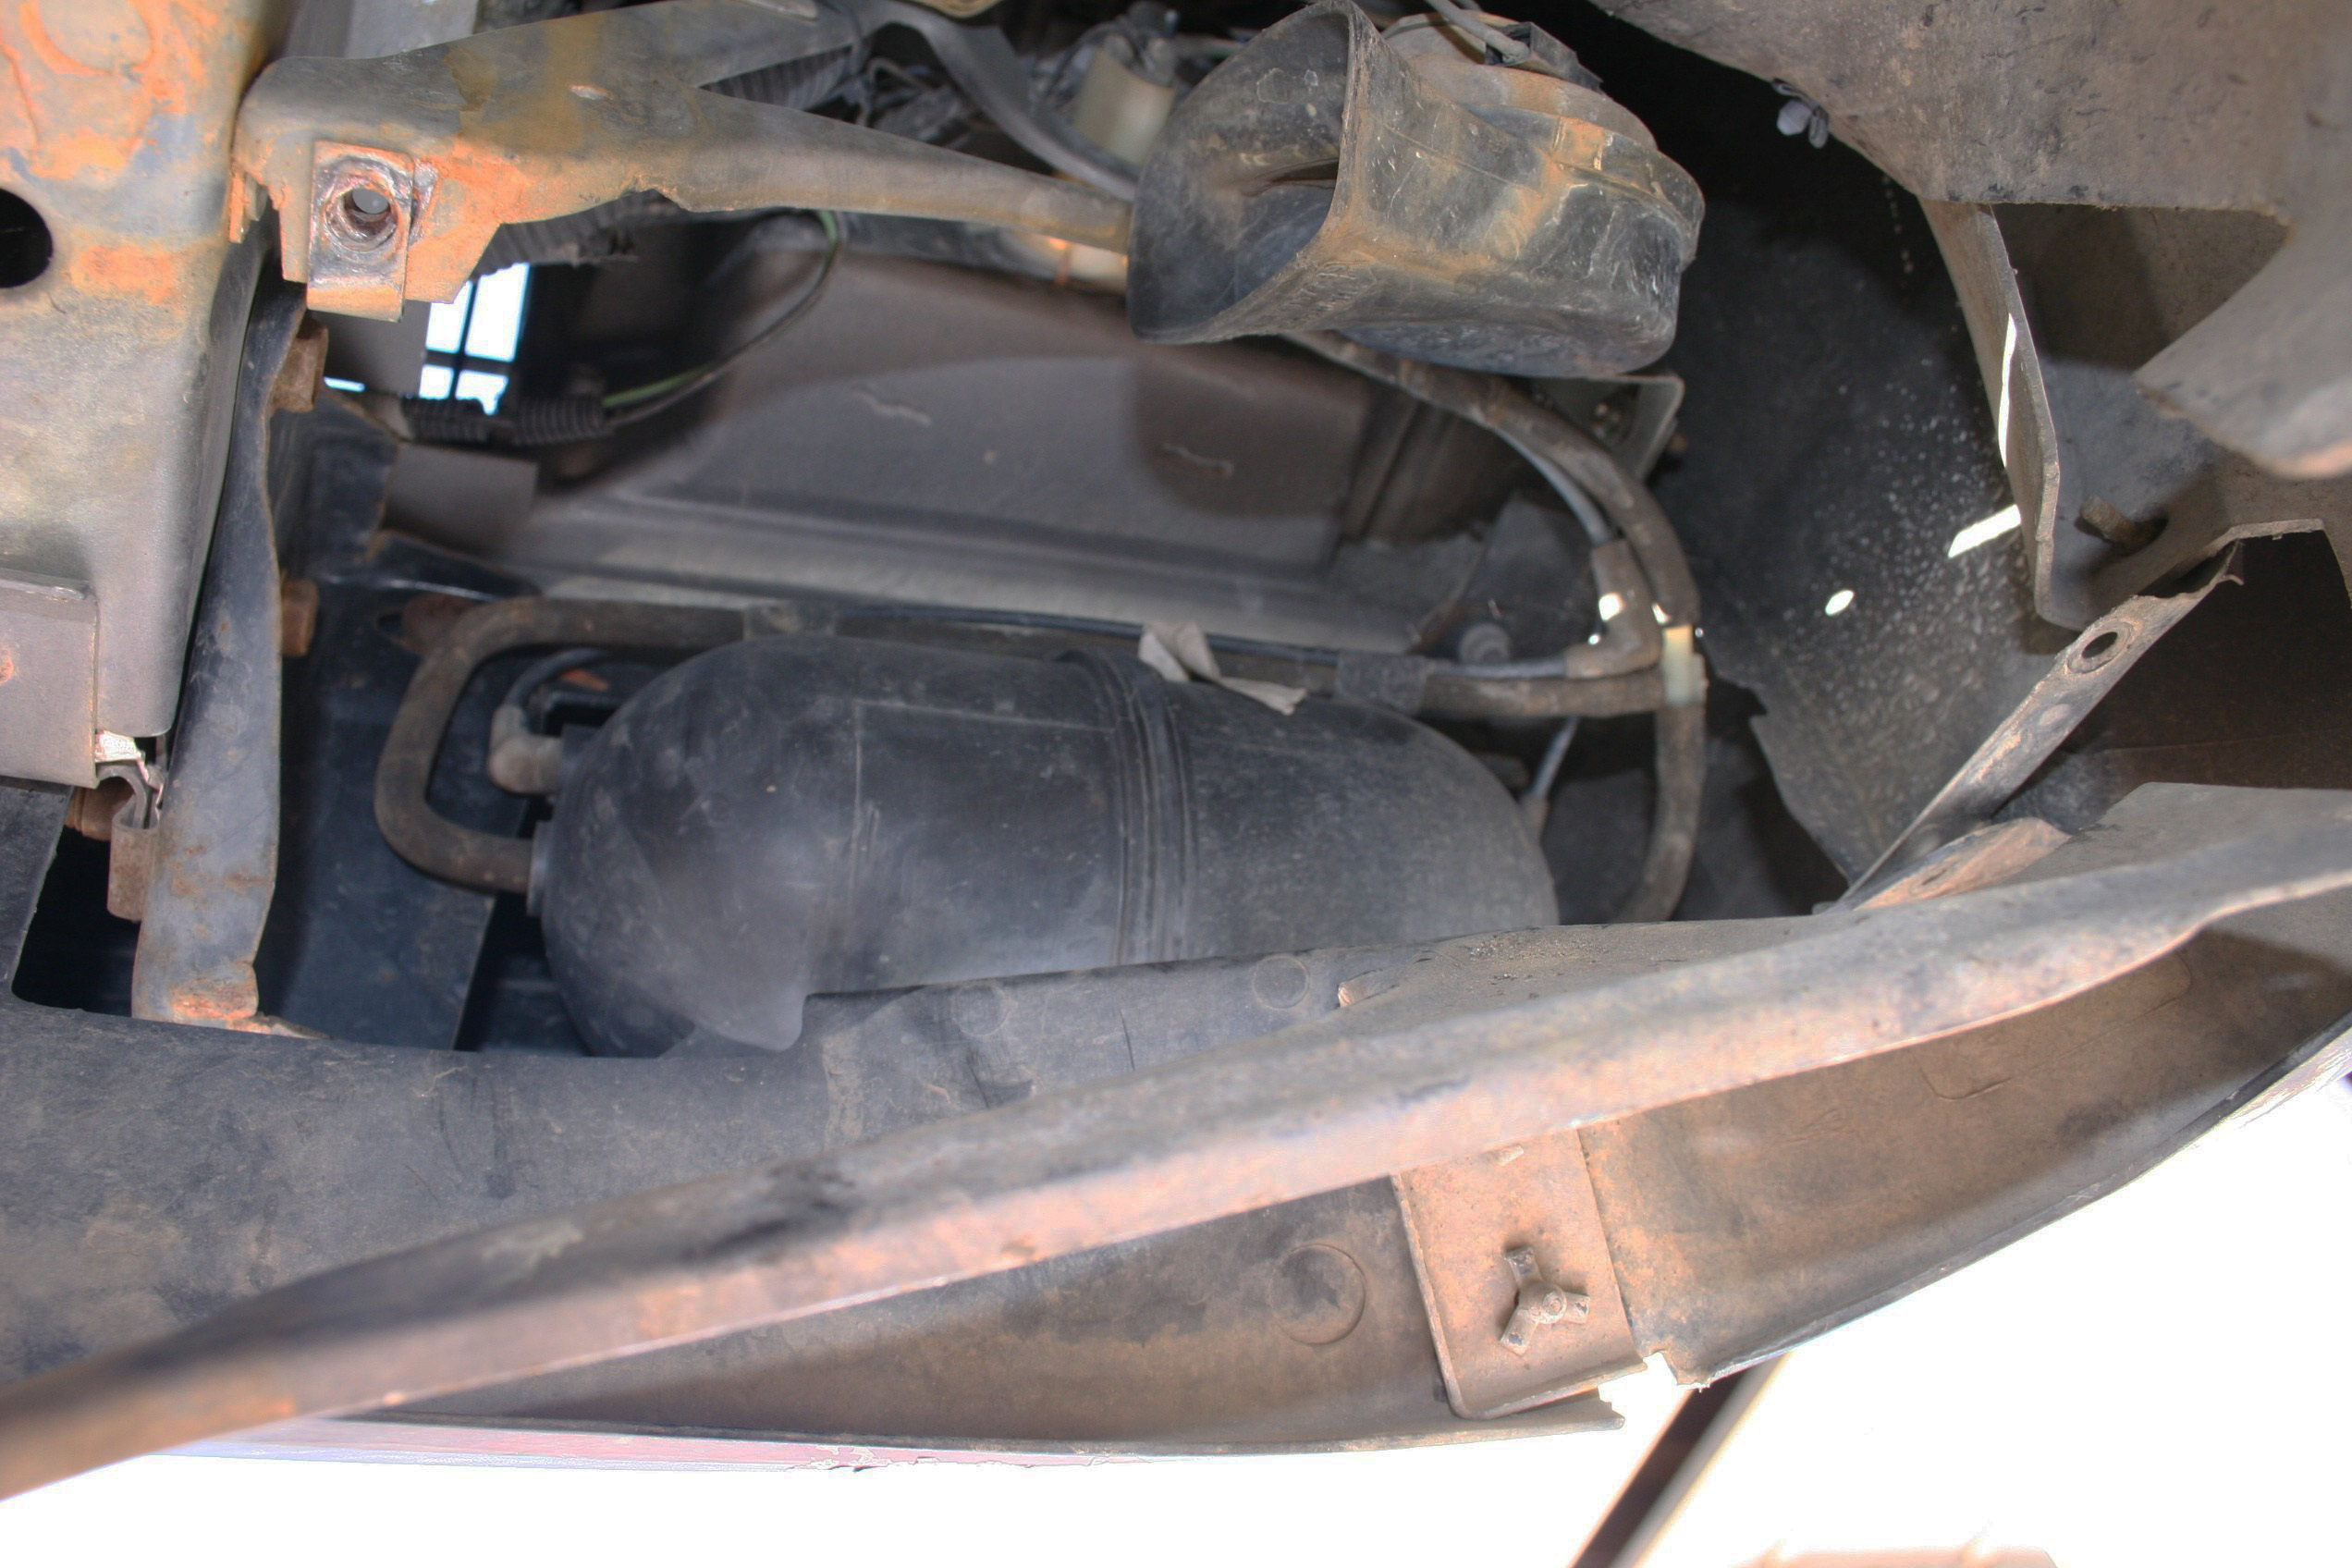
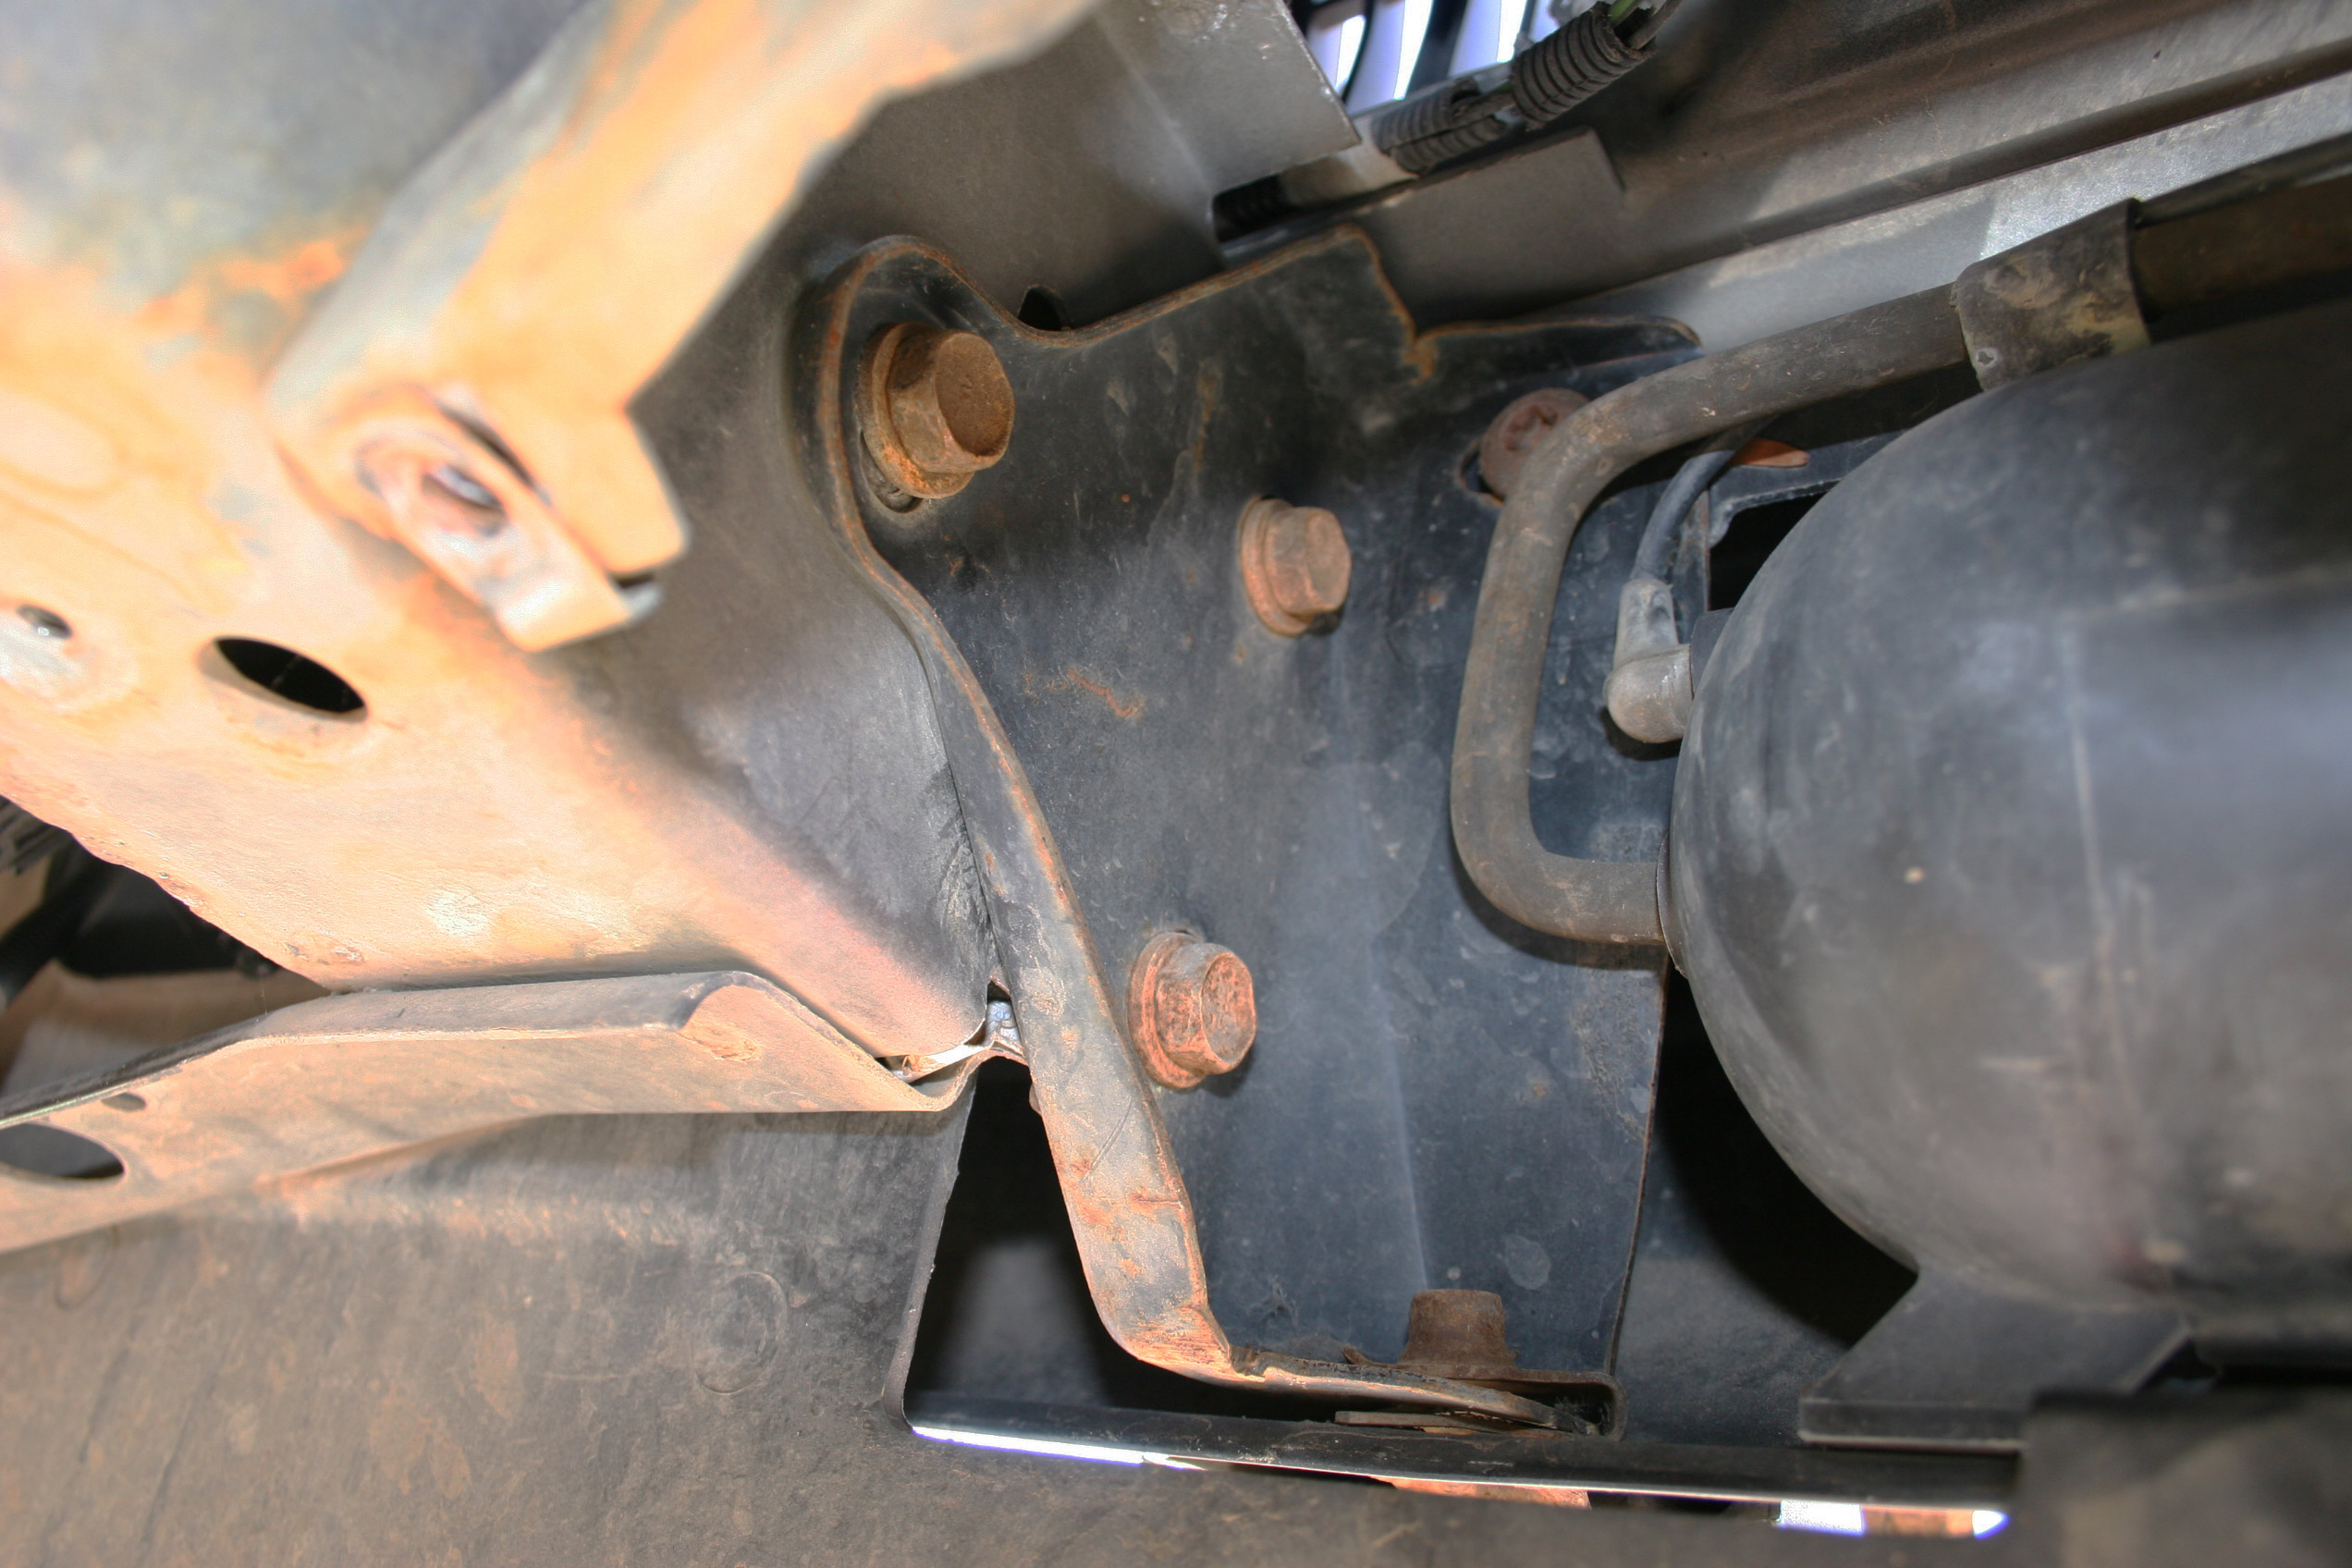
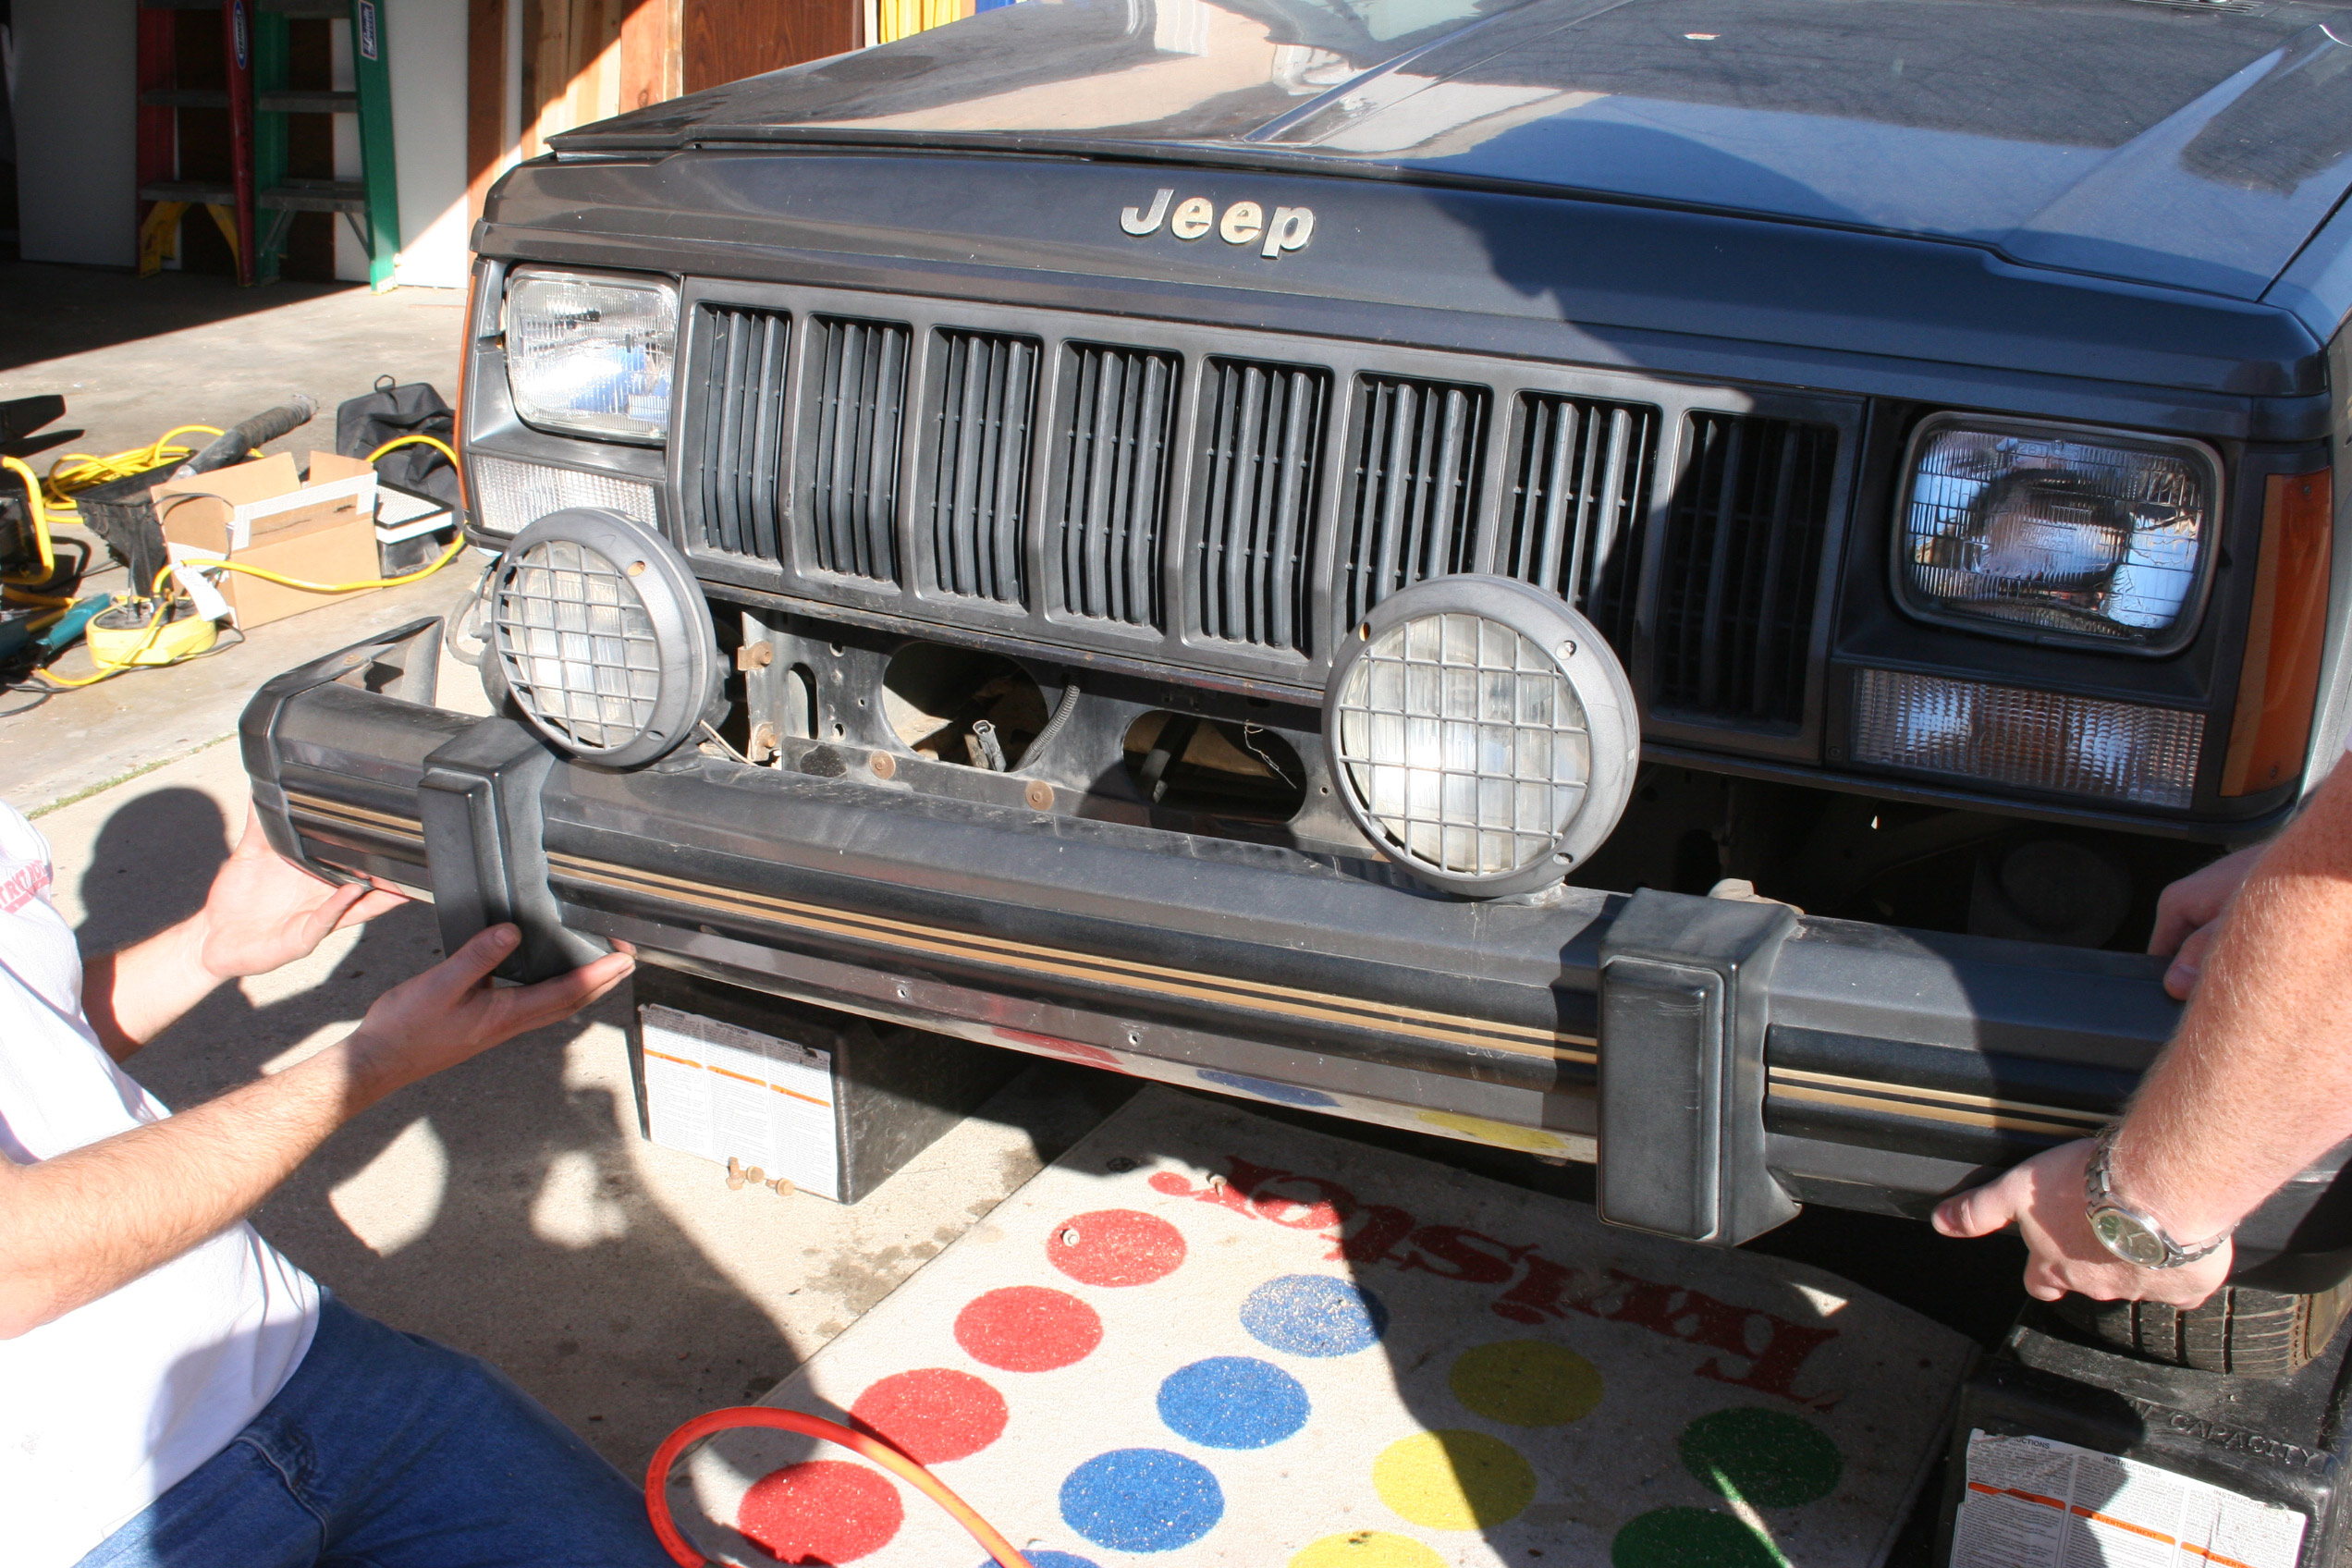
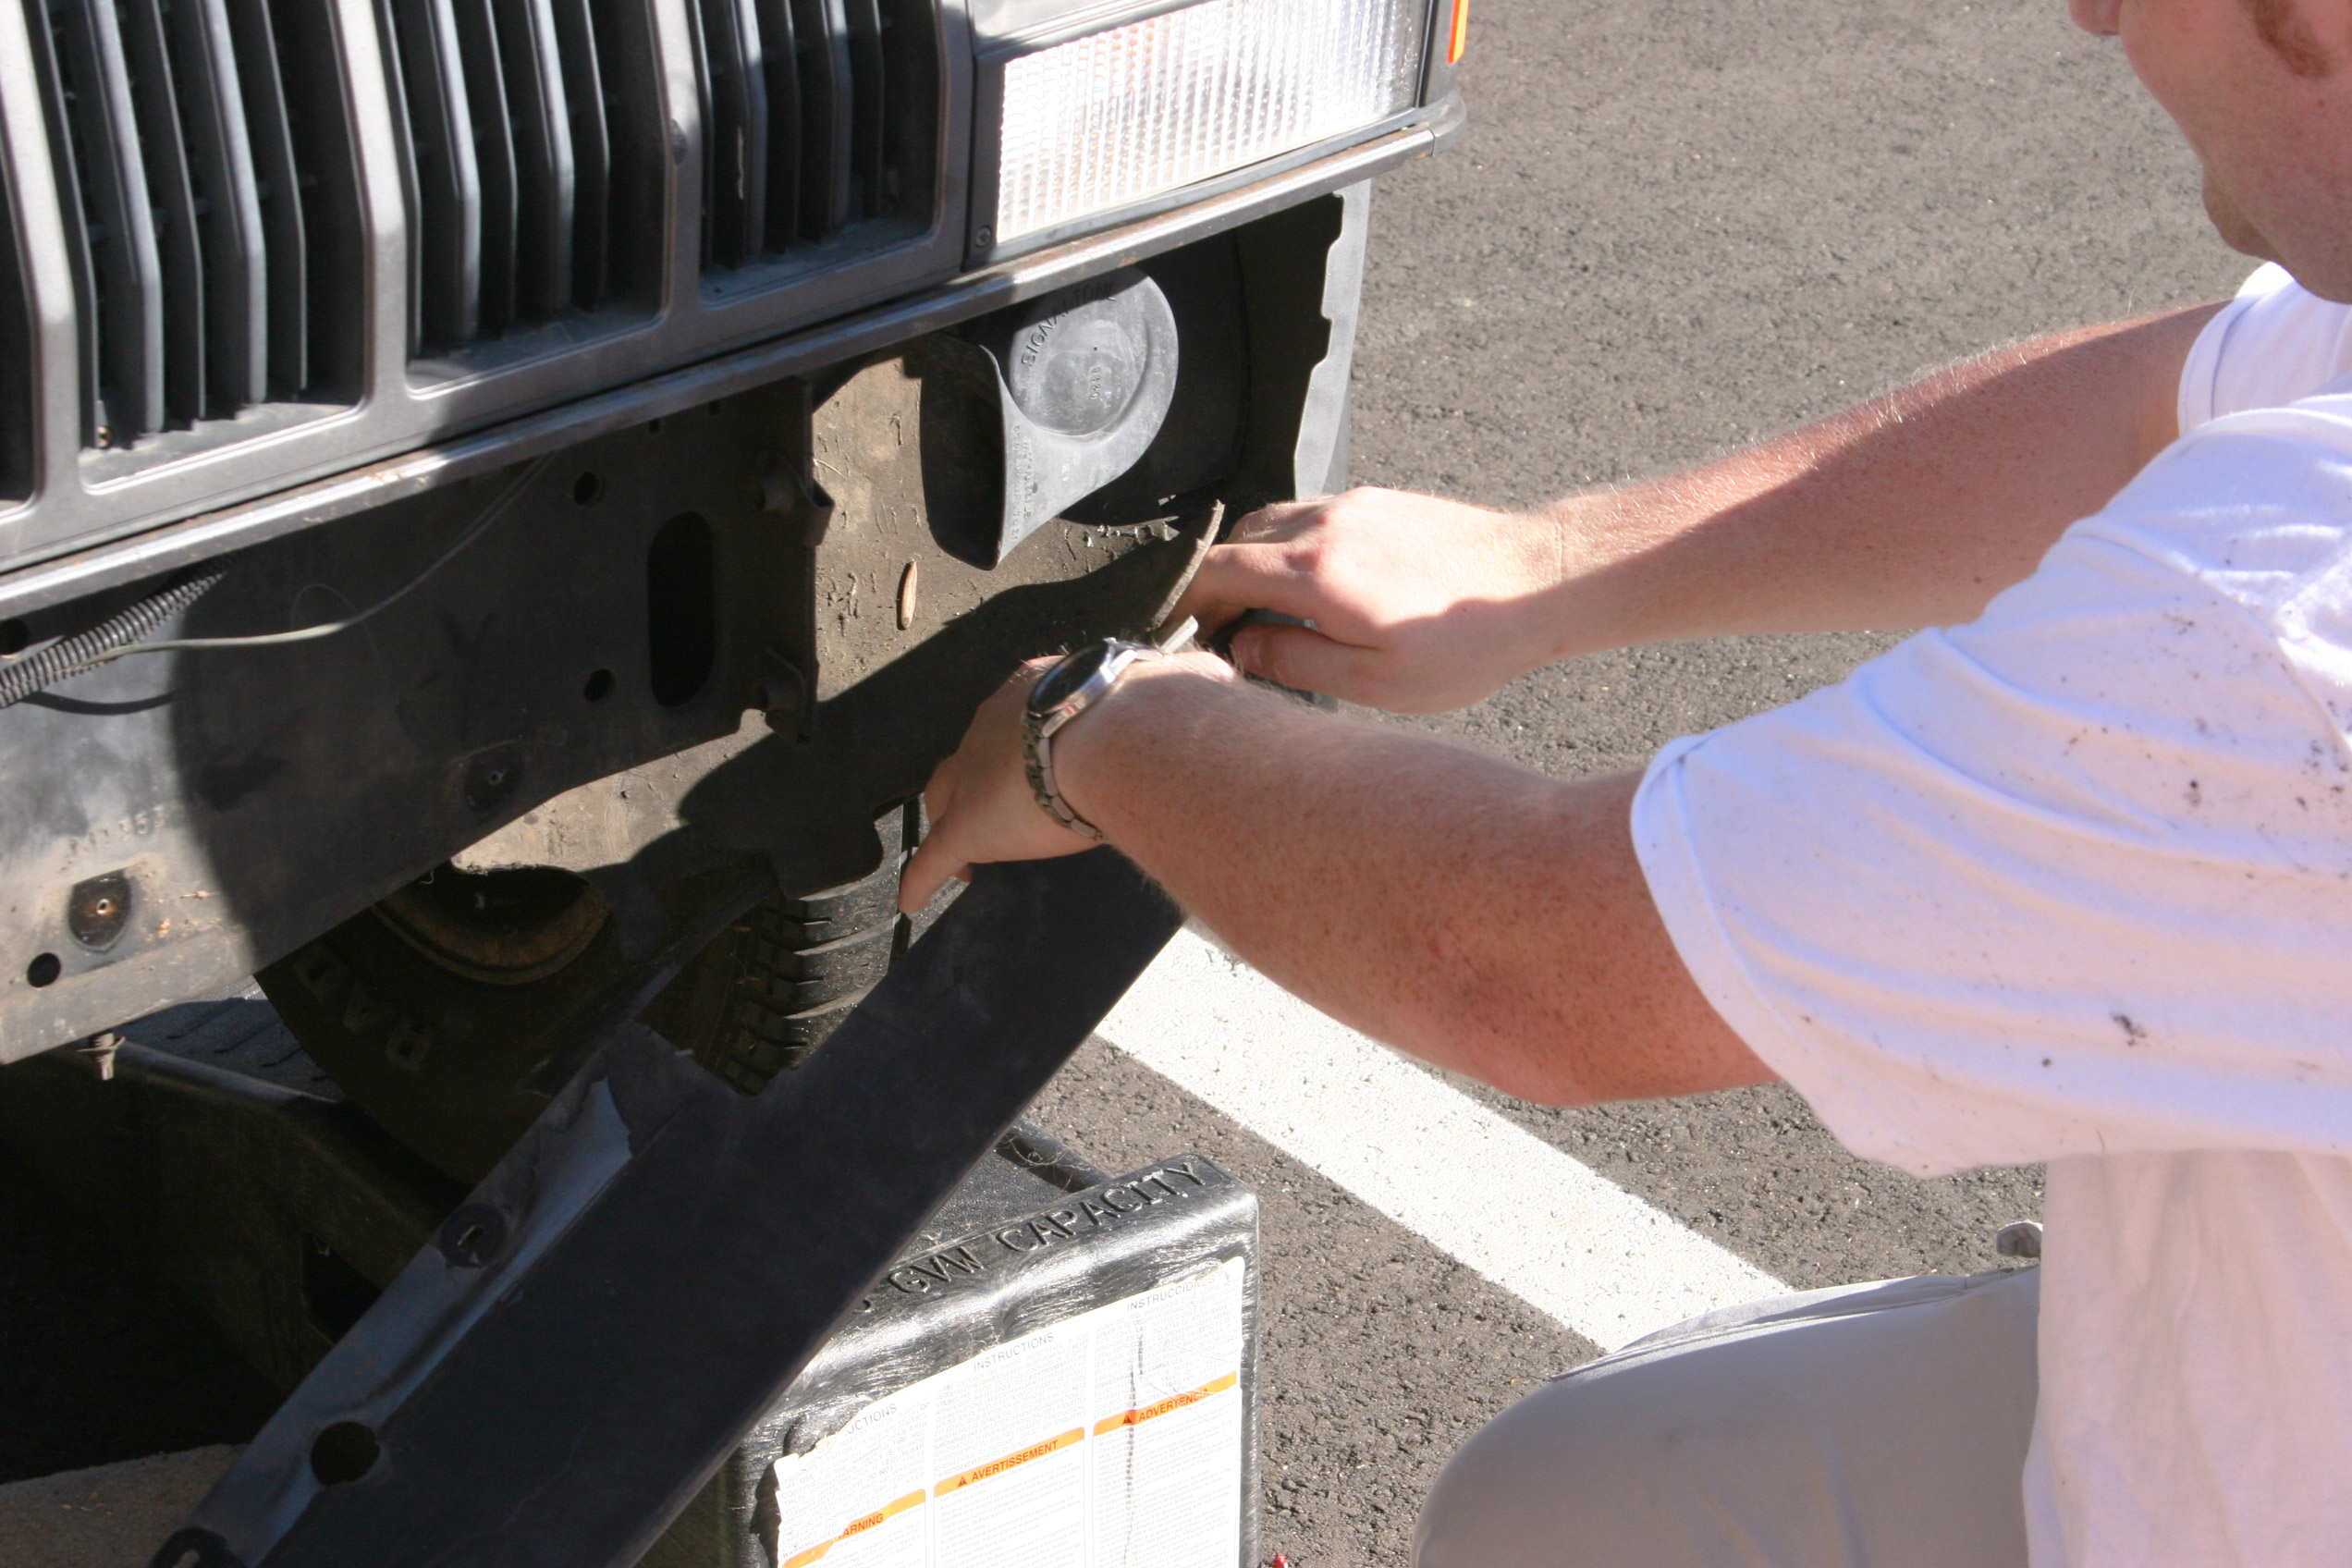
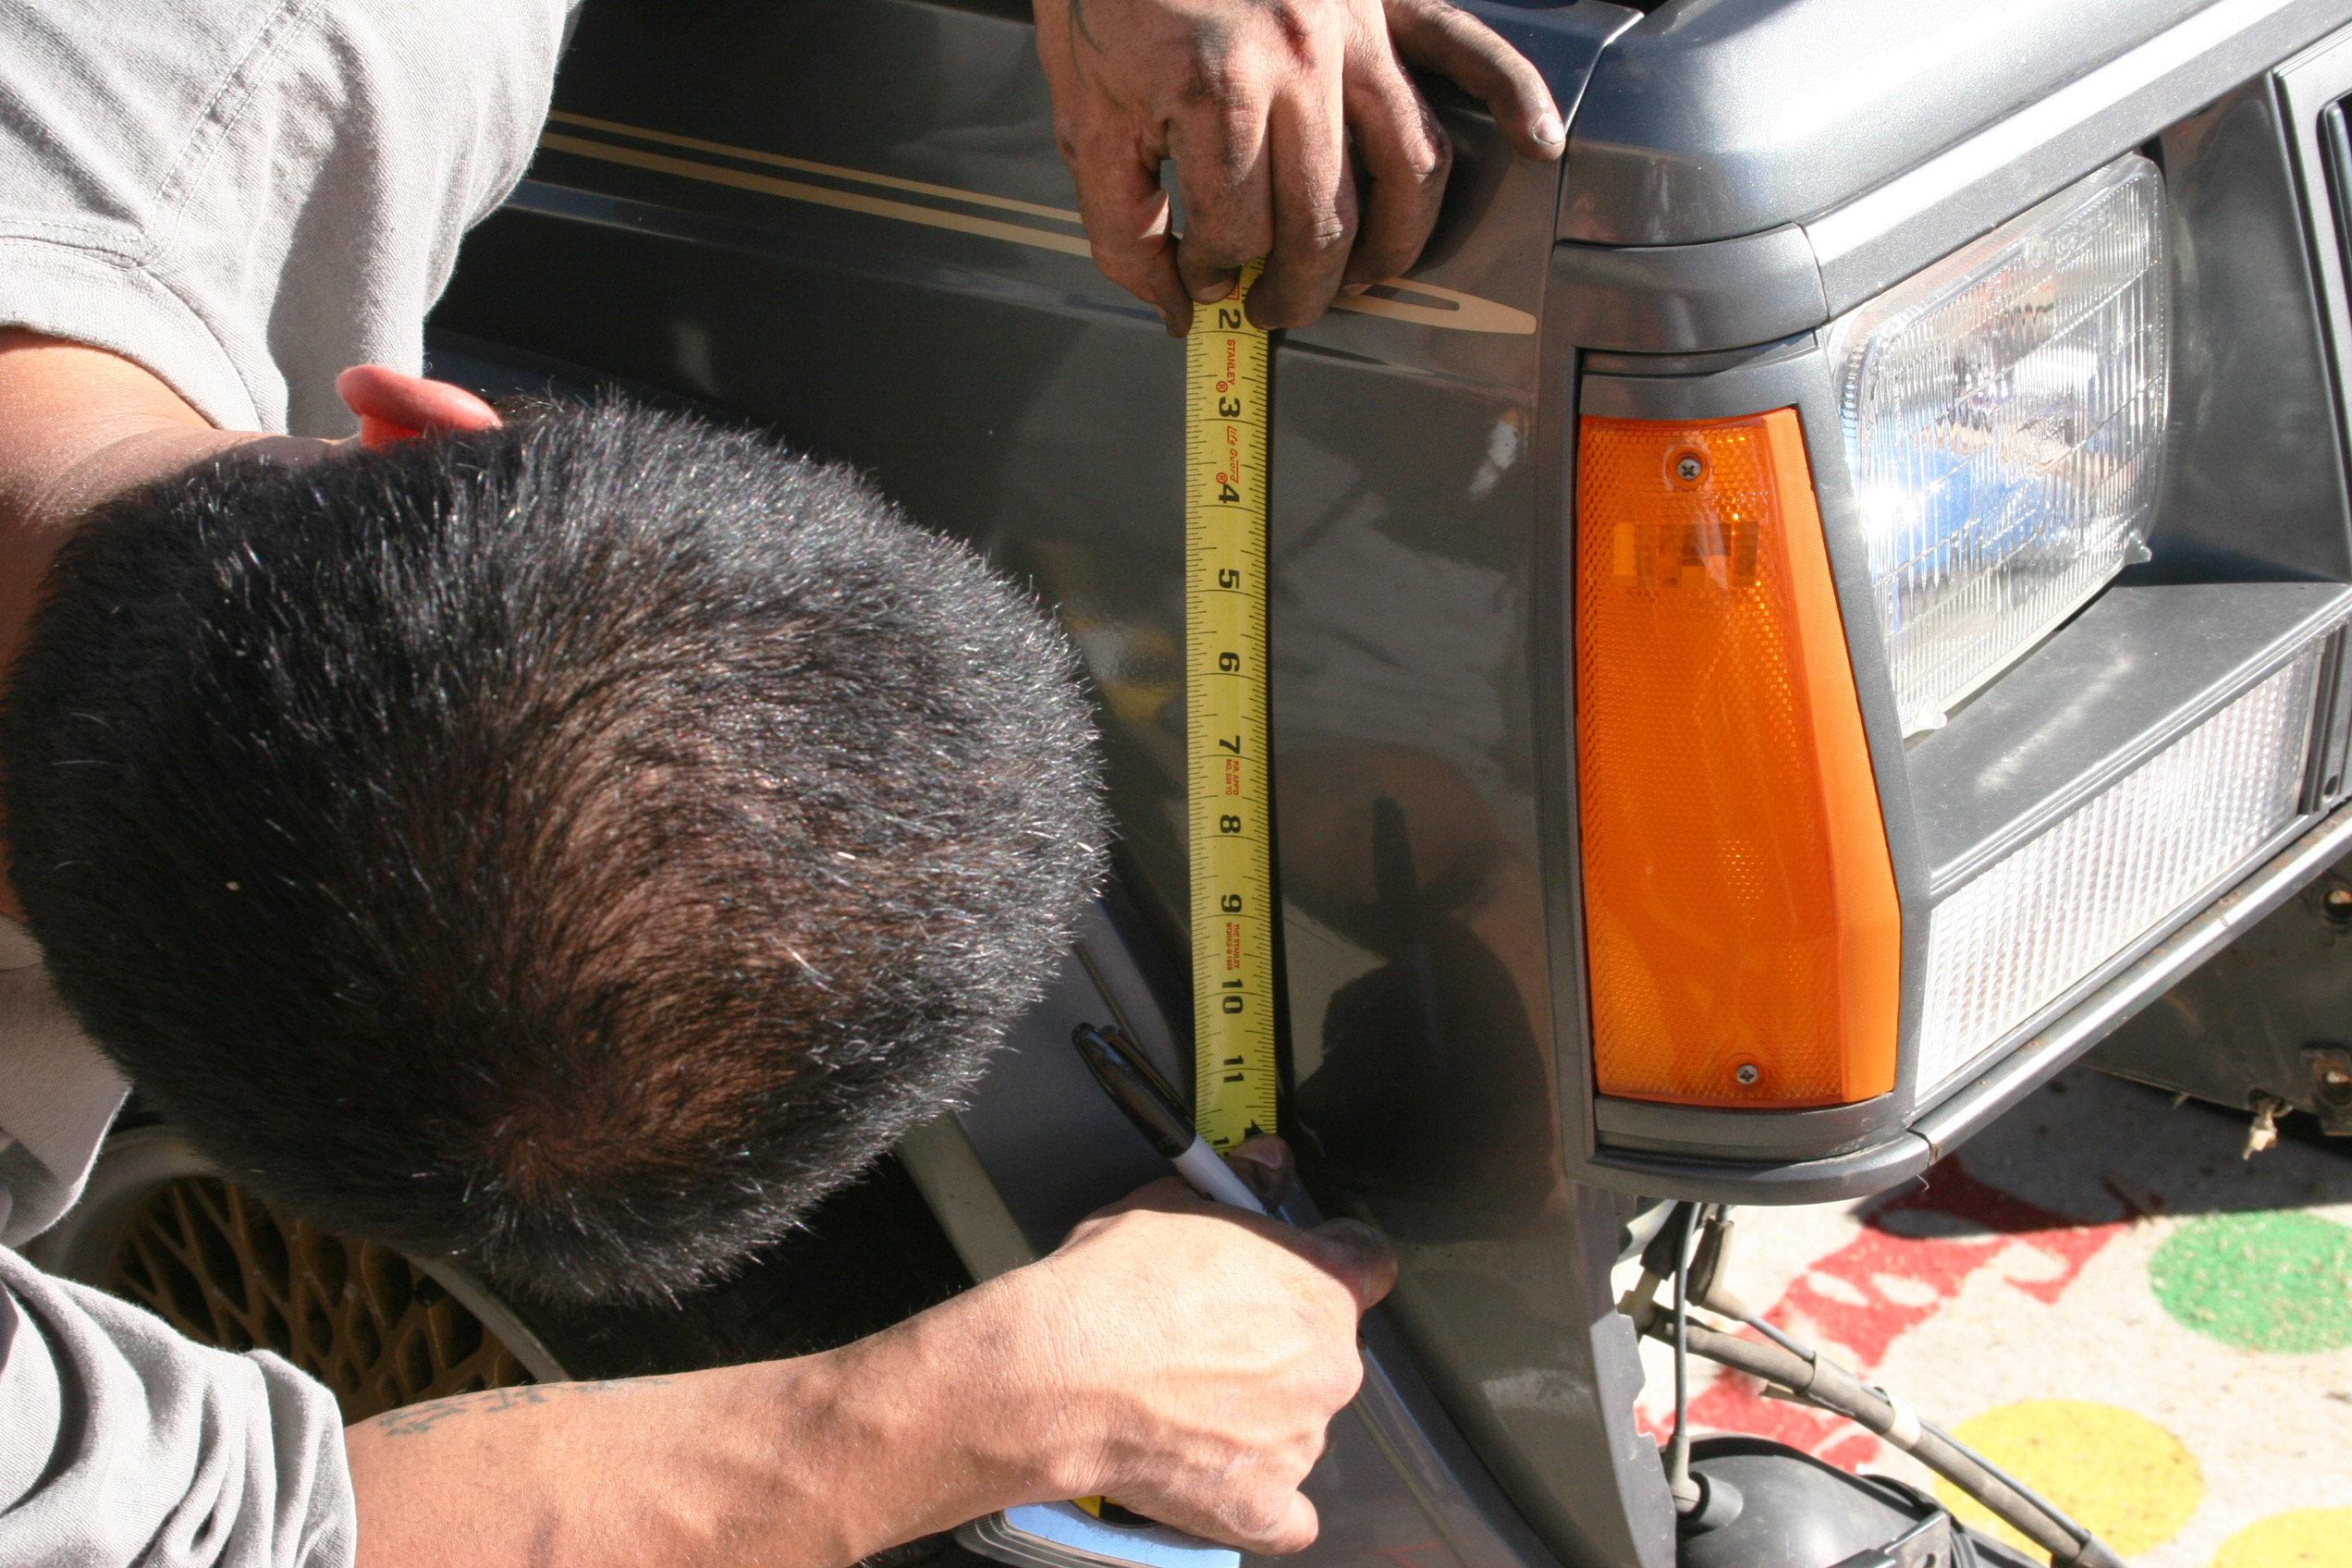
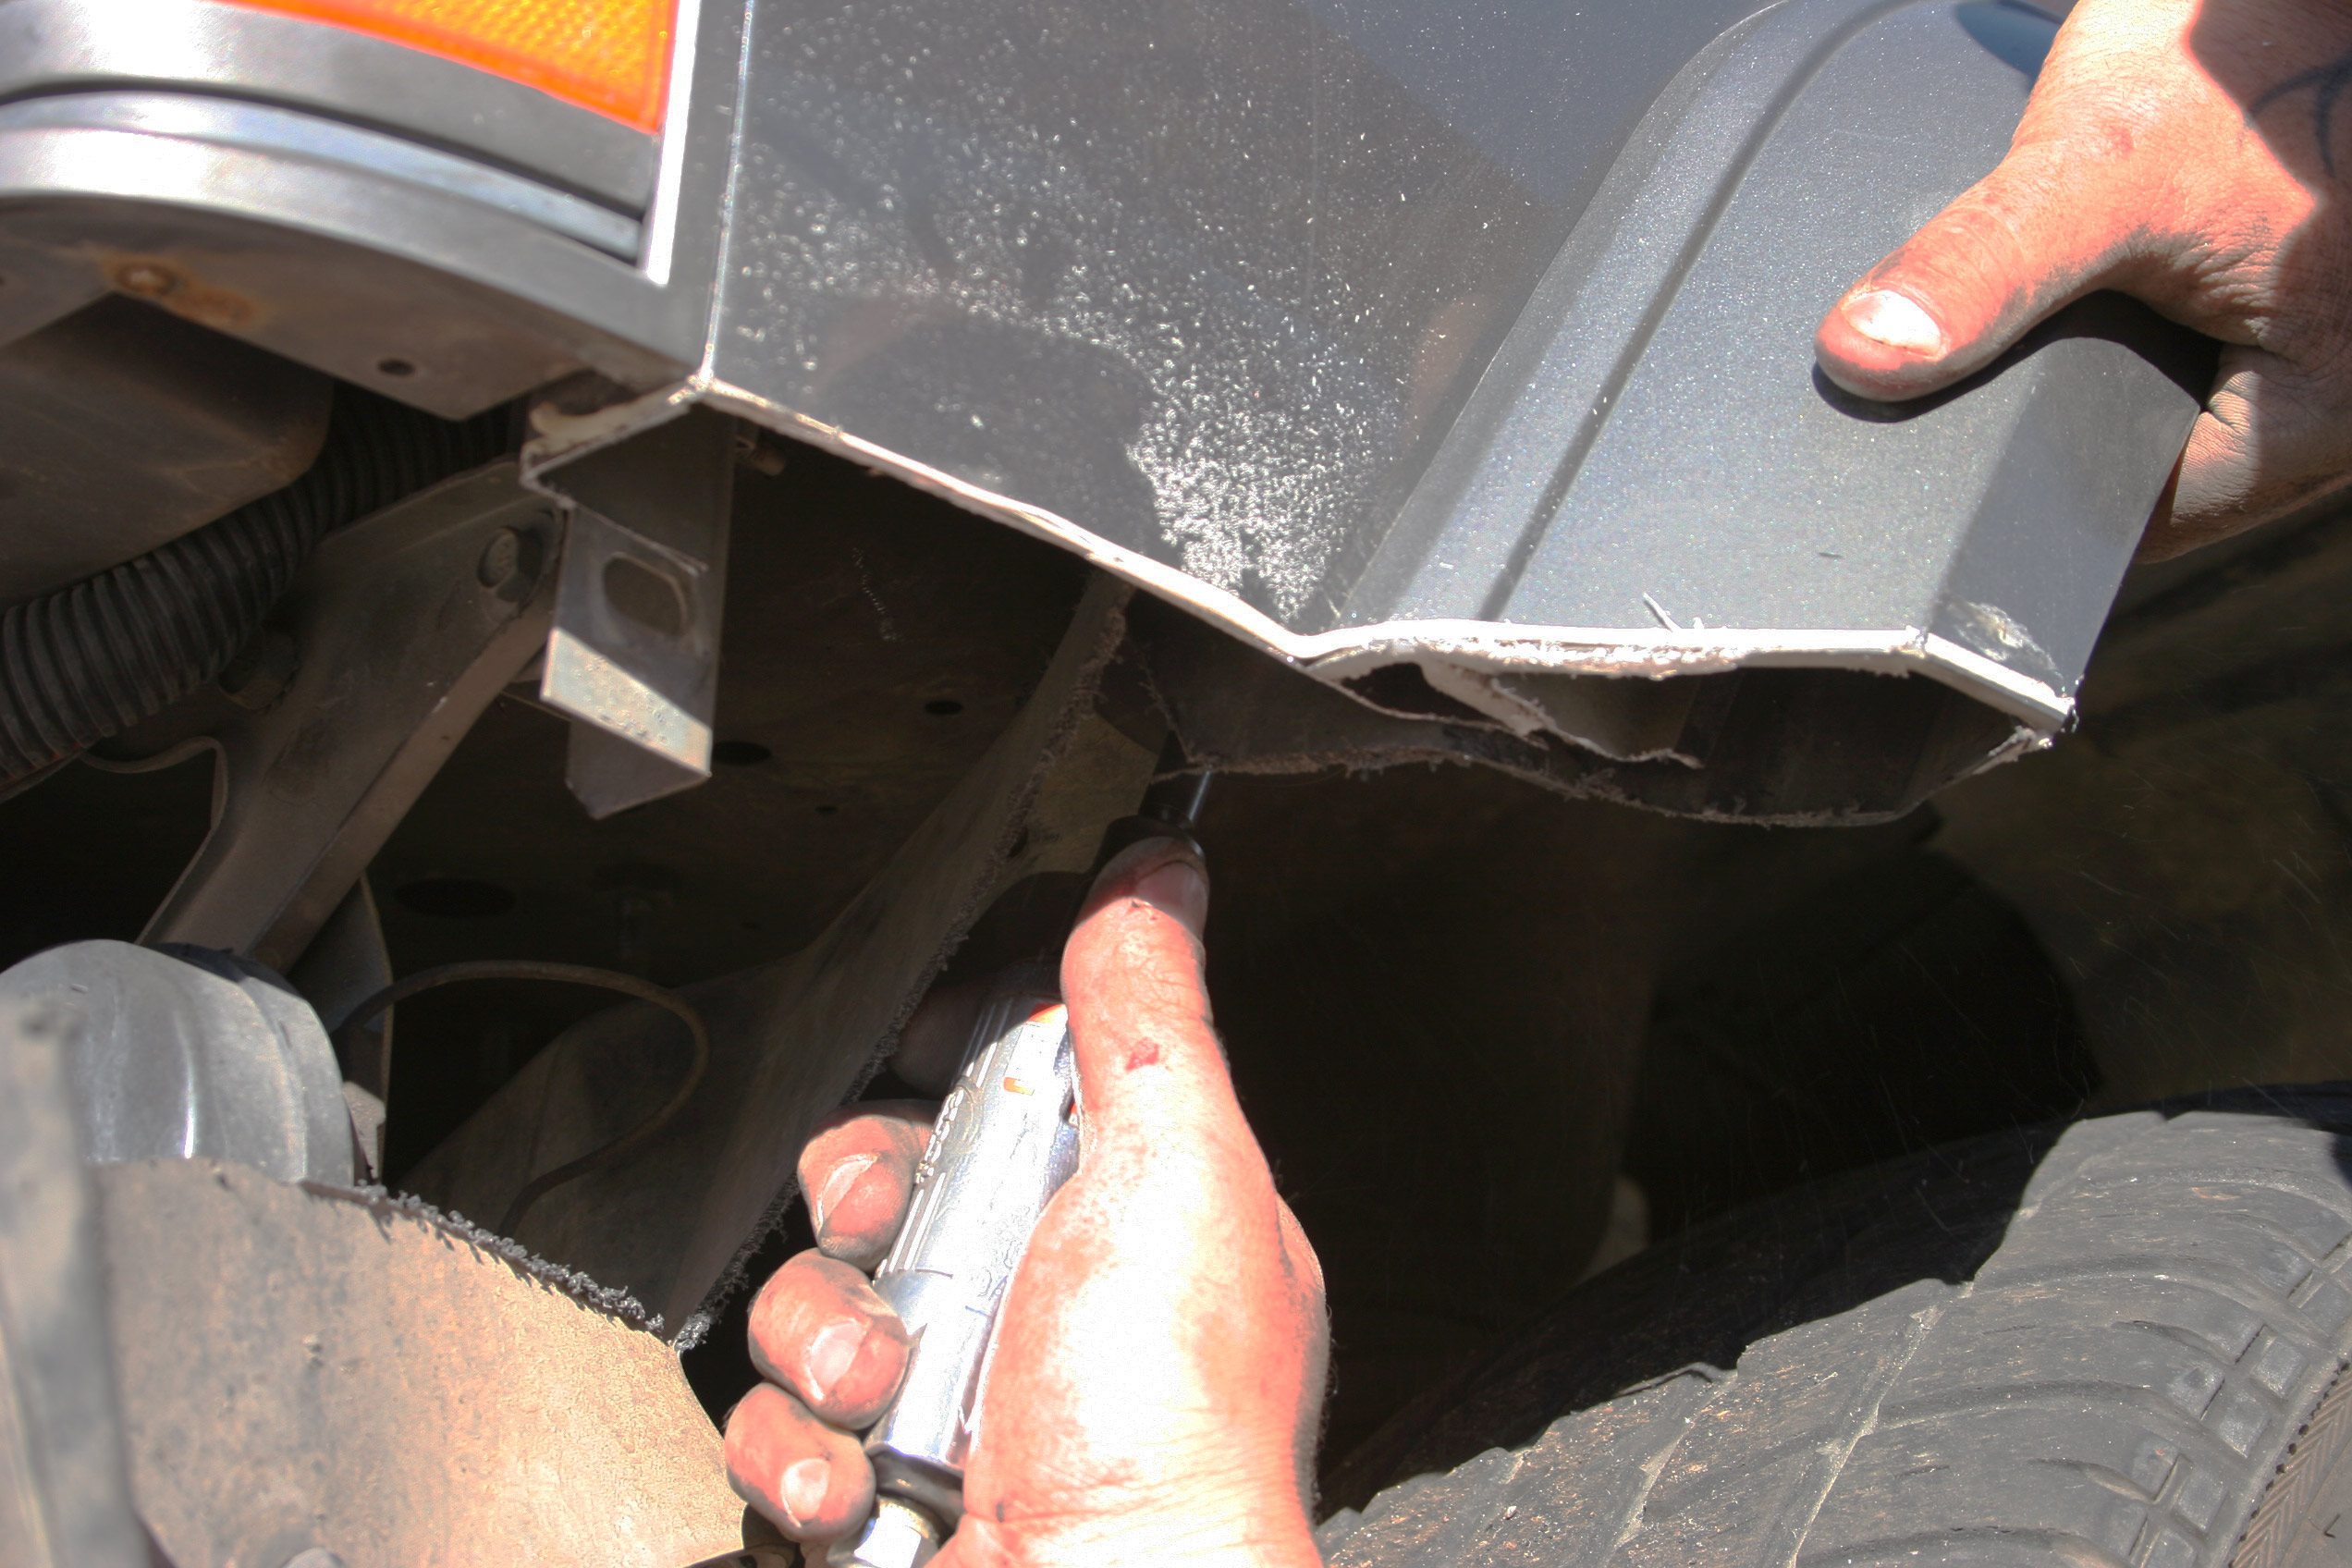
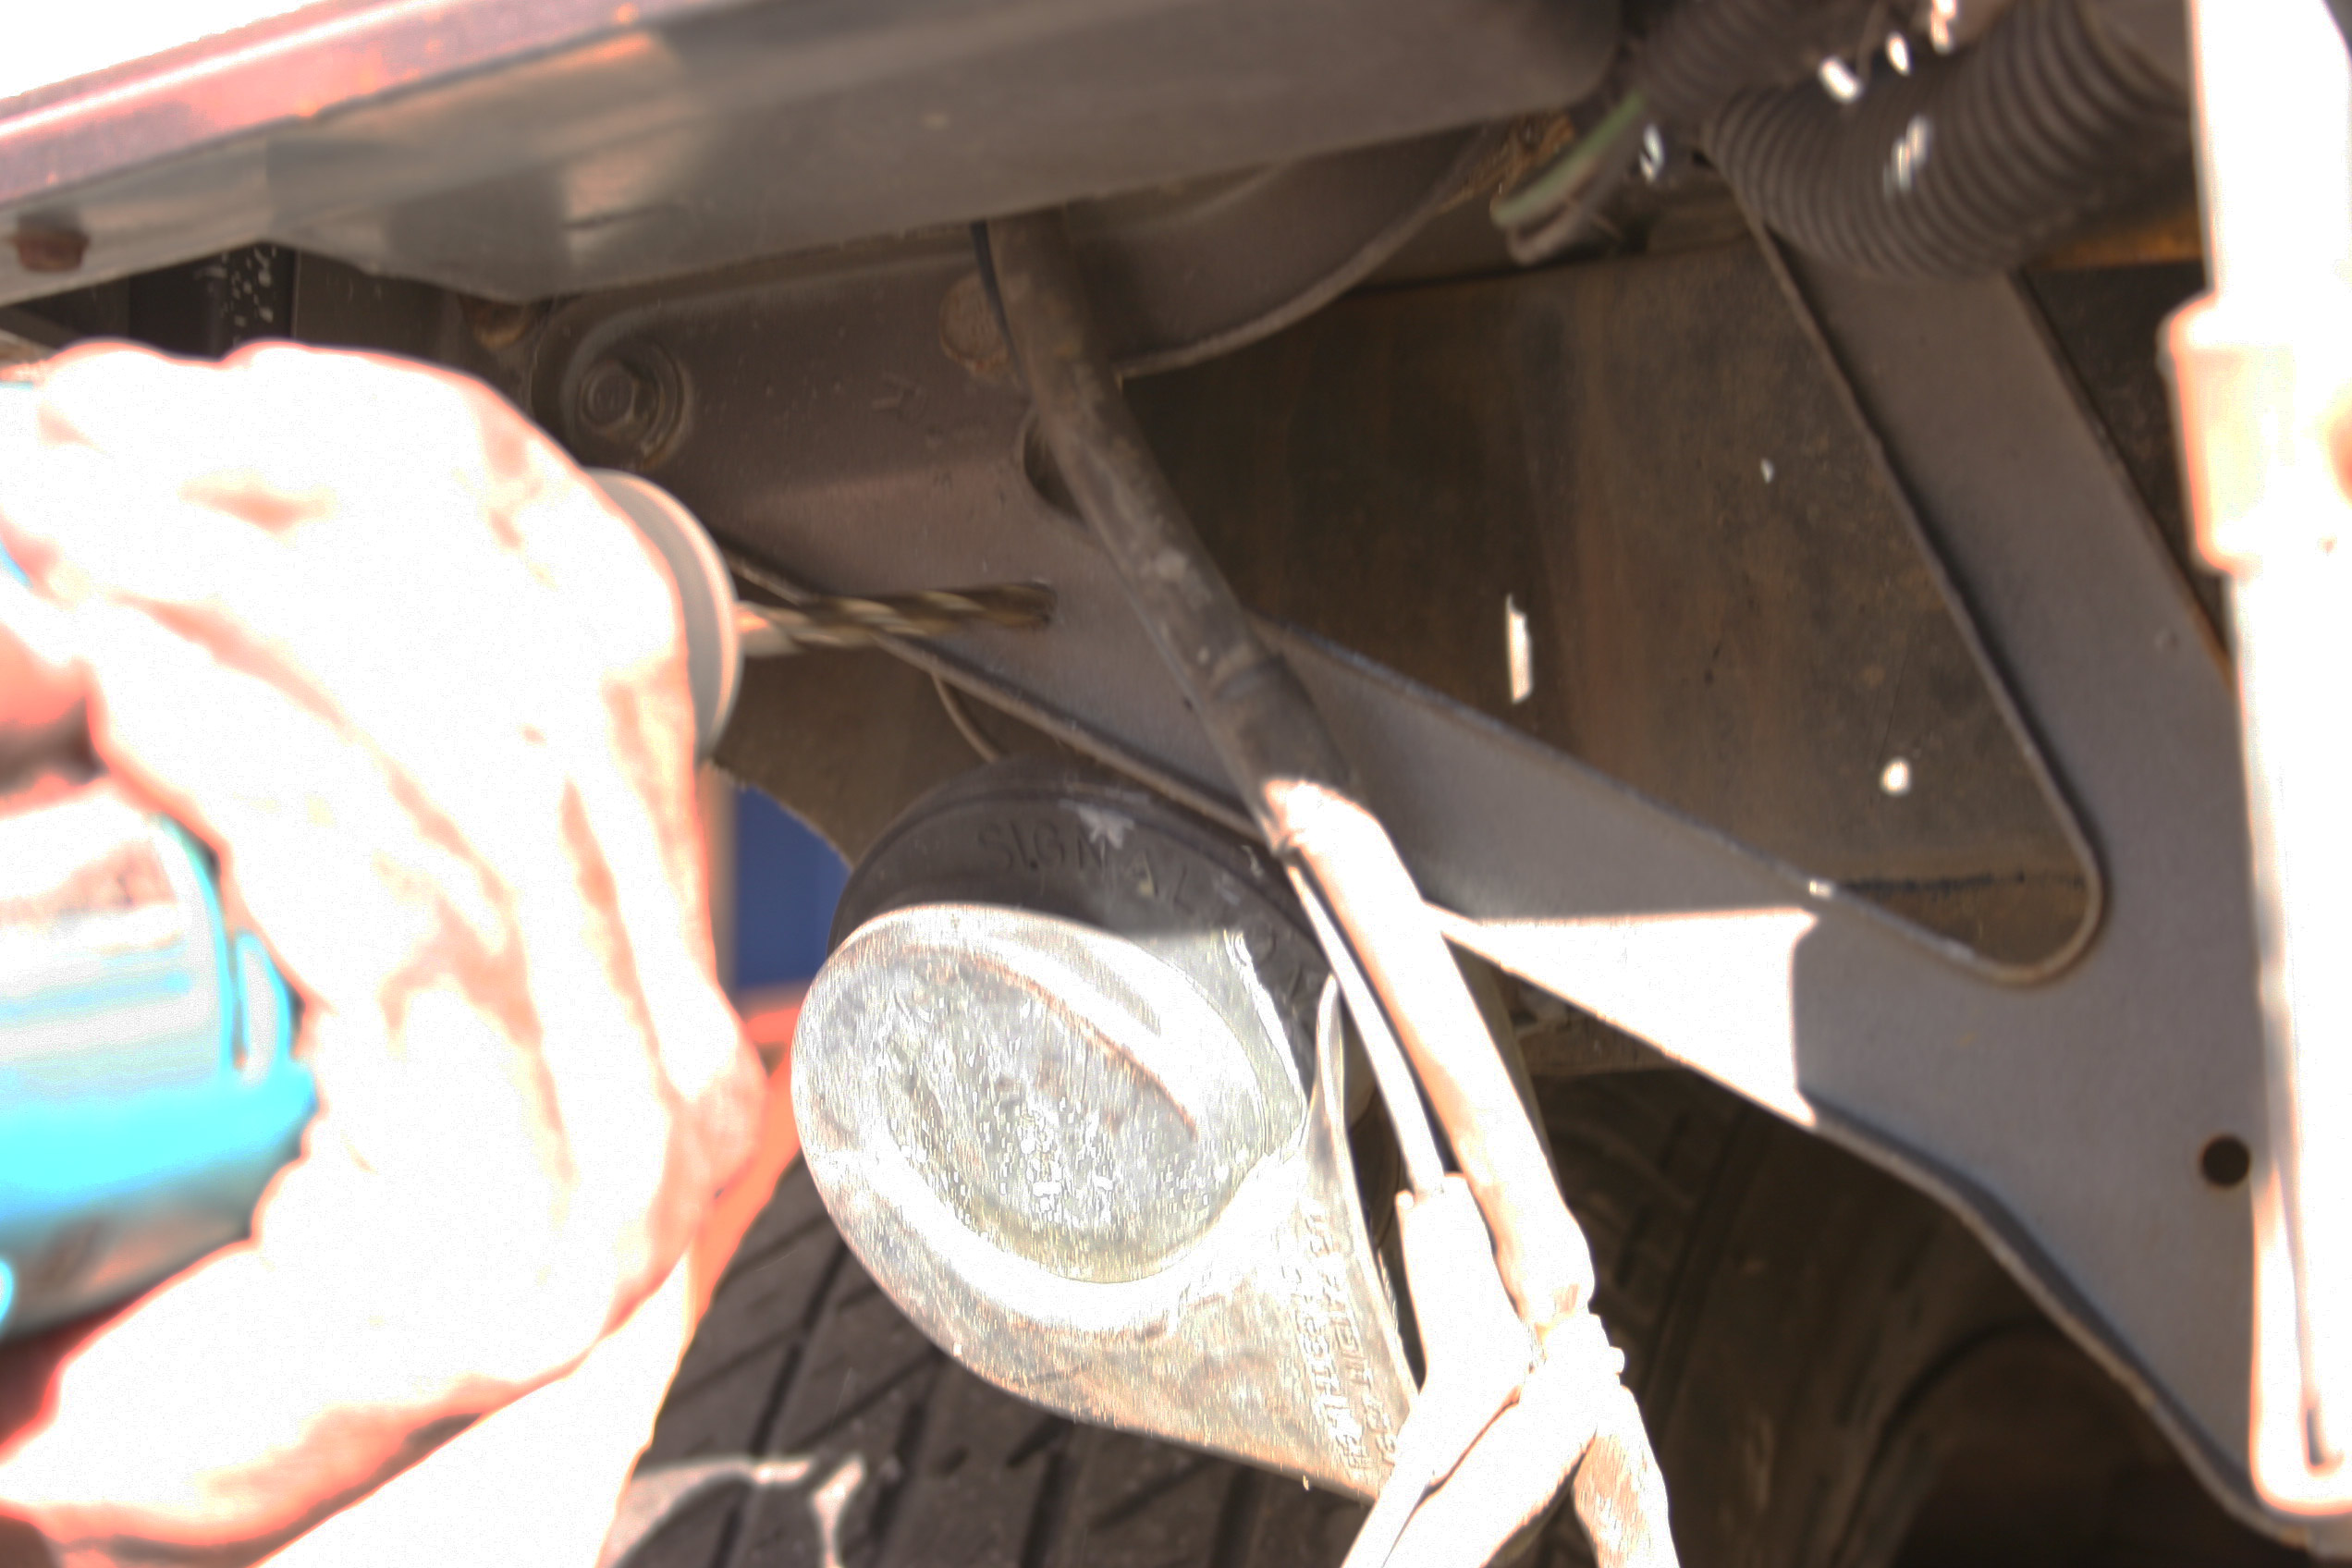
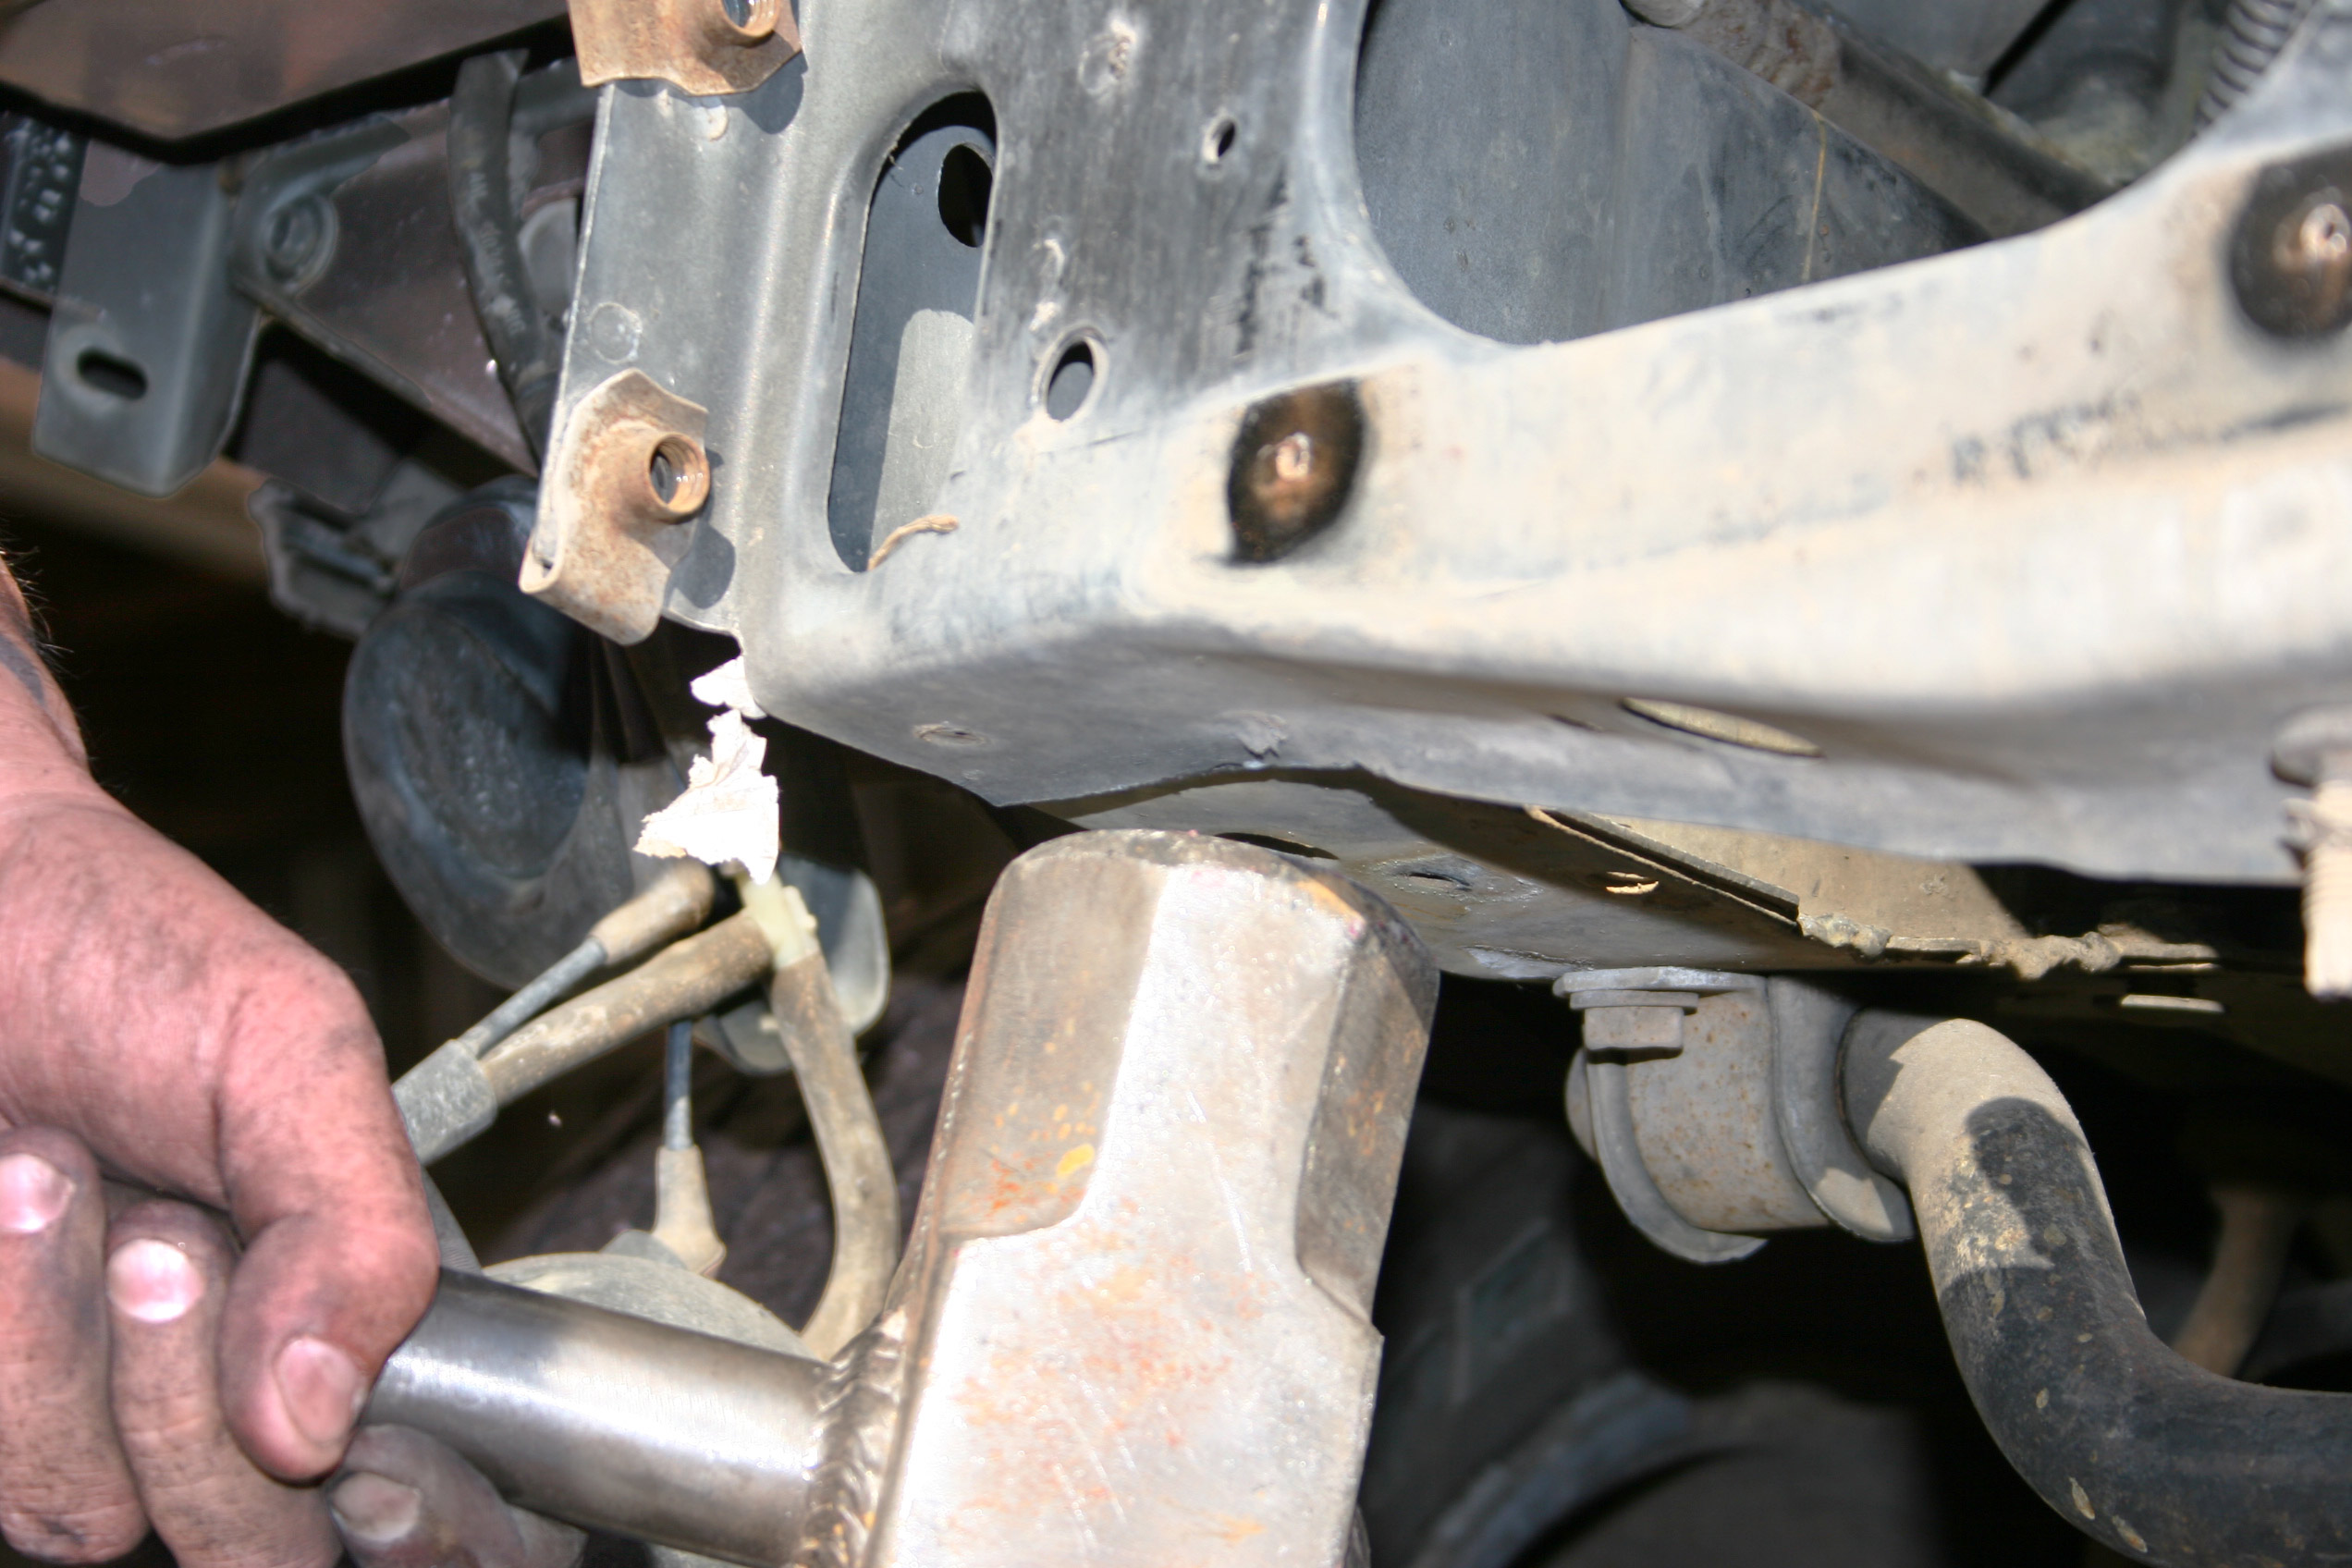
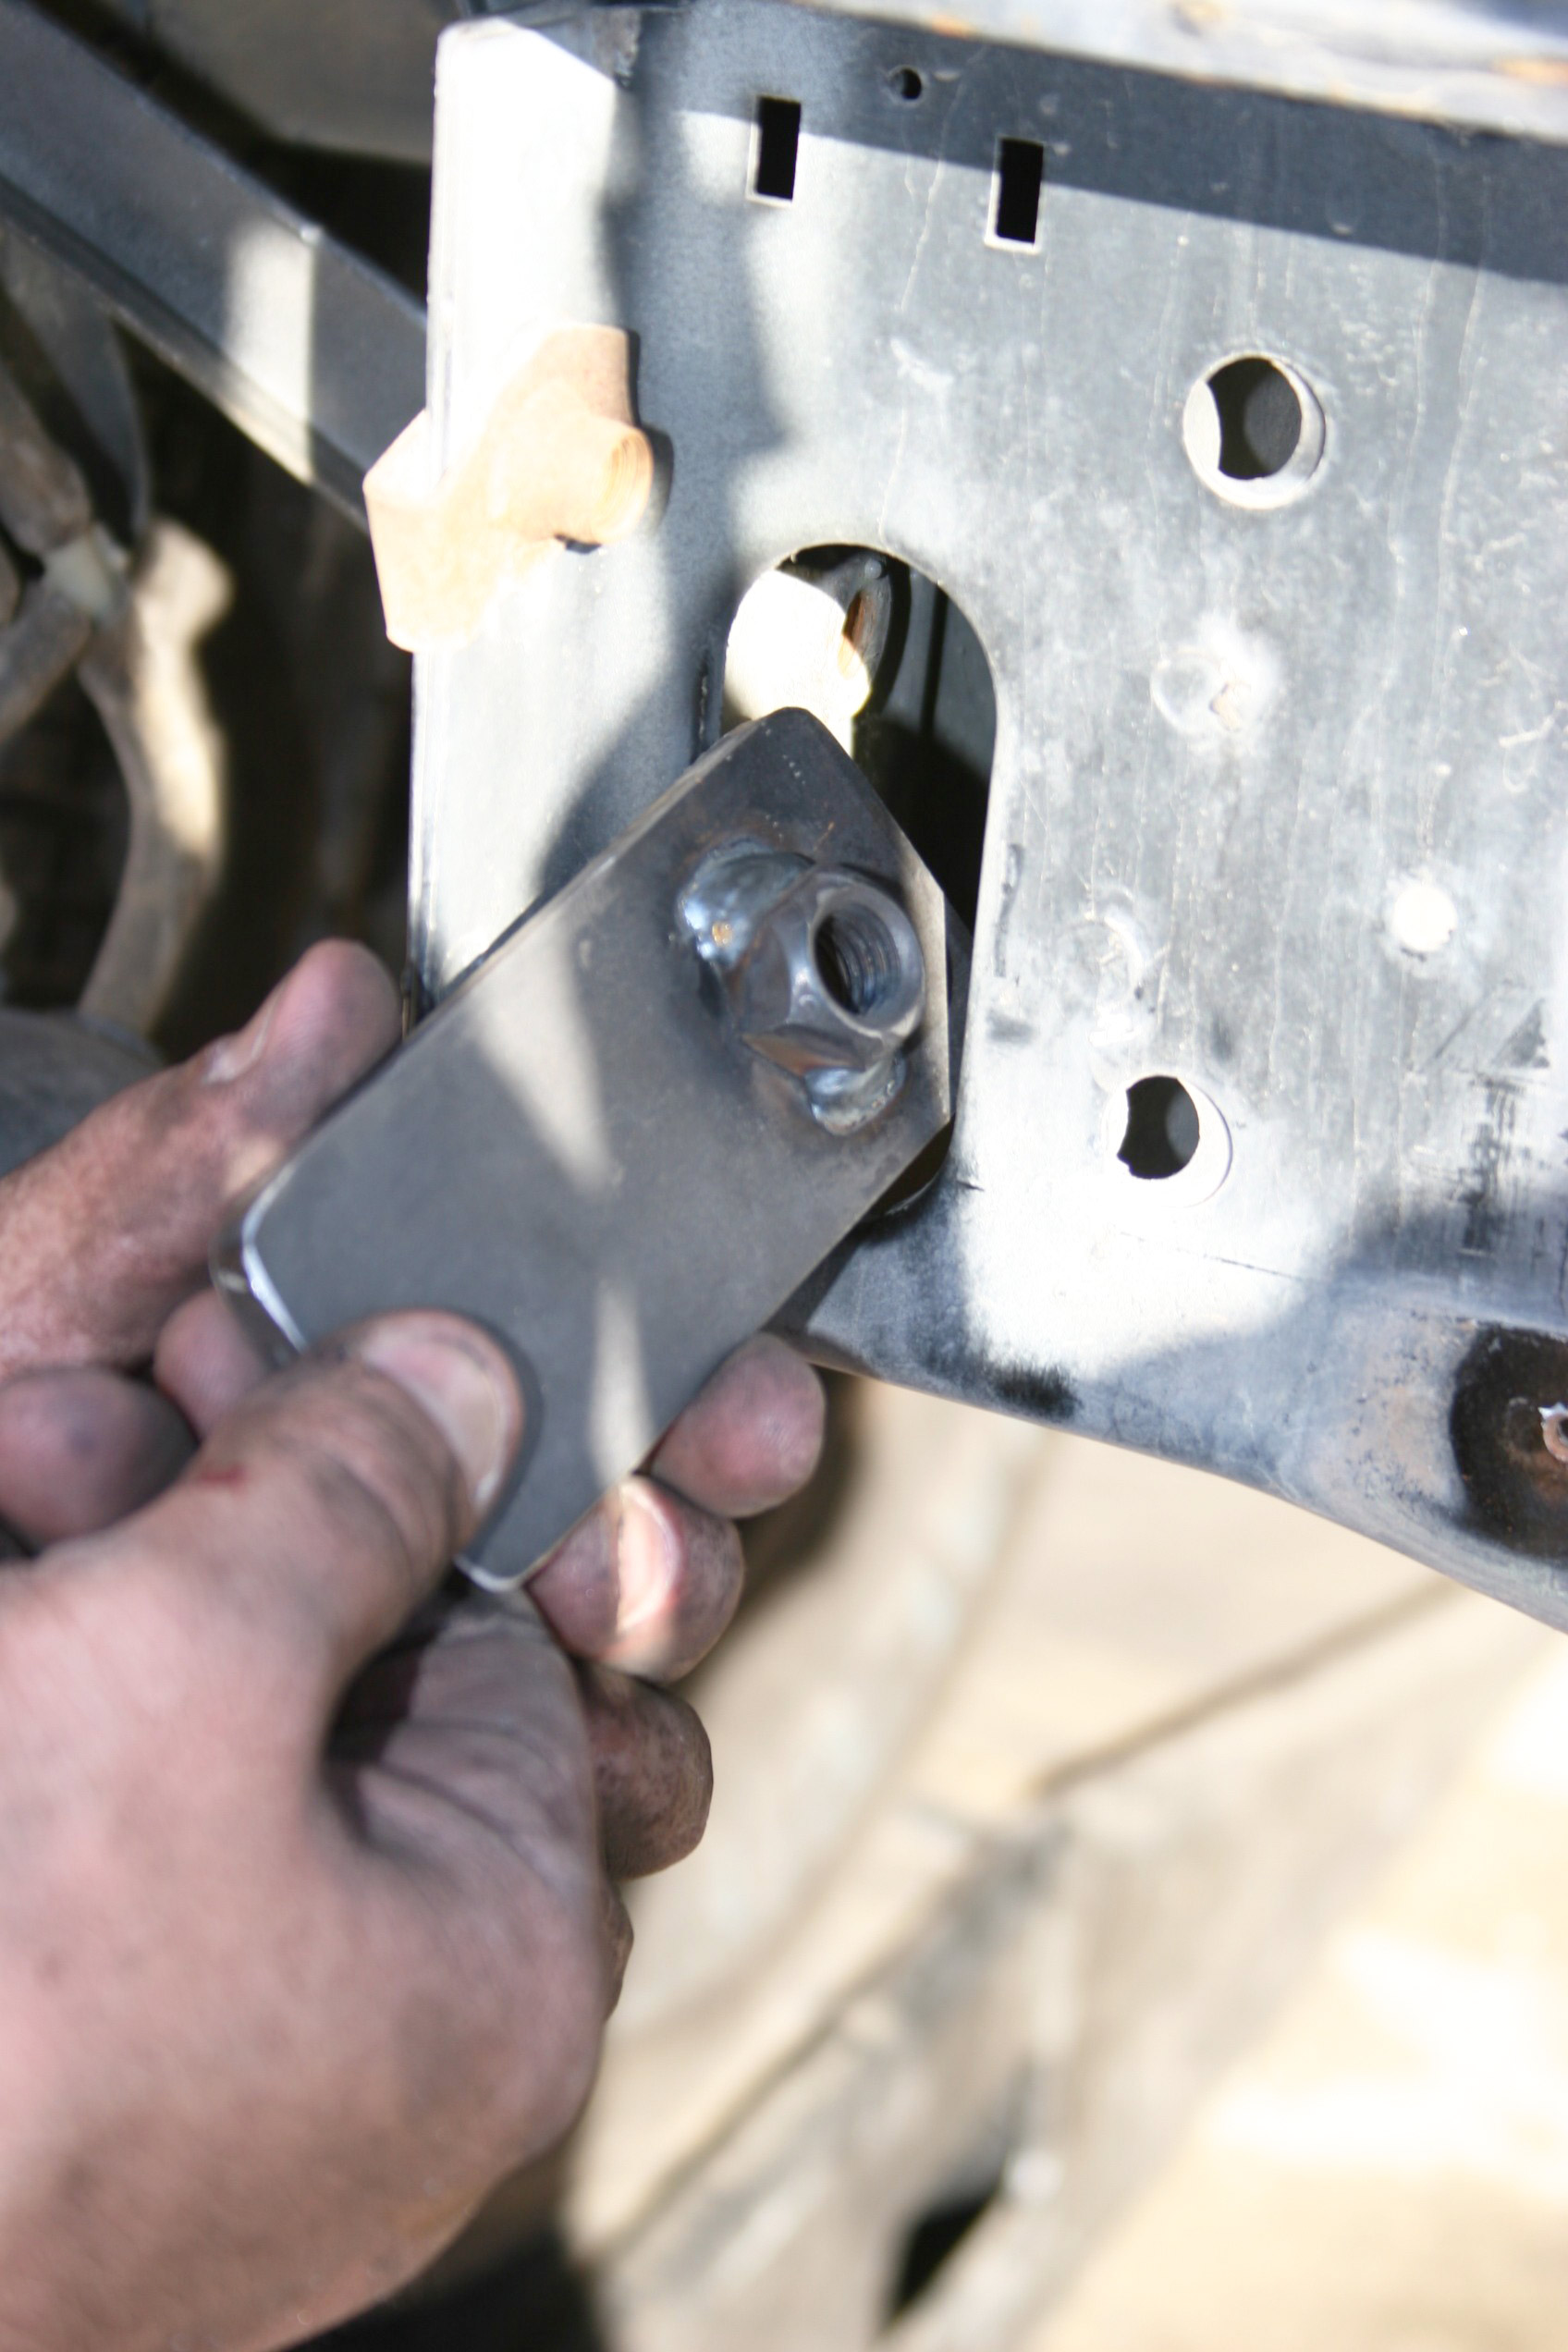
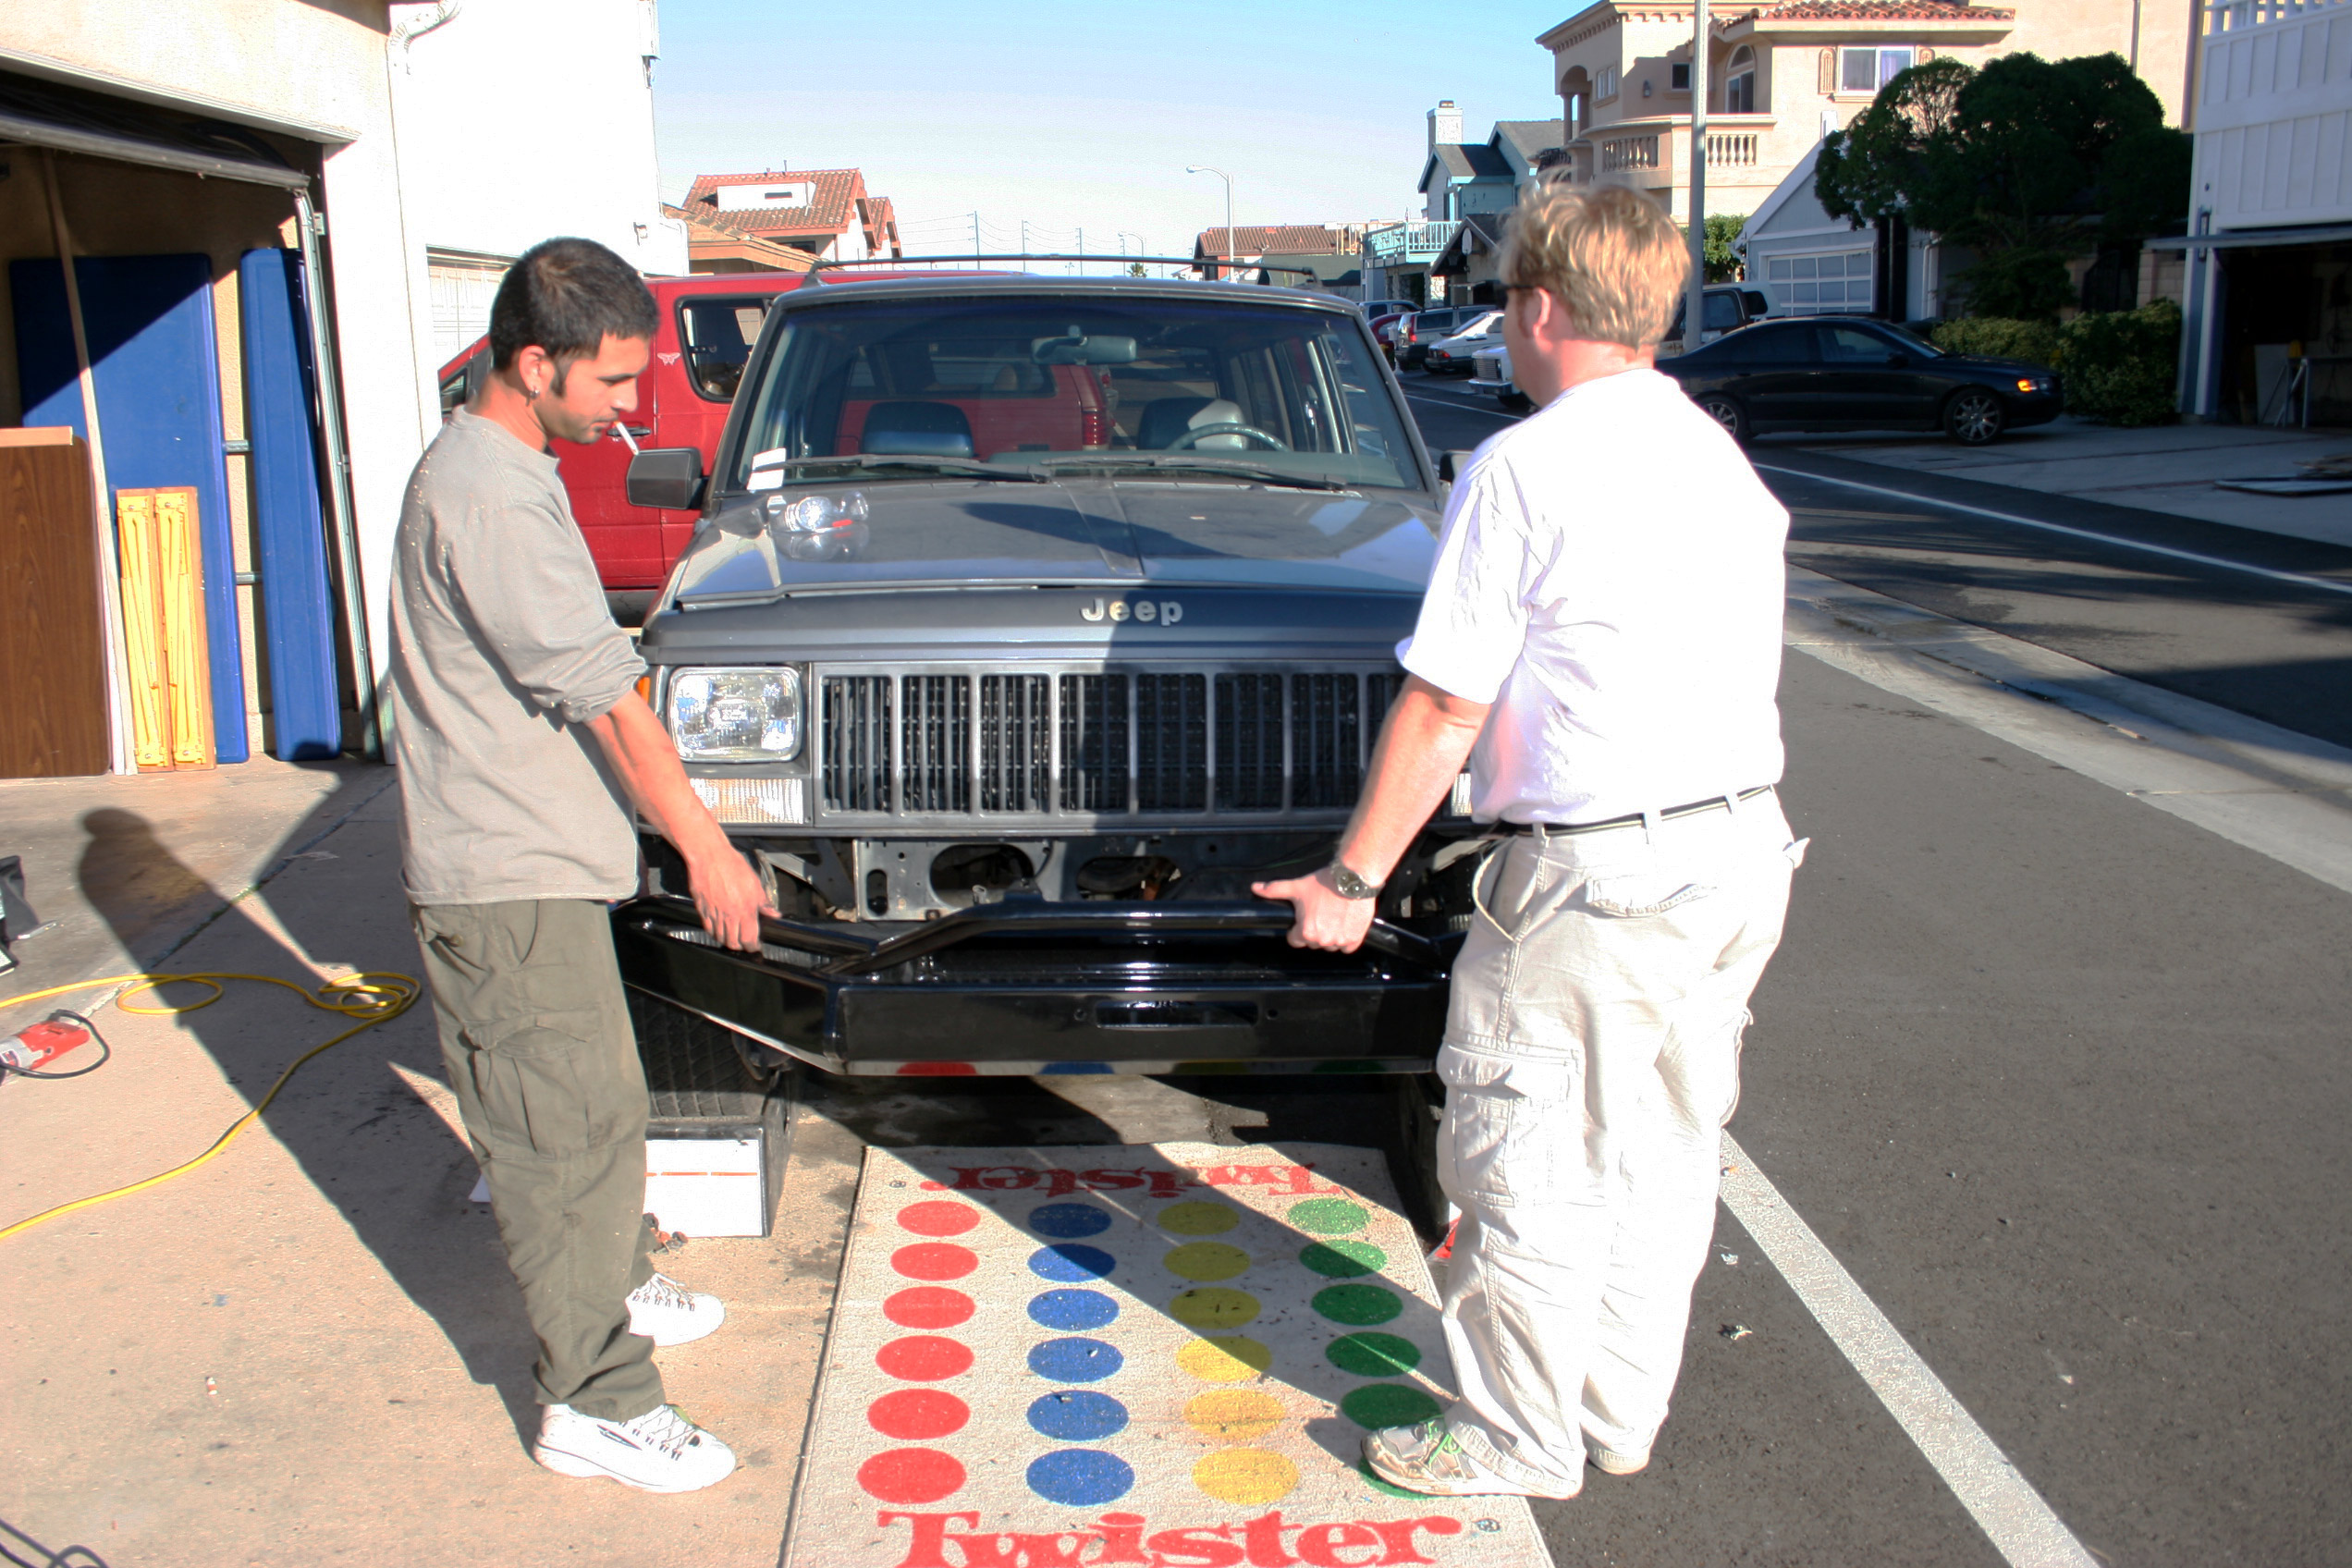
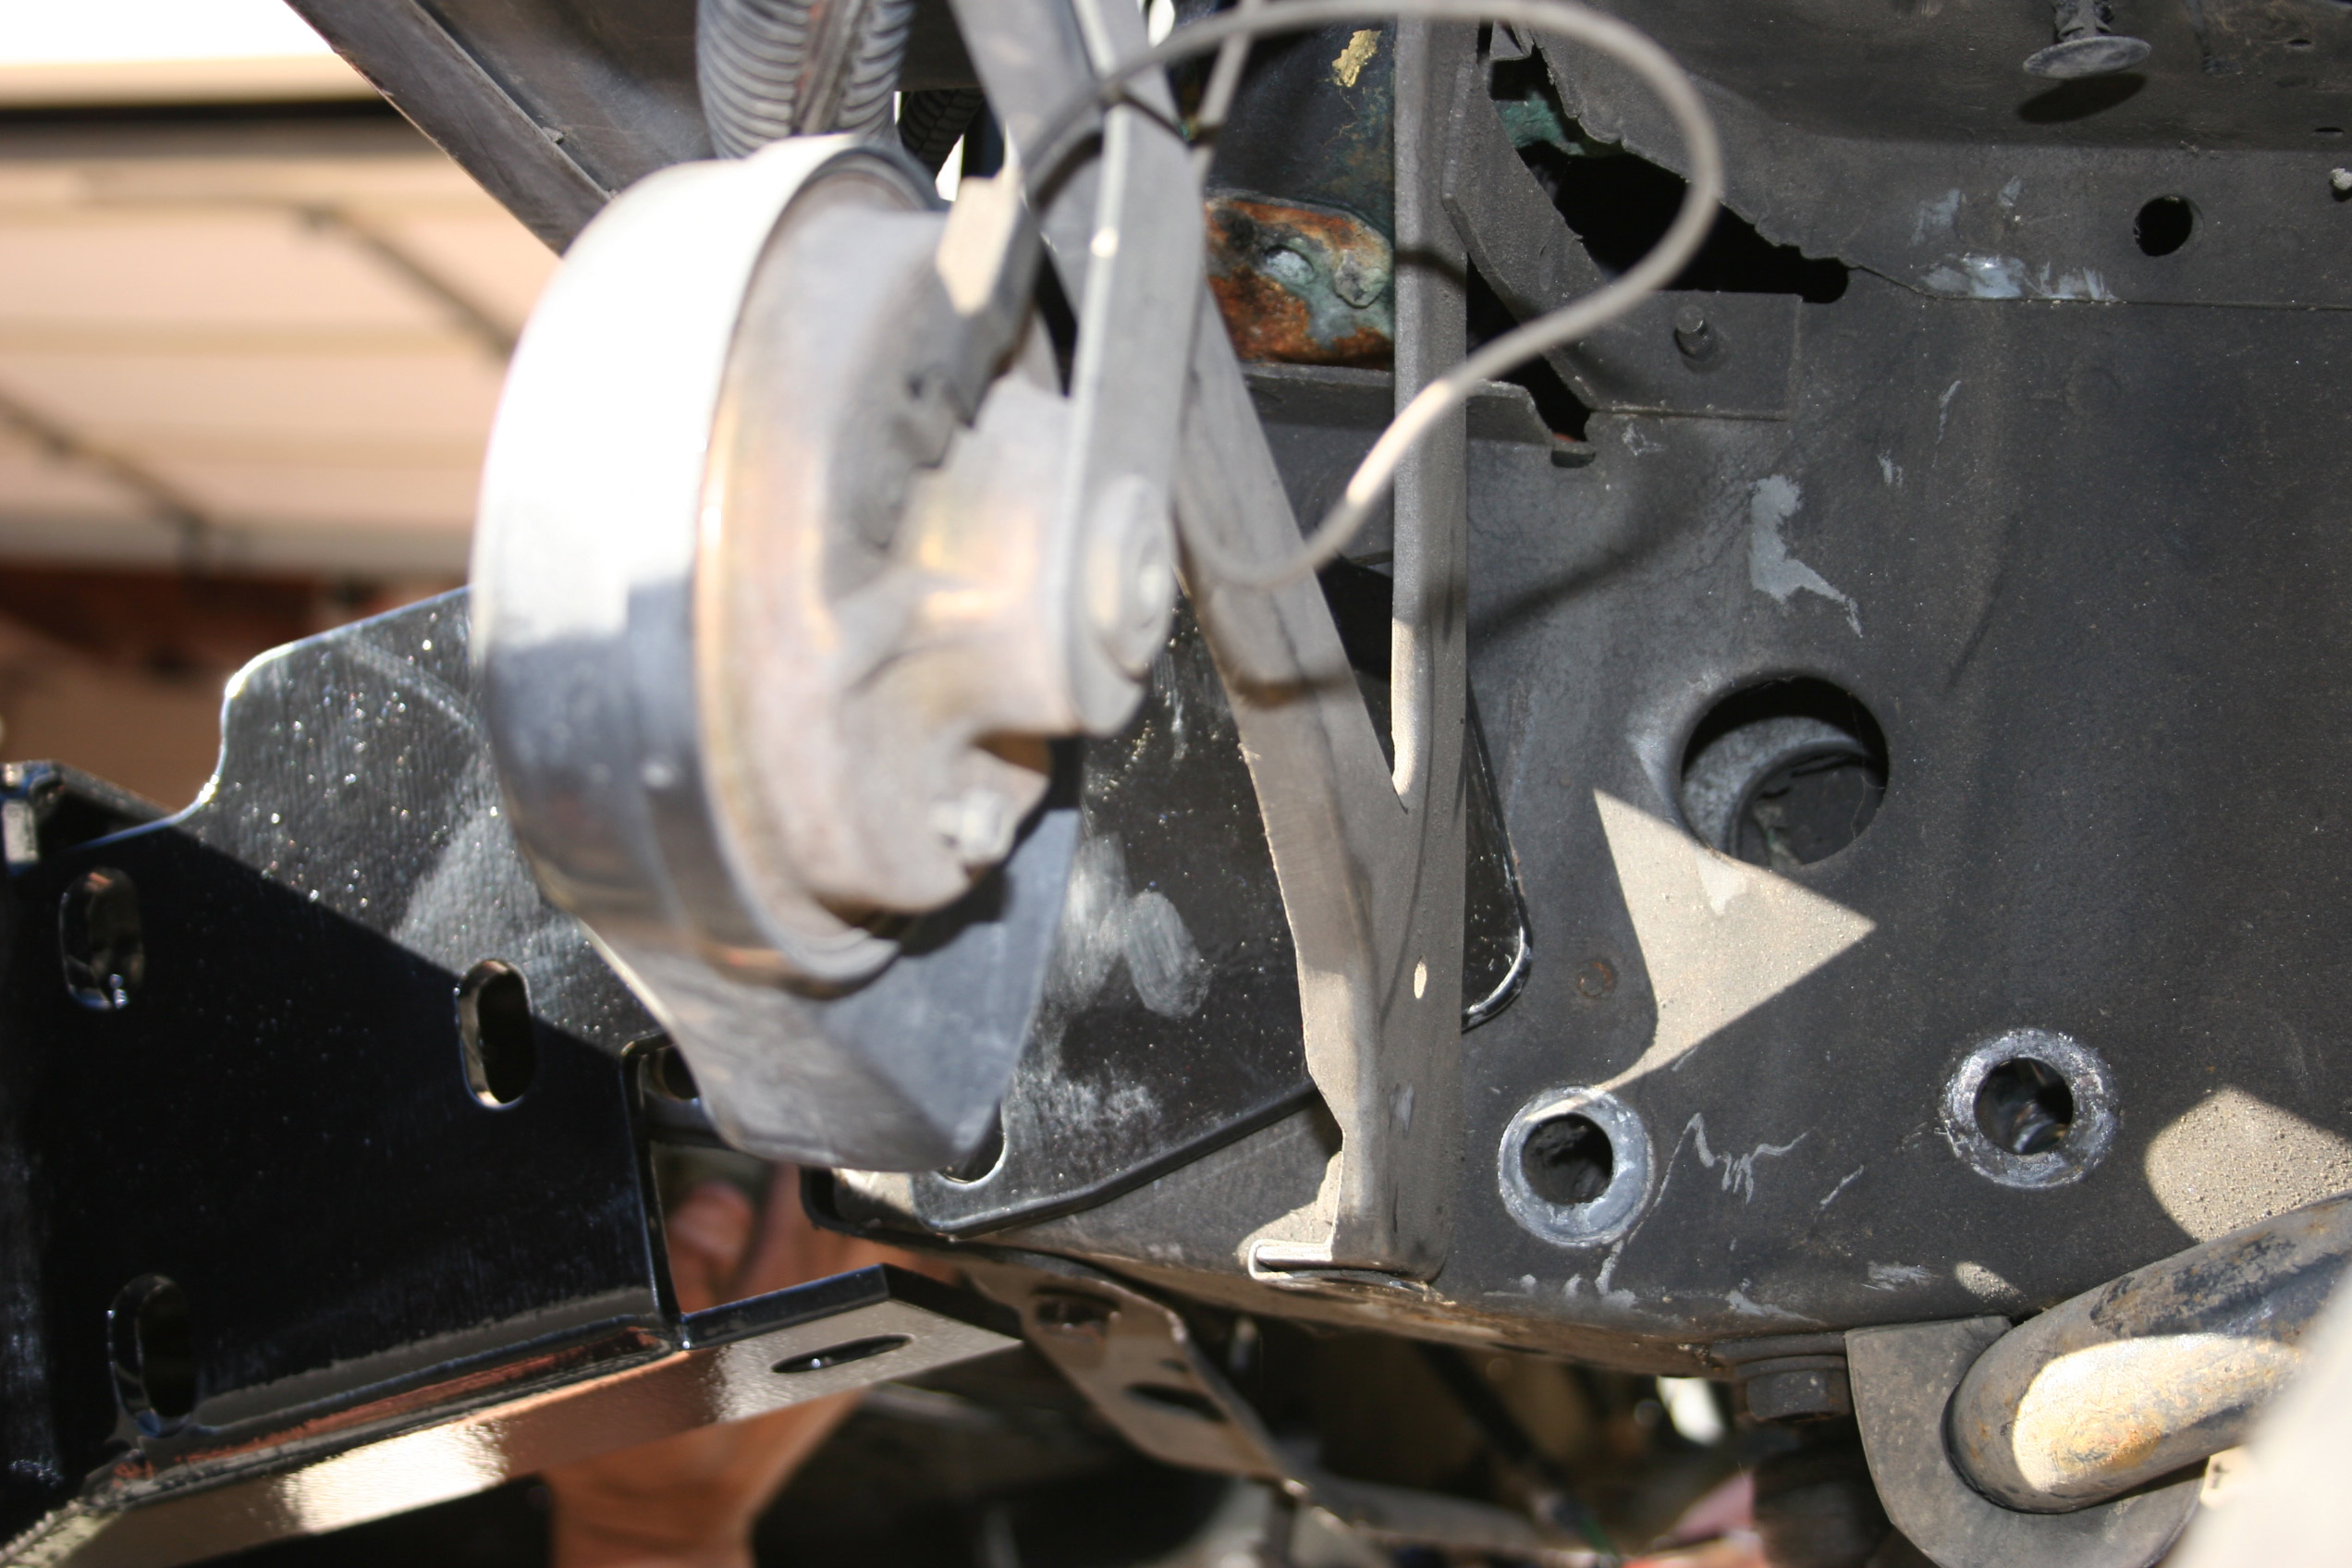
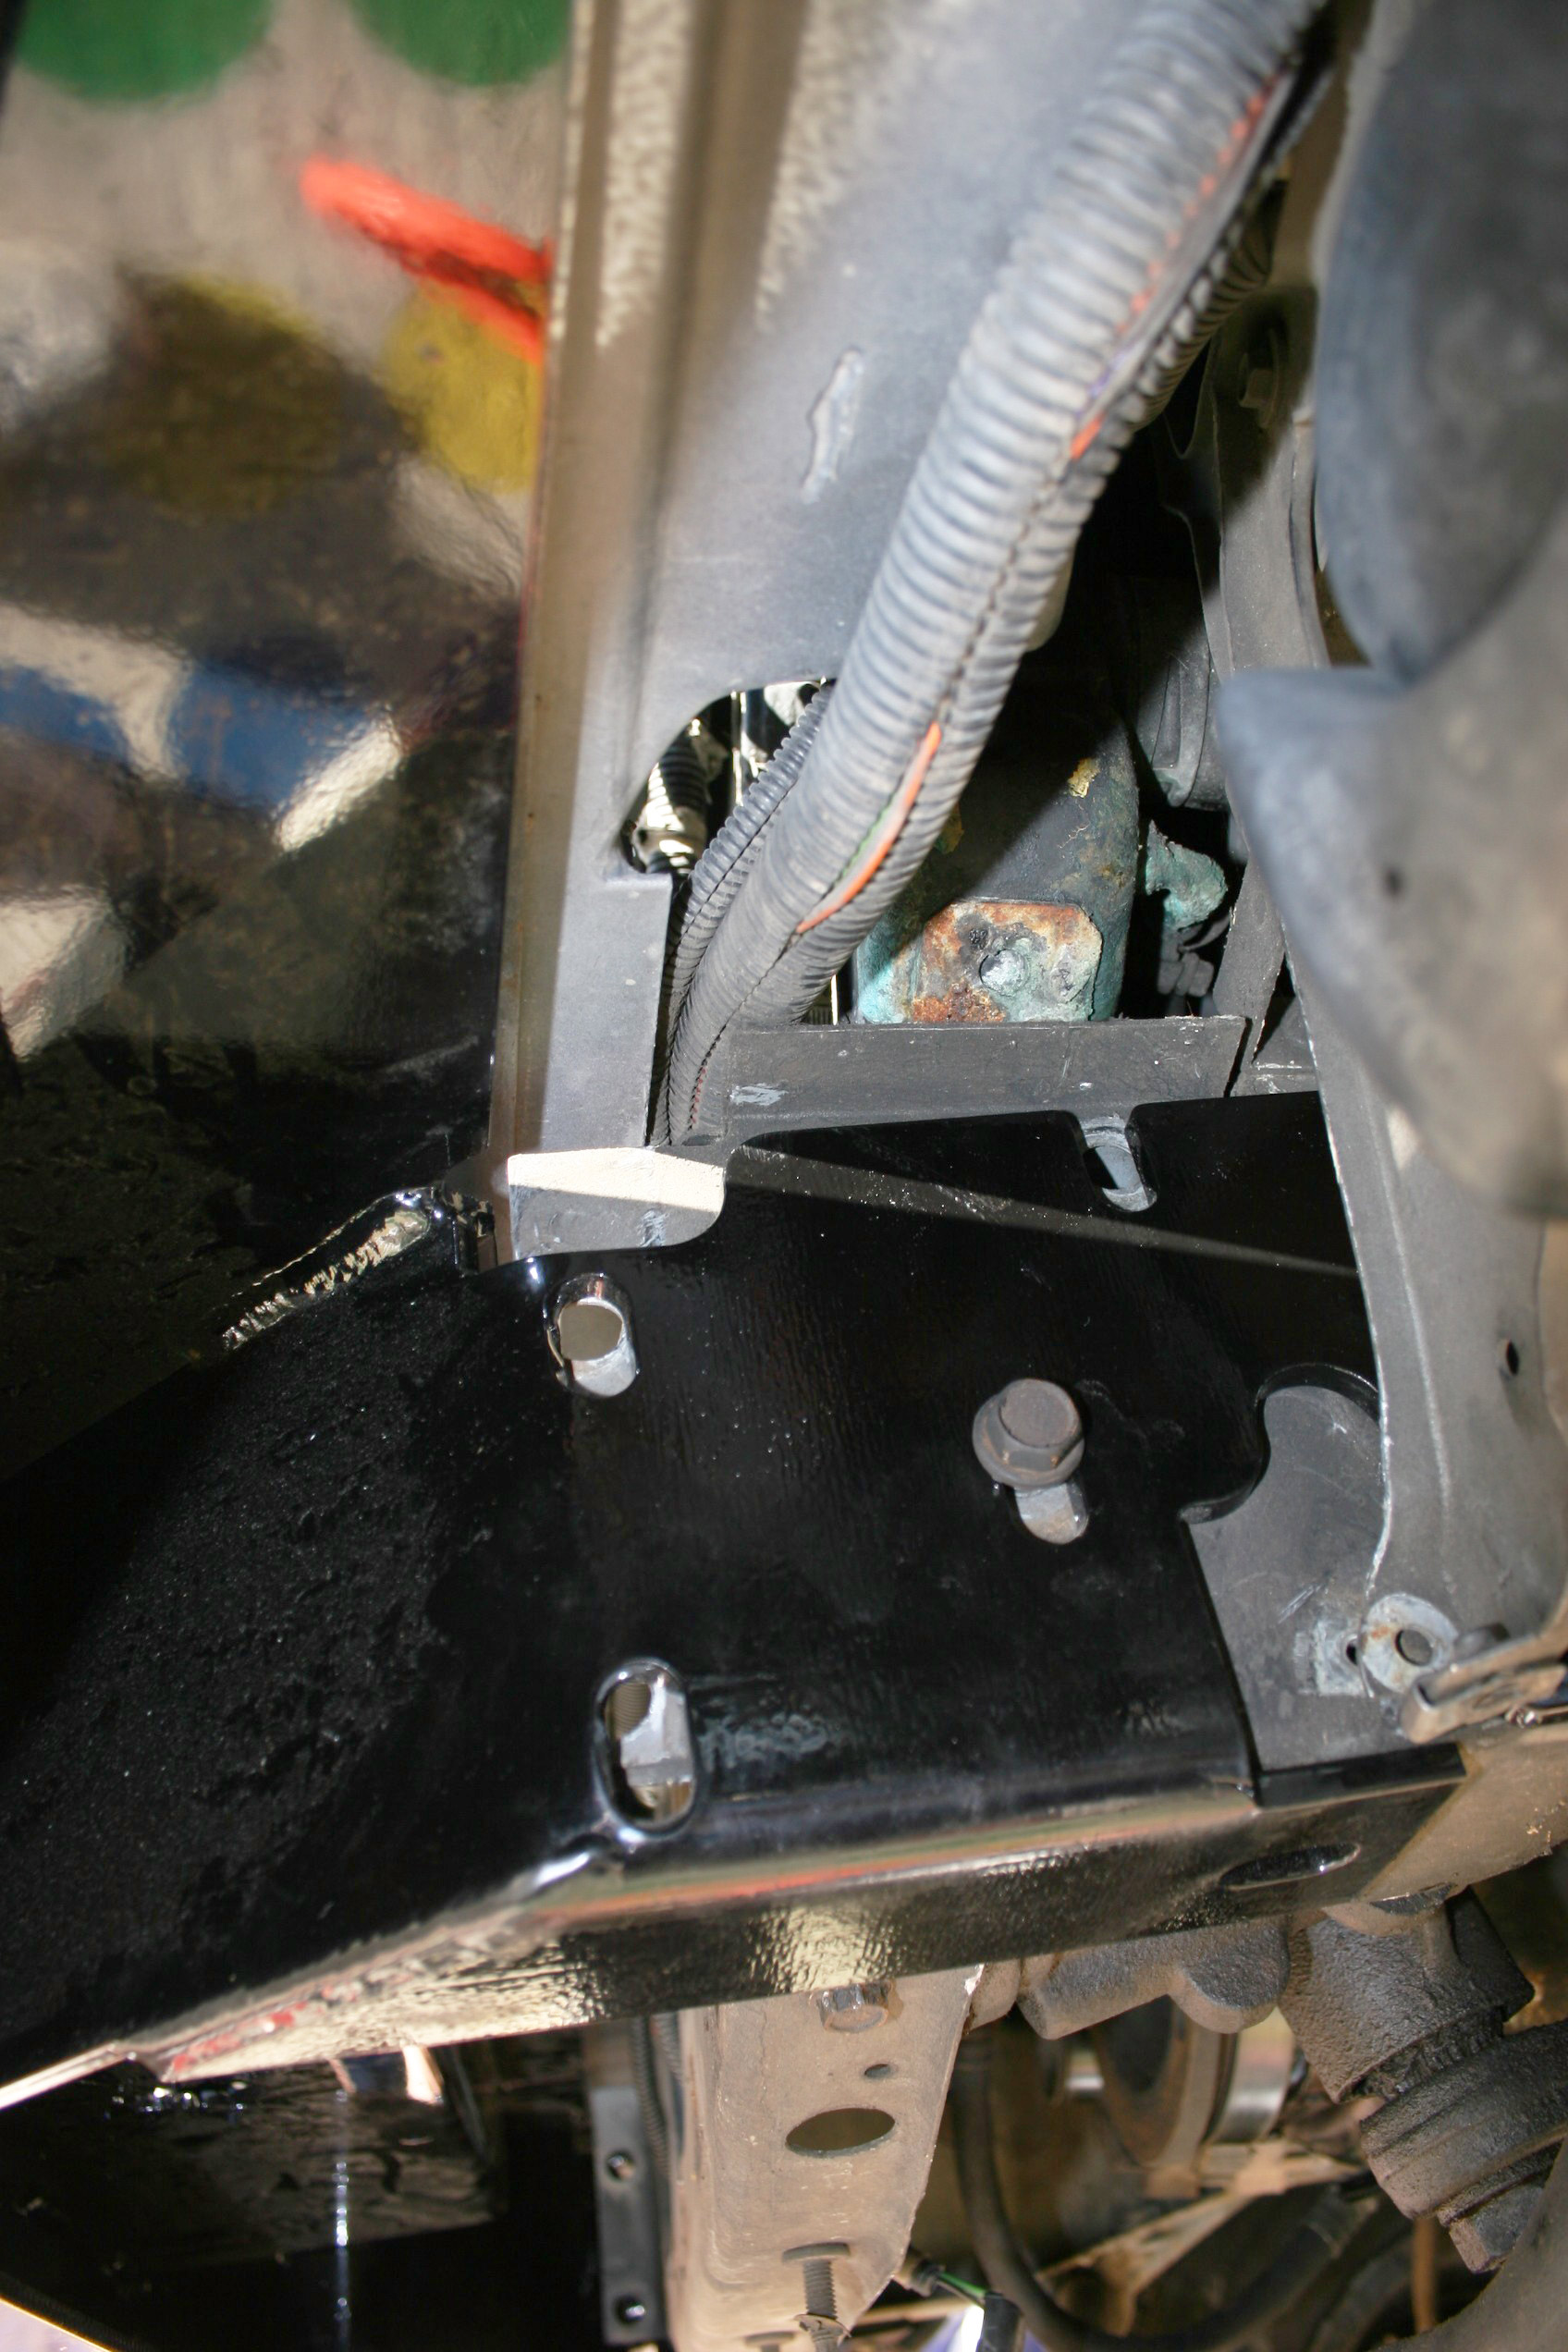
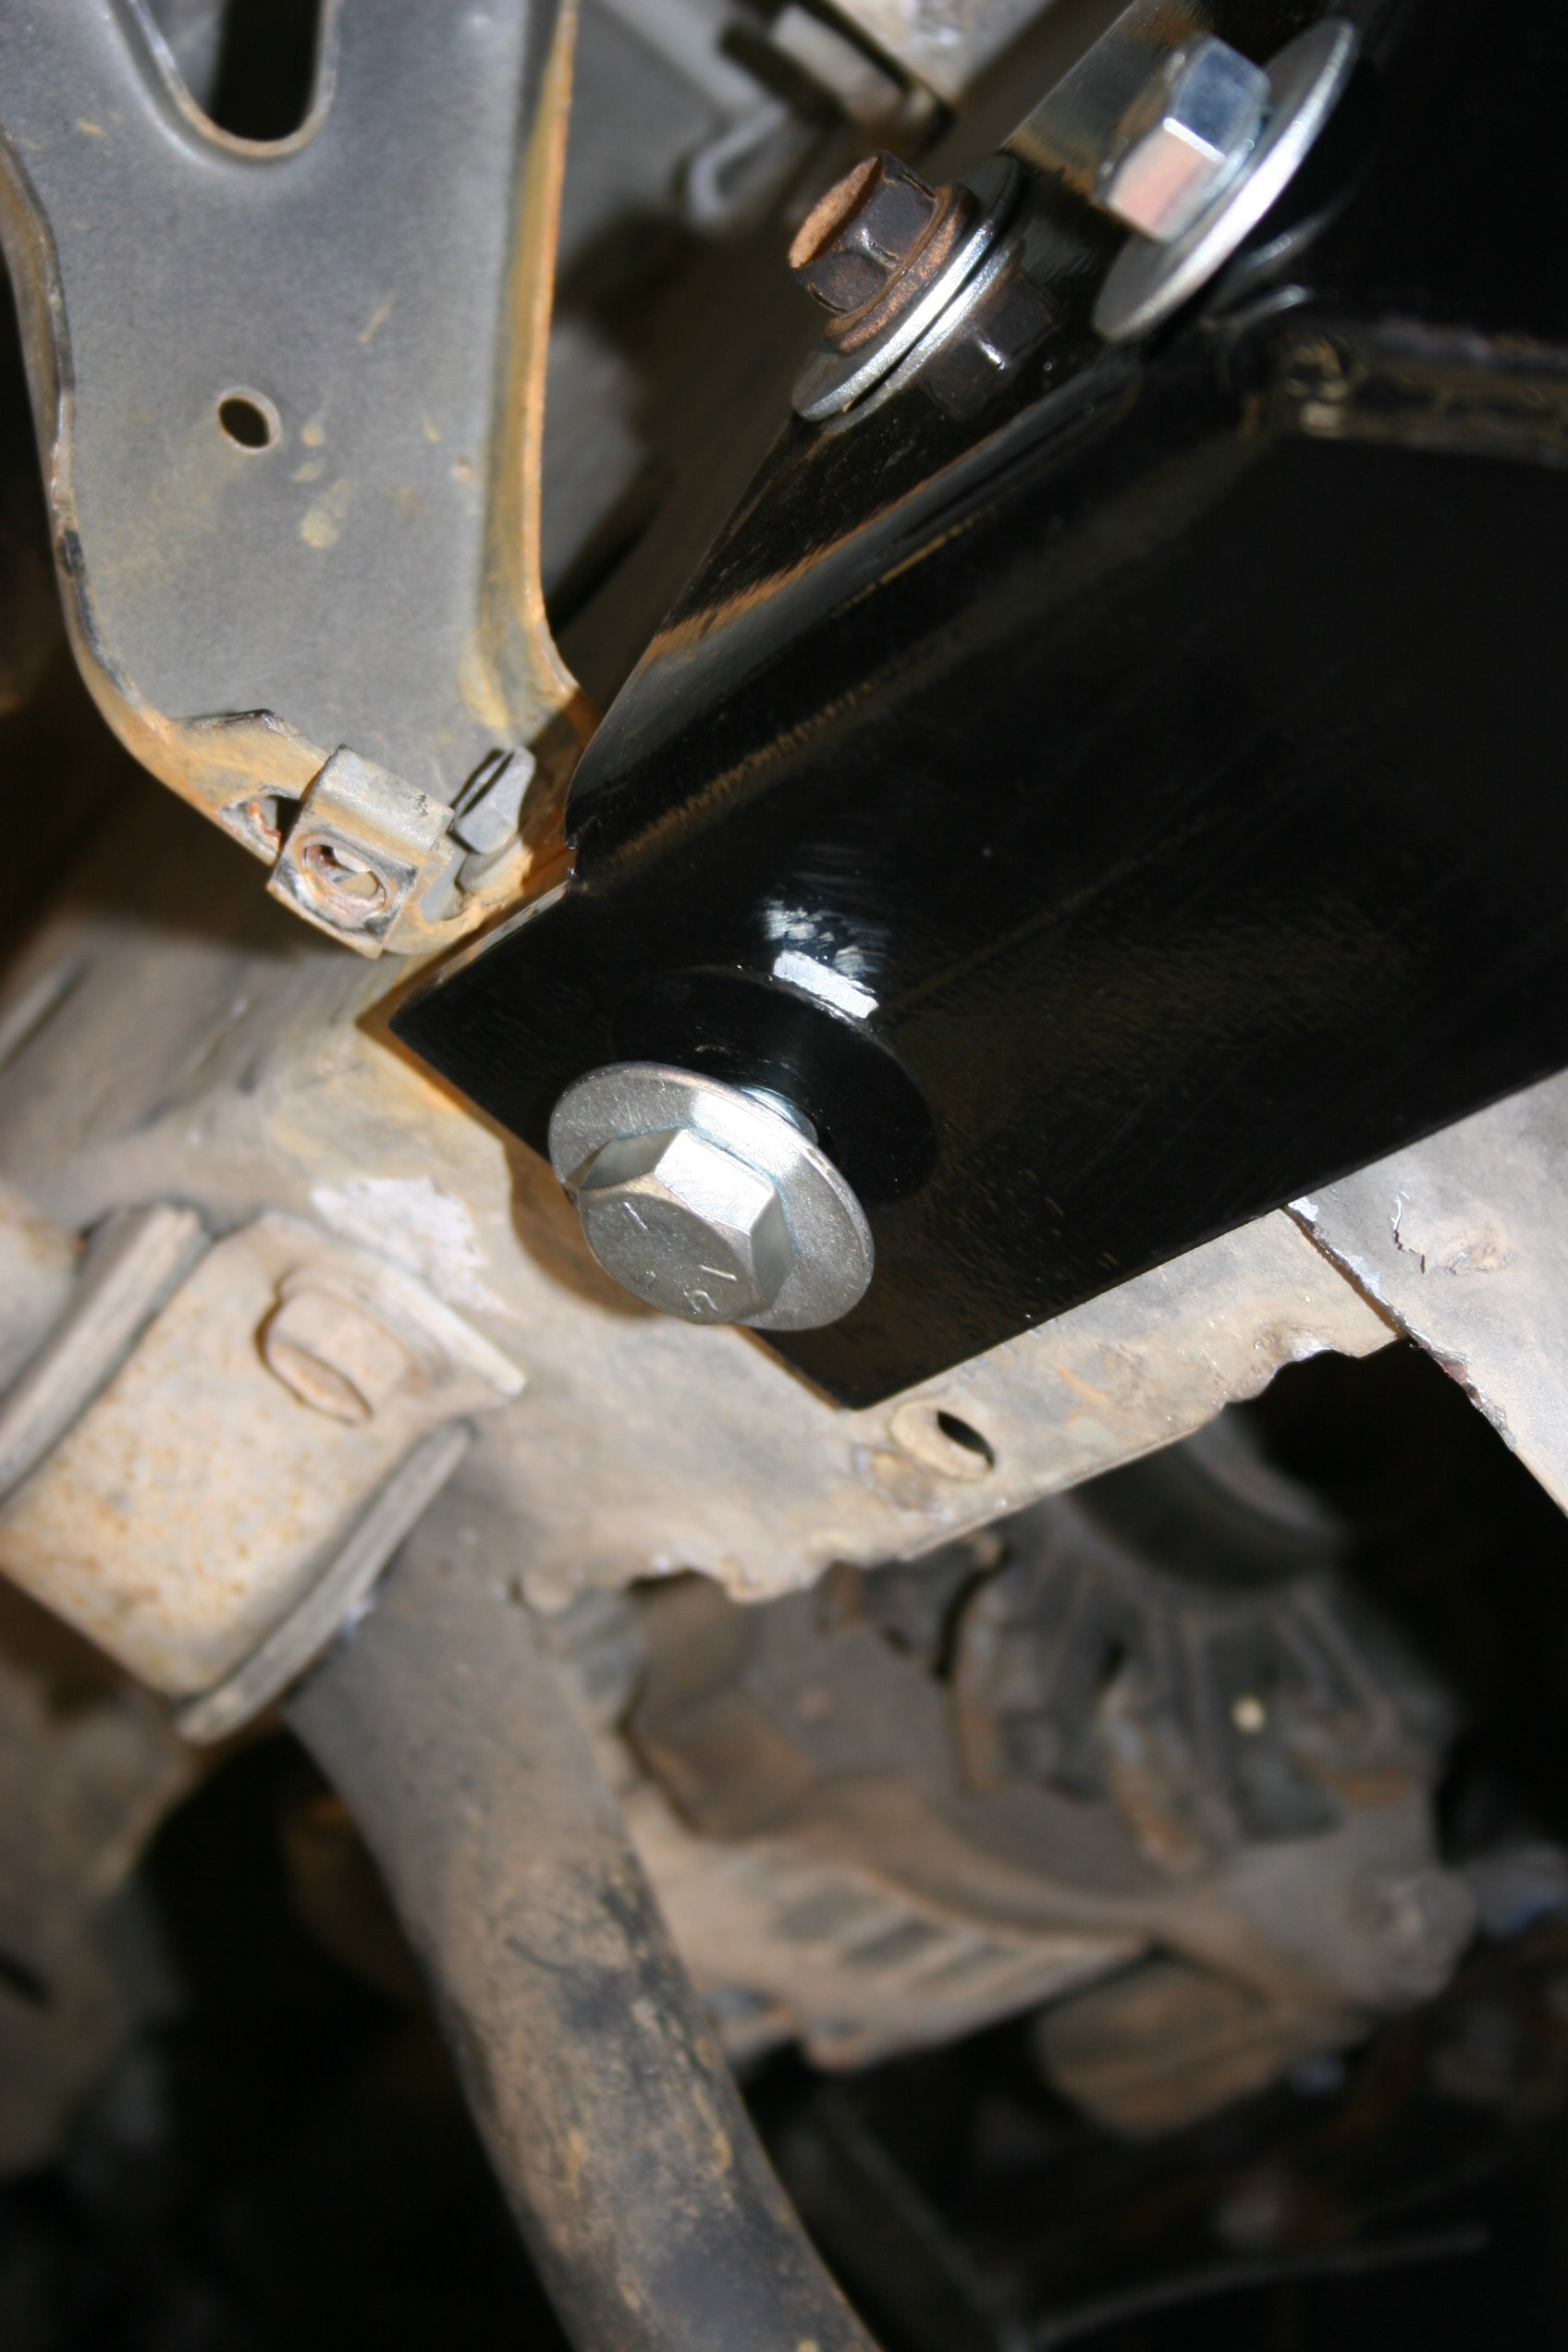
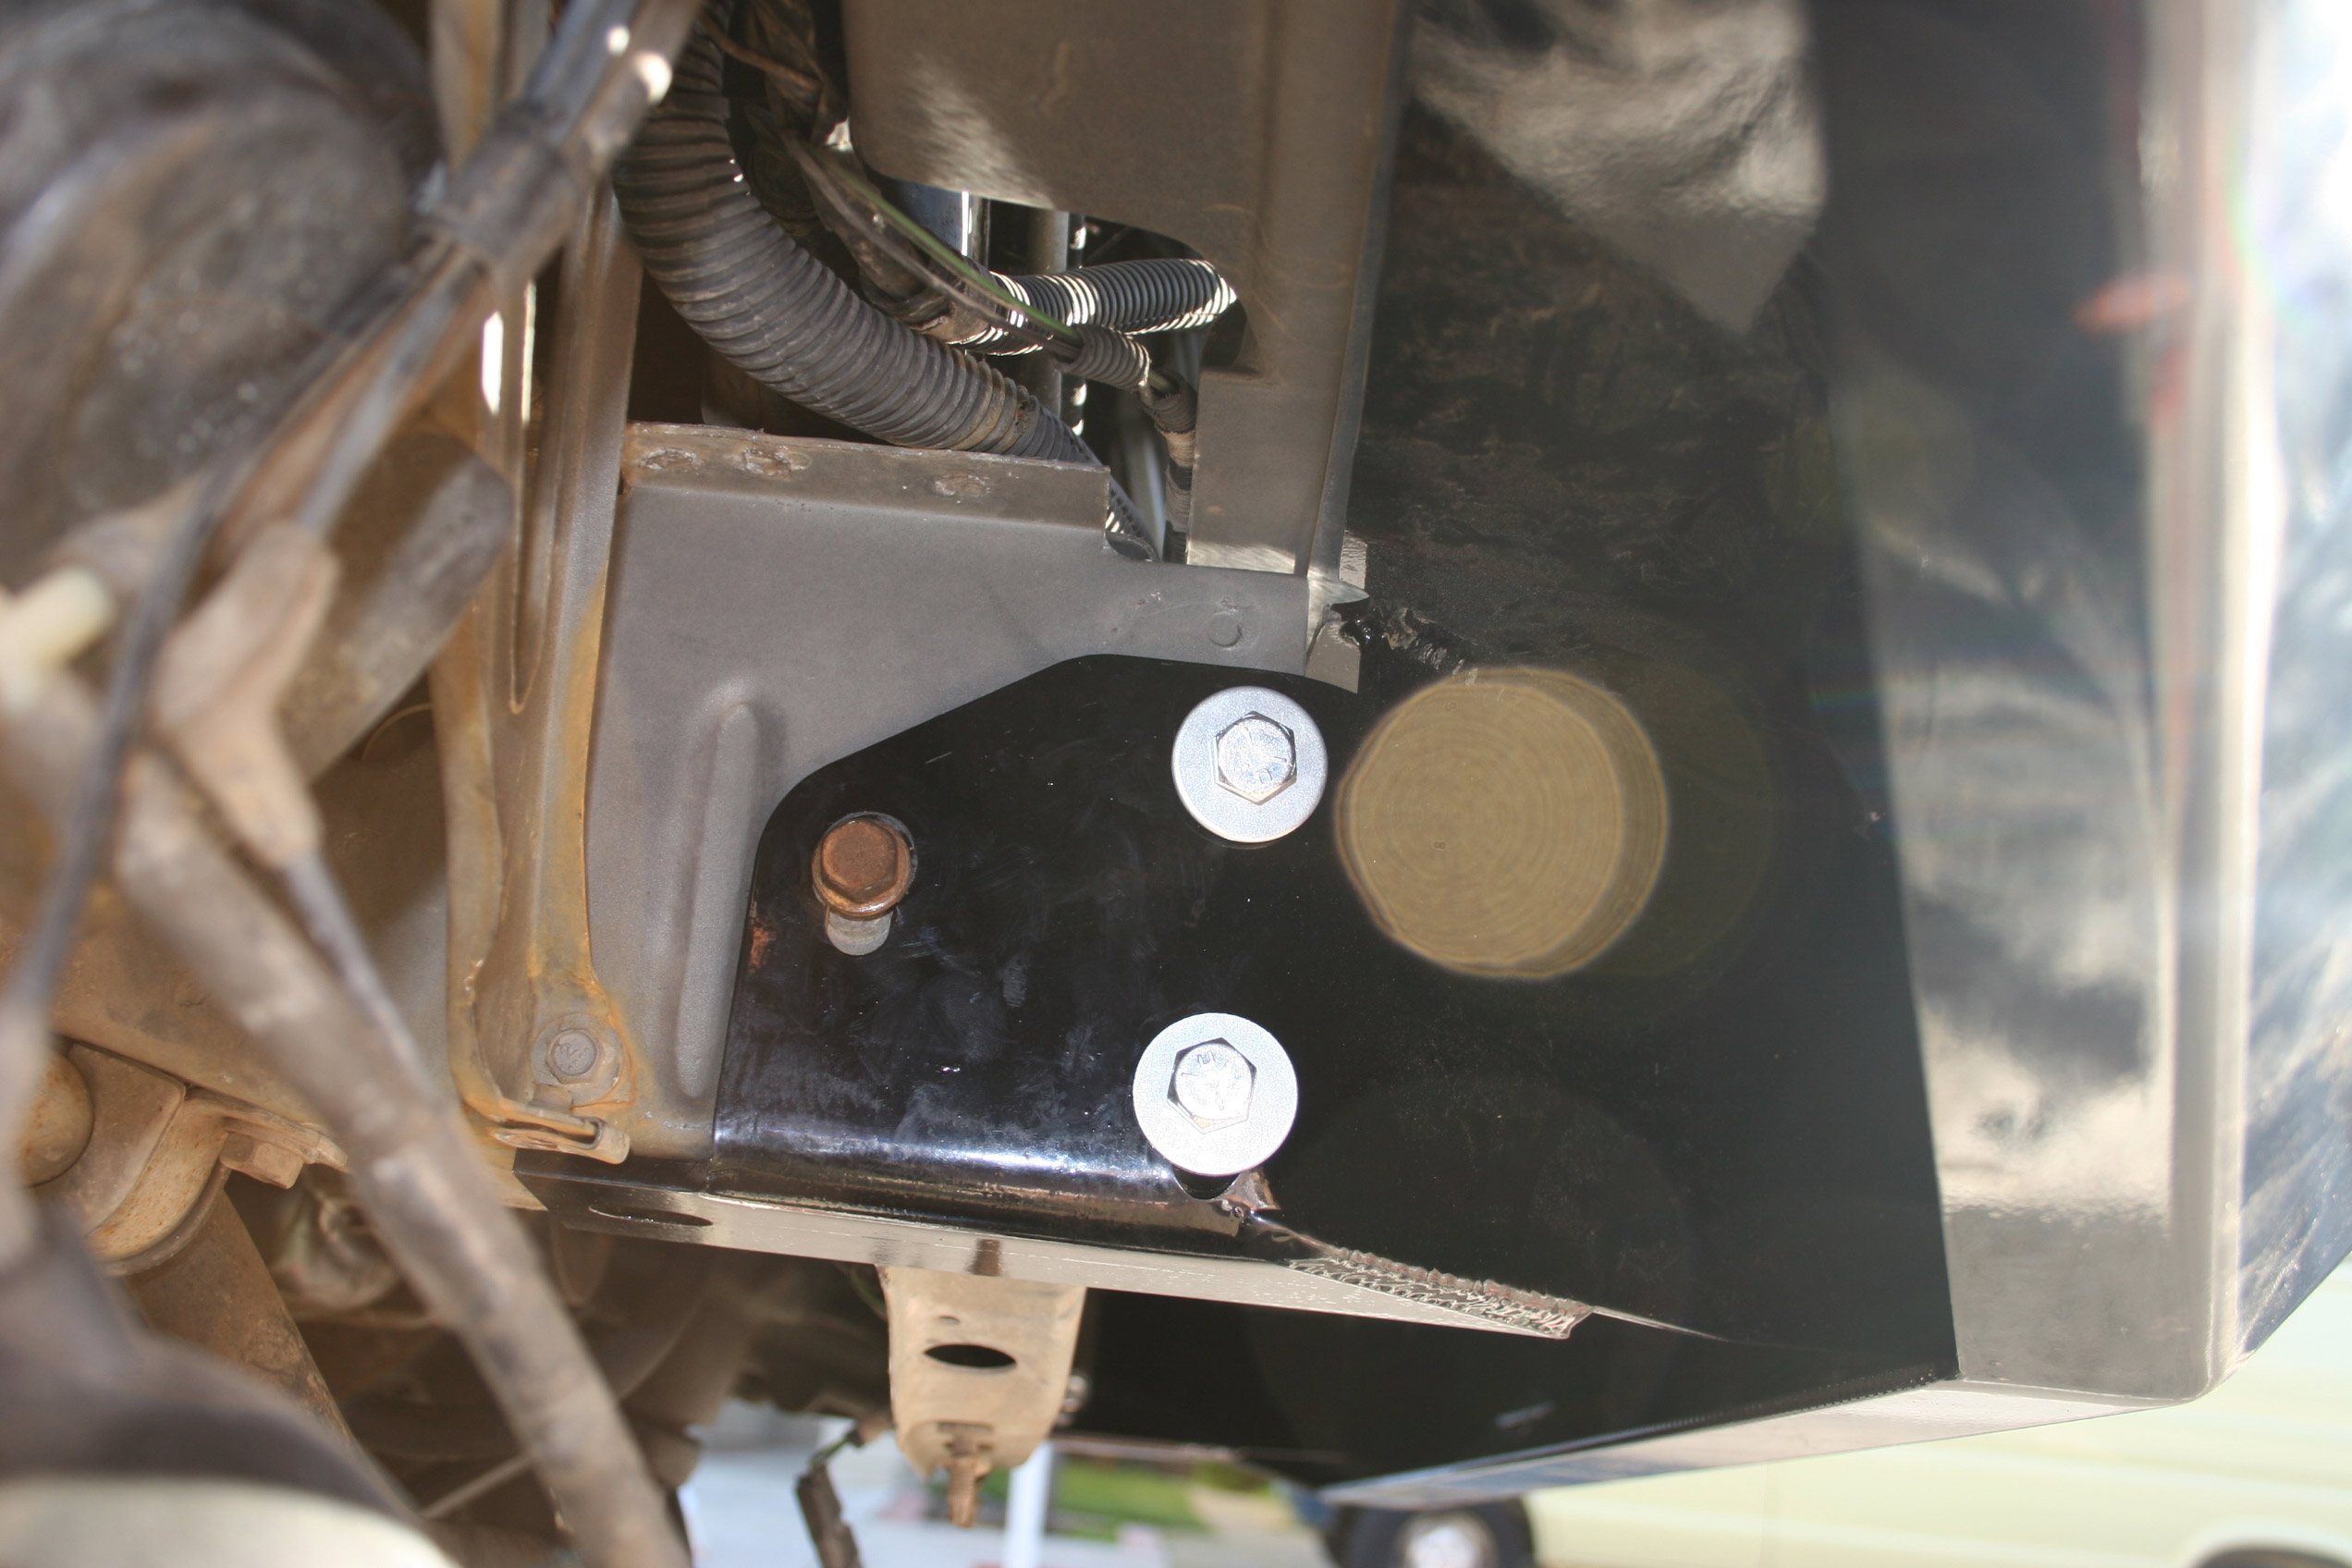
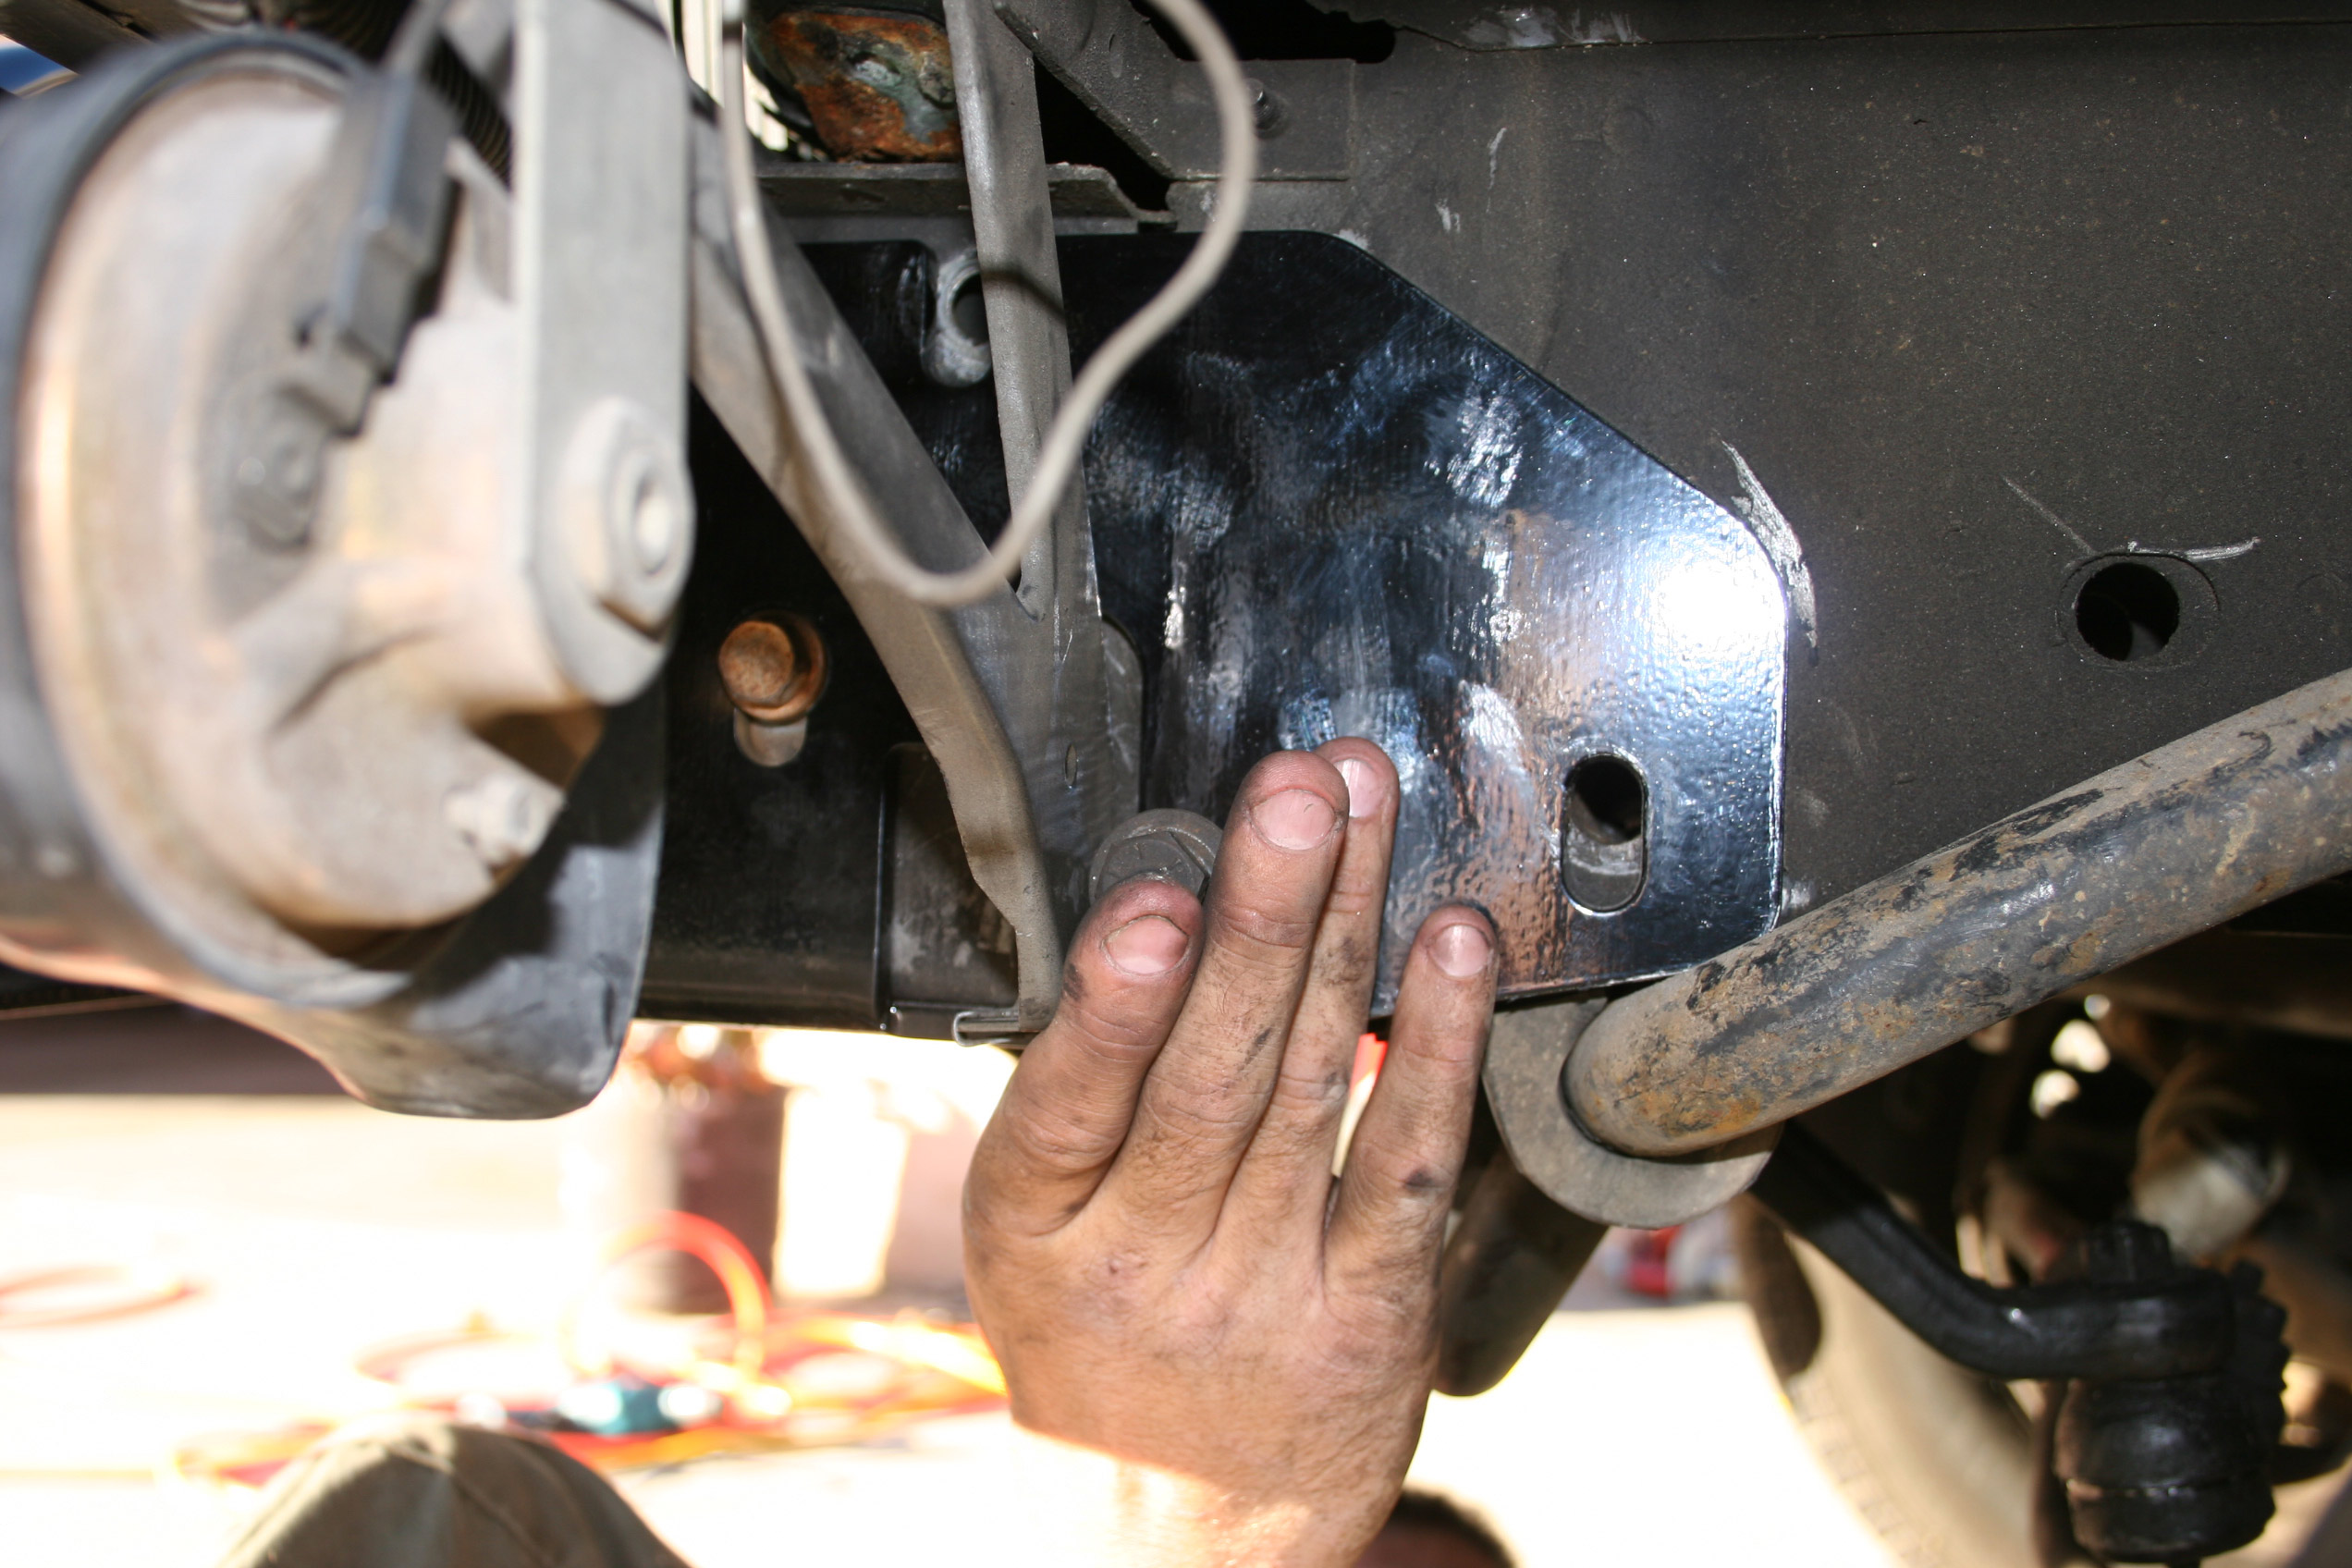
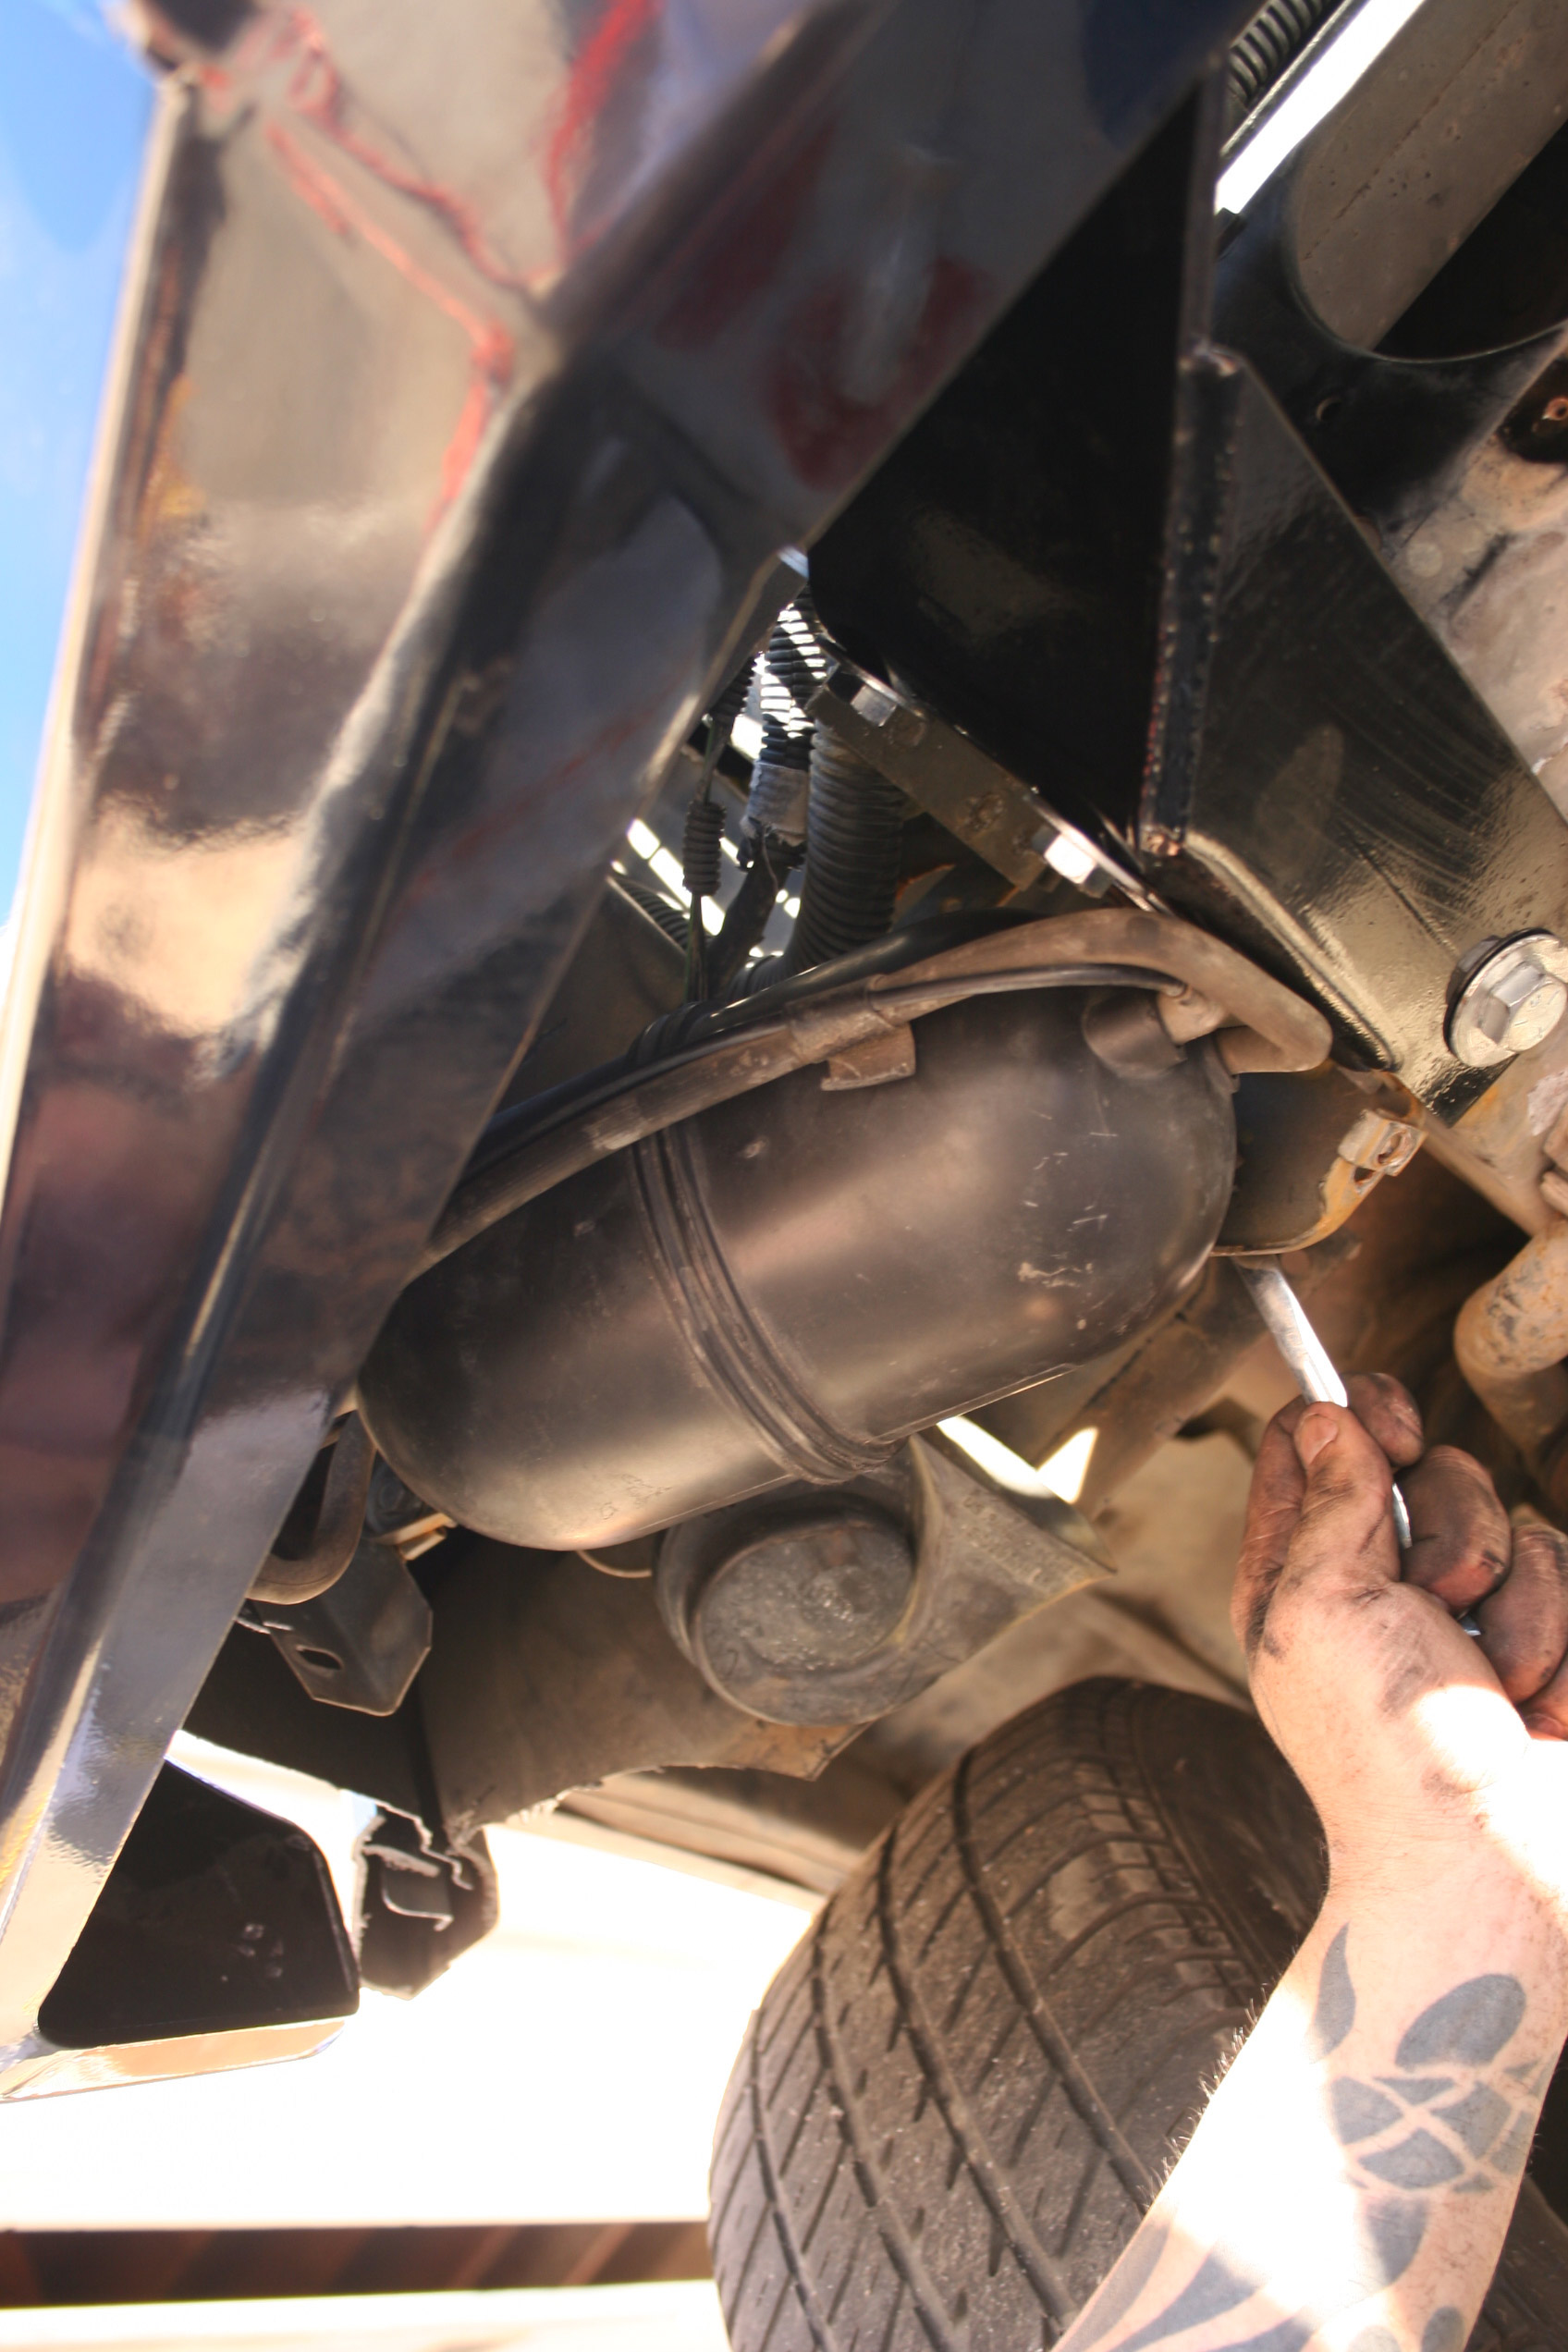
Sticking with the idea of having a driving project/work in progress, we wanted to do as many mods we could before having to put it out of commission. We probably could have begun anywhere, but we figure front to back is the natural order of things. Since there’s nothing much more forward than the bumper, we figured we’d start there. But what kind of bumper will fit our theme? It would be nice to have a full tube front bumper with a nice big stinger sticking up above the hood. Of course, that can be pretty intimidating in someone’s rearview mirror on the highway, and not very practical for parking. We left this decision up to Clifton from Poison Spyder Customs in Colorado. Poison Spyder has a reputation for building some of the most extreme crawler rigs out there, and when it comes to advice, Clifton is usually at the top of our list of guys to ask. We were looking for a bumper that would be able to hold up to any rock we could slide into, as well as a well-placed winch mount. A good-looking bumper would be an added bonus, but we were willing to compromise on that last option. As it turned out, Poison Spyder had recently released their Brawler Bumper for XJ Cherokees. Not only did it have everything we were looking for, it’s a lot easier on the eyes than you would think for a hardcore bumper. It is made out of 3/16 plate all the way around, as well as having a short, but very effective upper loop to mount our driving lights to. The Brawler bumper also incorporates a steering box brace which saves us from having to add one later. We were sold on this one.
Follow the Build
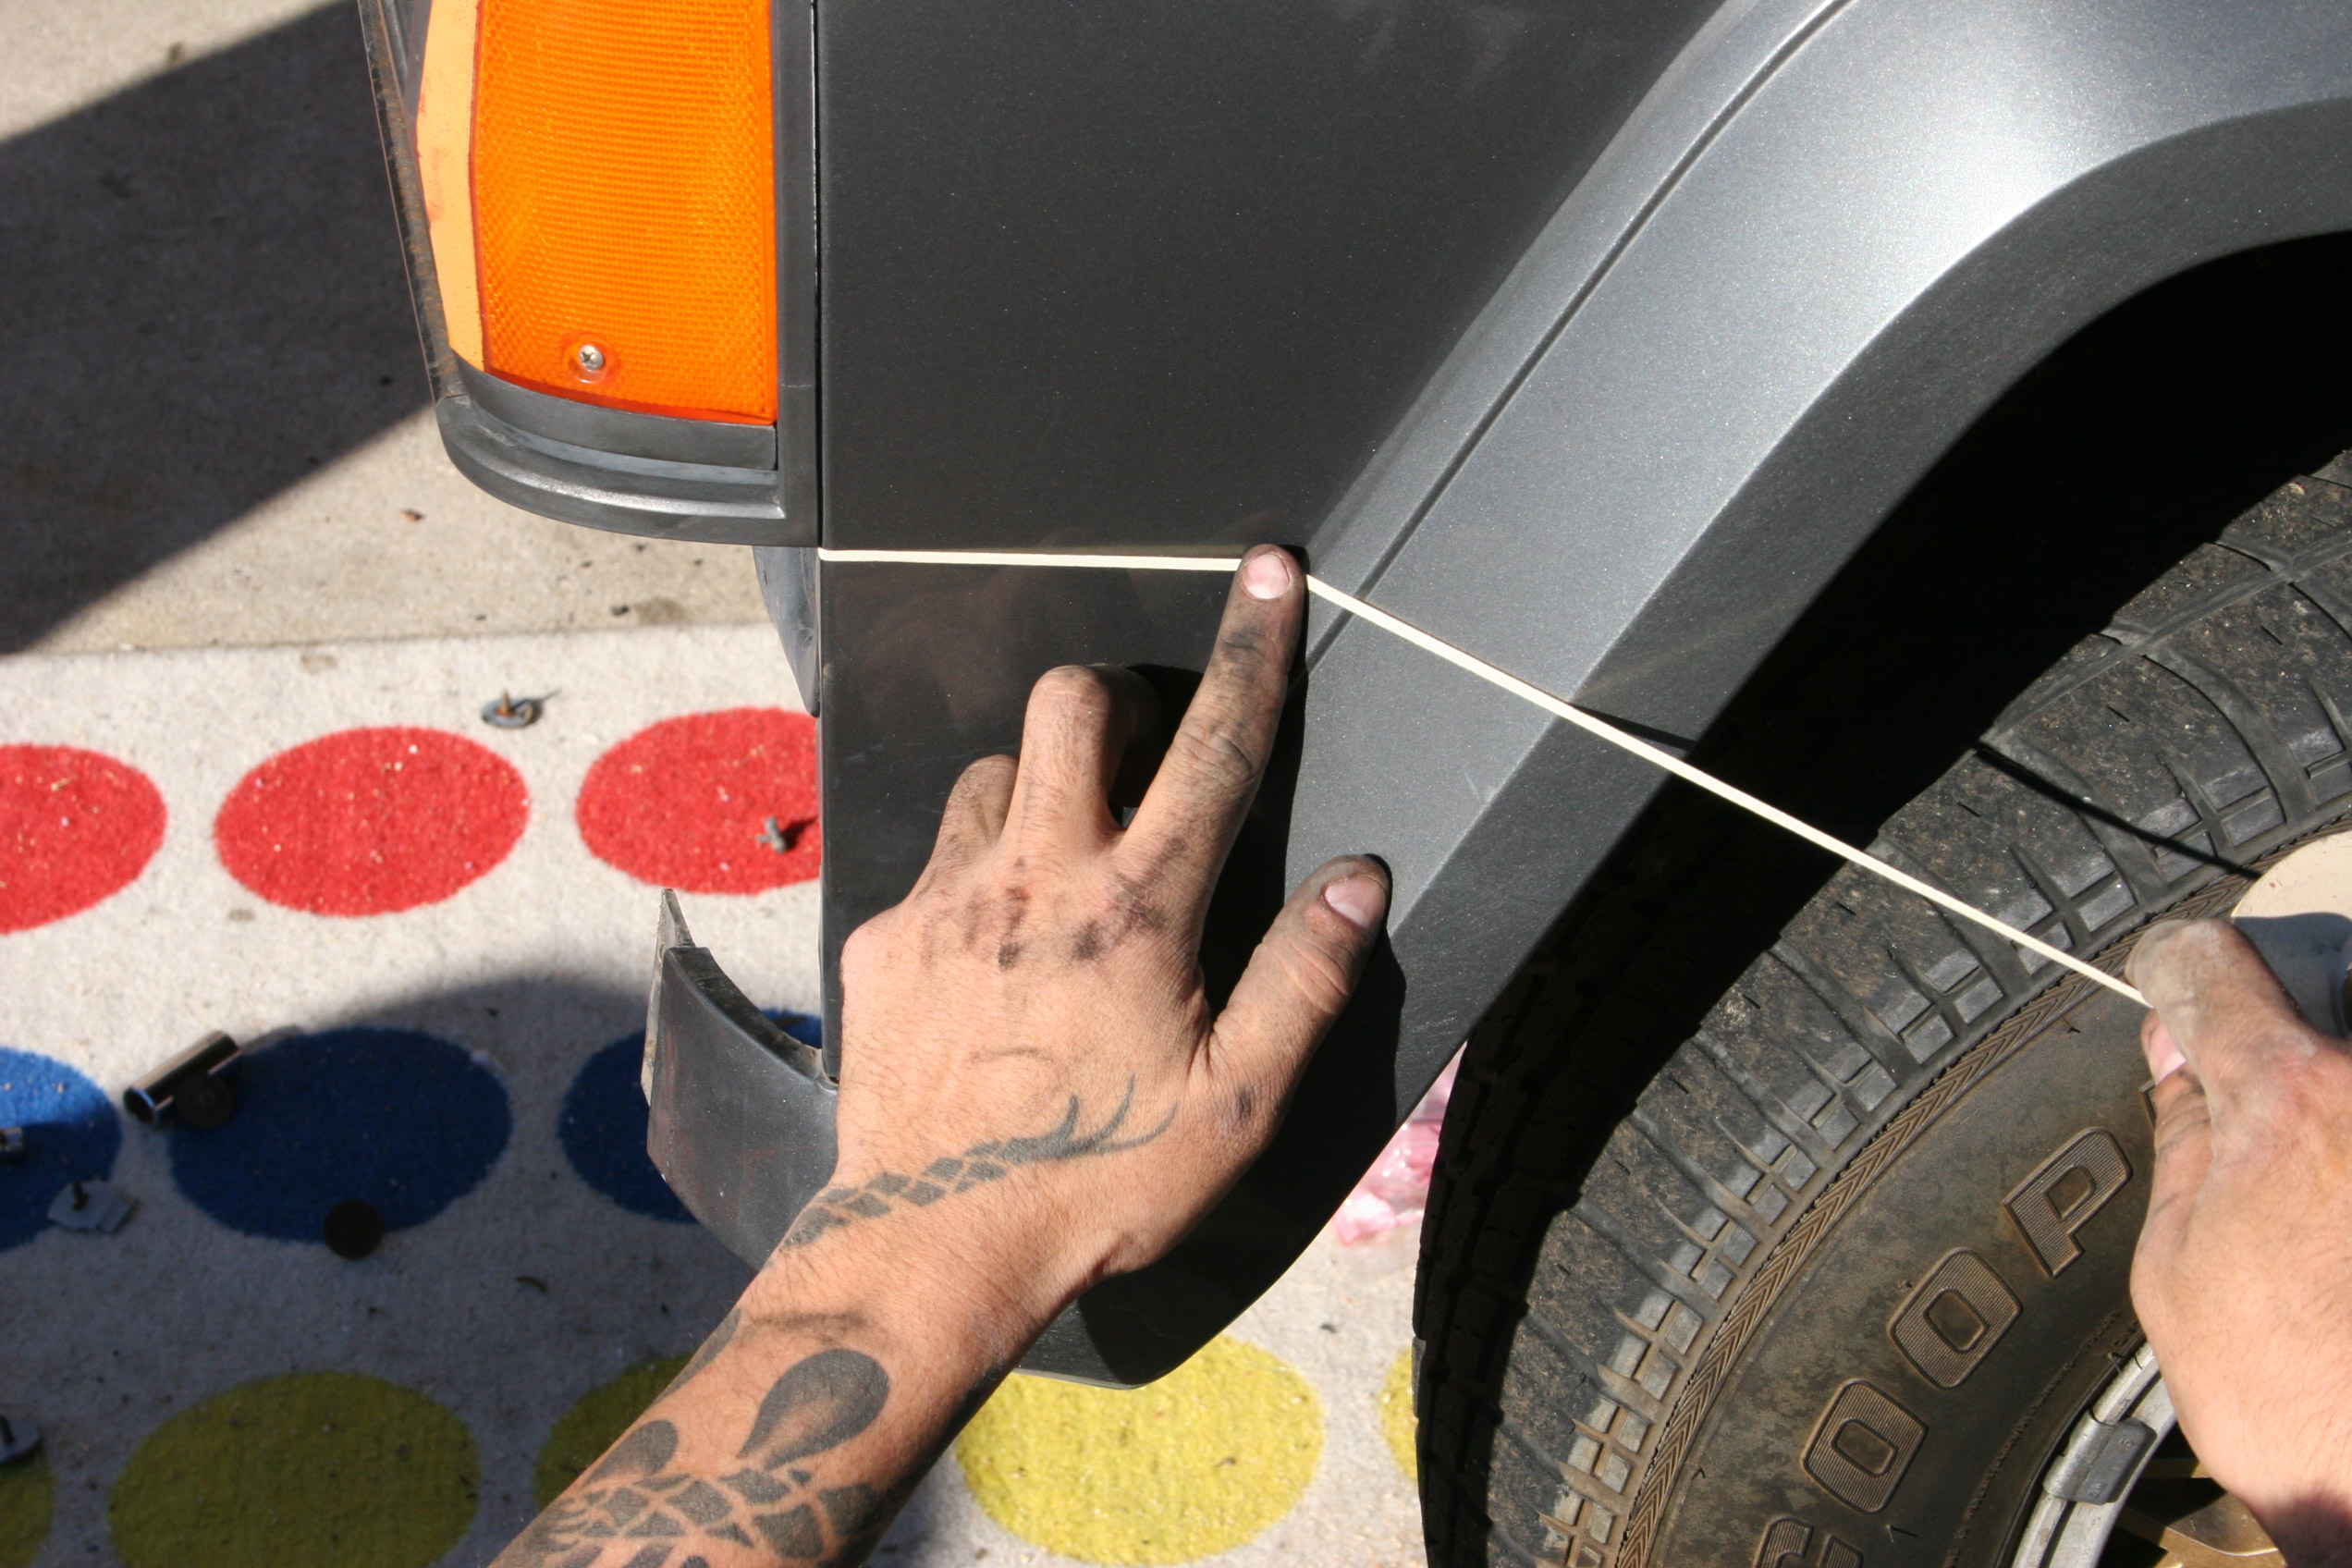
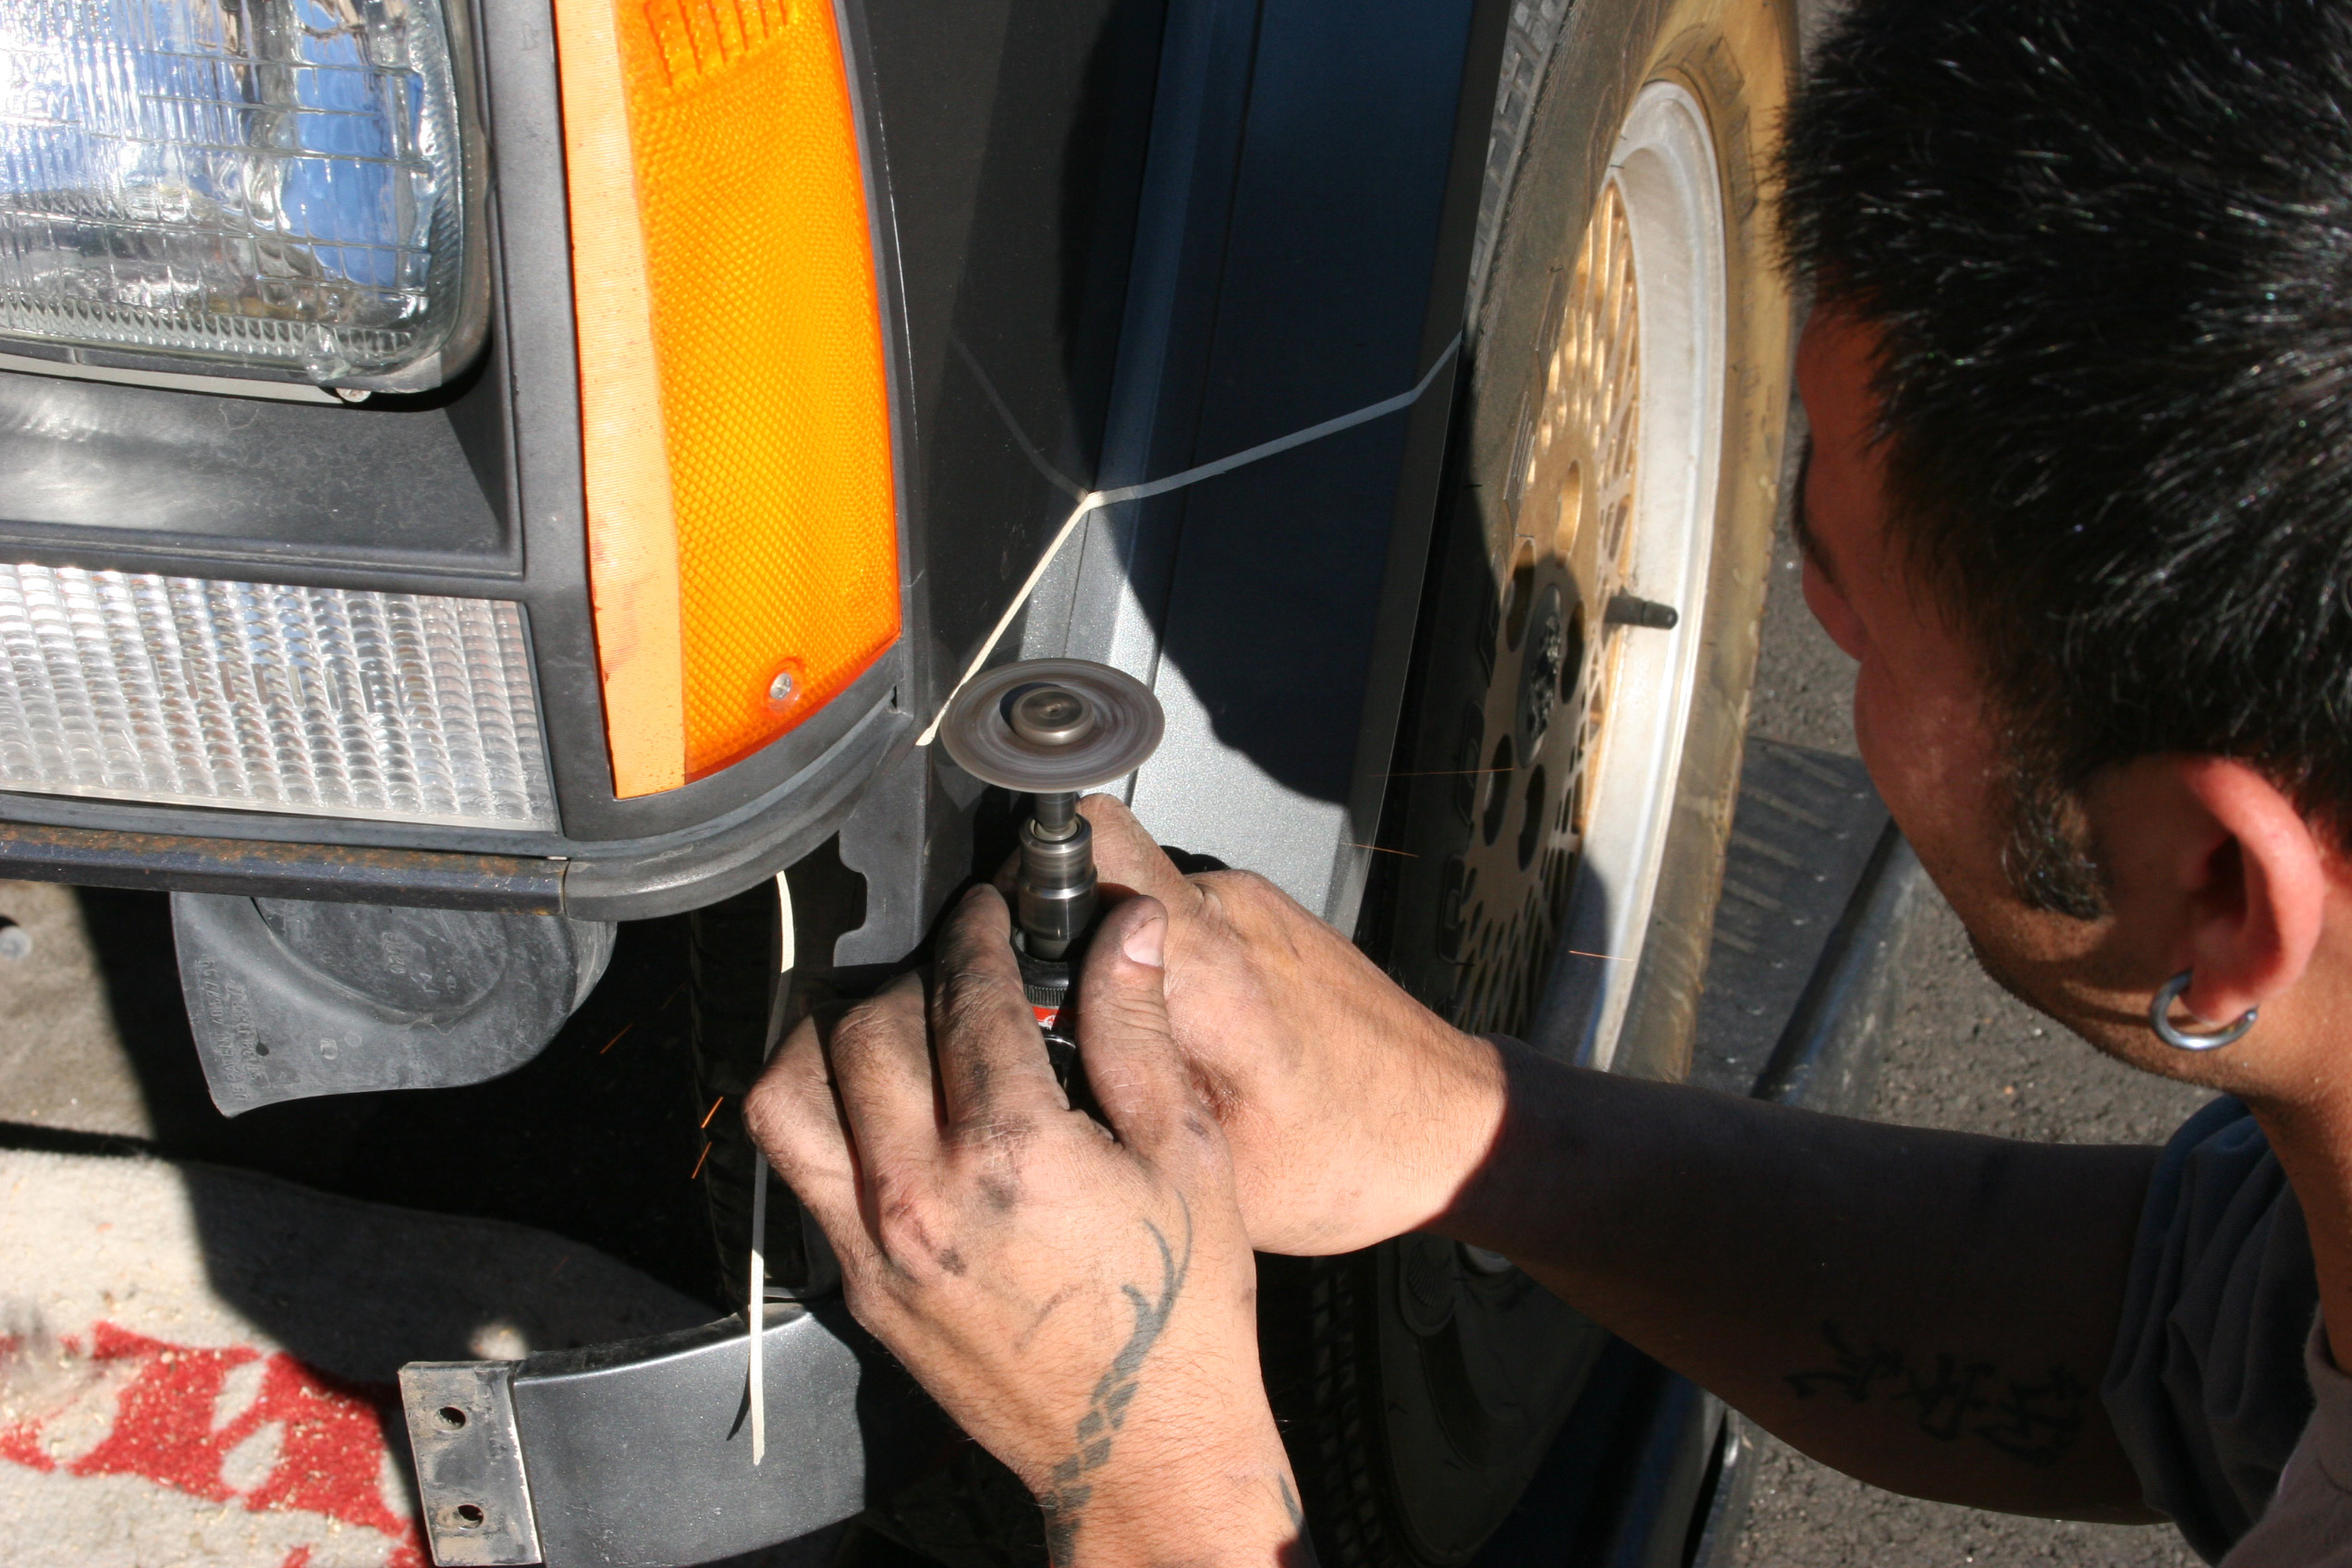
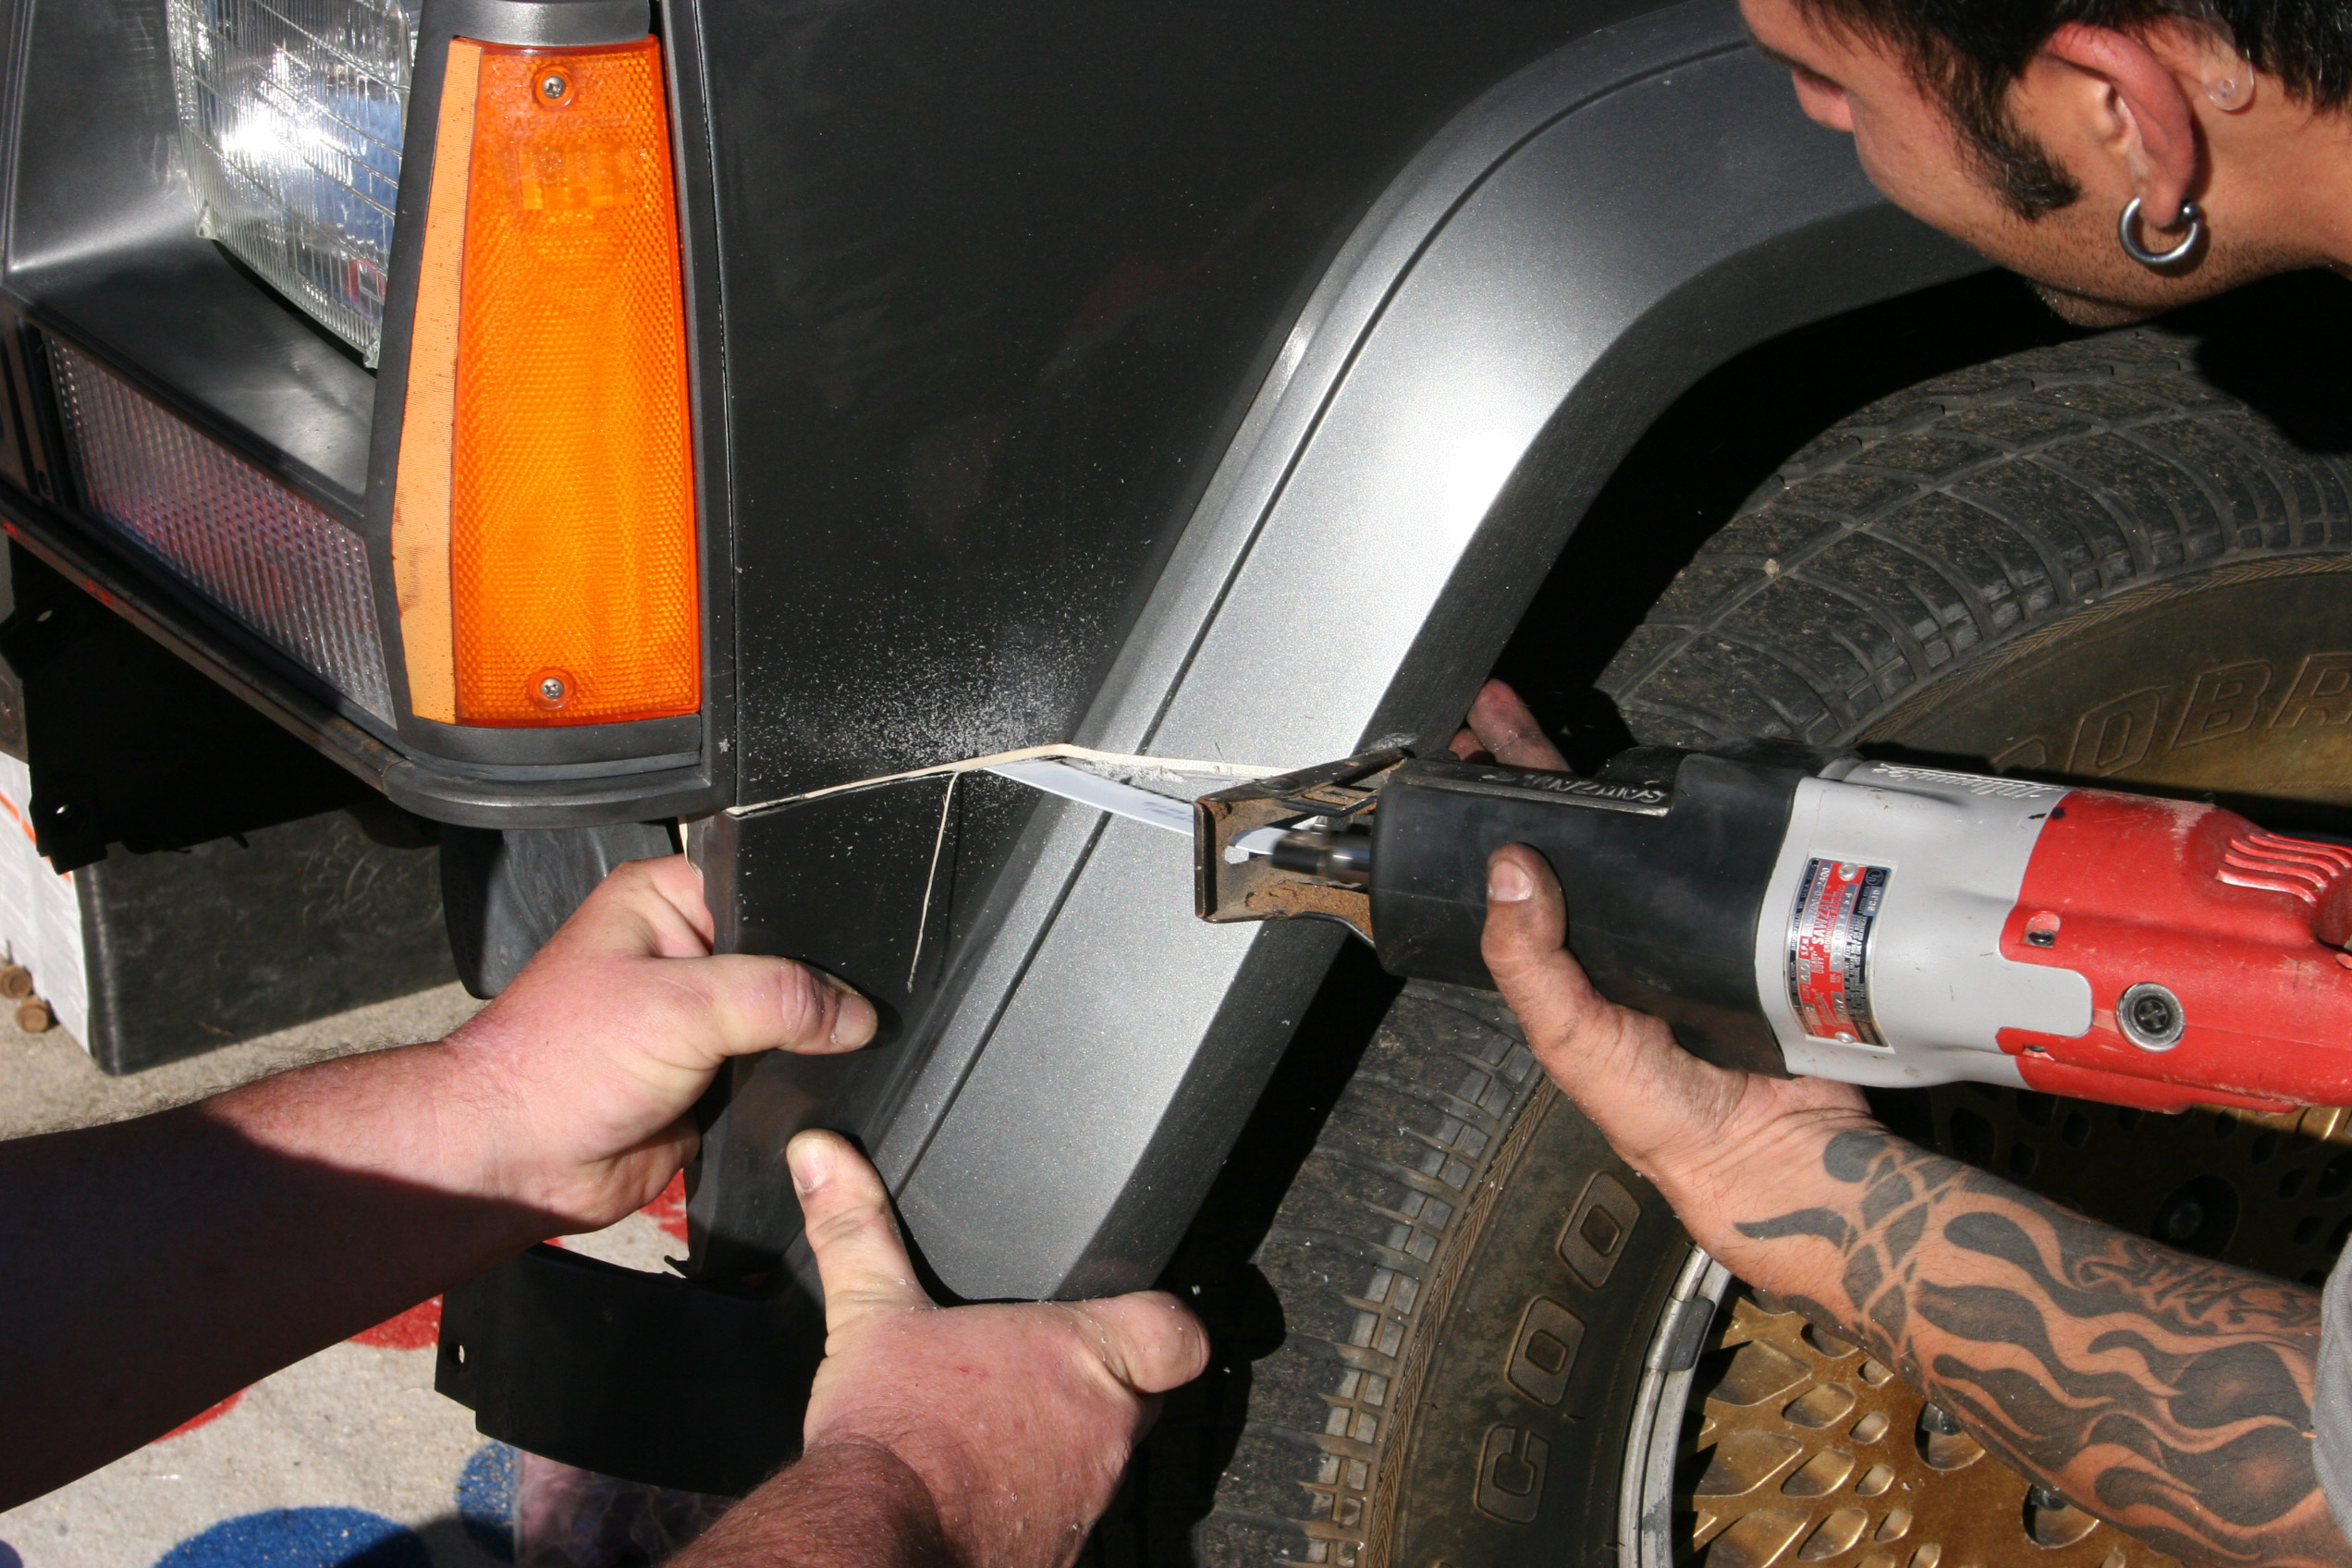
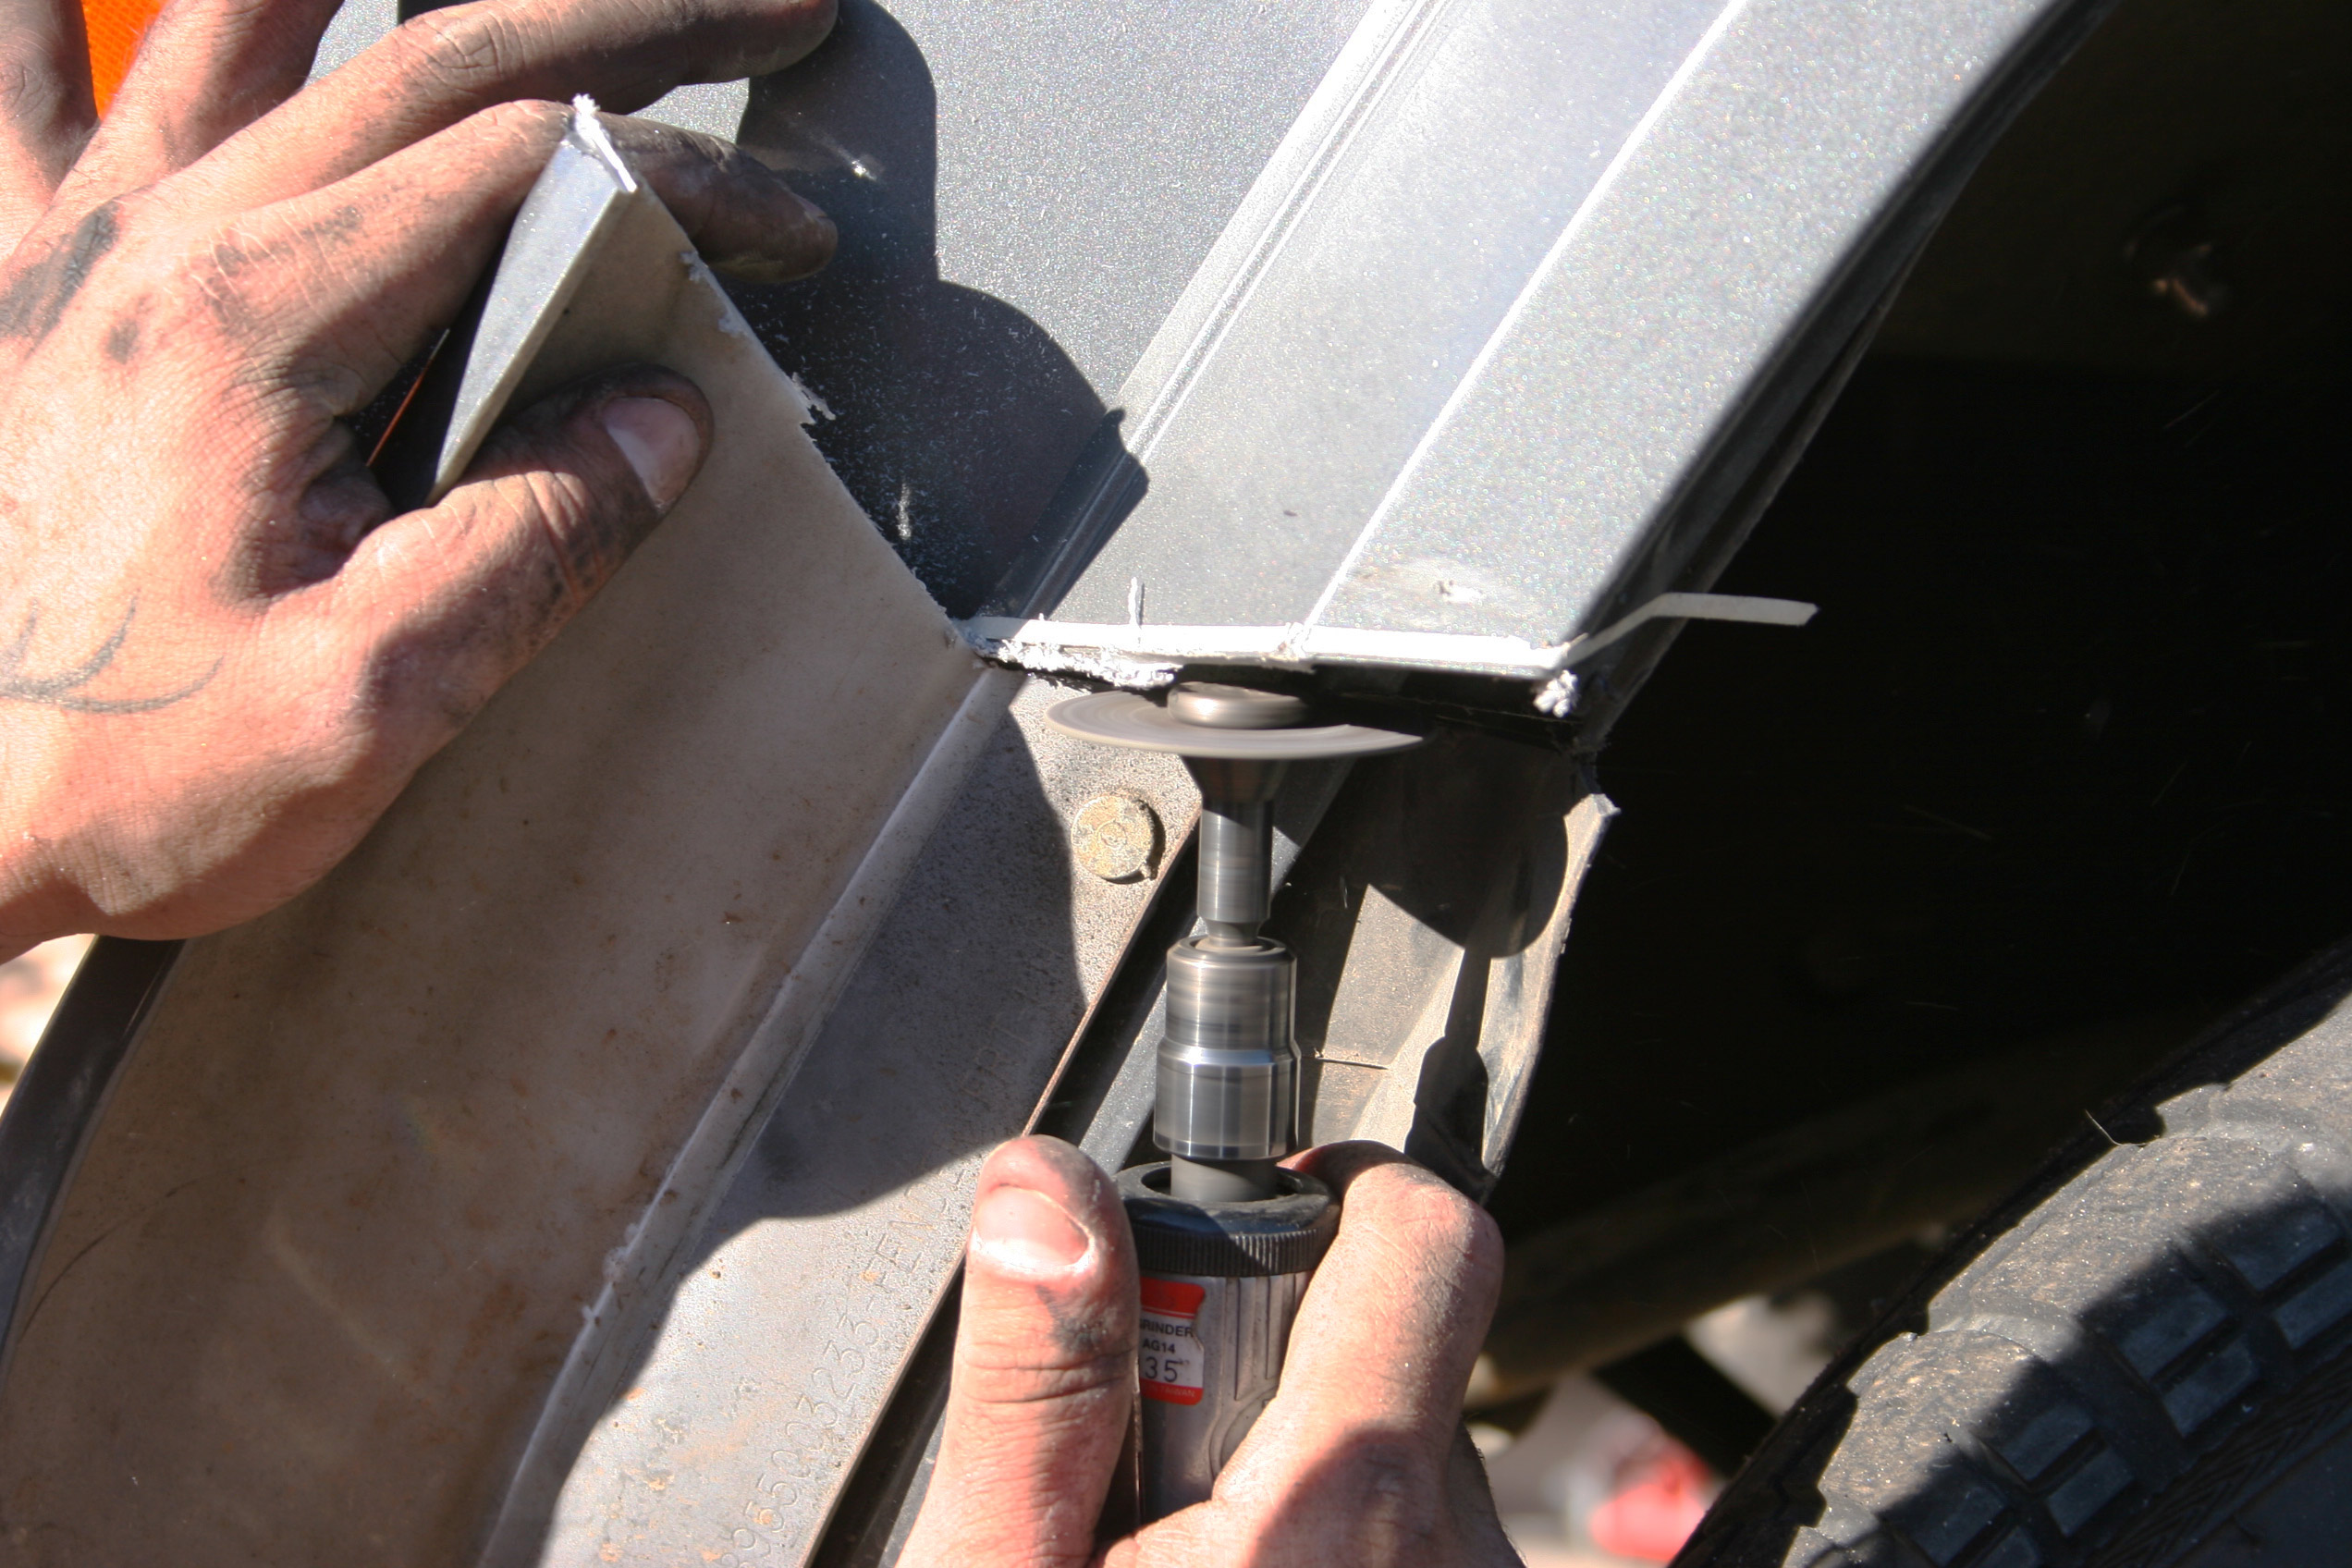
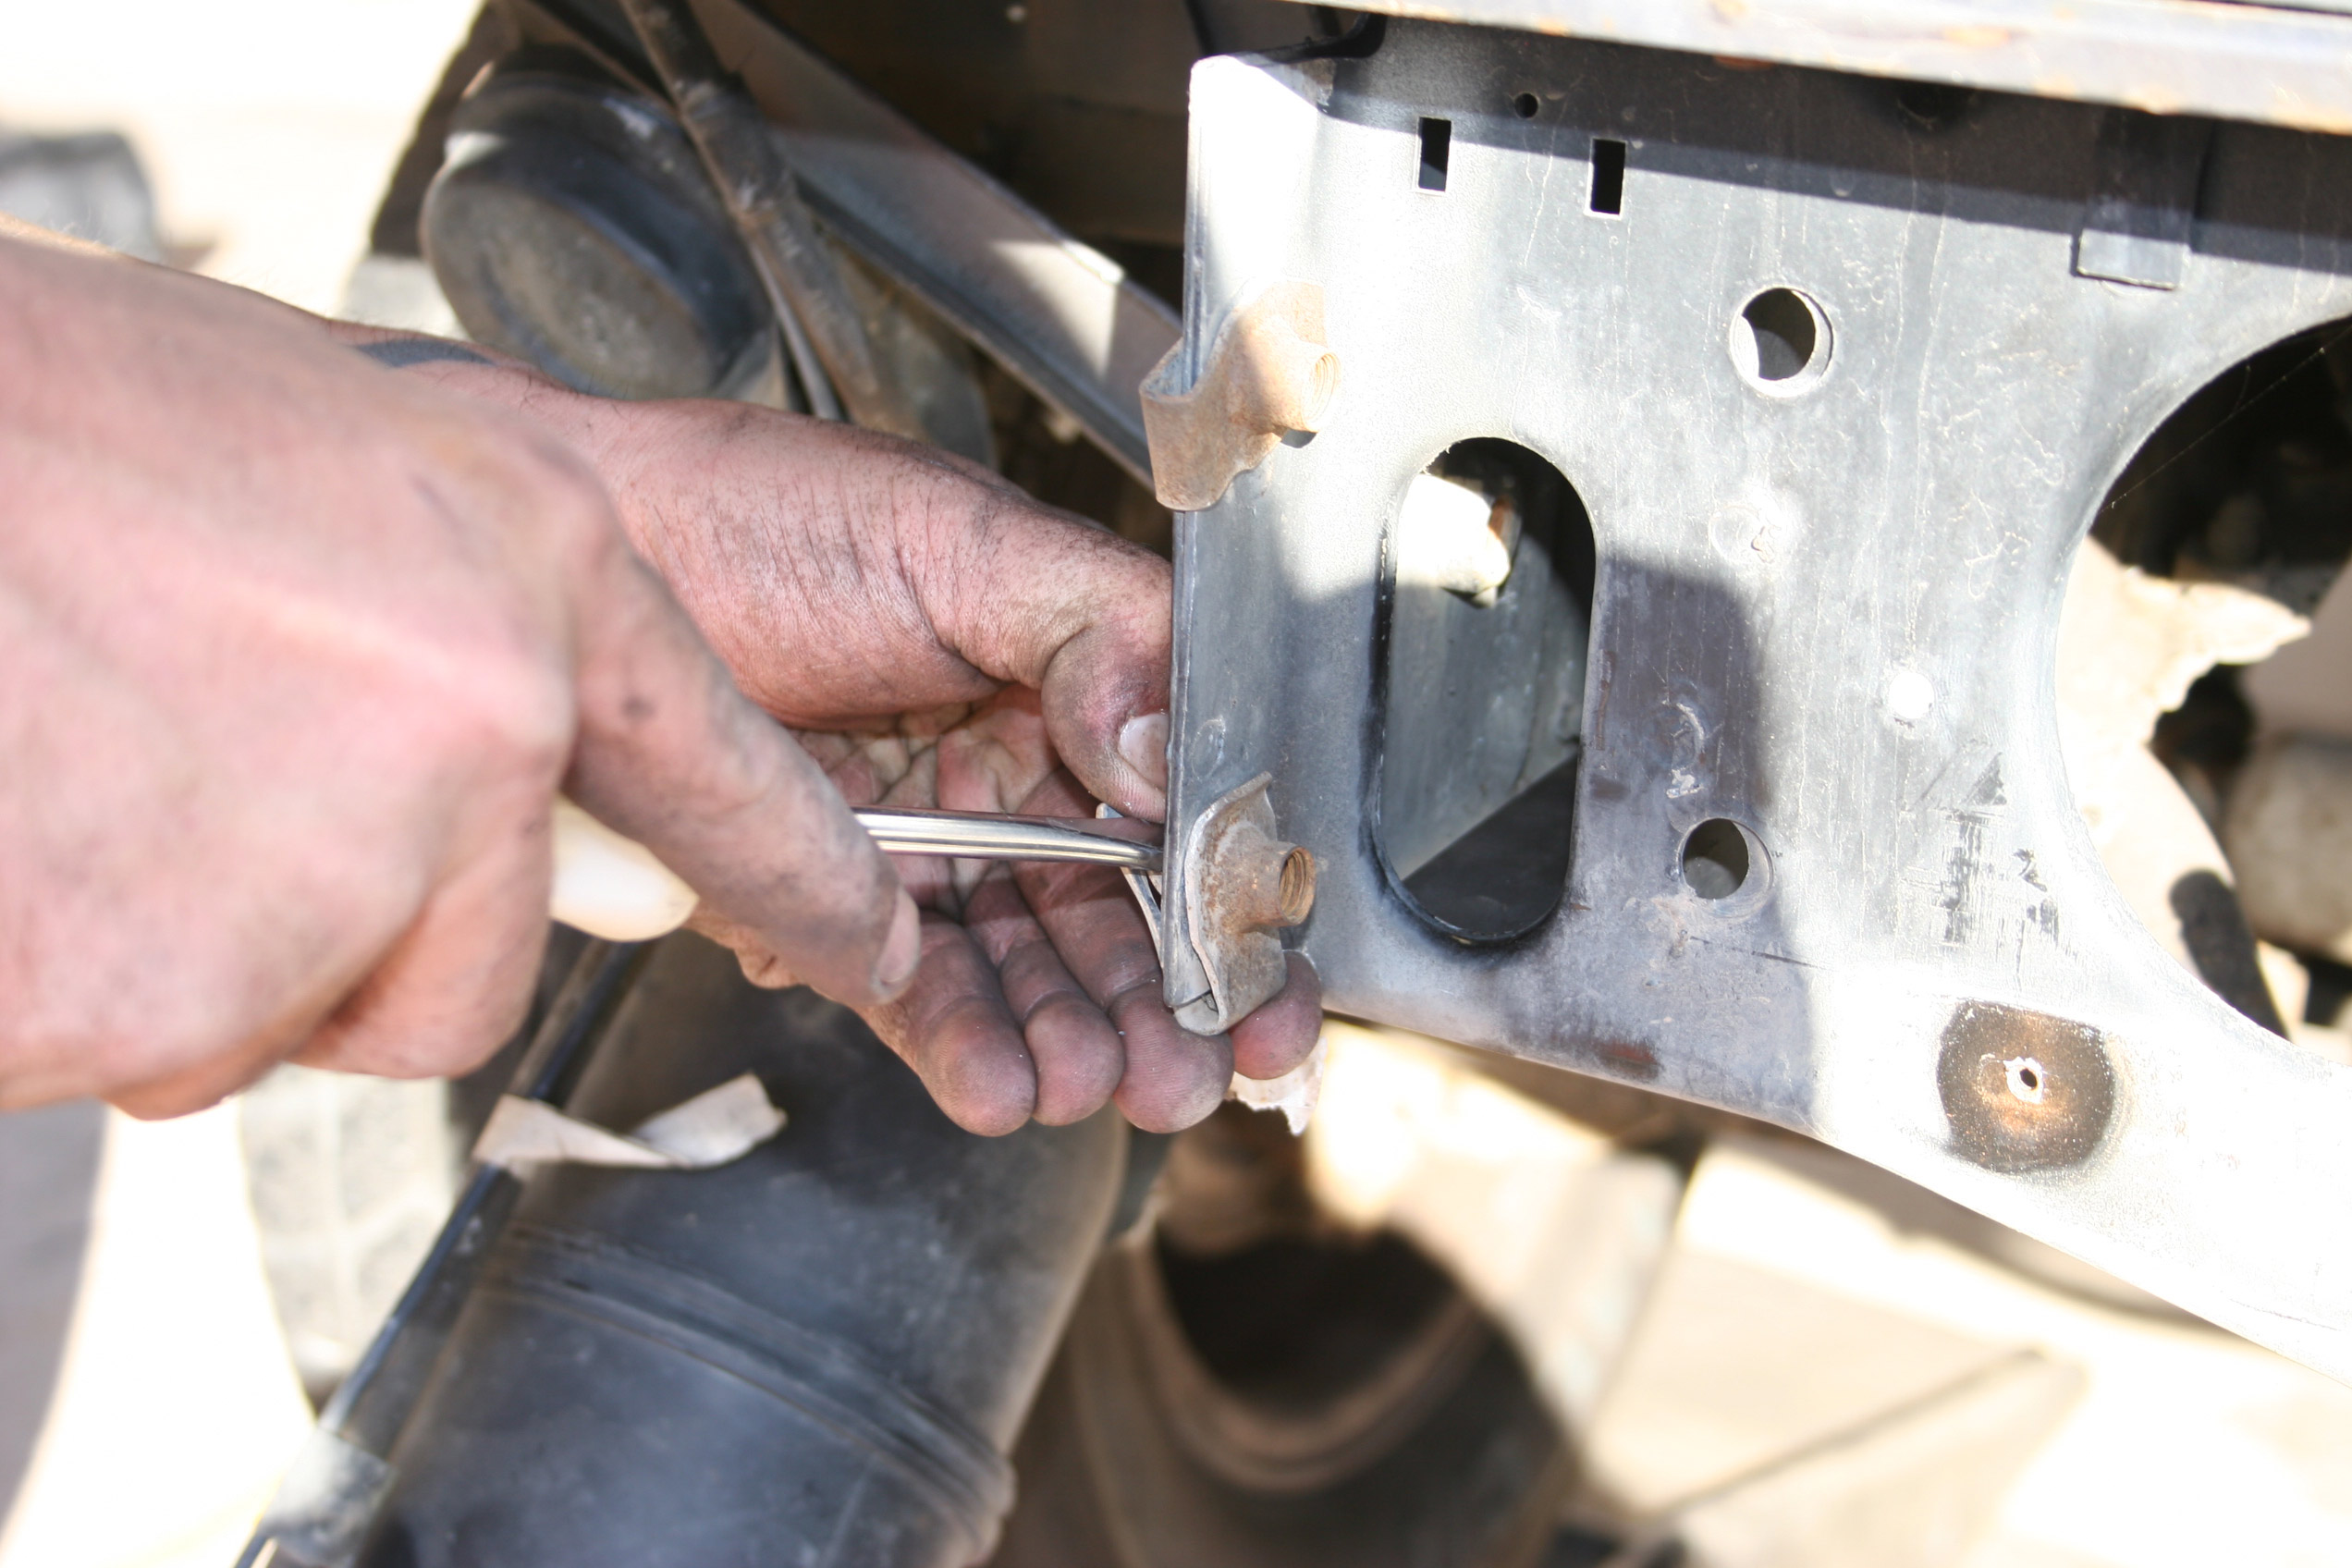
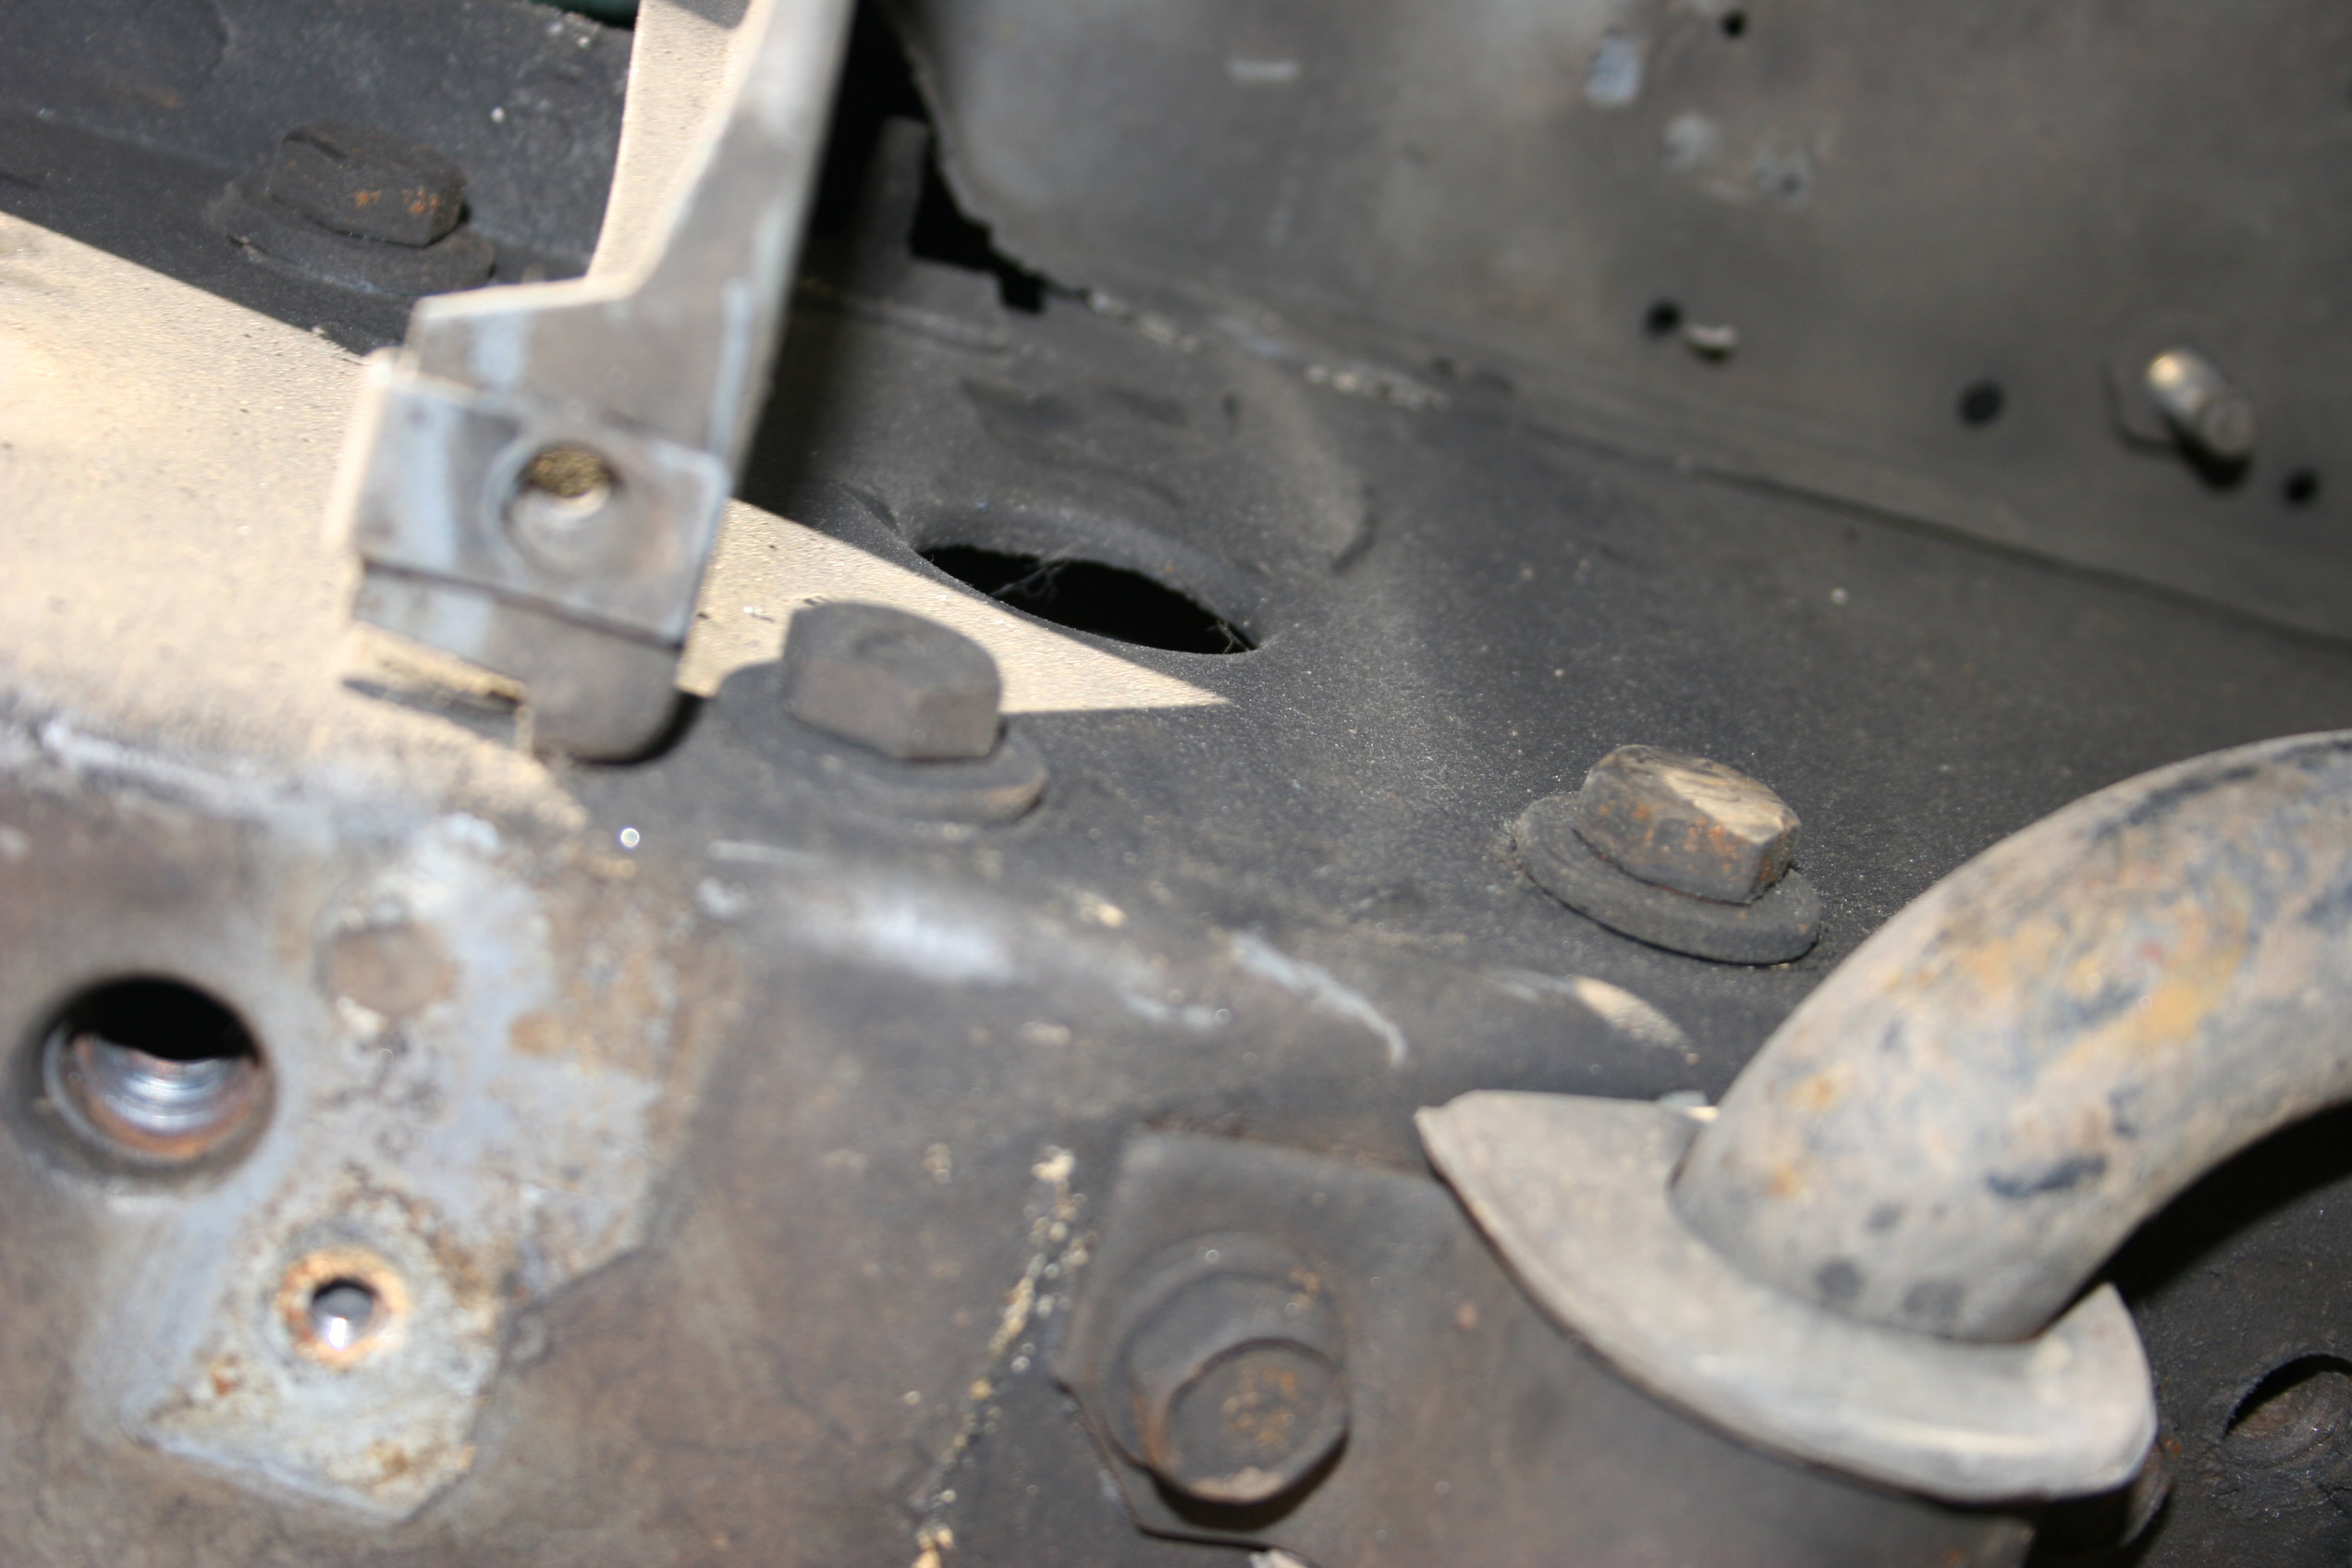
Follow this series and you will see how we went from a bone stock XJ to a “work in progress” in under 4 hours with a few basic backyard mechanic hand tools and a little bit of elbow grease.