





TheAutoBuilder.com

Edit Template

VALUABLE LESSONS

Twenty Tips and Tricks to Building a High-Performance Engine That Will Last

Author

Picture of Tommy Lee Byrd

Tommy Lee Byrd

Photos by Staff and Courtesy of Manufacturers

Building a High-Performance Engine at Home

Building an engine at home is exactly what you make of it—your first experience could be a good one if you choose to do it the right way, or it could be a bad one if you take short cuts along the way. As cheesy as it may sound, with engine building, you determine your own destiny with how you go about the build. Buy the right parts, talk to the right people and you may just have a long-lasting engine that puts a smile on your face every time the loud pedal hits the floor. Buy junk parts and think you know it all from the get-go and you’re looking at a big disappointment when it comes time to fire that bad boy.

Why You Should Build Your Own Engine

And while some folks would rather have a professional machine and engine shop completely assemble their power plant from carburetor to oil pan, we like the idea of building an engine at home. Using your own two-hands to build something is a great experience for any car guy, but you have to obtain quite a bit of knowledge about engines before building a motor from the ground up—in fact, there are lots of things you should know before you even disassemble an engine. That’s why we compiled this list of tips and tricks to building a hot Chevy engine, without spending a ton of money at an engine specialist.

Preparation Can Prevent Costly Mistakes

We suggest talking with your local engine guru about the subject long before tearing into an engine building project and it’s always smart to have a helping hand available, because four eyes are better then two. If your plans call for an engine build in the near future, take a look at these tips and see how they apply to your specific build. You may already have it all figured out, but one small mistake can be costly and frustrating to say the least. This is by no means a complete guide to building a Chevy engine, but a few simple tips can never hurt, especially if it’s your first time.

1.) COLD VALVE LASH

If you plan on building an engine with a hydraulic camshaft, then adjusting the valves can be an easy task, and it can be done before the engine is ever fired. As for solid-lift cams, you must adjust valve lash with a feeler gauge, while the engine is warm, The trick to adjusting valve lash is to find top dead center for the number one cylinder and make sure that both number one lifters are down in their bores, which means the valves are closed and ready to adjust. With number one at TDC, you should be able to adjust intake valves 1, 2, 5 and 7, as well as exhaust valves 1, 3, 4 and 8. Now, simply spin the engine one full rotation to the timing mark (TDC for number six) and adjust the remaining valves, which are 3, 4, 6 and 8 for the intake side and 2, 5, 6 and 7 for the exhaust and you’re done!

2.) BETTER HEADER

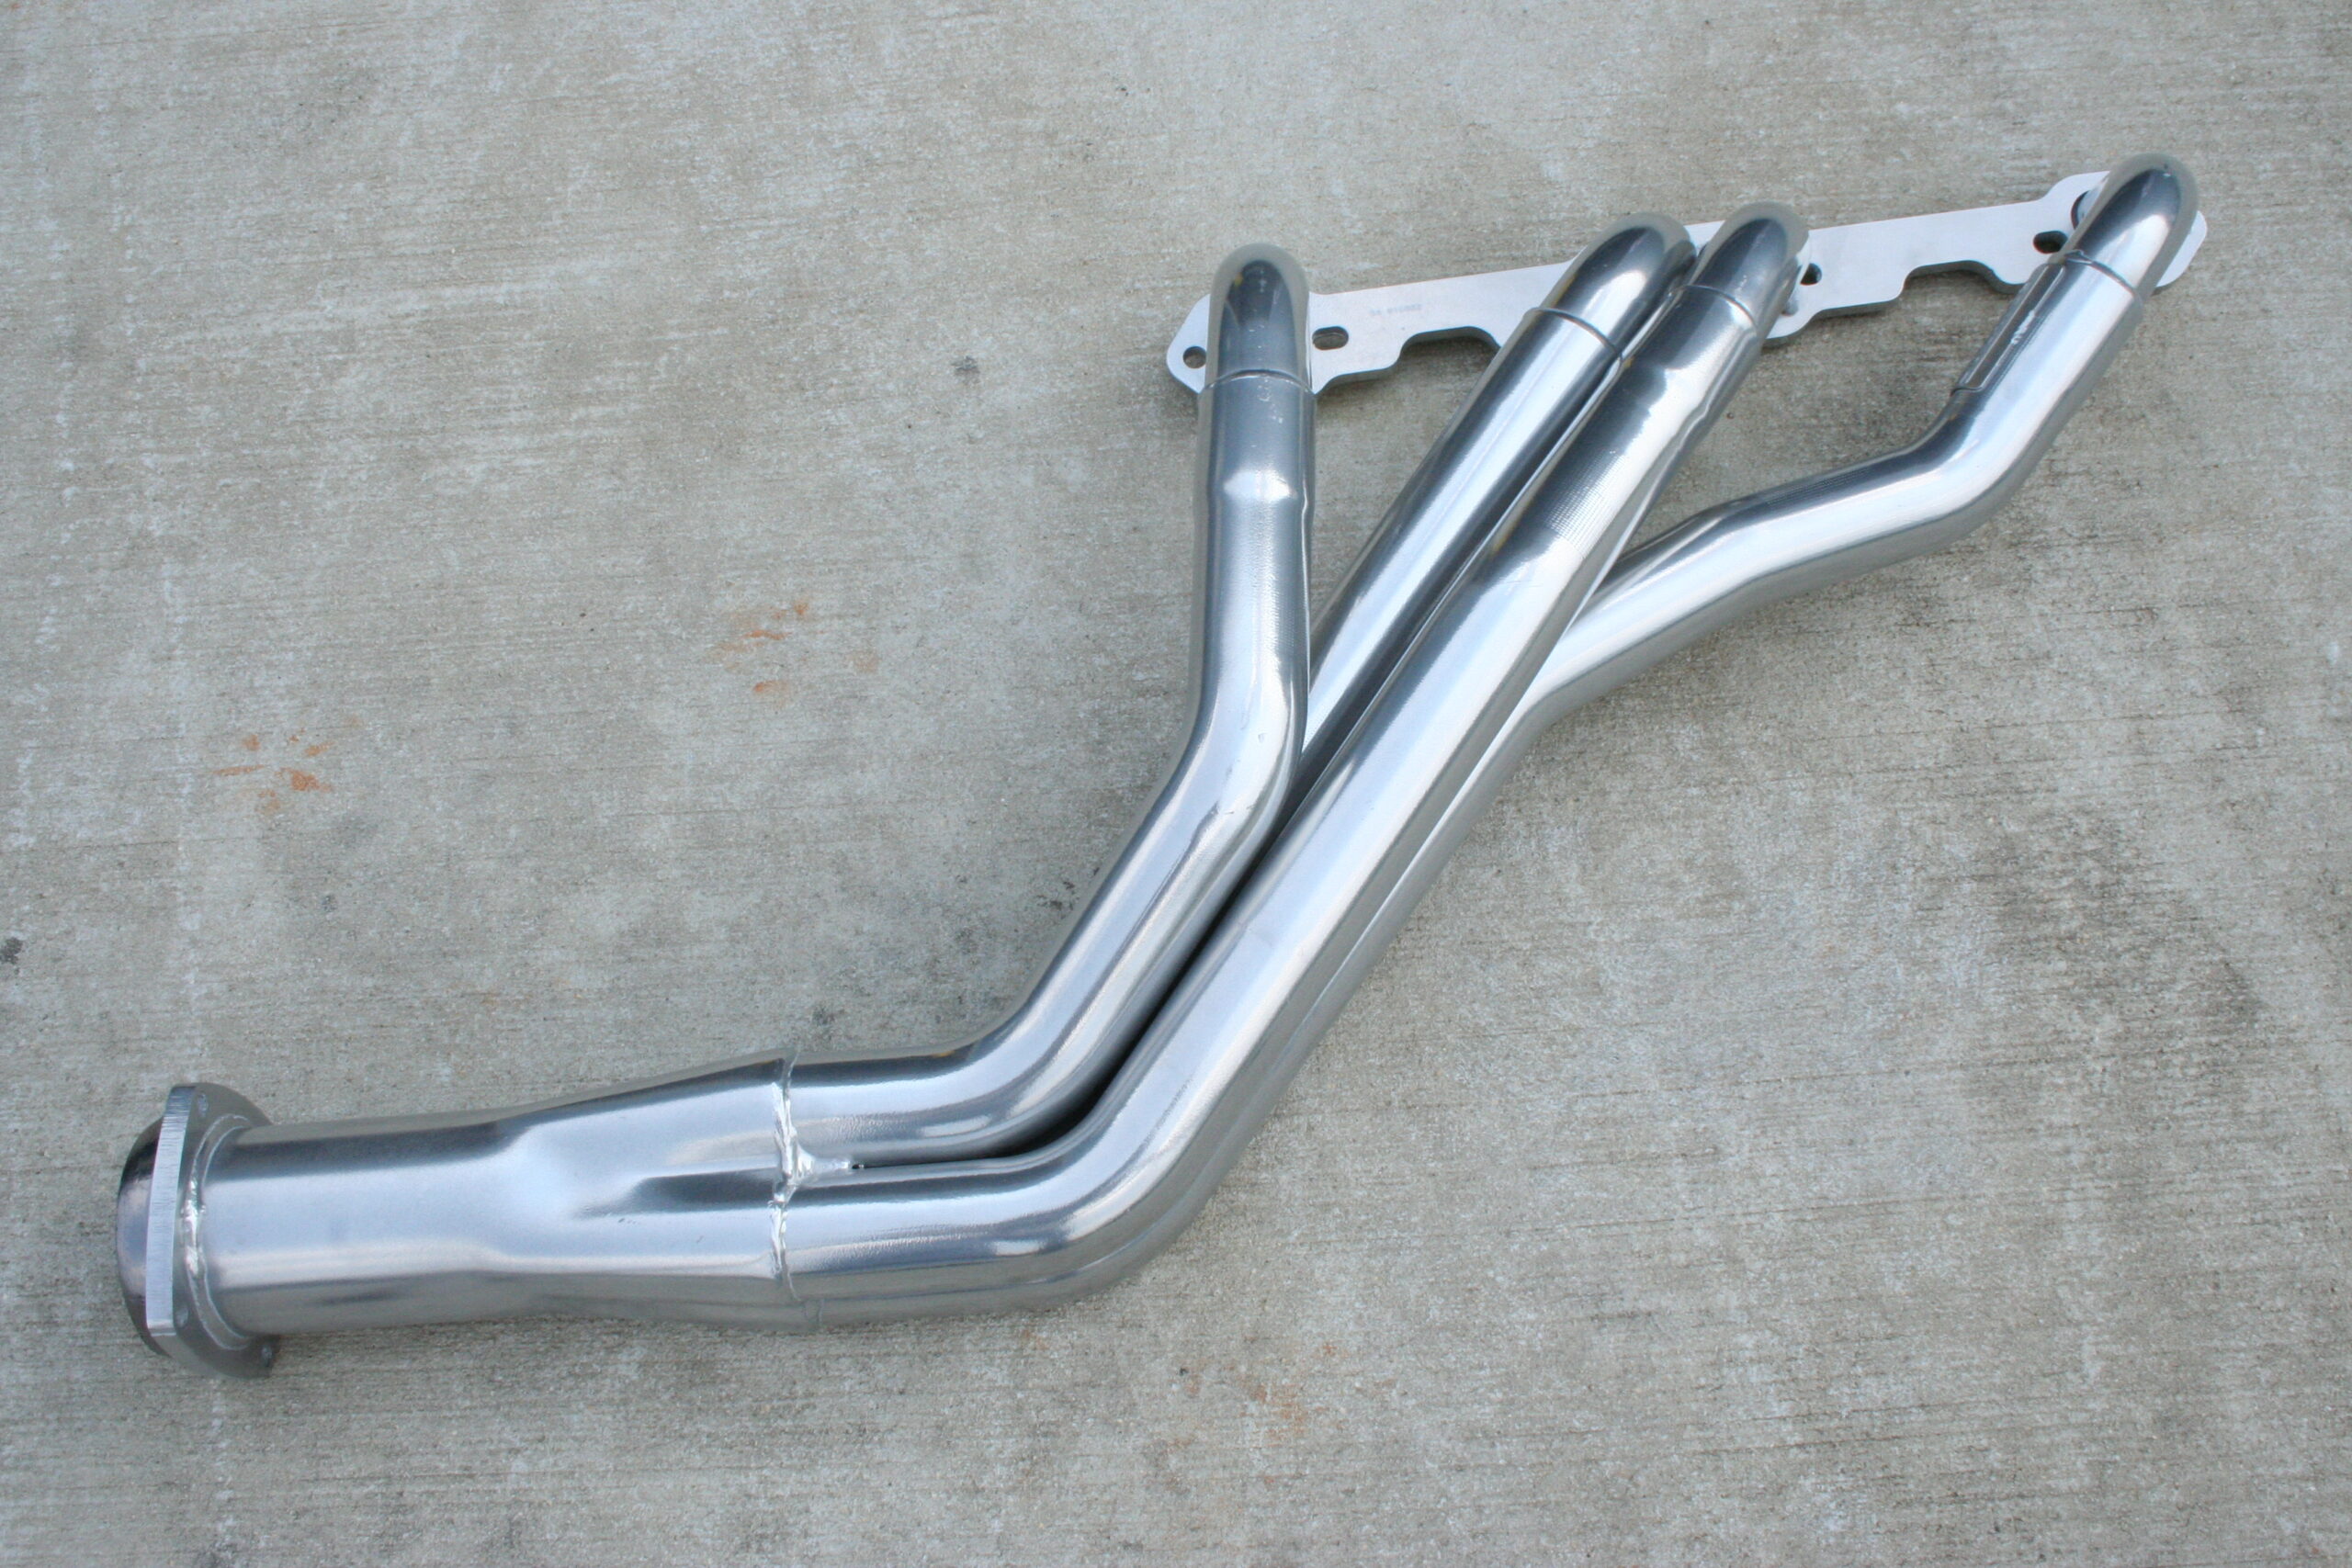
There are many ways to free up horsepower in a high-performance engine, and one of the easiest upgrades is in the exhaust system. However, you must choose carefully or your car could have too much resistance or in some cases, not enough. Stepped headers feature primary tubes that closely match the exhaust port size, and flow into a larger tube before all four primary tubes meet at the collector. If your engine calls upon any form of forced induction, it’s a good idea to get the largest possible headers for your application, as it’s important to rid the engine of heat. We see lots of shorty and block hugger headers out there, and while they look better than most exhaust manifolds—that’s all they do, as the airflow isn’t increased by much. A full-length or long-tube header is the way to go for any application.

3.) PORTLY PORTS

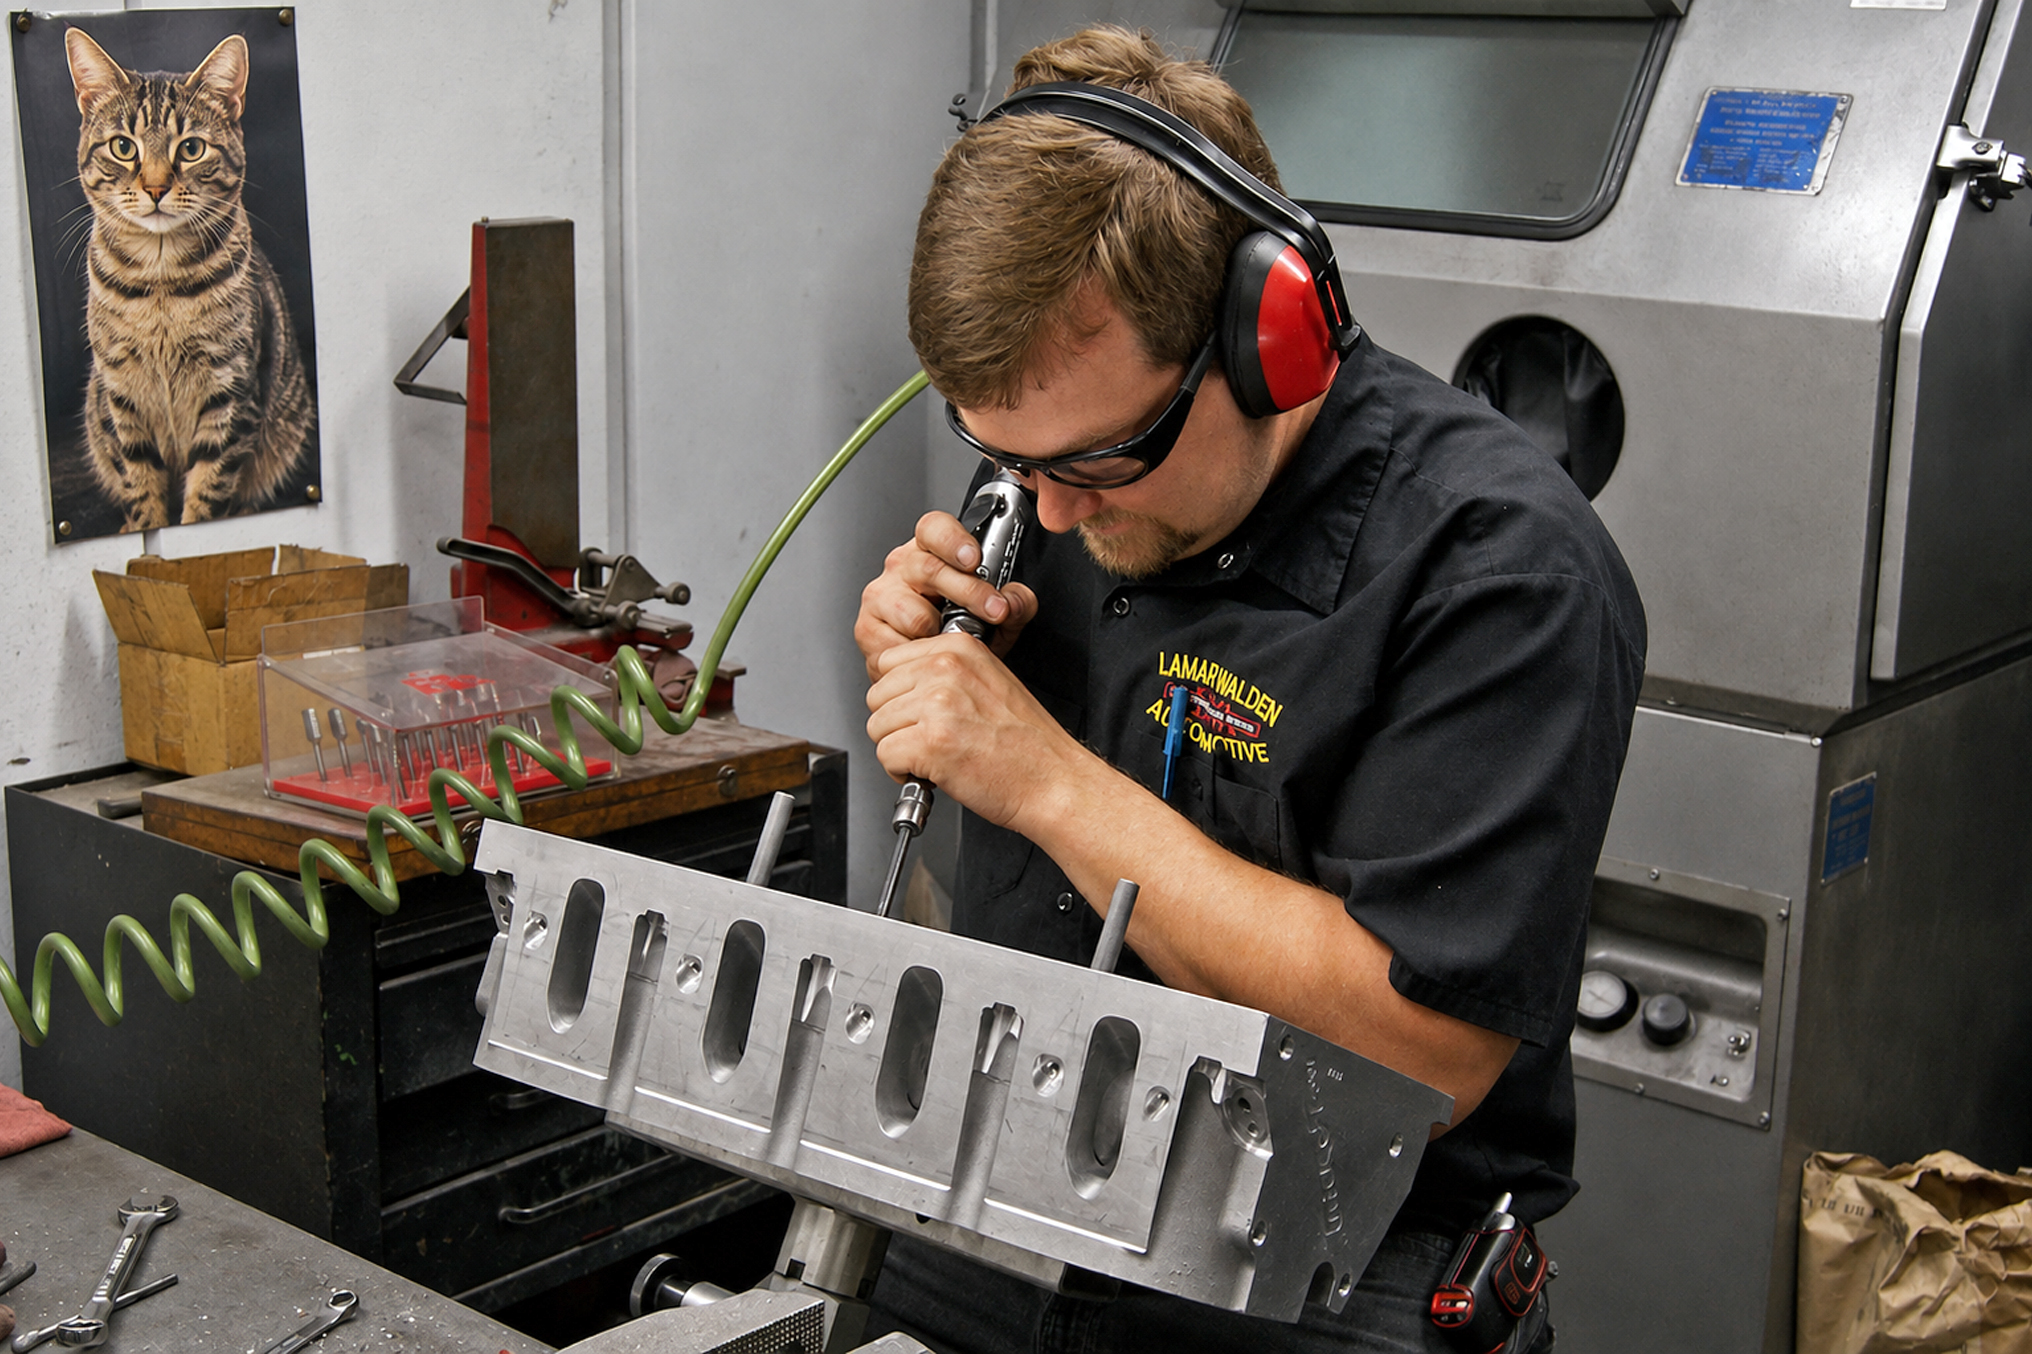
Everyone knows about porting and polishing heads, right? All you do is open the ports up as large as possible to increase airflow and make them really slick so the air just slides by—easy stuff. That’s where many people mess up. Porting takes years to master, and it’s not something you should try at home. Cylinder heads are way too expensive to try this on, so if you want your heads ported or reworked, have a skilled professional perform the work, as a bad port job could rob lots of horsepower and make for a very inefficient engine. Many factory GM castings actually need more work in the combustion chamber area than the intake runners or exhaust ports, but it all depends on which castings you have and what kind of performance you want. Either way, keep the burr grinder away from your heads at all times—leave this stuff to the pros.

4.)  LOBE SEPARATION ANGLE

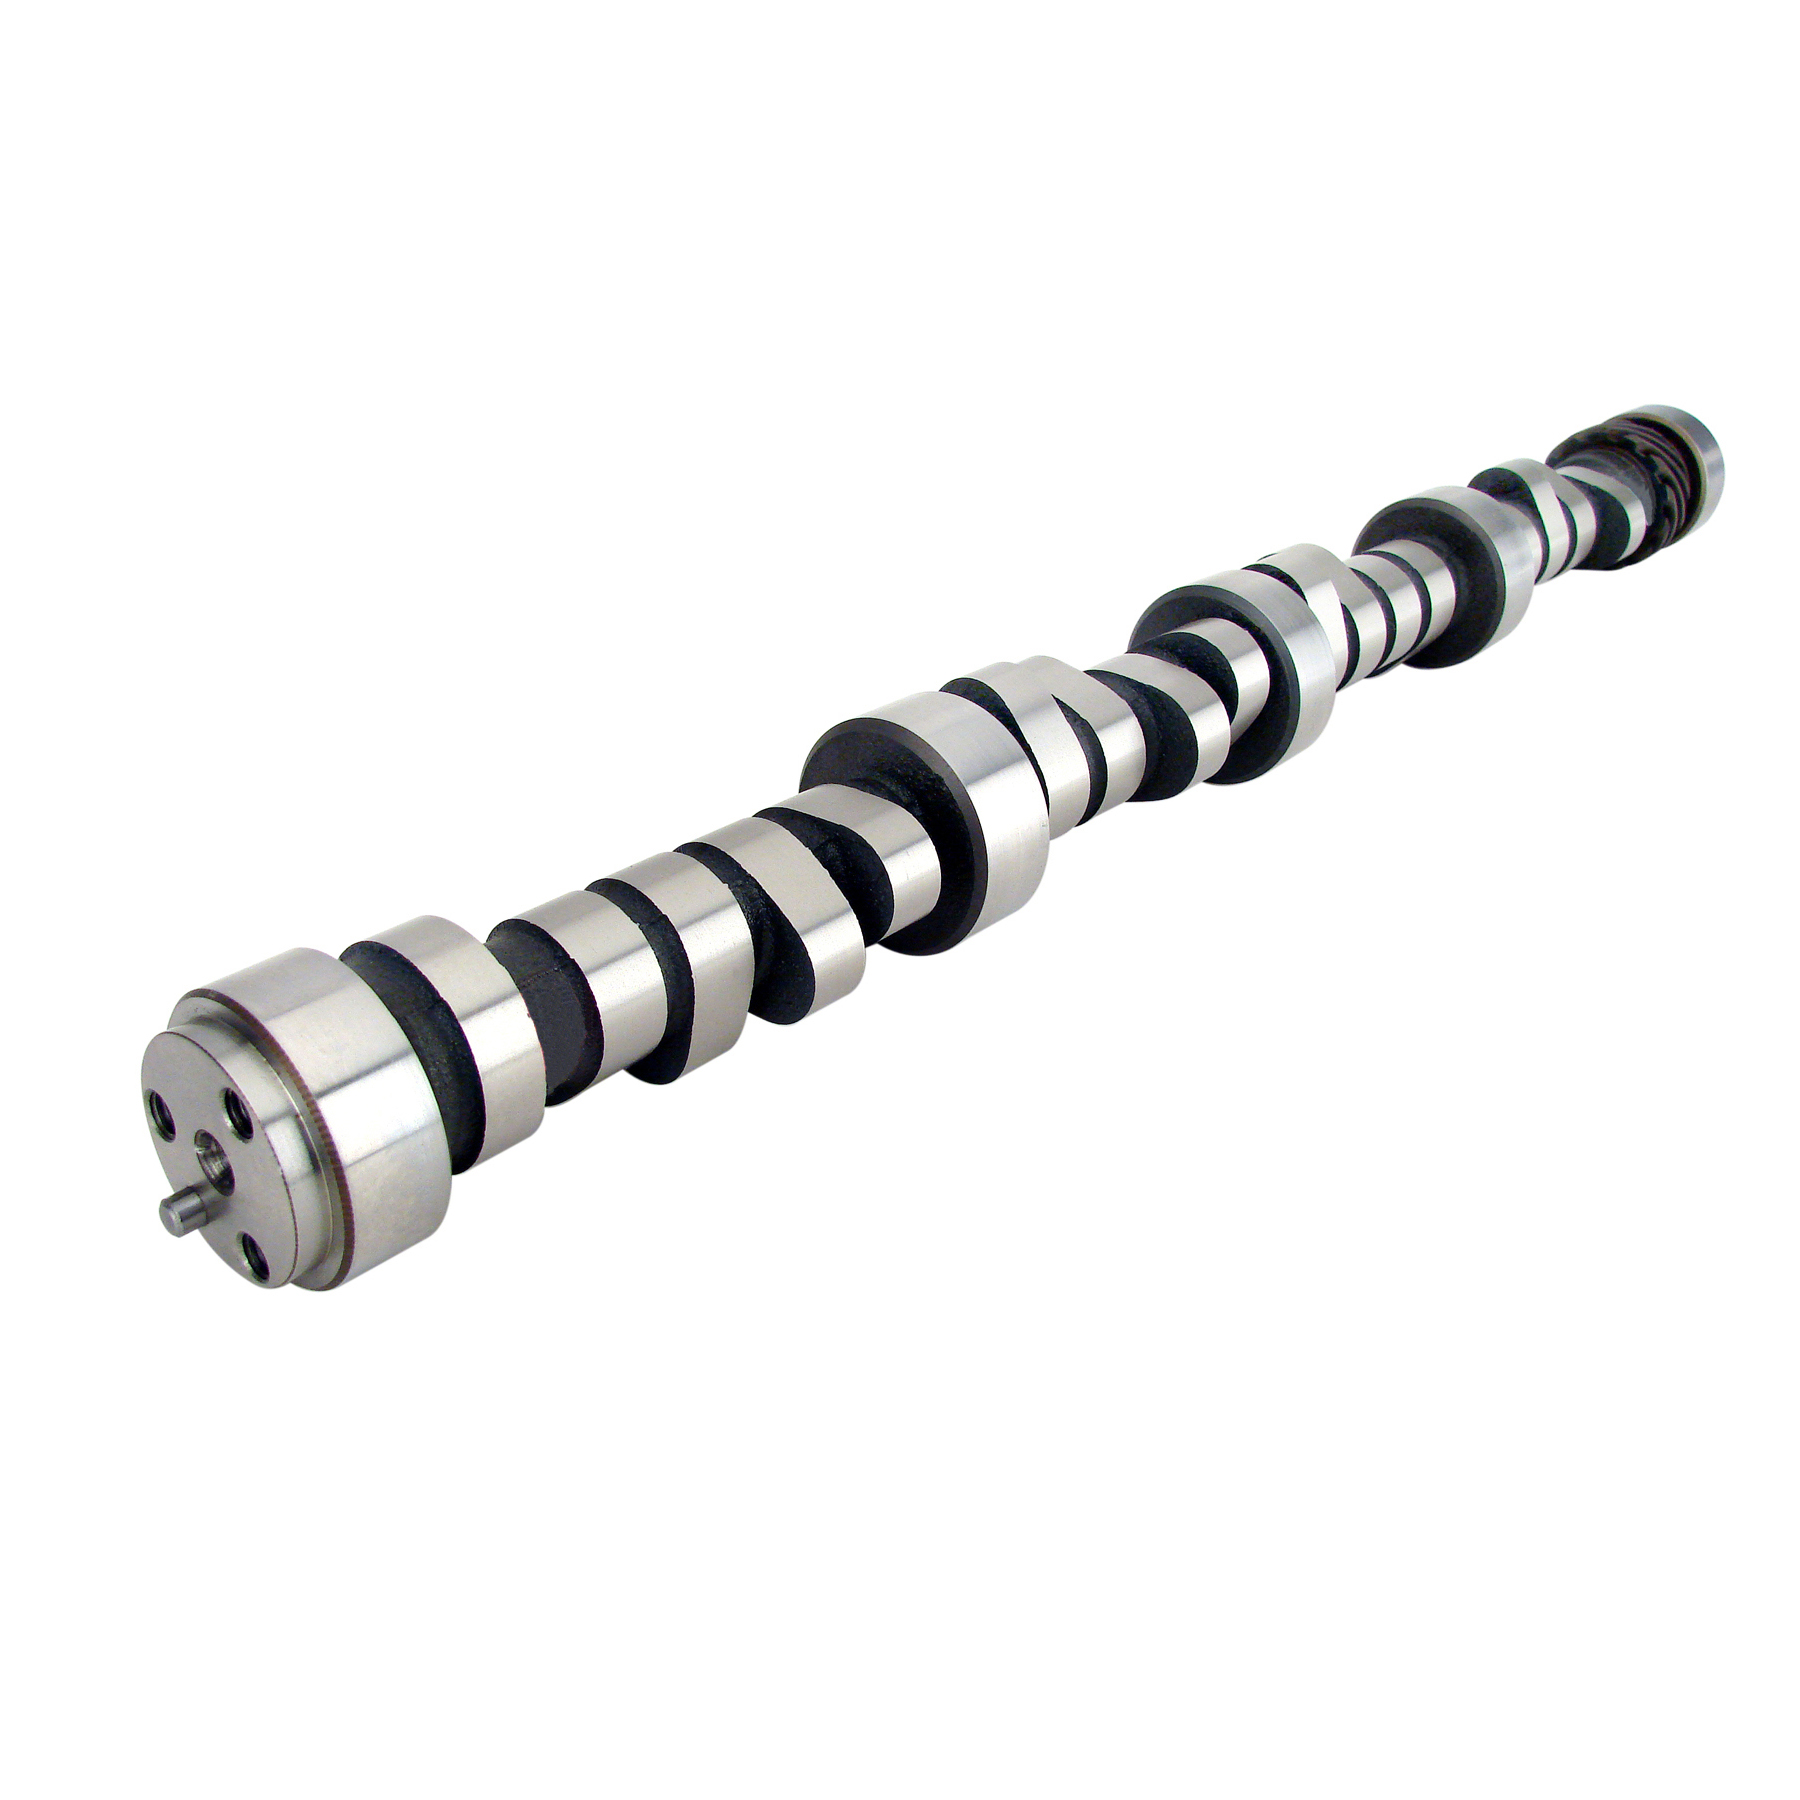
When choosing the cam for your engine buildup, there are more things to consider than just the lift and duration. One very important specification to remember is the lobe separation angle (LSA), which can be defined as the measurement between peak lift on the intake lobe and peak lift on the exhaust. Lobe separation angles are measured from the camshaft itself, rather than the rotation of the crankshaft, so it’s common to see a range from 106-113 degrees, even though some custom grinds feature more extreme angles. Generally, you’ll want a higher LSA for any kind of power adder, but the most effective use of a wide LSA comes with nitrous. With a wide LSA, the exhaust valves open earlier, allowing heat to escape, so it makes perfect sense for the power adder crowd. However, you’ll lose a little cylinder pressure in the process, which is not a problem if you have forced induction to make up for it.

5.) THROUGH THICK AND THIN

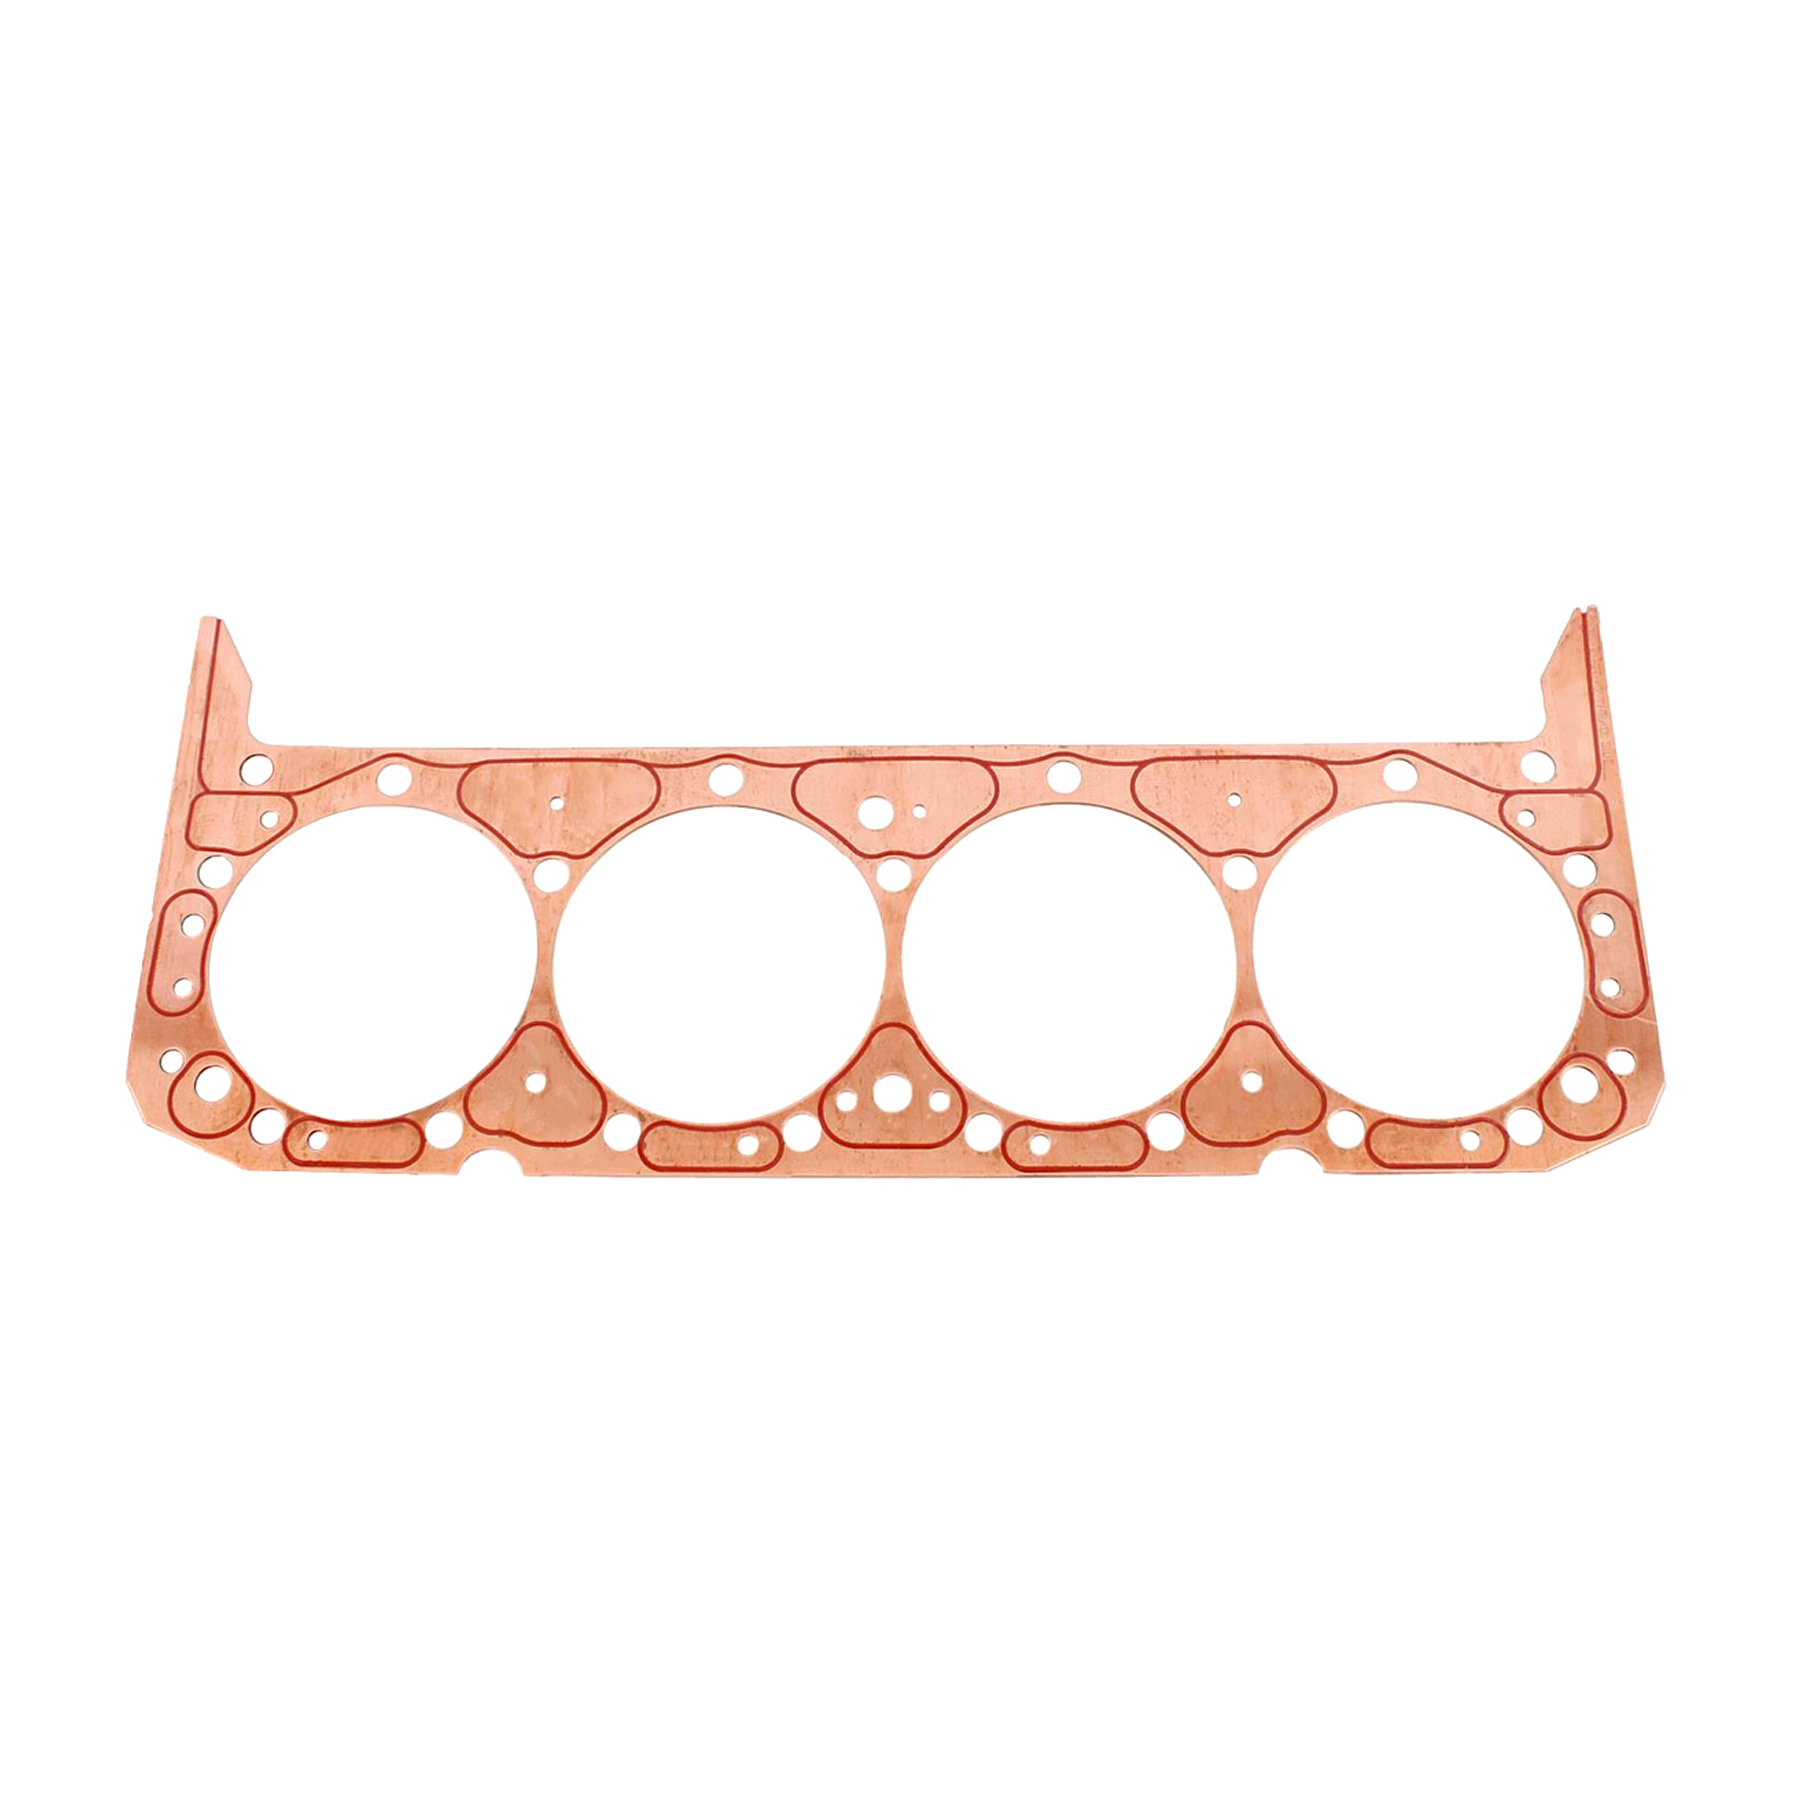
Building an engine from the ground up is no easy task, but most of the work consists of studying, figuring and thinking about how to make the most power. For folks planning on a power adder, the general idea is to lower static compression as much as possible. Aside from using dished pistons and heads with large combustion chambers, the easiest way to lower compression is with a pair of thick head gaskets. SCE Gaskets Inc. is known for its copper head gaskets, ranging from .032- to .093-inch compressed thicknesses. With a thicker gasket, you can run more boost with your supercharger or turbocharger, thanks to a lower overall compression ratio.

6.) MR. CLEAN

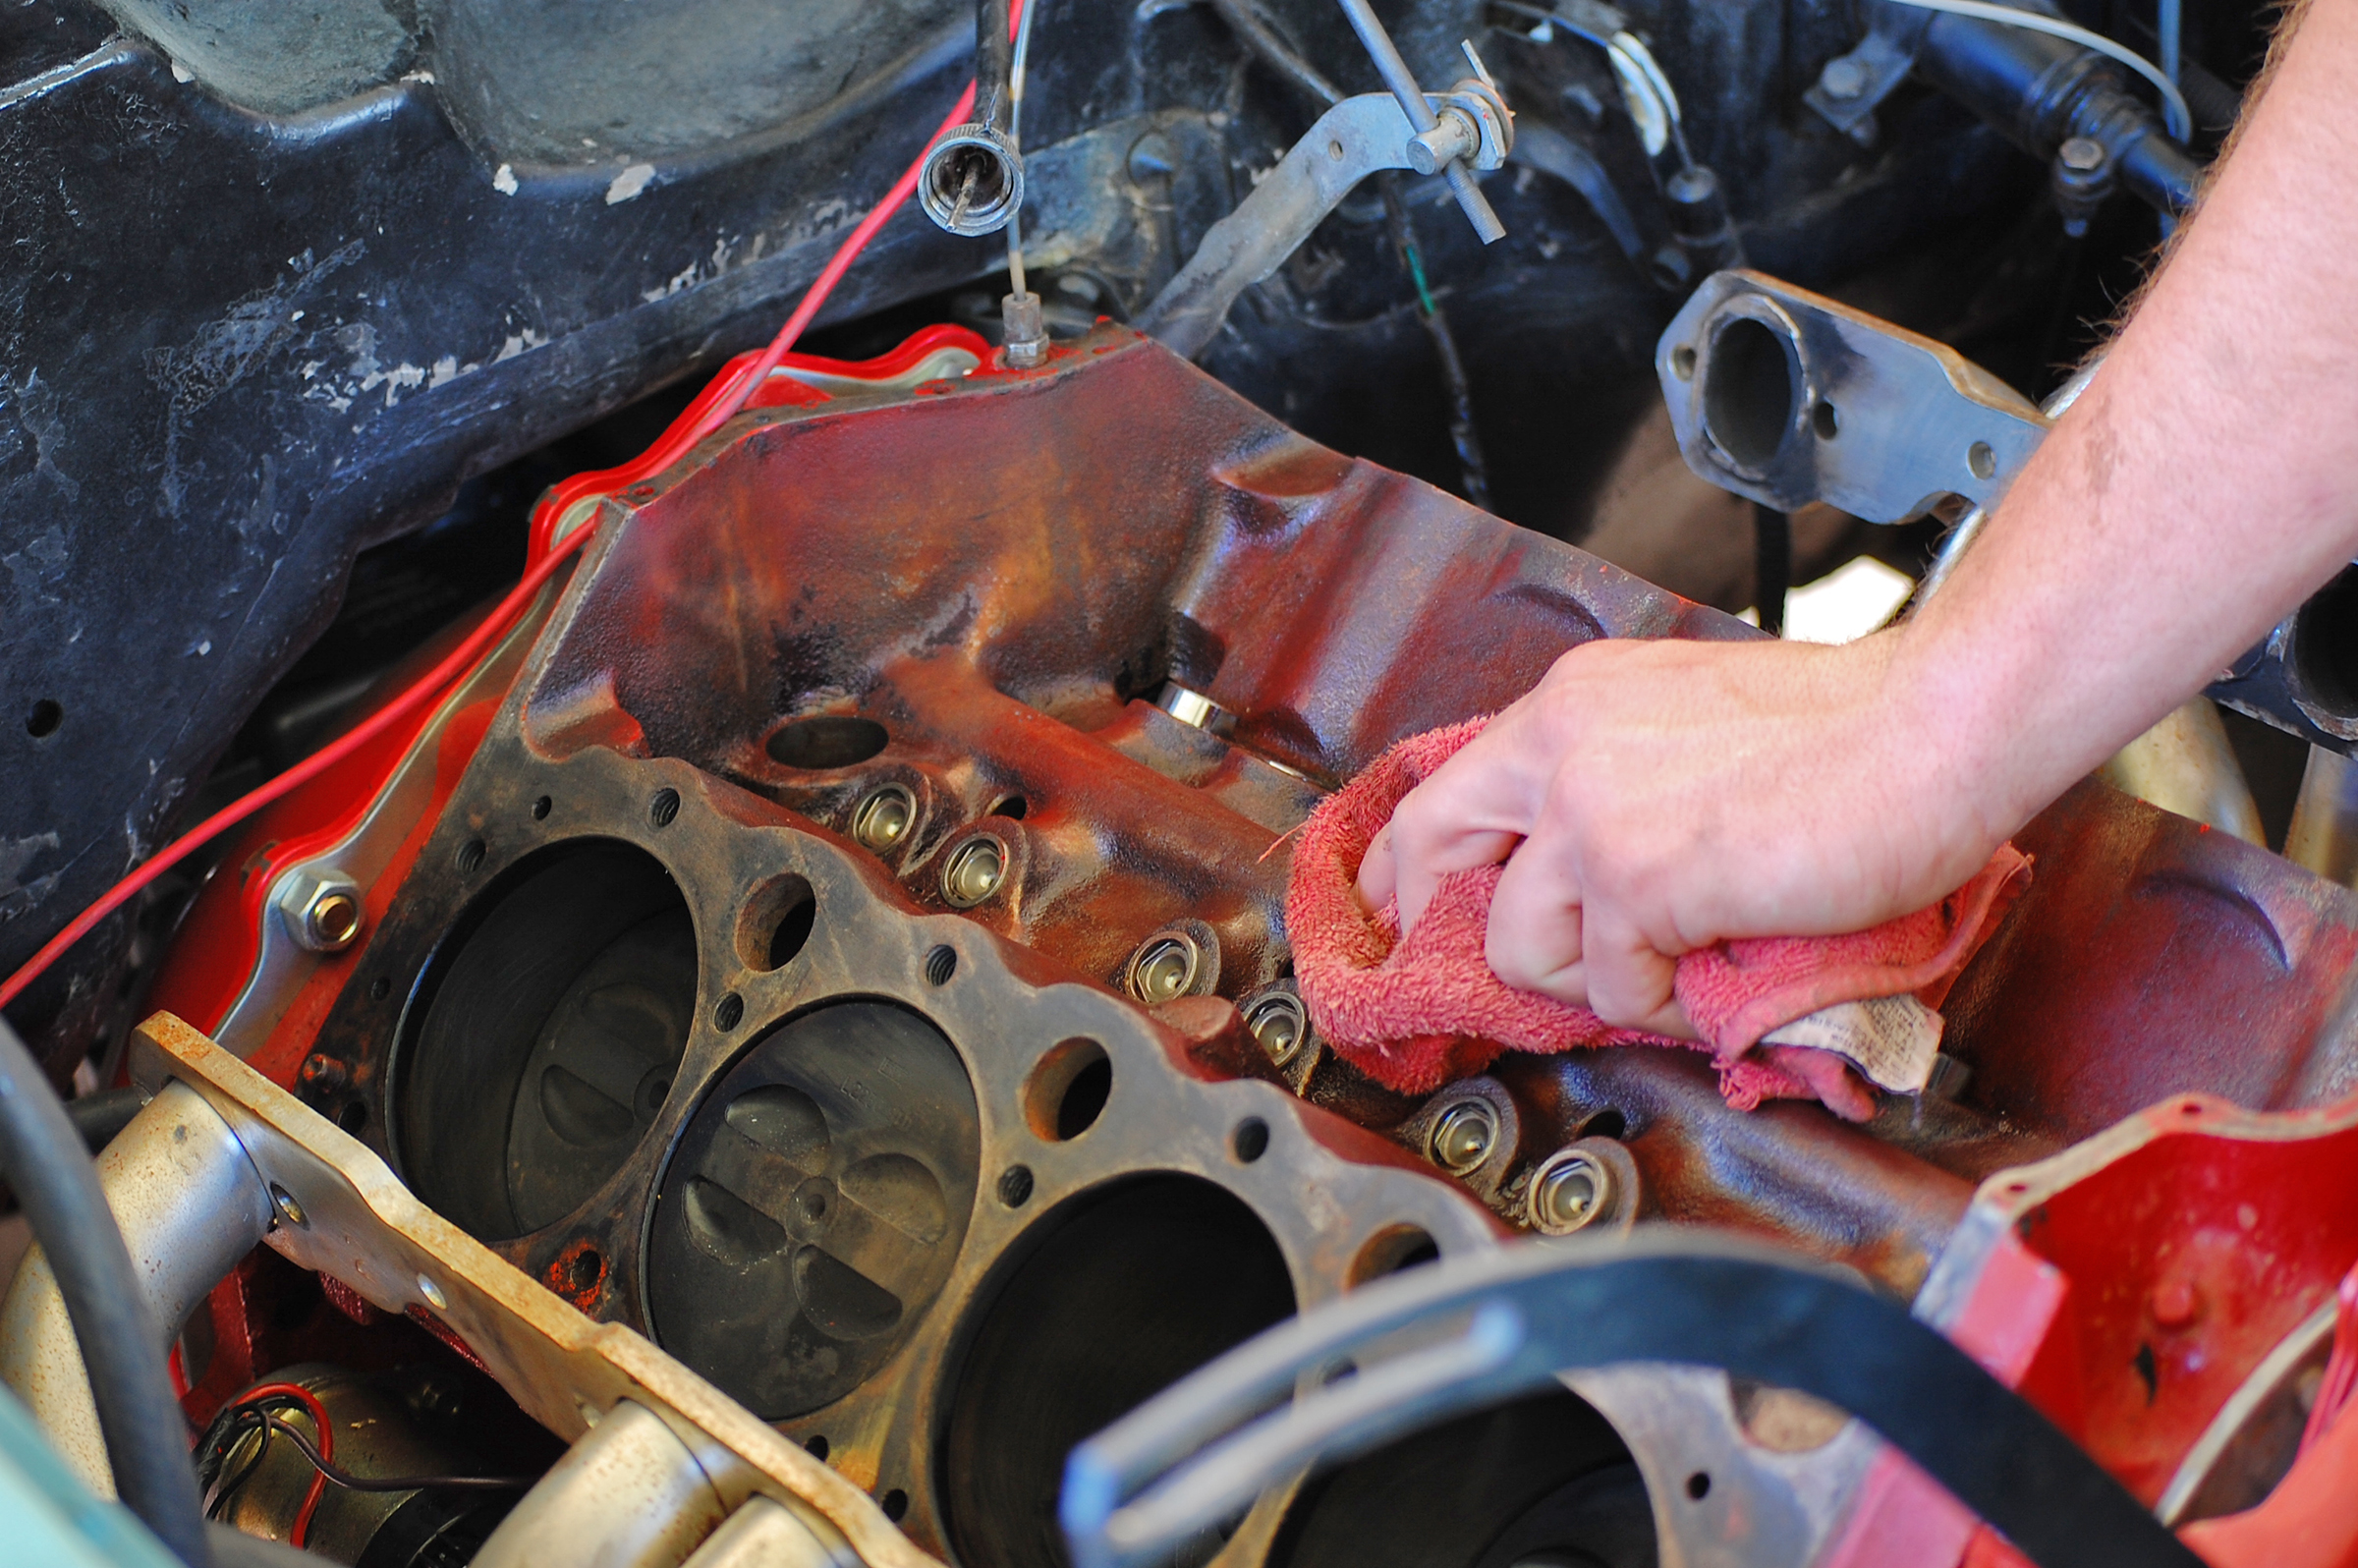
During the engine-building process, the key to success is cleanliness. Although you’ll have oil on your hands from lubricating the bearings and such, an engine build needs to happen in a clean environment. The last thing you want is for a piece of dirt or a metal shaving to eat up a brand-new crank or camshaft, so make sure everything is spotless as it goes together. As for post-break-in work, like a top end rebuild, the working area is sometimes in a car’s engine bay. While the intake manifold and heads are off, we clean the lifter valley carefully and thoroughly. We often see small paint chips in the lifter valley after disassembling an engine, so it’s important to dispose of any debris before putting it all back together.

7.) TORQUE TO SPEC

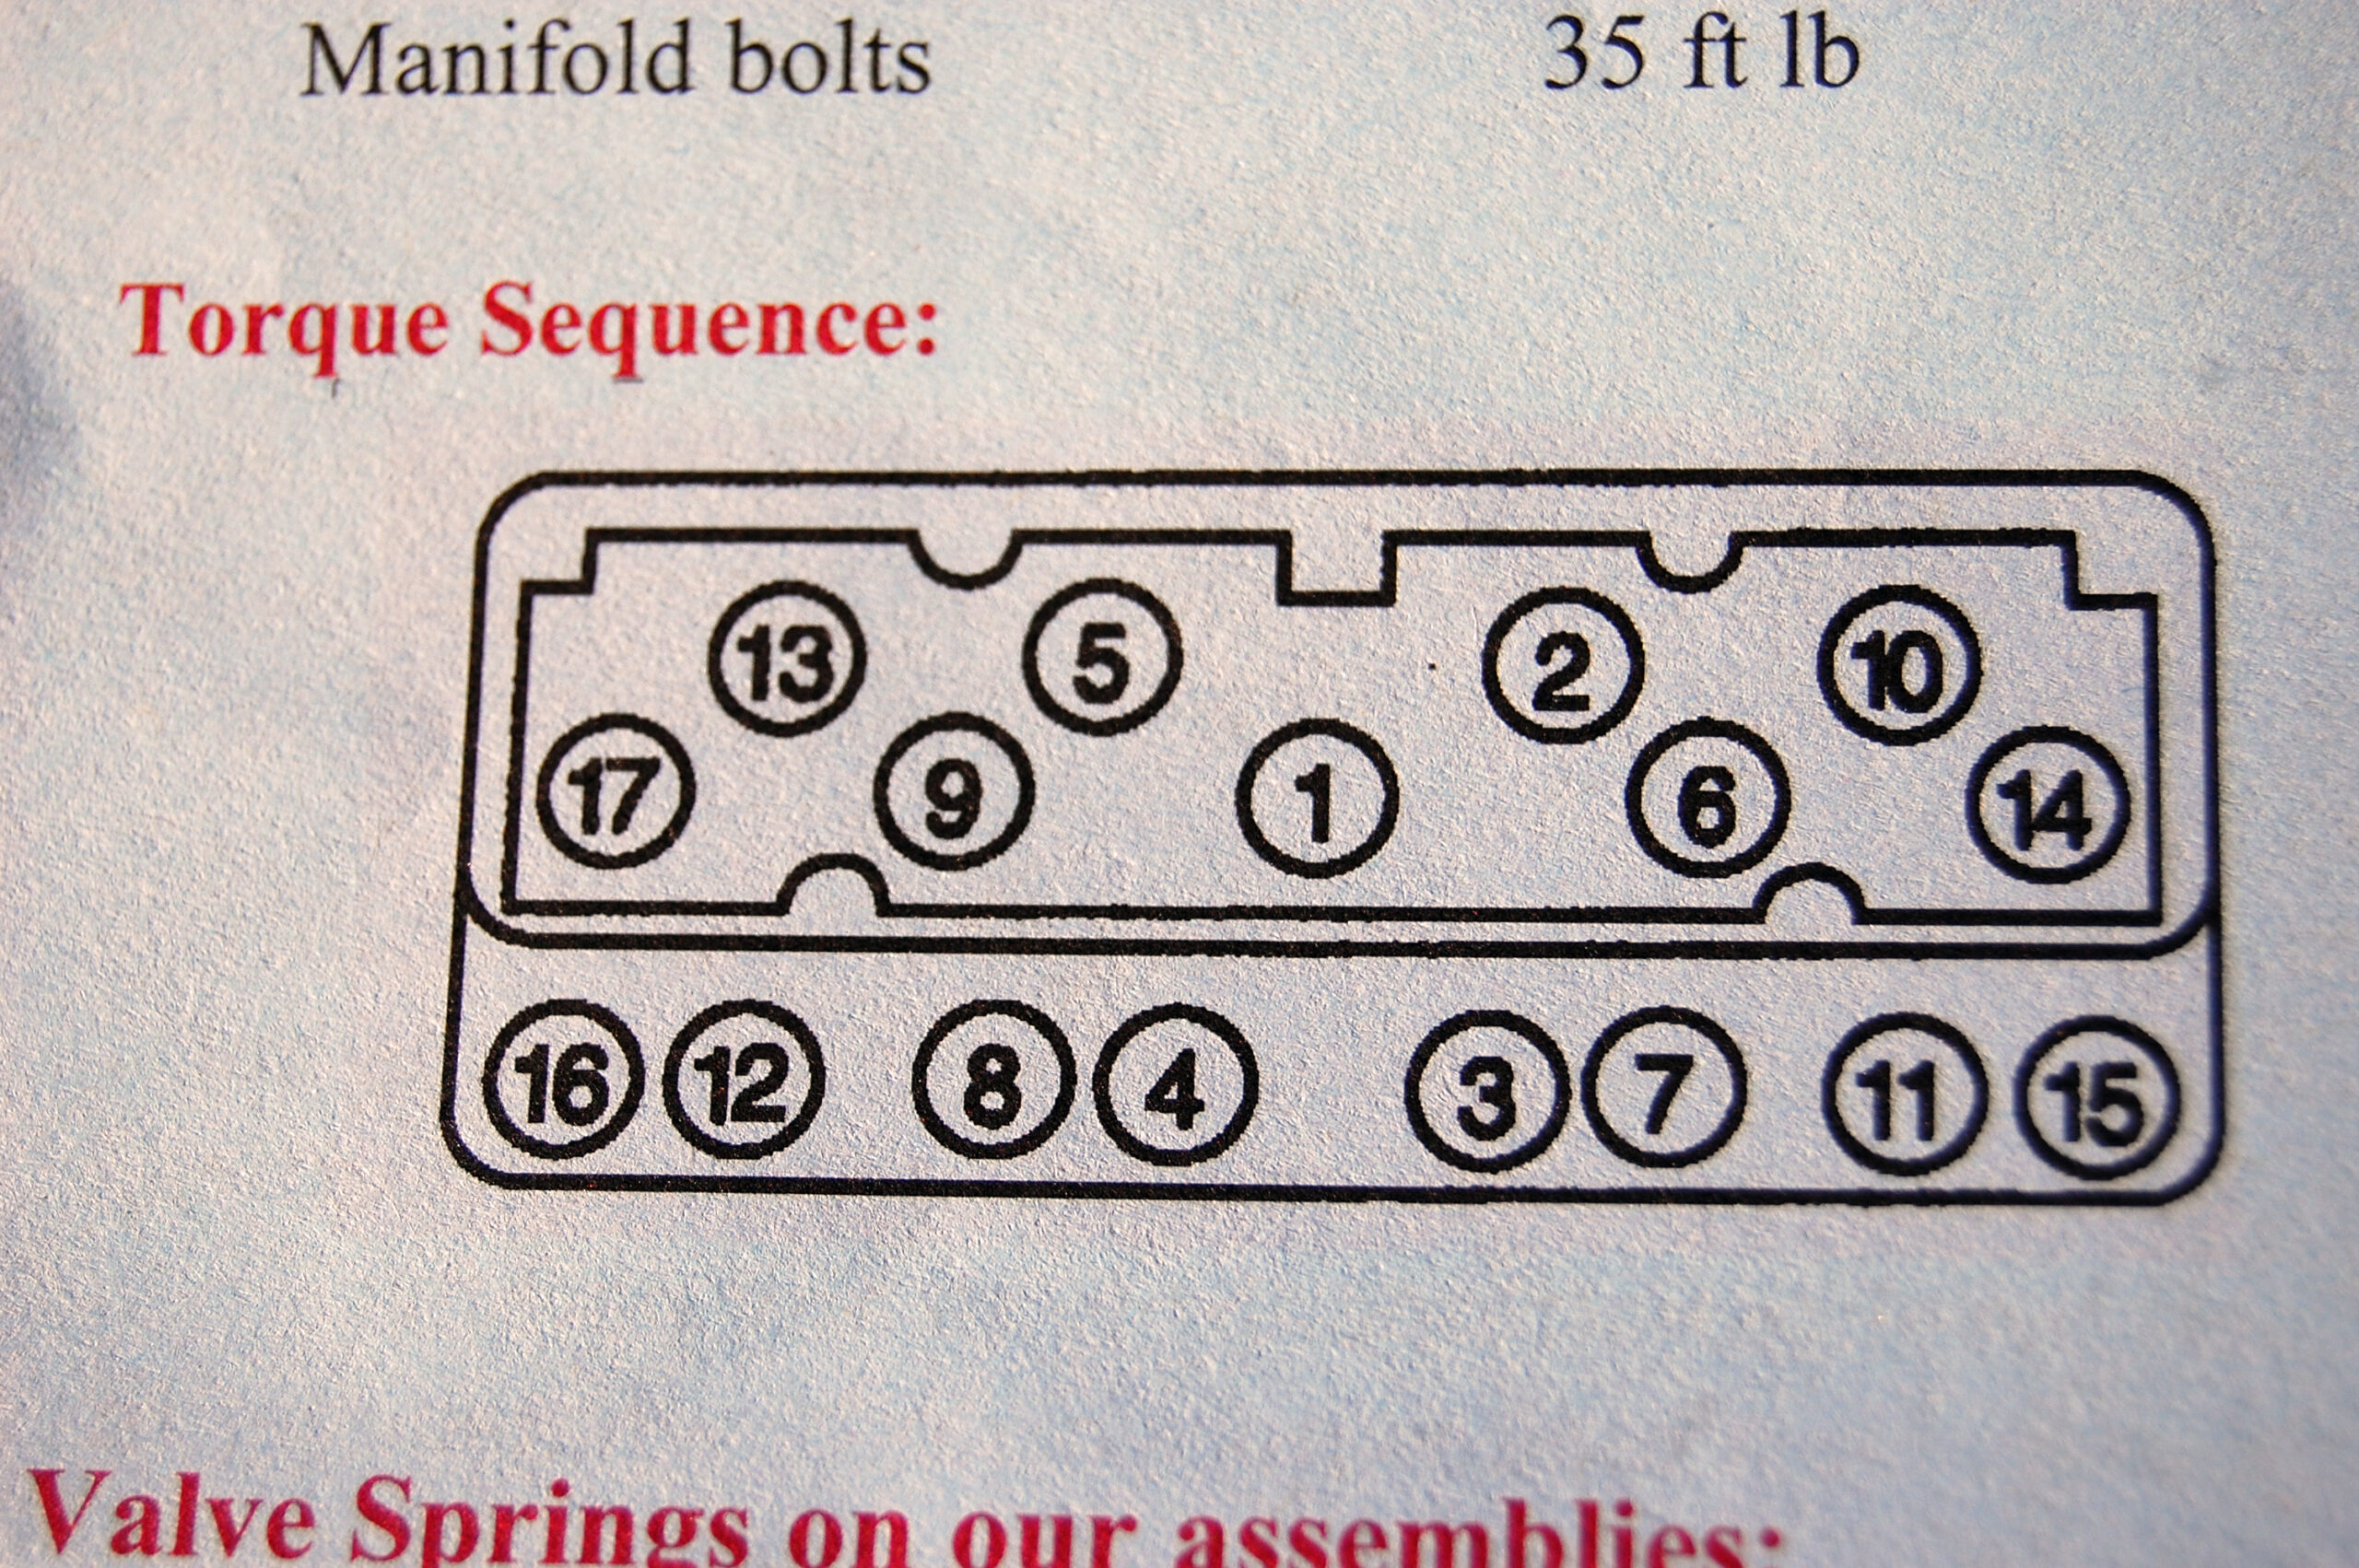
Before you even start building an engine, you need to buy a good, click-style torque wrench. It’ll set you back a couple hundred bucks if you get one from Snap-On, but it’s worth the money. Tightening all of the hardware to spec is an important part of building an engine, and knowing the correct sequences makes a difference, too. Here, we see the sequence for a Gen. 1 small block Chevy, which starts in the center and works its way outward in a spiraling clockwise motion. Don’t assume you need to tighten your hardware a little more than the torque specs call for, as it could push the limits of bolt strength and cause a problem later on.

8.) KNOW YOUR OIL

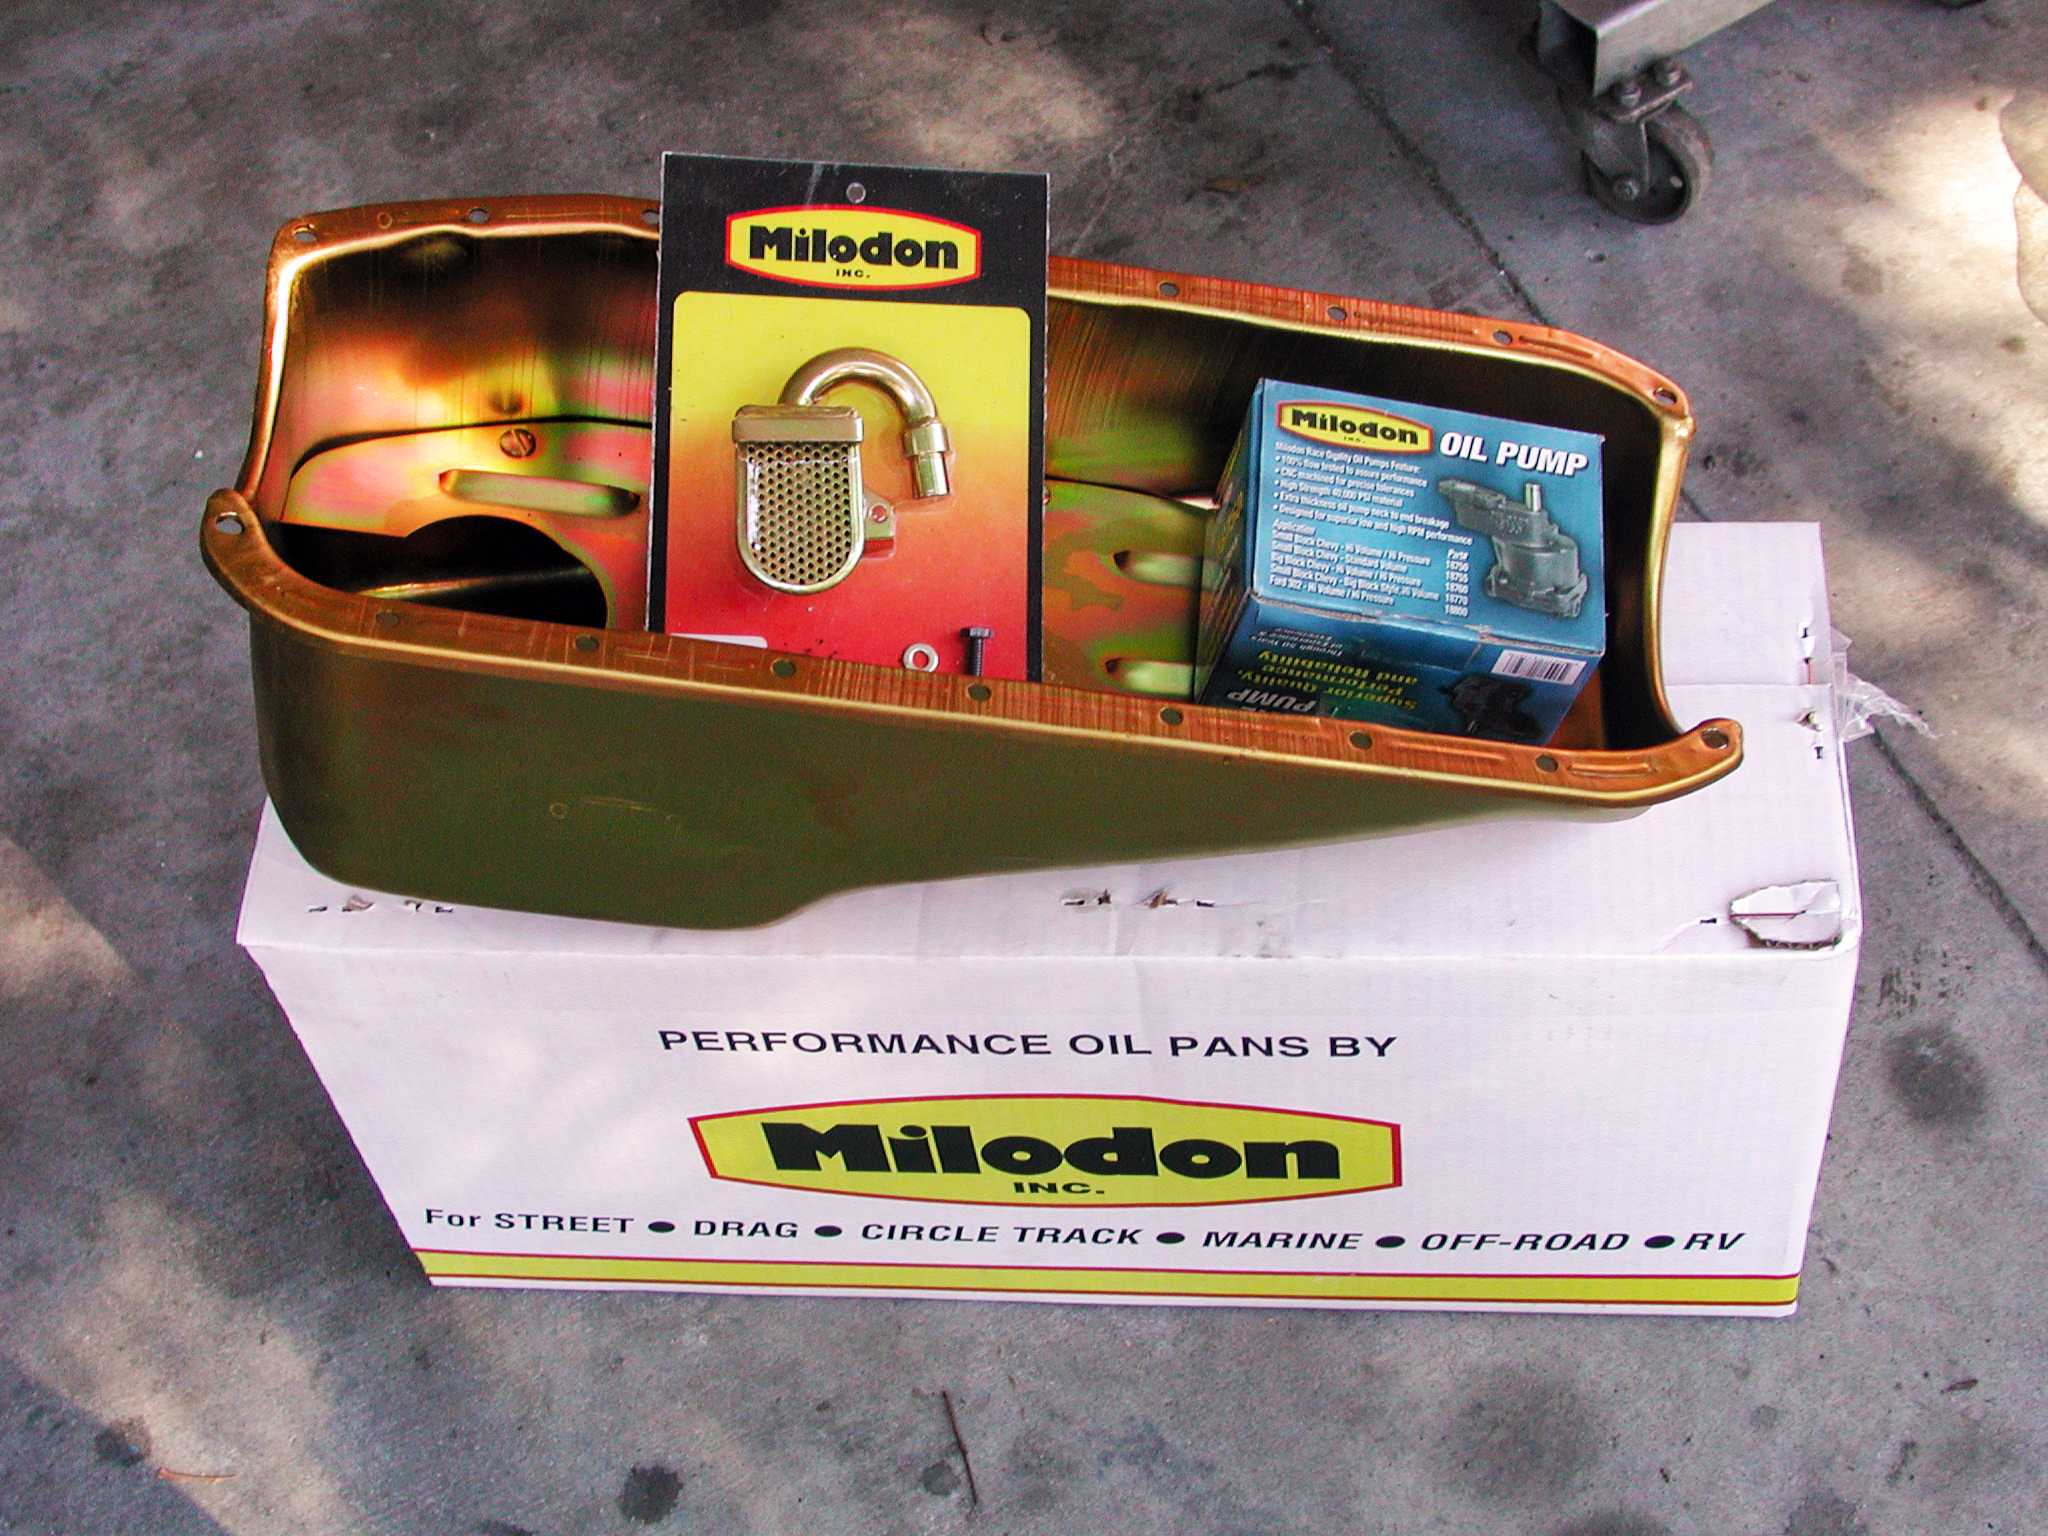
It’s very important to setup the oiling system in relation to the engine’s output and capabilities. Unless your engine is a race-only piece, a standard oil pump should suffice, even though many builders bolt on a high-volume pump for good measure. The only problem here is that too much oil is pumped to the top end, leaving the bottom end starving for lubrication. The easiest way to tackle the oiling system is to obtain it all from one source, like Milodon. It can supply you with a great variety of oil pans, oil pumps and pickup tubes to get the job done.

9.) PREPARE FOR POWER

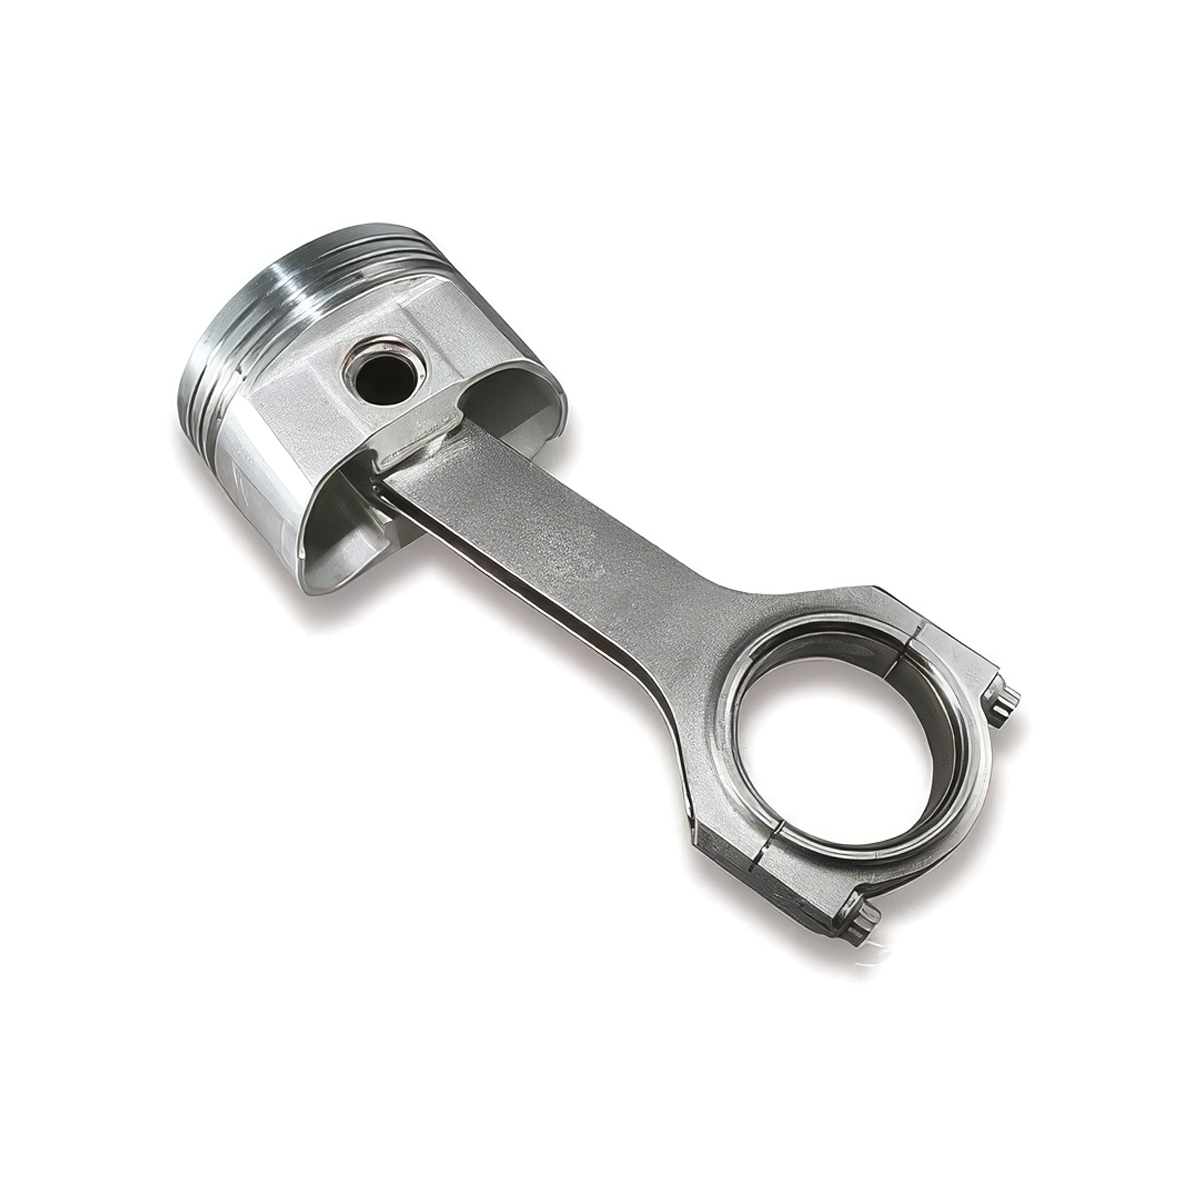
Power adders are more popular than ever, because it’s basically bolt-on horsepower, but it’s easy to reach the breaking point with boost. With boost comes detonation if the tune isn’t exactly right, and with a stock, cast bottom end, you’re looking at some serious problems. Preparing for a power adder is much more important than simply bolting it on, so take into account that upgraded pistons are a must, and if you’re going for all out performance, your entire combination should be modified to accept the additional forces and make the most power possible.

10.) CHAIN VS. GEAR

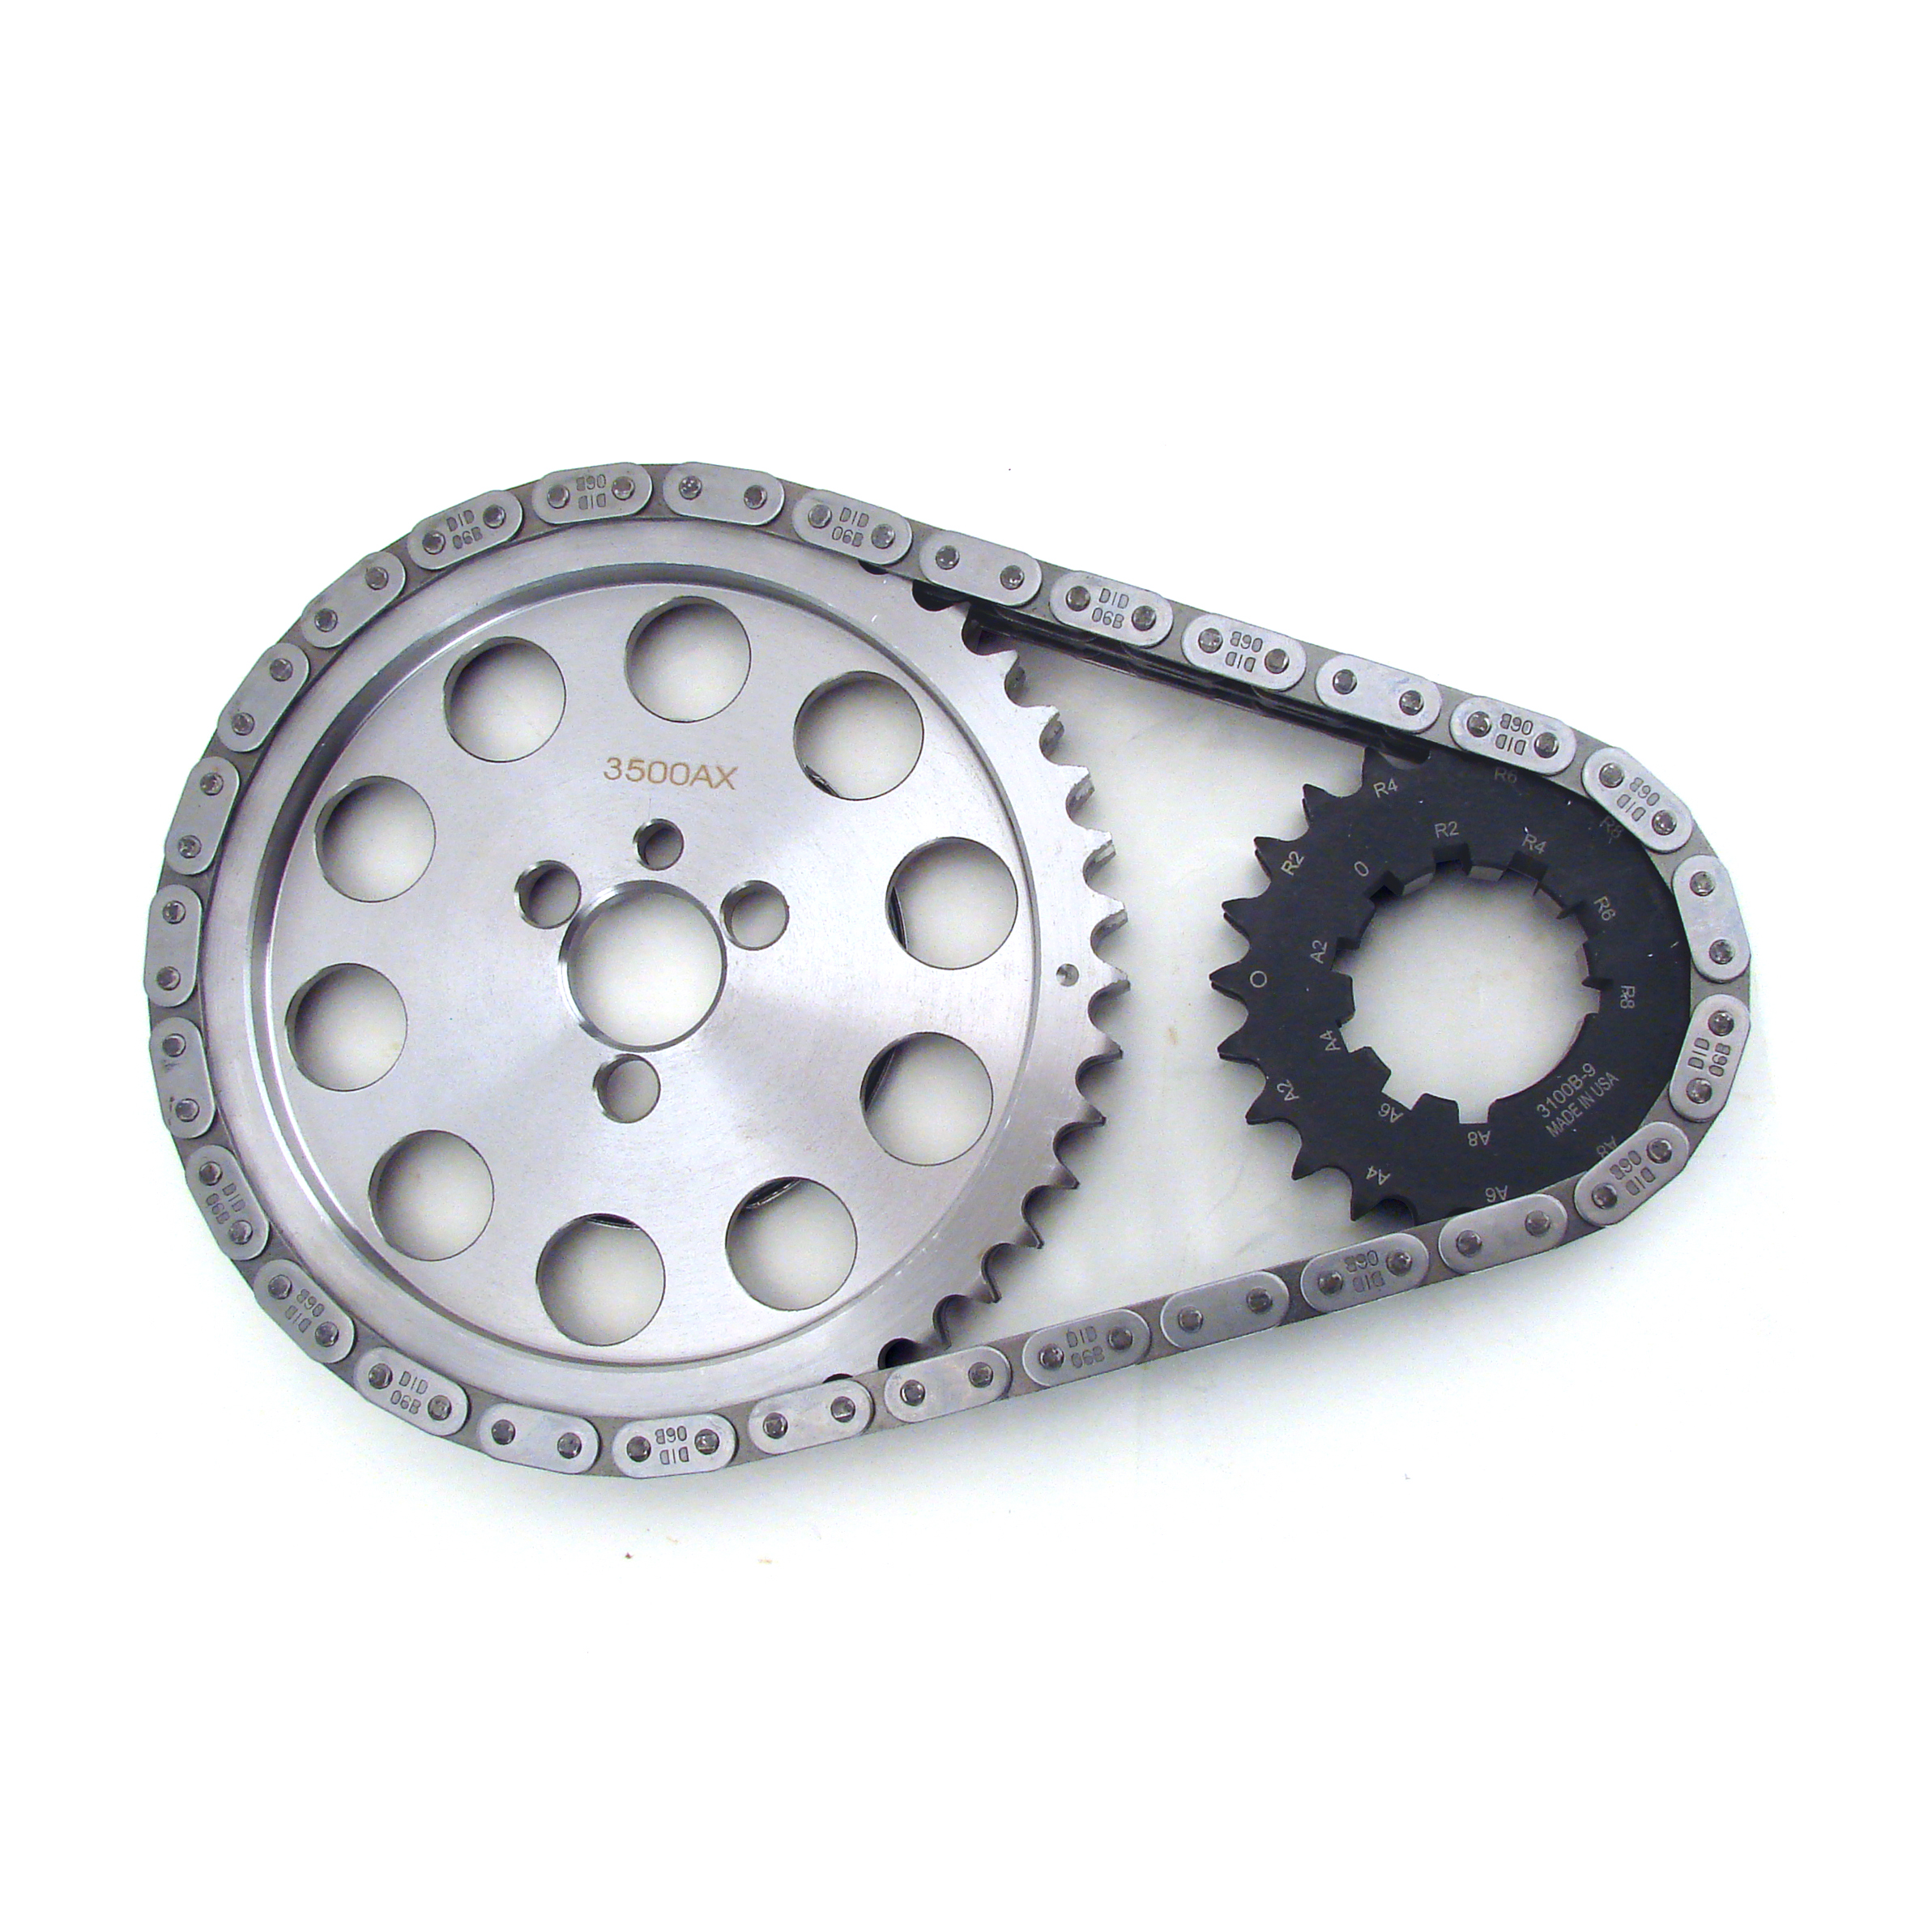
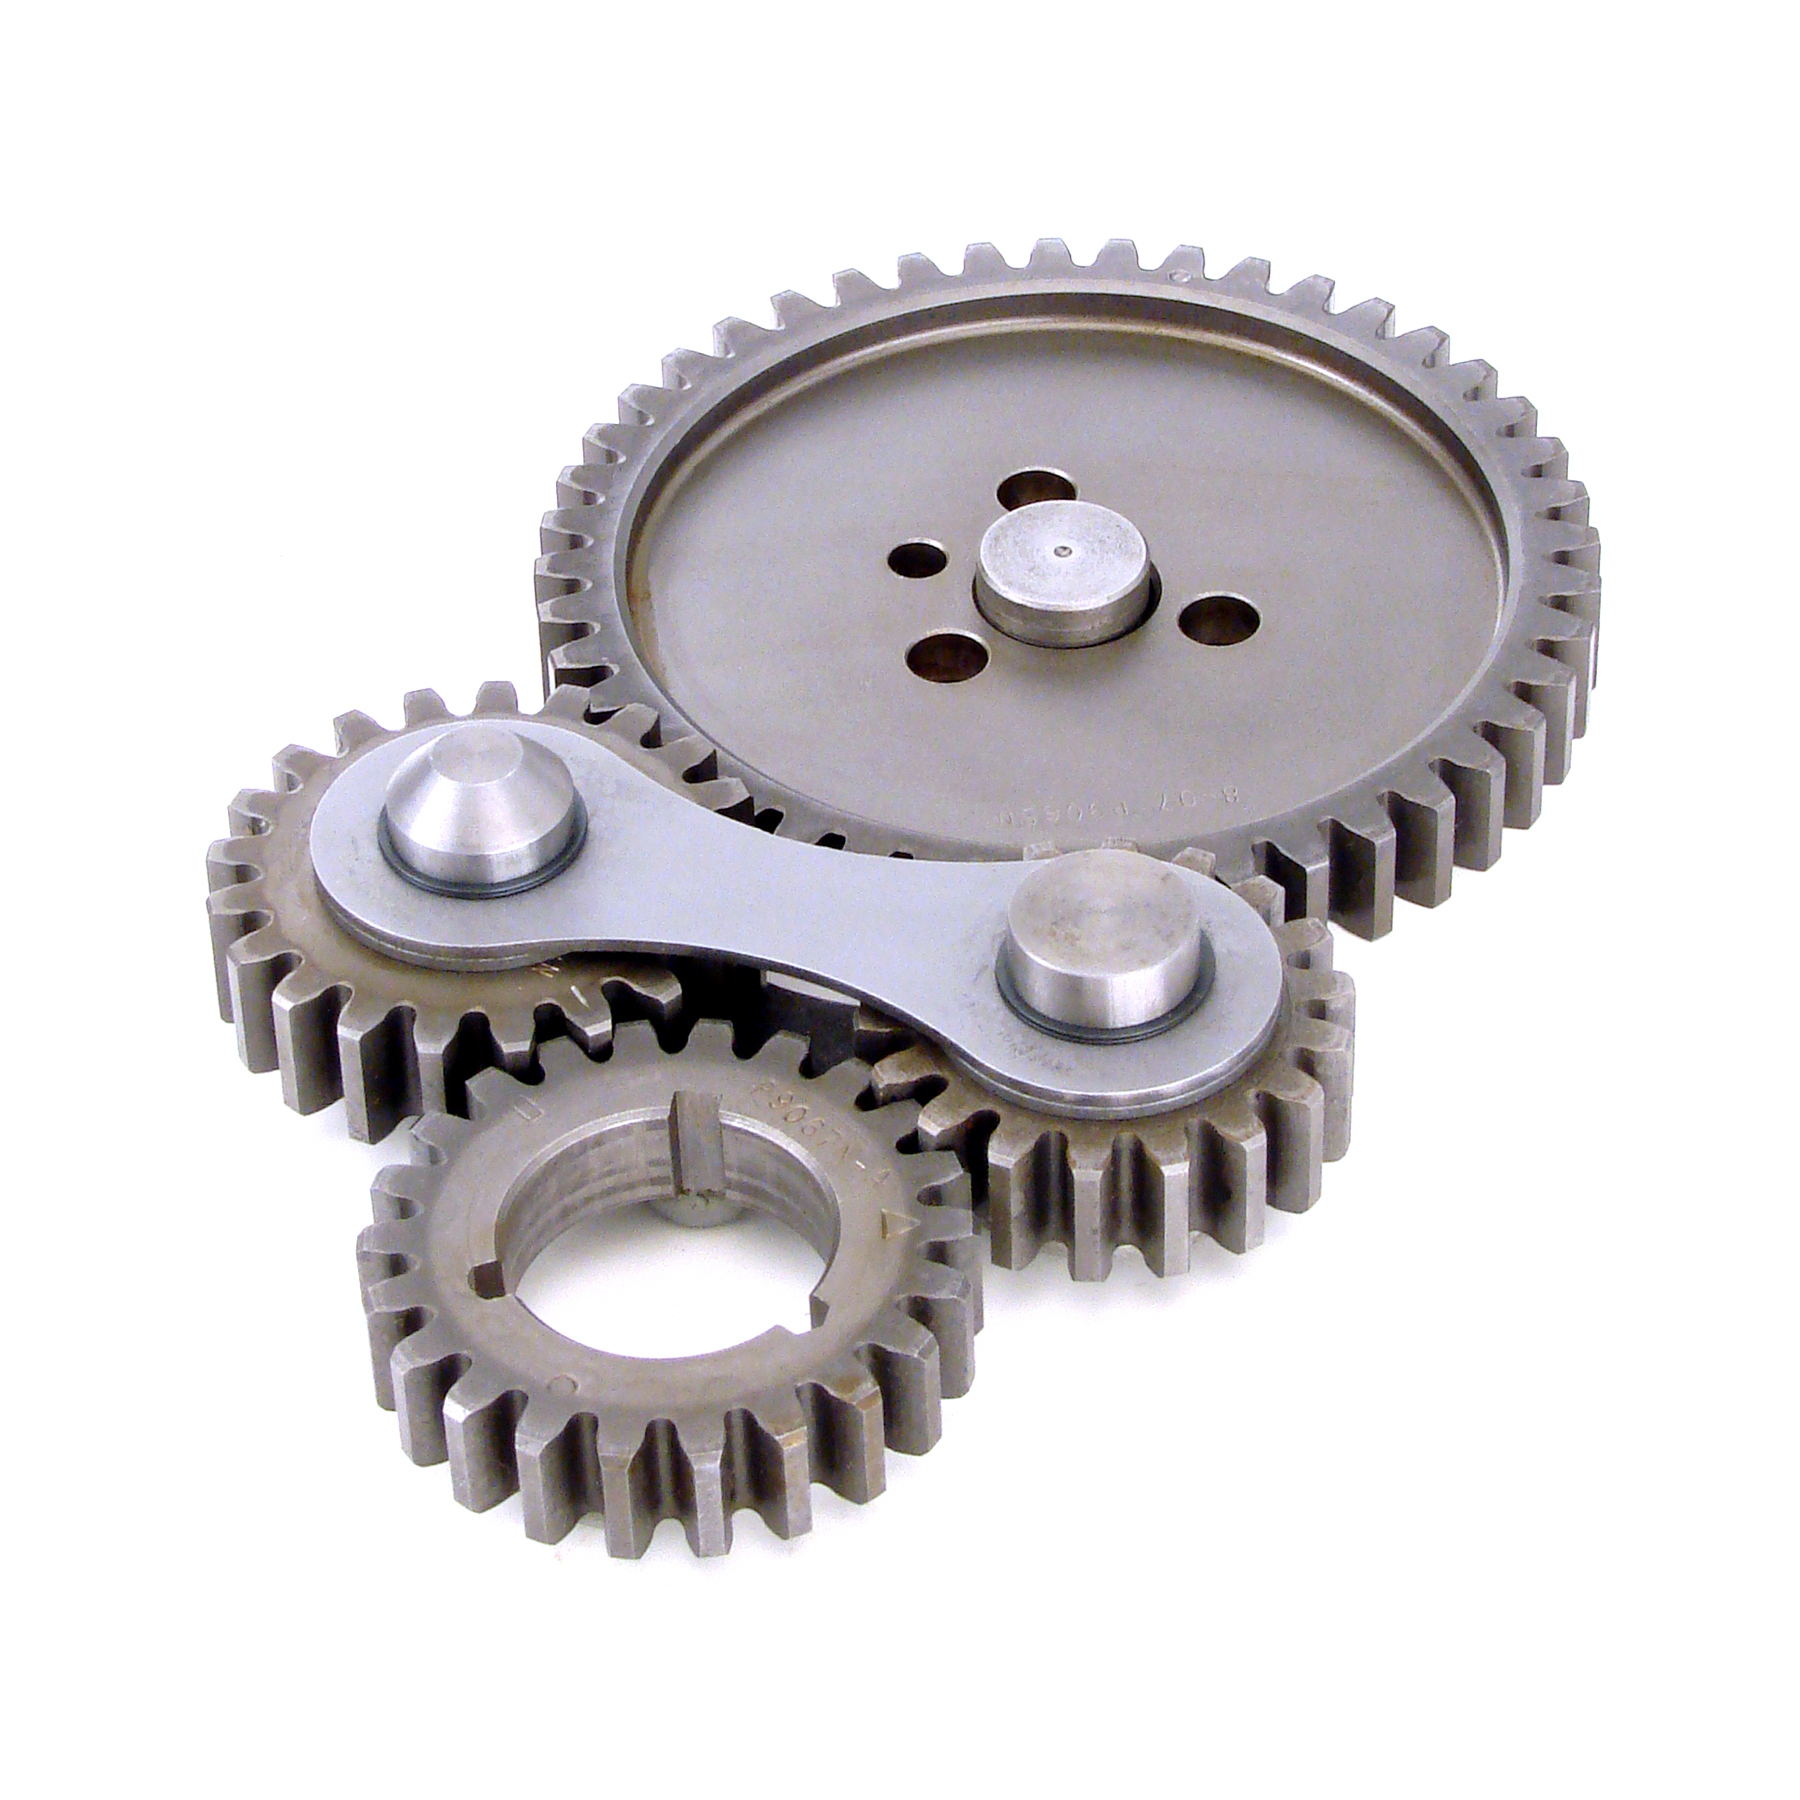
While the small block Chevy came from the factory with a chain driven camshaft, it’s easy to swap to an upgraded system, whether it’s a double roller timing chain, a gear drive or even a belt drive for extreme applications. Some folks stick with the chain, because of the long life expectancy, while others choose the gear drive for its bulletproof design that eliminates the chance of jumping time. And while gear drives have been known for a whining noise, most companies make them in a quiet configuration, if the whine isn’t your thing. There’s really no wrong answer for connecting the crank to the camshaft, as long as it’s timed correctly, you’ll be in good shape.

11.) STAMPED AND SEALED

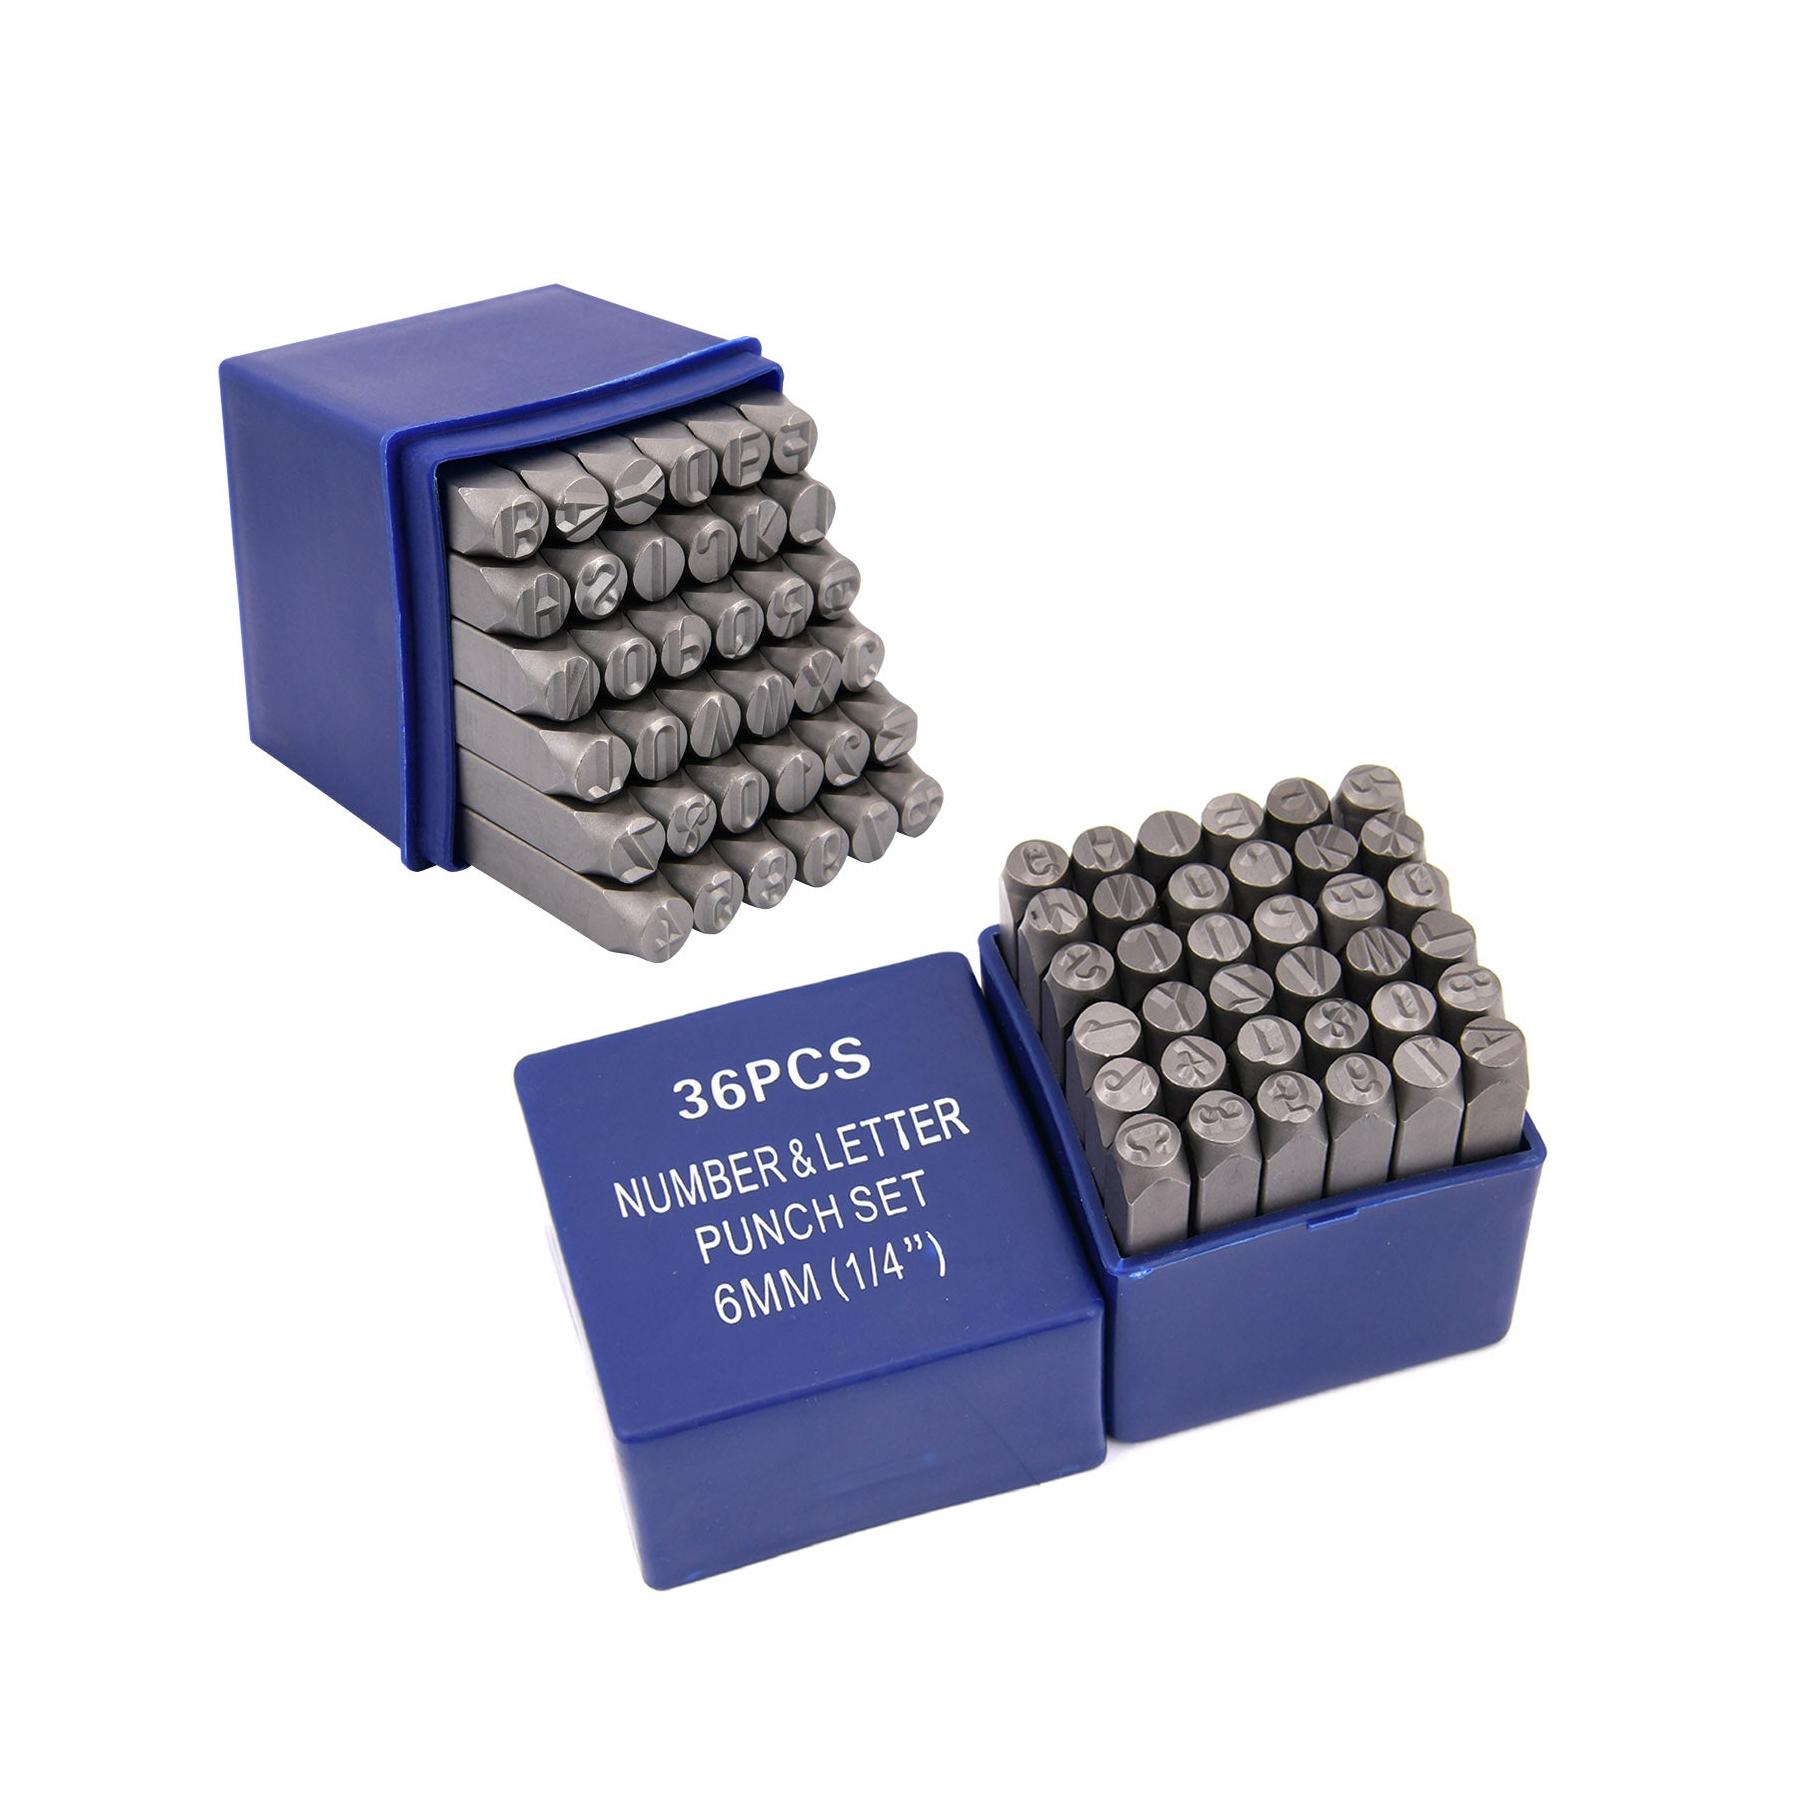
When disassembling an engine, we suggest marking all of the components from the rotating assembly, especially if the parts will be reused. Main caps and connecting rods are the main area of focus here. You’ll want to mark these parts and make sure they go back in the same order when it comes time for reassembly. We like to use the numbered punch-style stamps, as it’s easier to read than simply using a punch to make dots in the part. Also, if you plan on storing a block for an extended period of time, you’ll want to get an engine bag, to keep it sealed from the elements.

12.) SCREW-IN STUDS

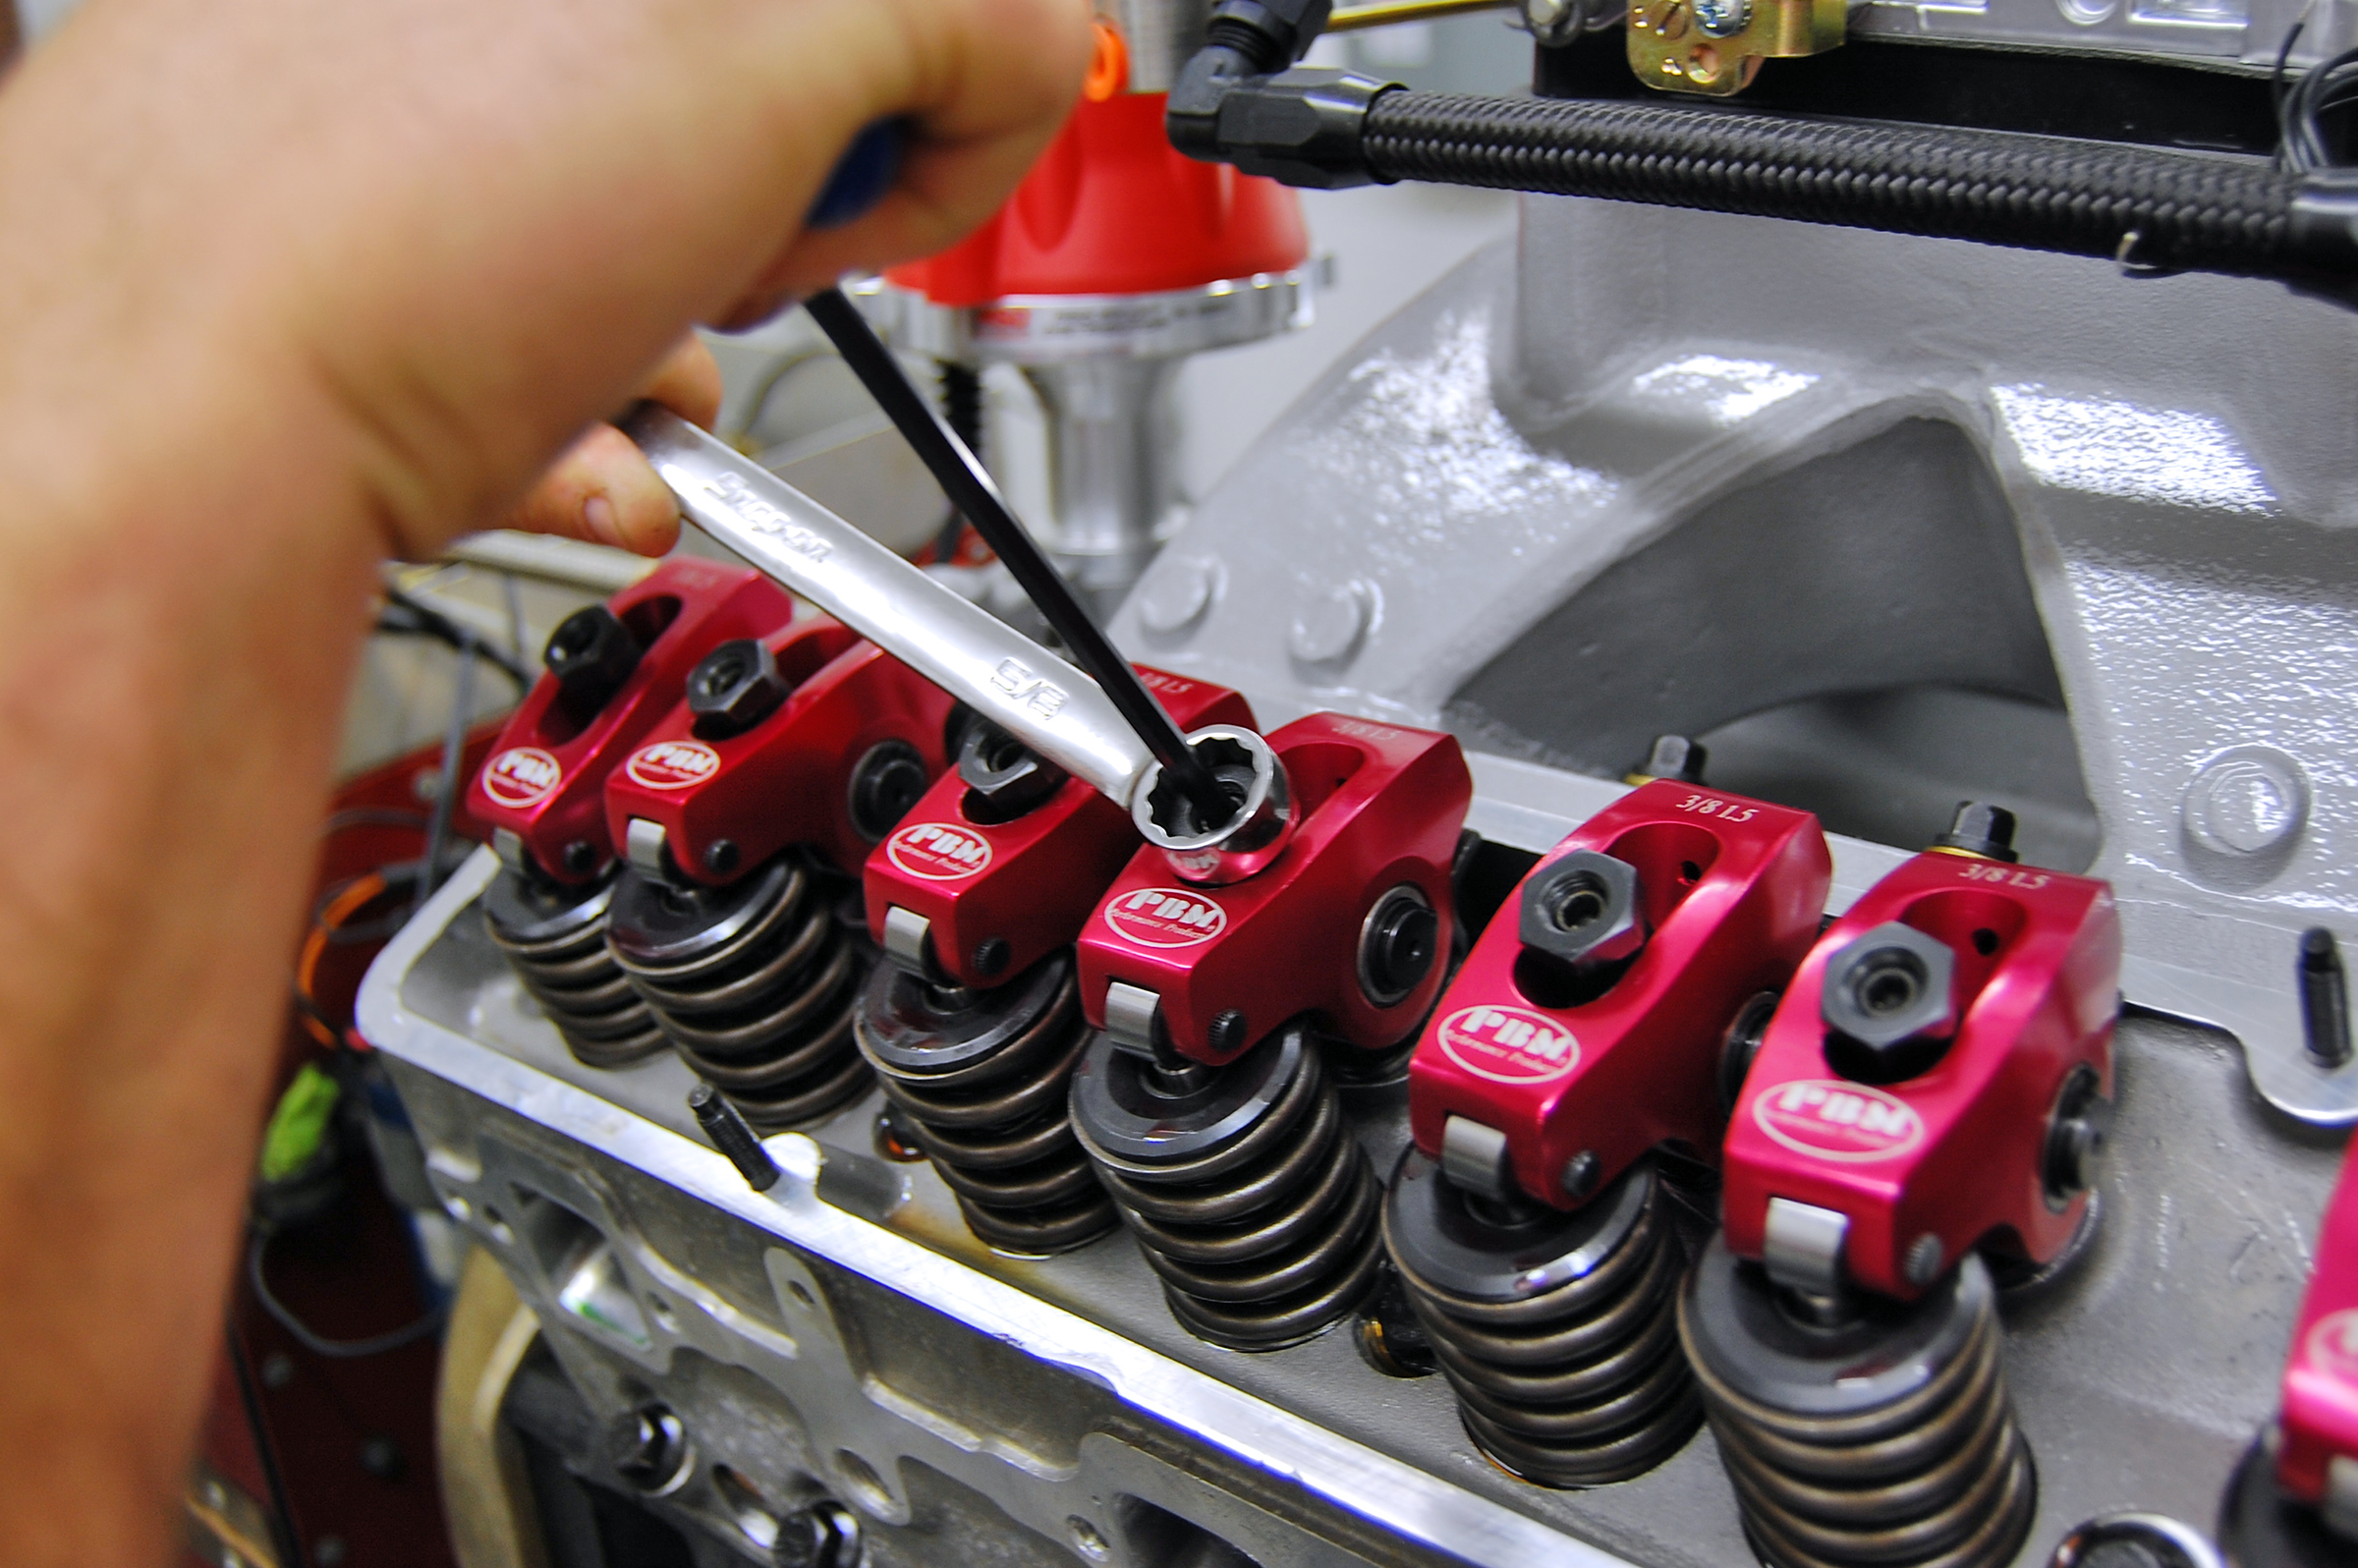
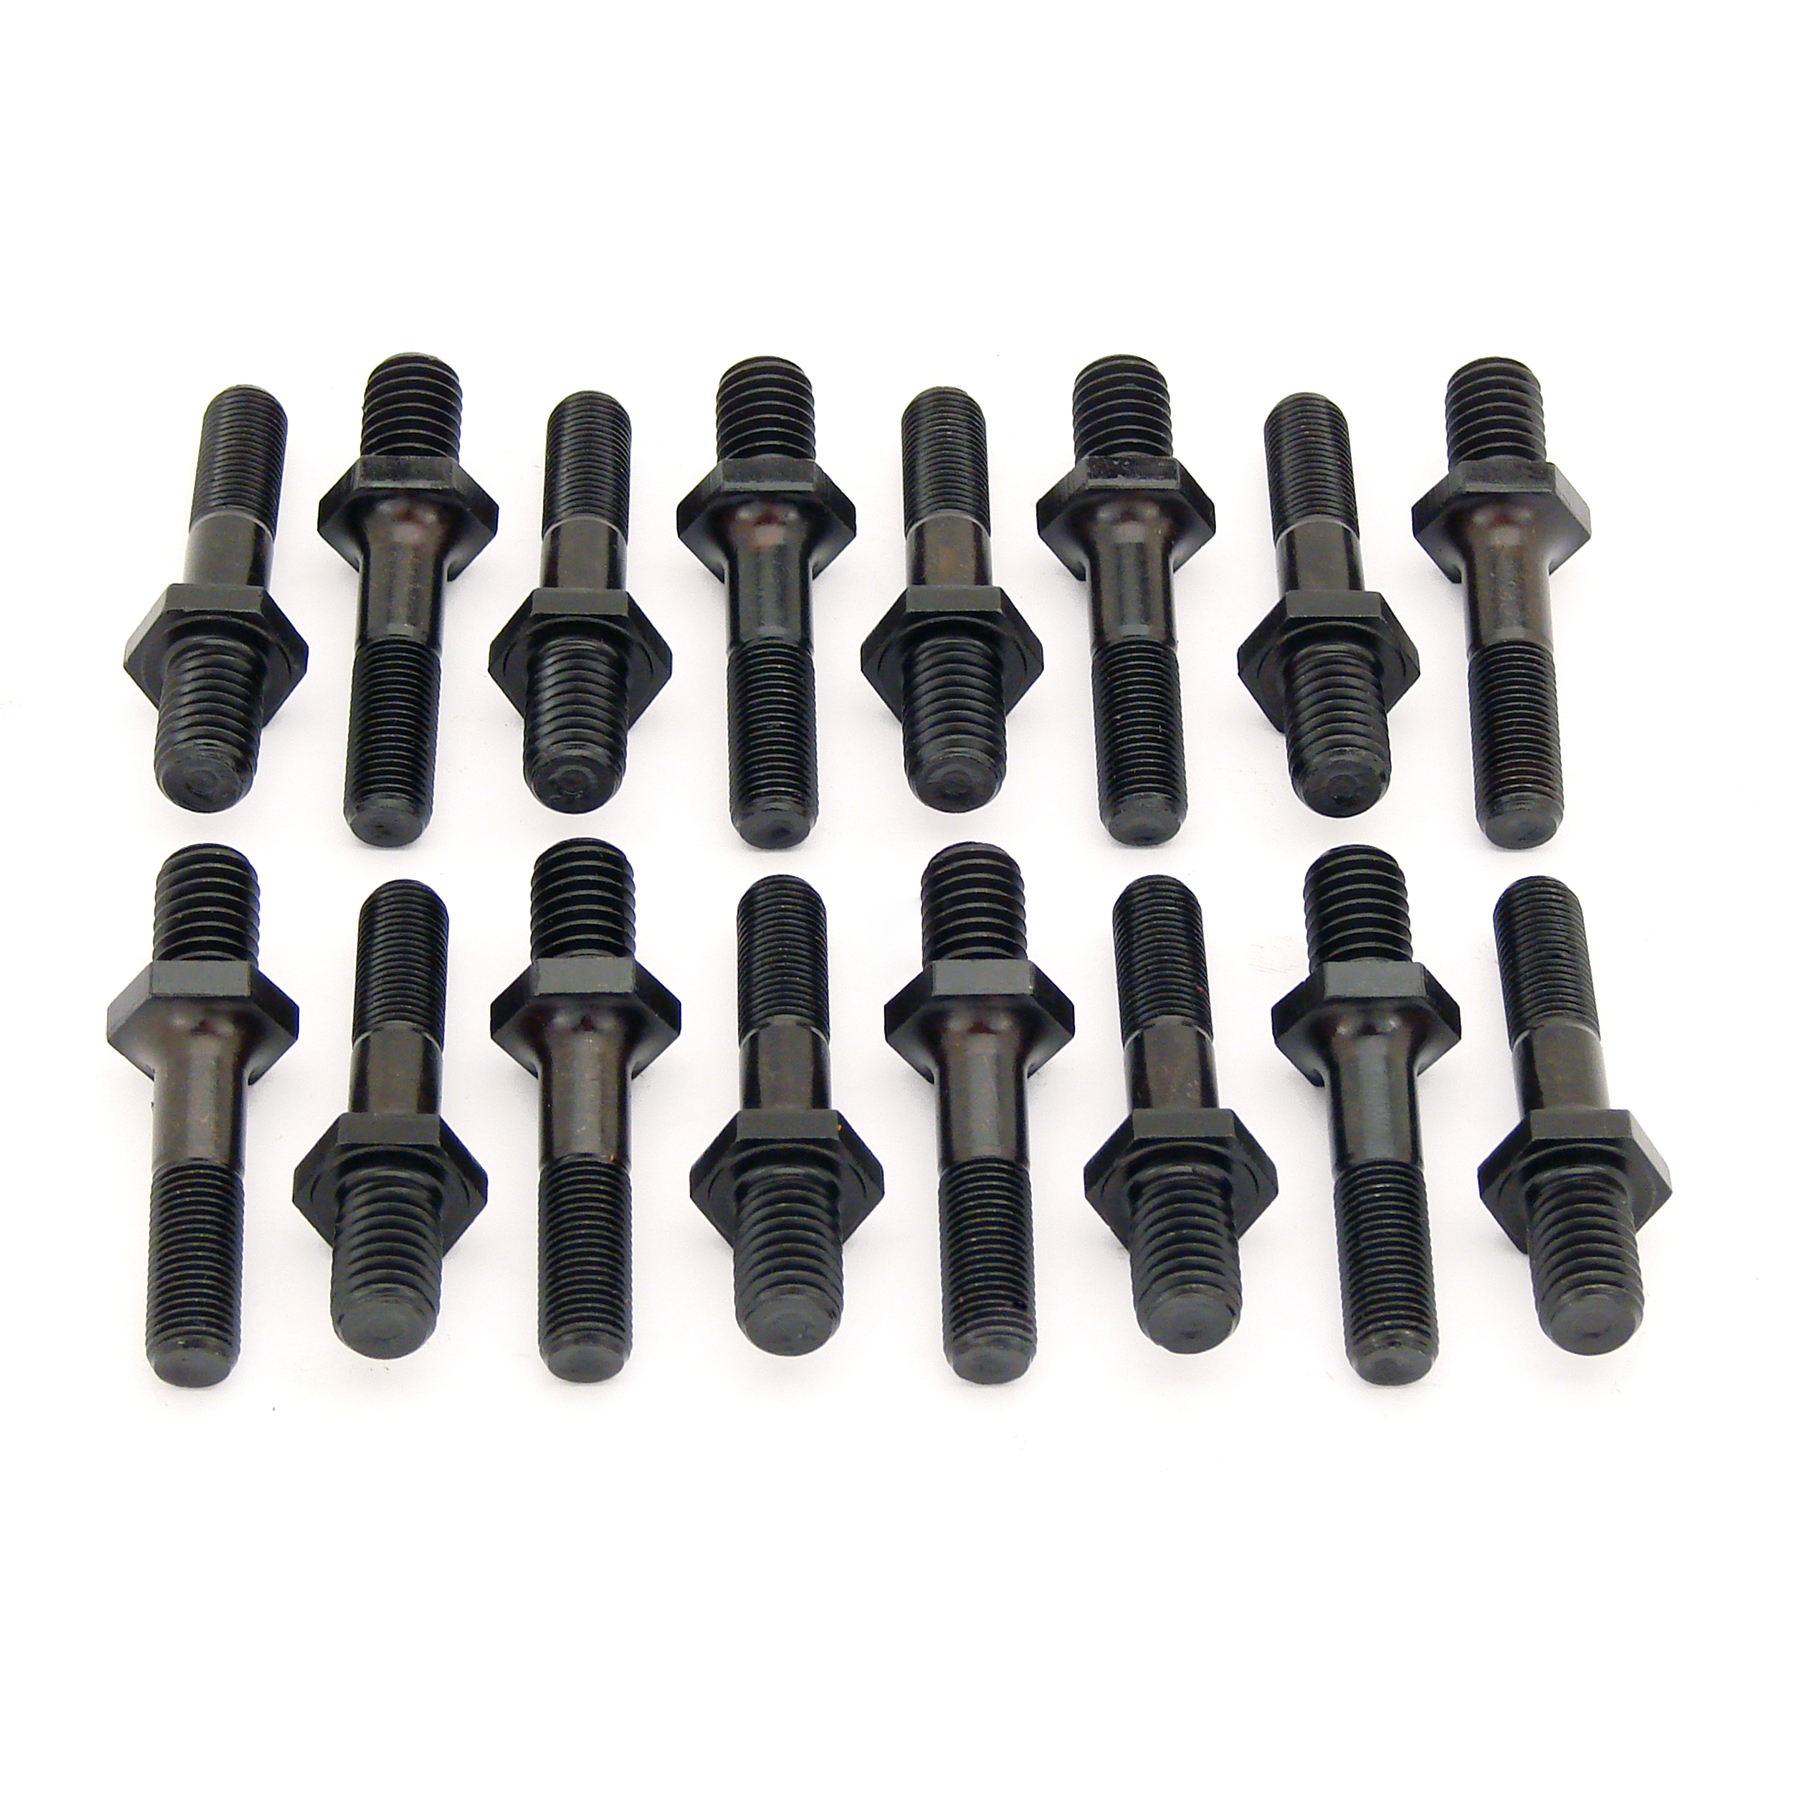
If you’re installing a large camshaft in your small block Chevy and plan on the leaving the cylinder heads stock, then you might be in for a rude awakening when a rocker arm stud pulls out of its boss. There’s no defined valve lift limitations for press-in rocker arm studs, as part of the problem comes from spring pressures and general valve train stress. It’s a good idea to take the heads to a machine shop and have them install screw-in studs before you assemble the engine, but there’s also a budget-friendly approach that serves the same purpose. You could simply drill out the boss with the stud in place, and hammer a roll pin through the boss and stud. This keeps the stud from backing out and saves money at the machine shop, too.

13.) SPACED OUT

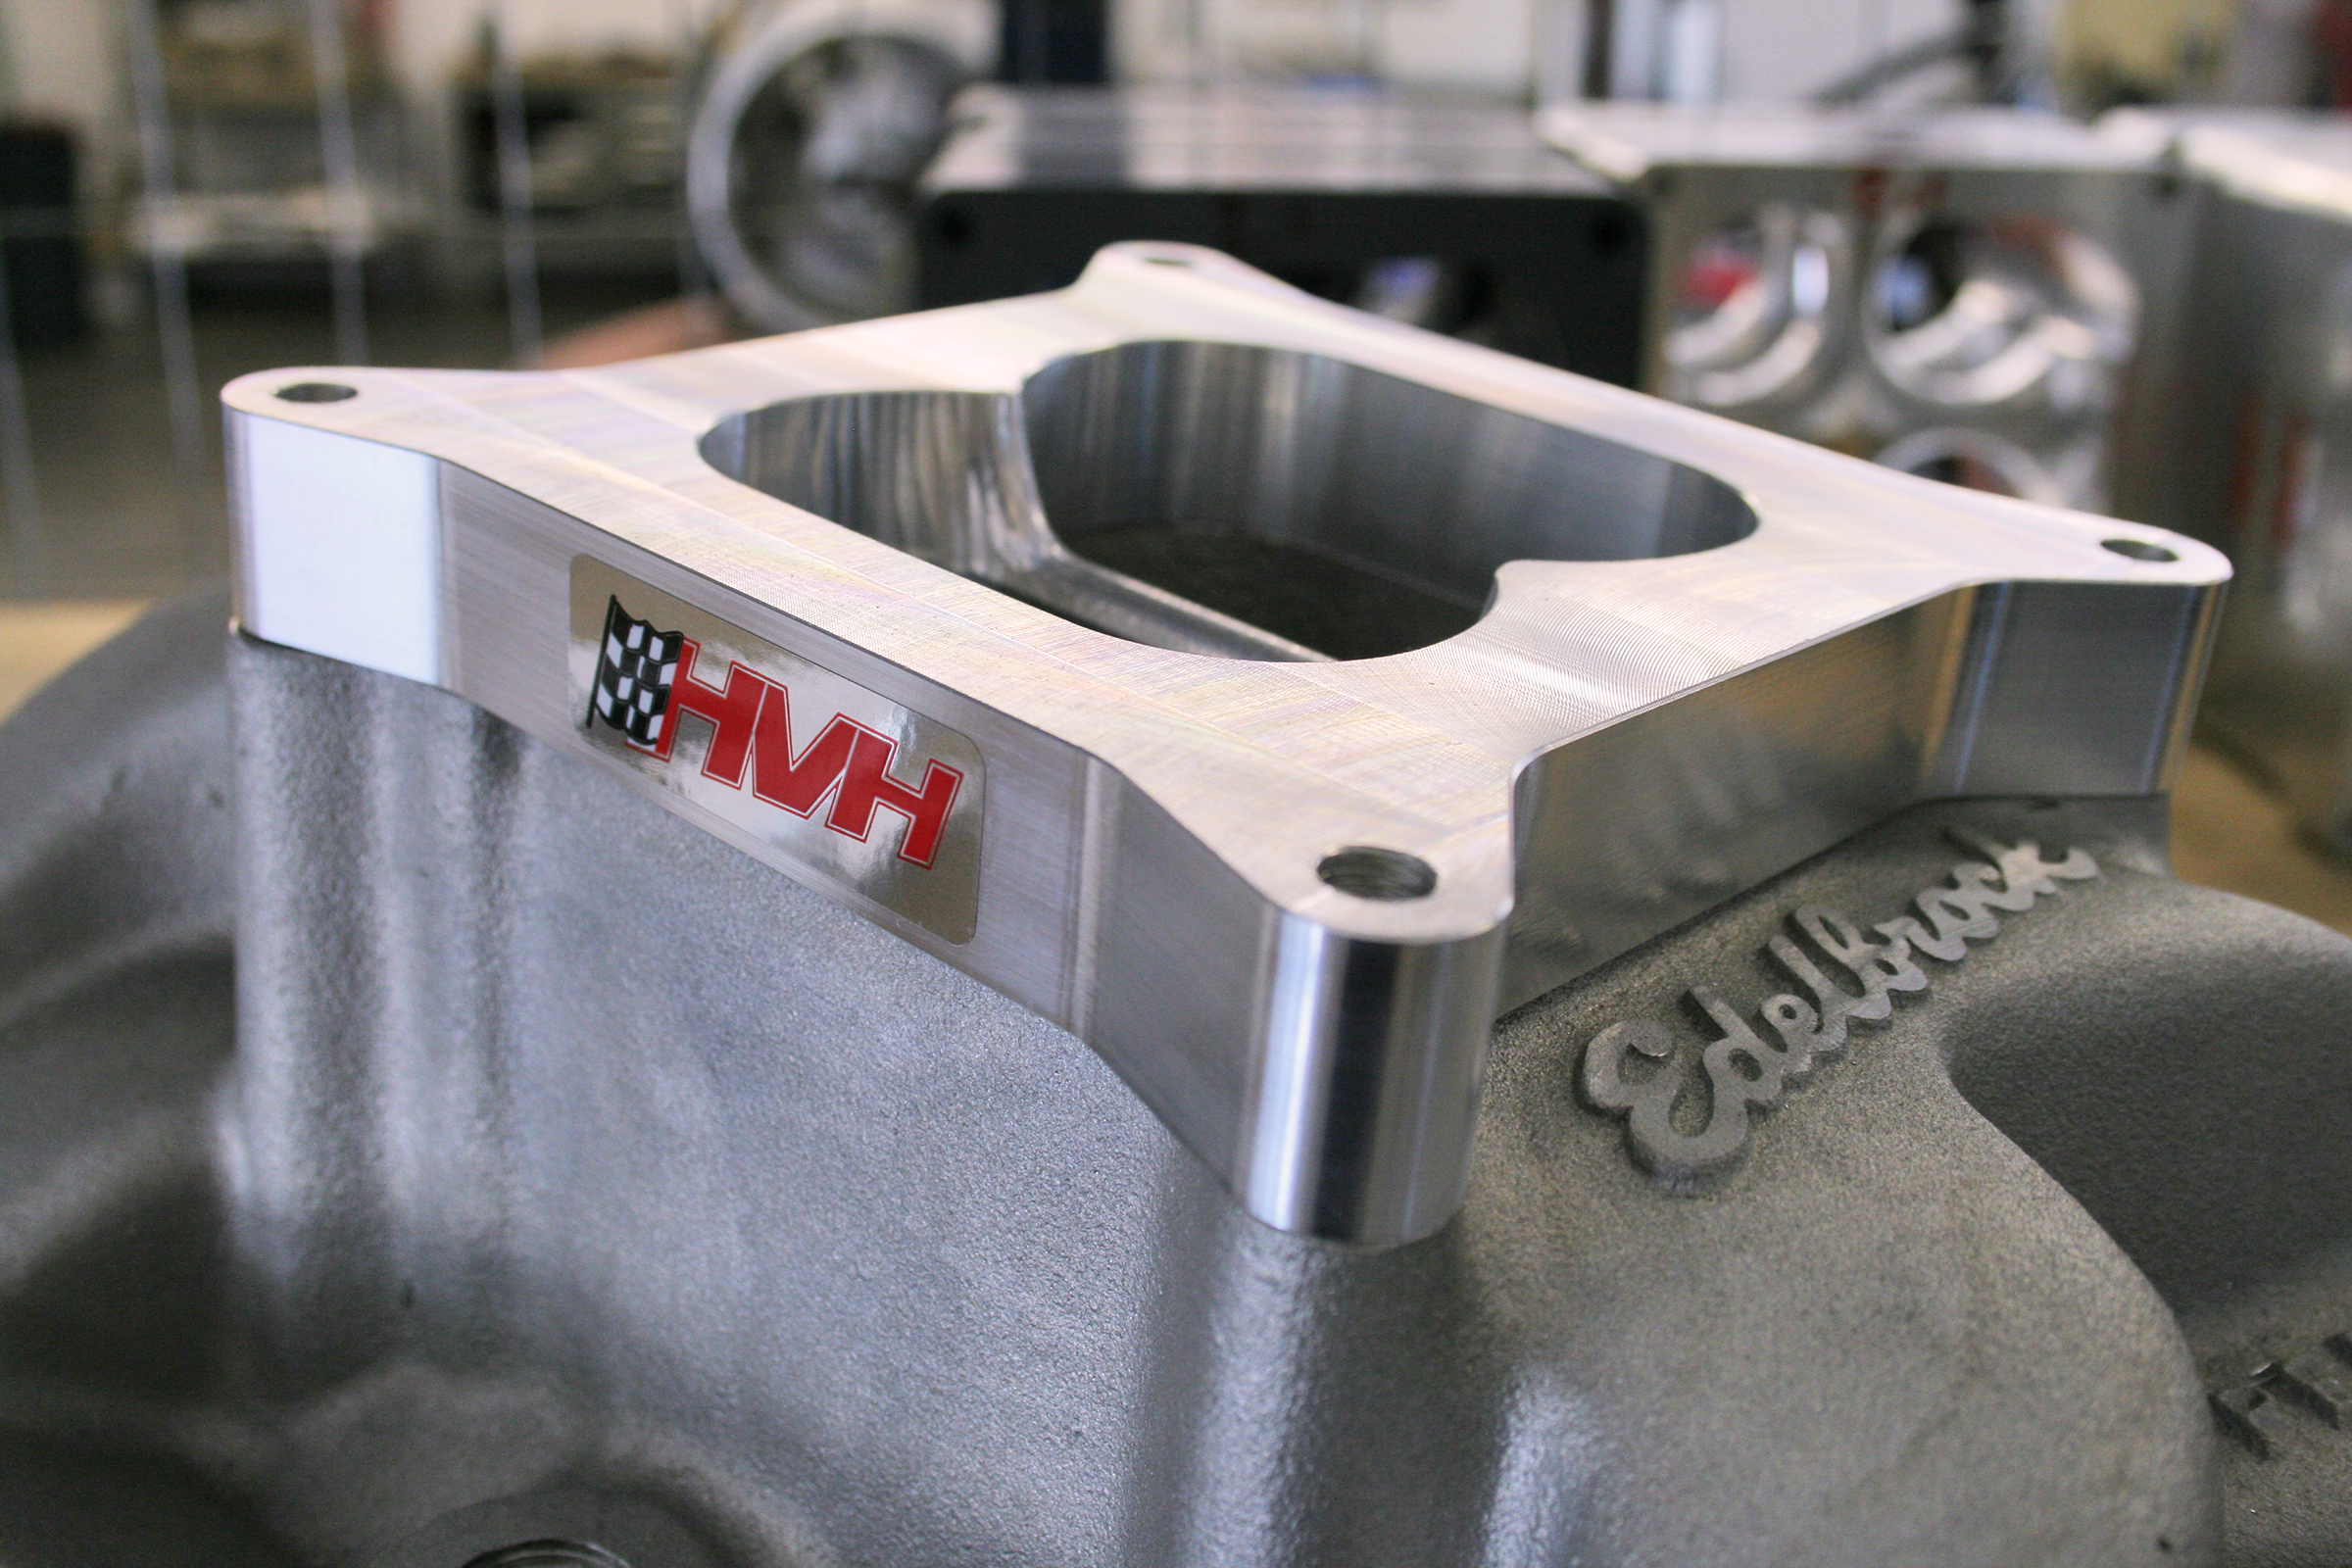
We hear a lot about carb spacers and there’s mixed reviews among enthusiasts, even though dyno tests have proven that the High Velocity Heads (HVH) aluminum spacer gained around ten horsepower on the average small block. A one-inch spacer is usually all a small block Chevy needs, and anymore could be overkill for a mild-mannered street engine. The spacer’s job is to create a taller plenum, so the gained horsepower will show up at high rpm, rather than down low. Results vary depending on camshaft, cylinder head and intake manifold selection, but you can count on a small gain if you’re looking to squeeze every ounce of power out of your machine.

14.) GASKET MATCHING

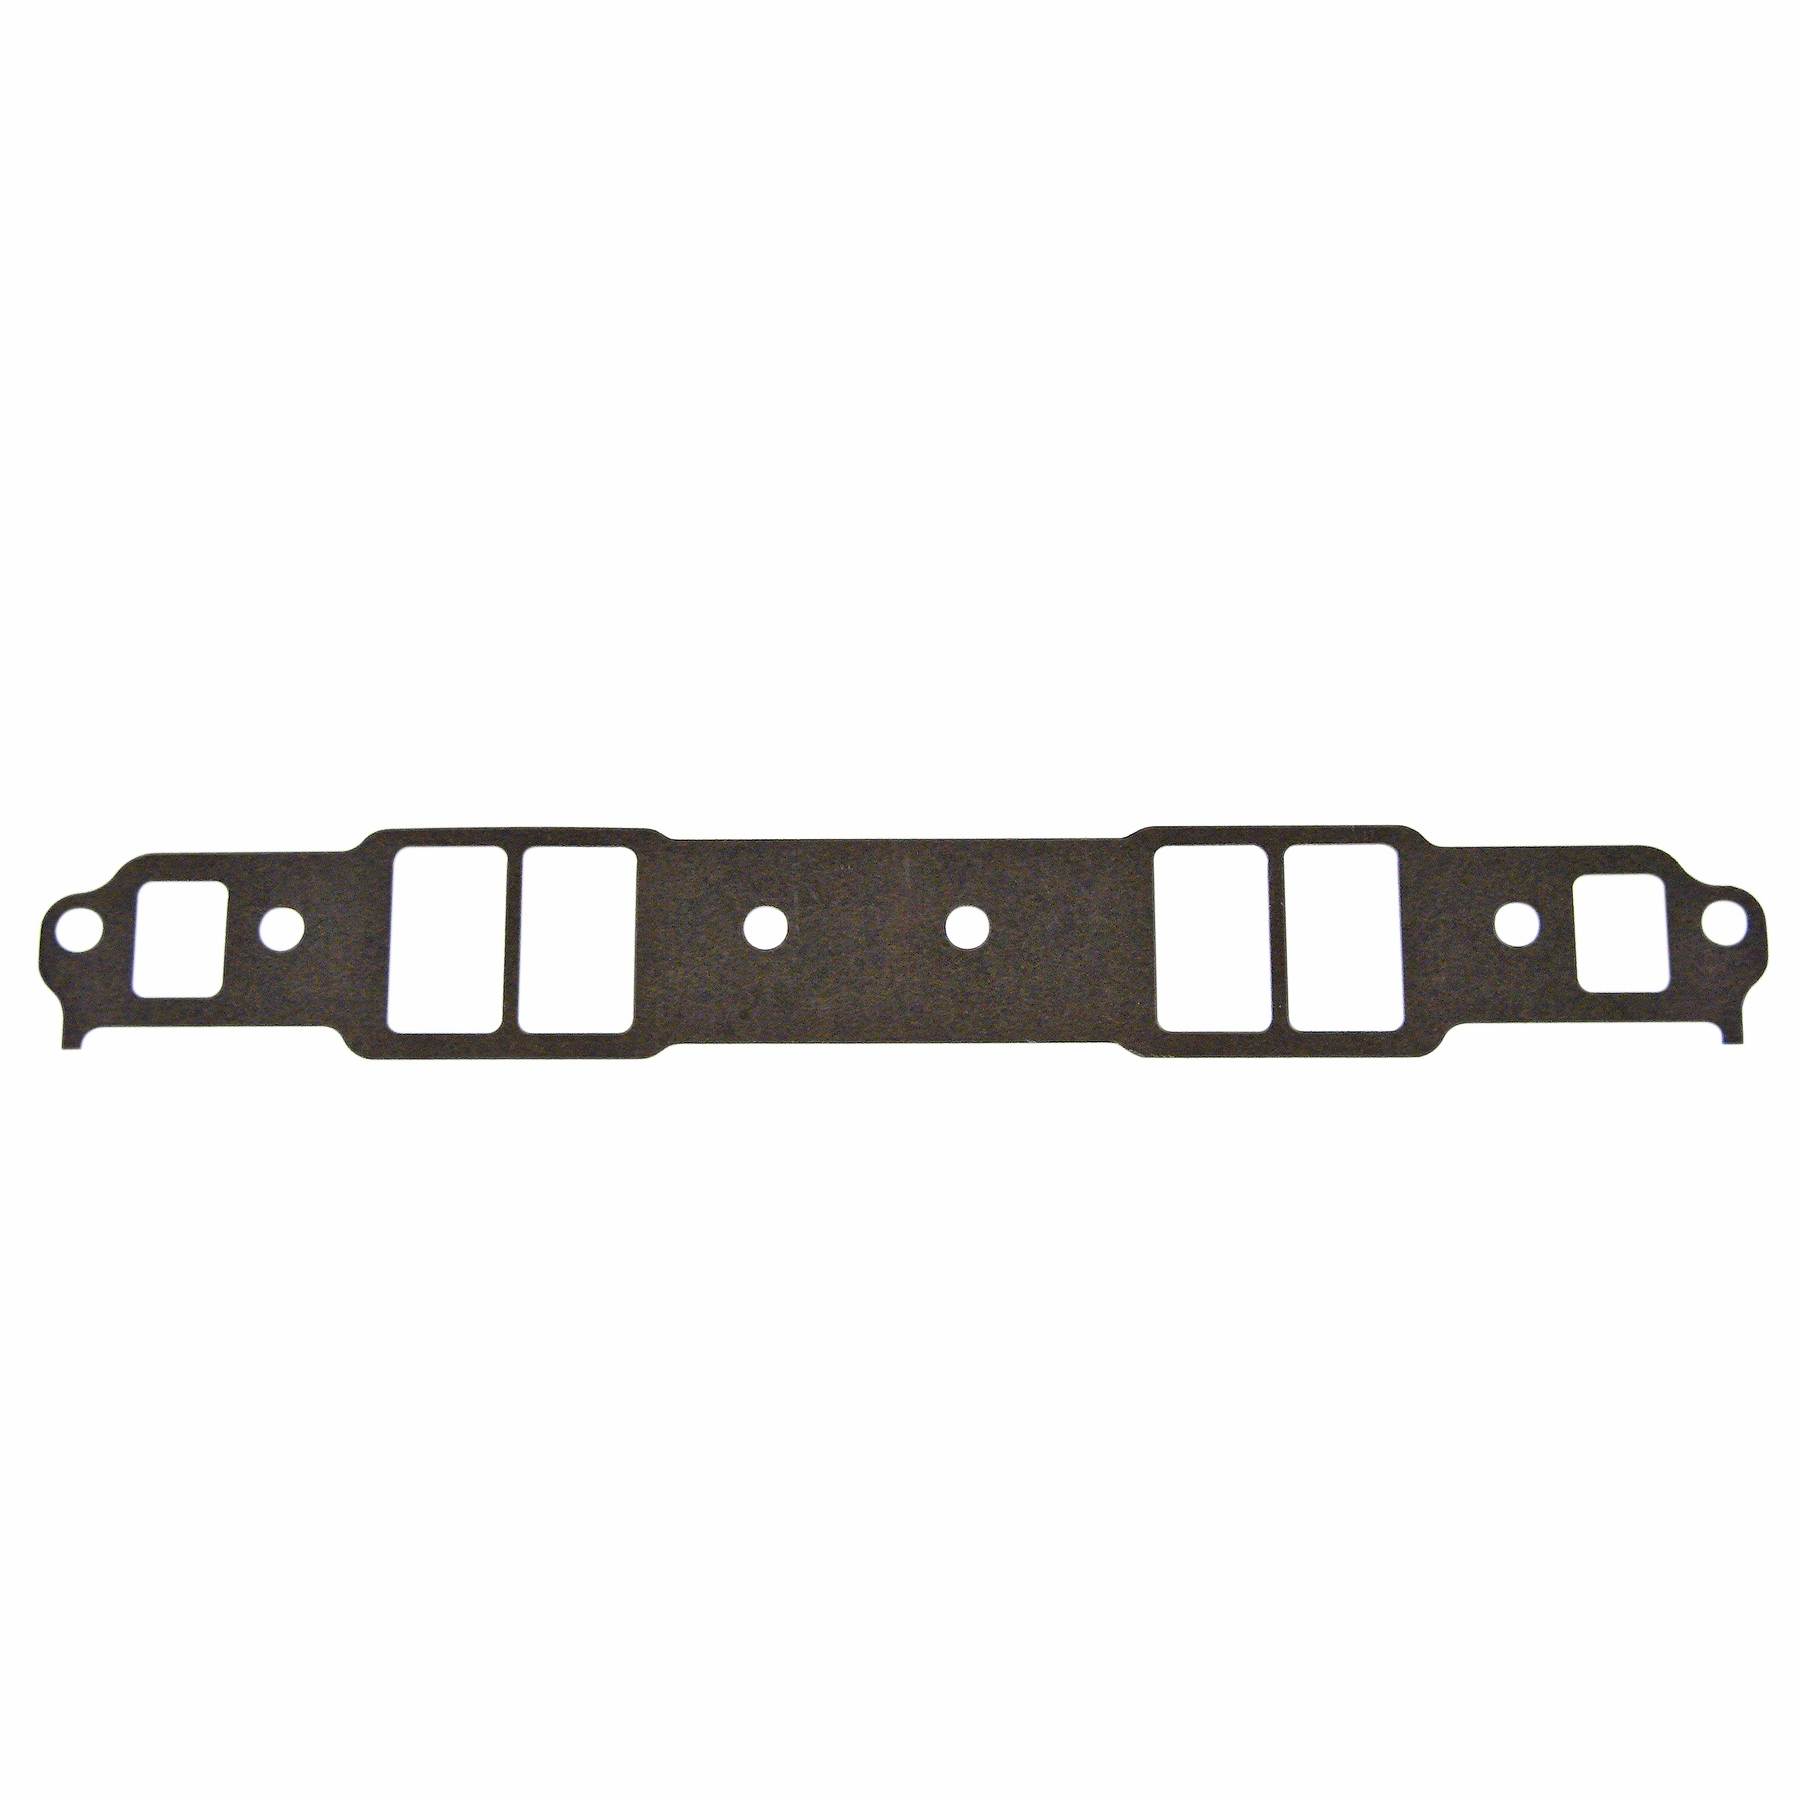
When a pair of large-port cylinder heads is in use, you can usually get away with an aftermarket gasket made for bigger heads. However, extremely ported heads will require a modified gasket, to make sure none of the air is being blocked by excess gasket material. Usually, the only gaskets that need trimming are the intake manifold-to-head gaskets, and it’s an easy process if you absolutely have to enlarge the holes.

15.) INSTALLED CENTERLINE ANGLE

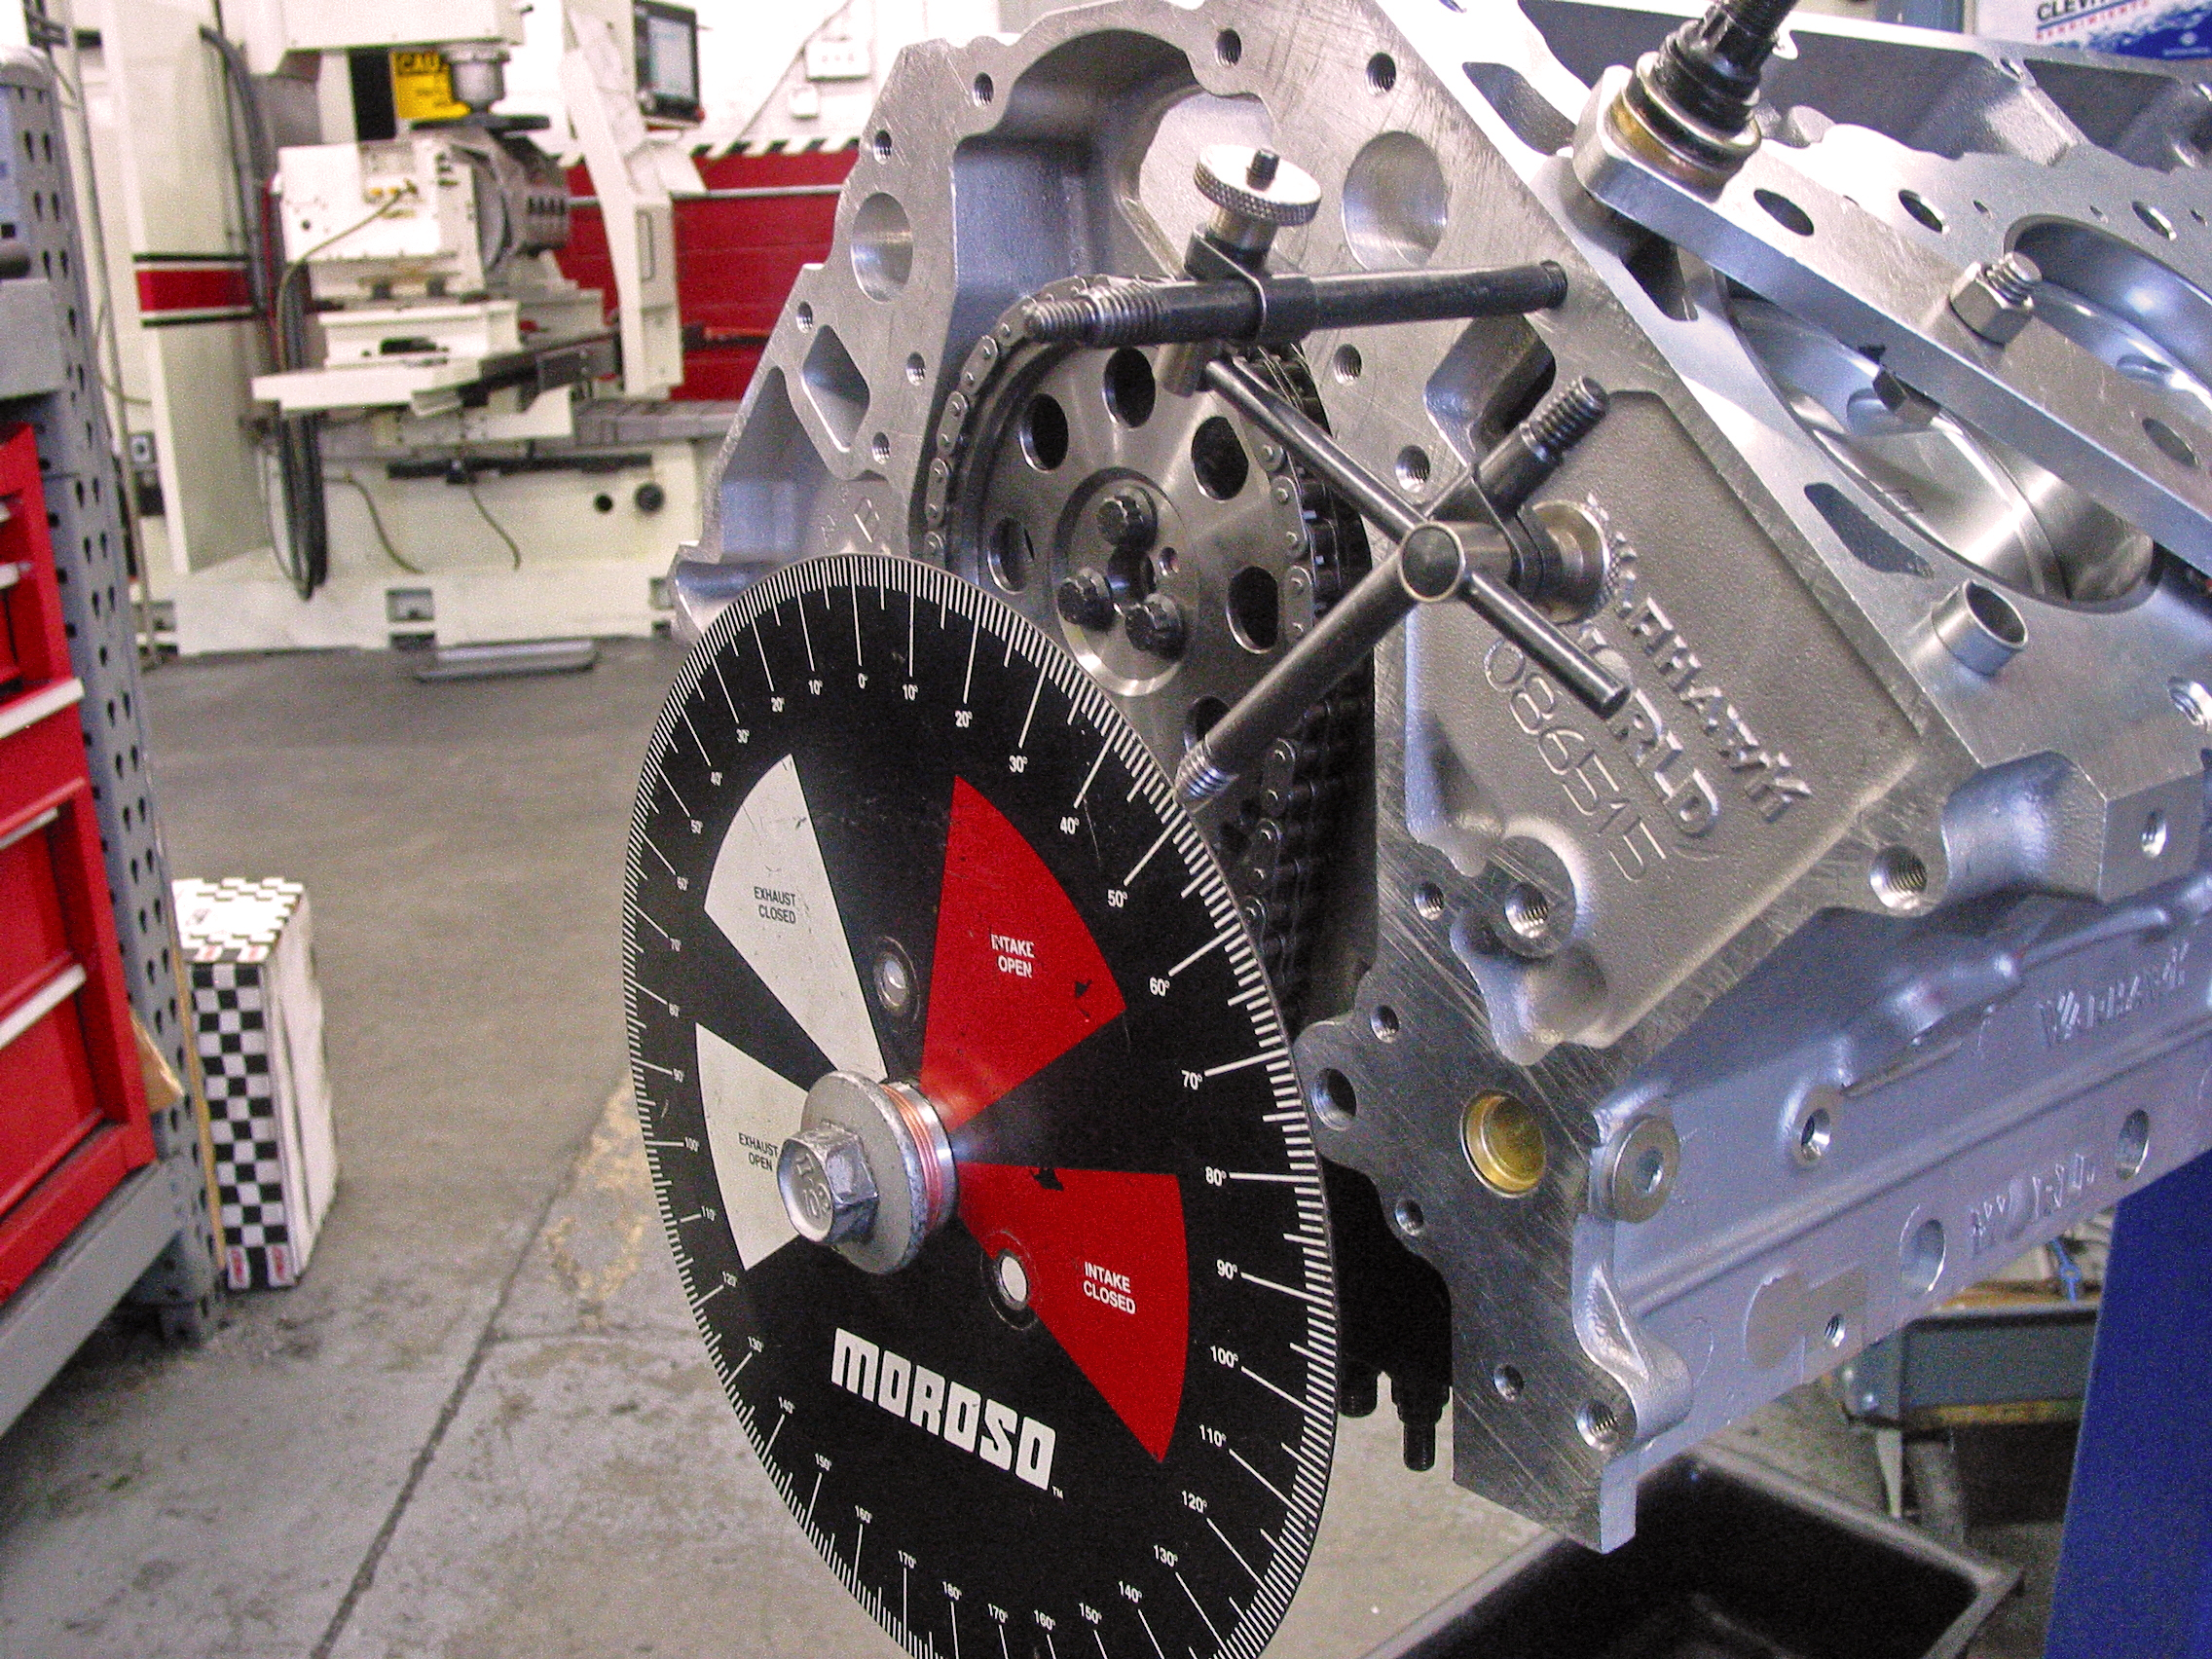
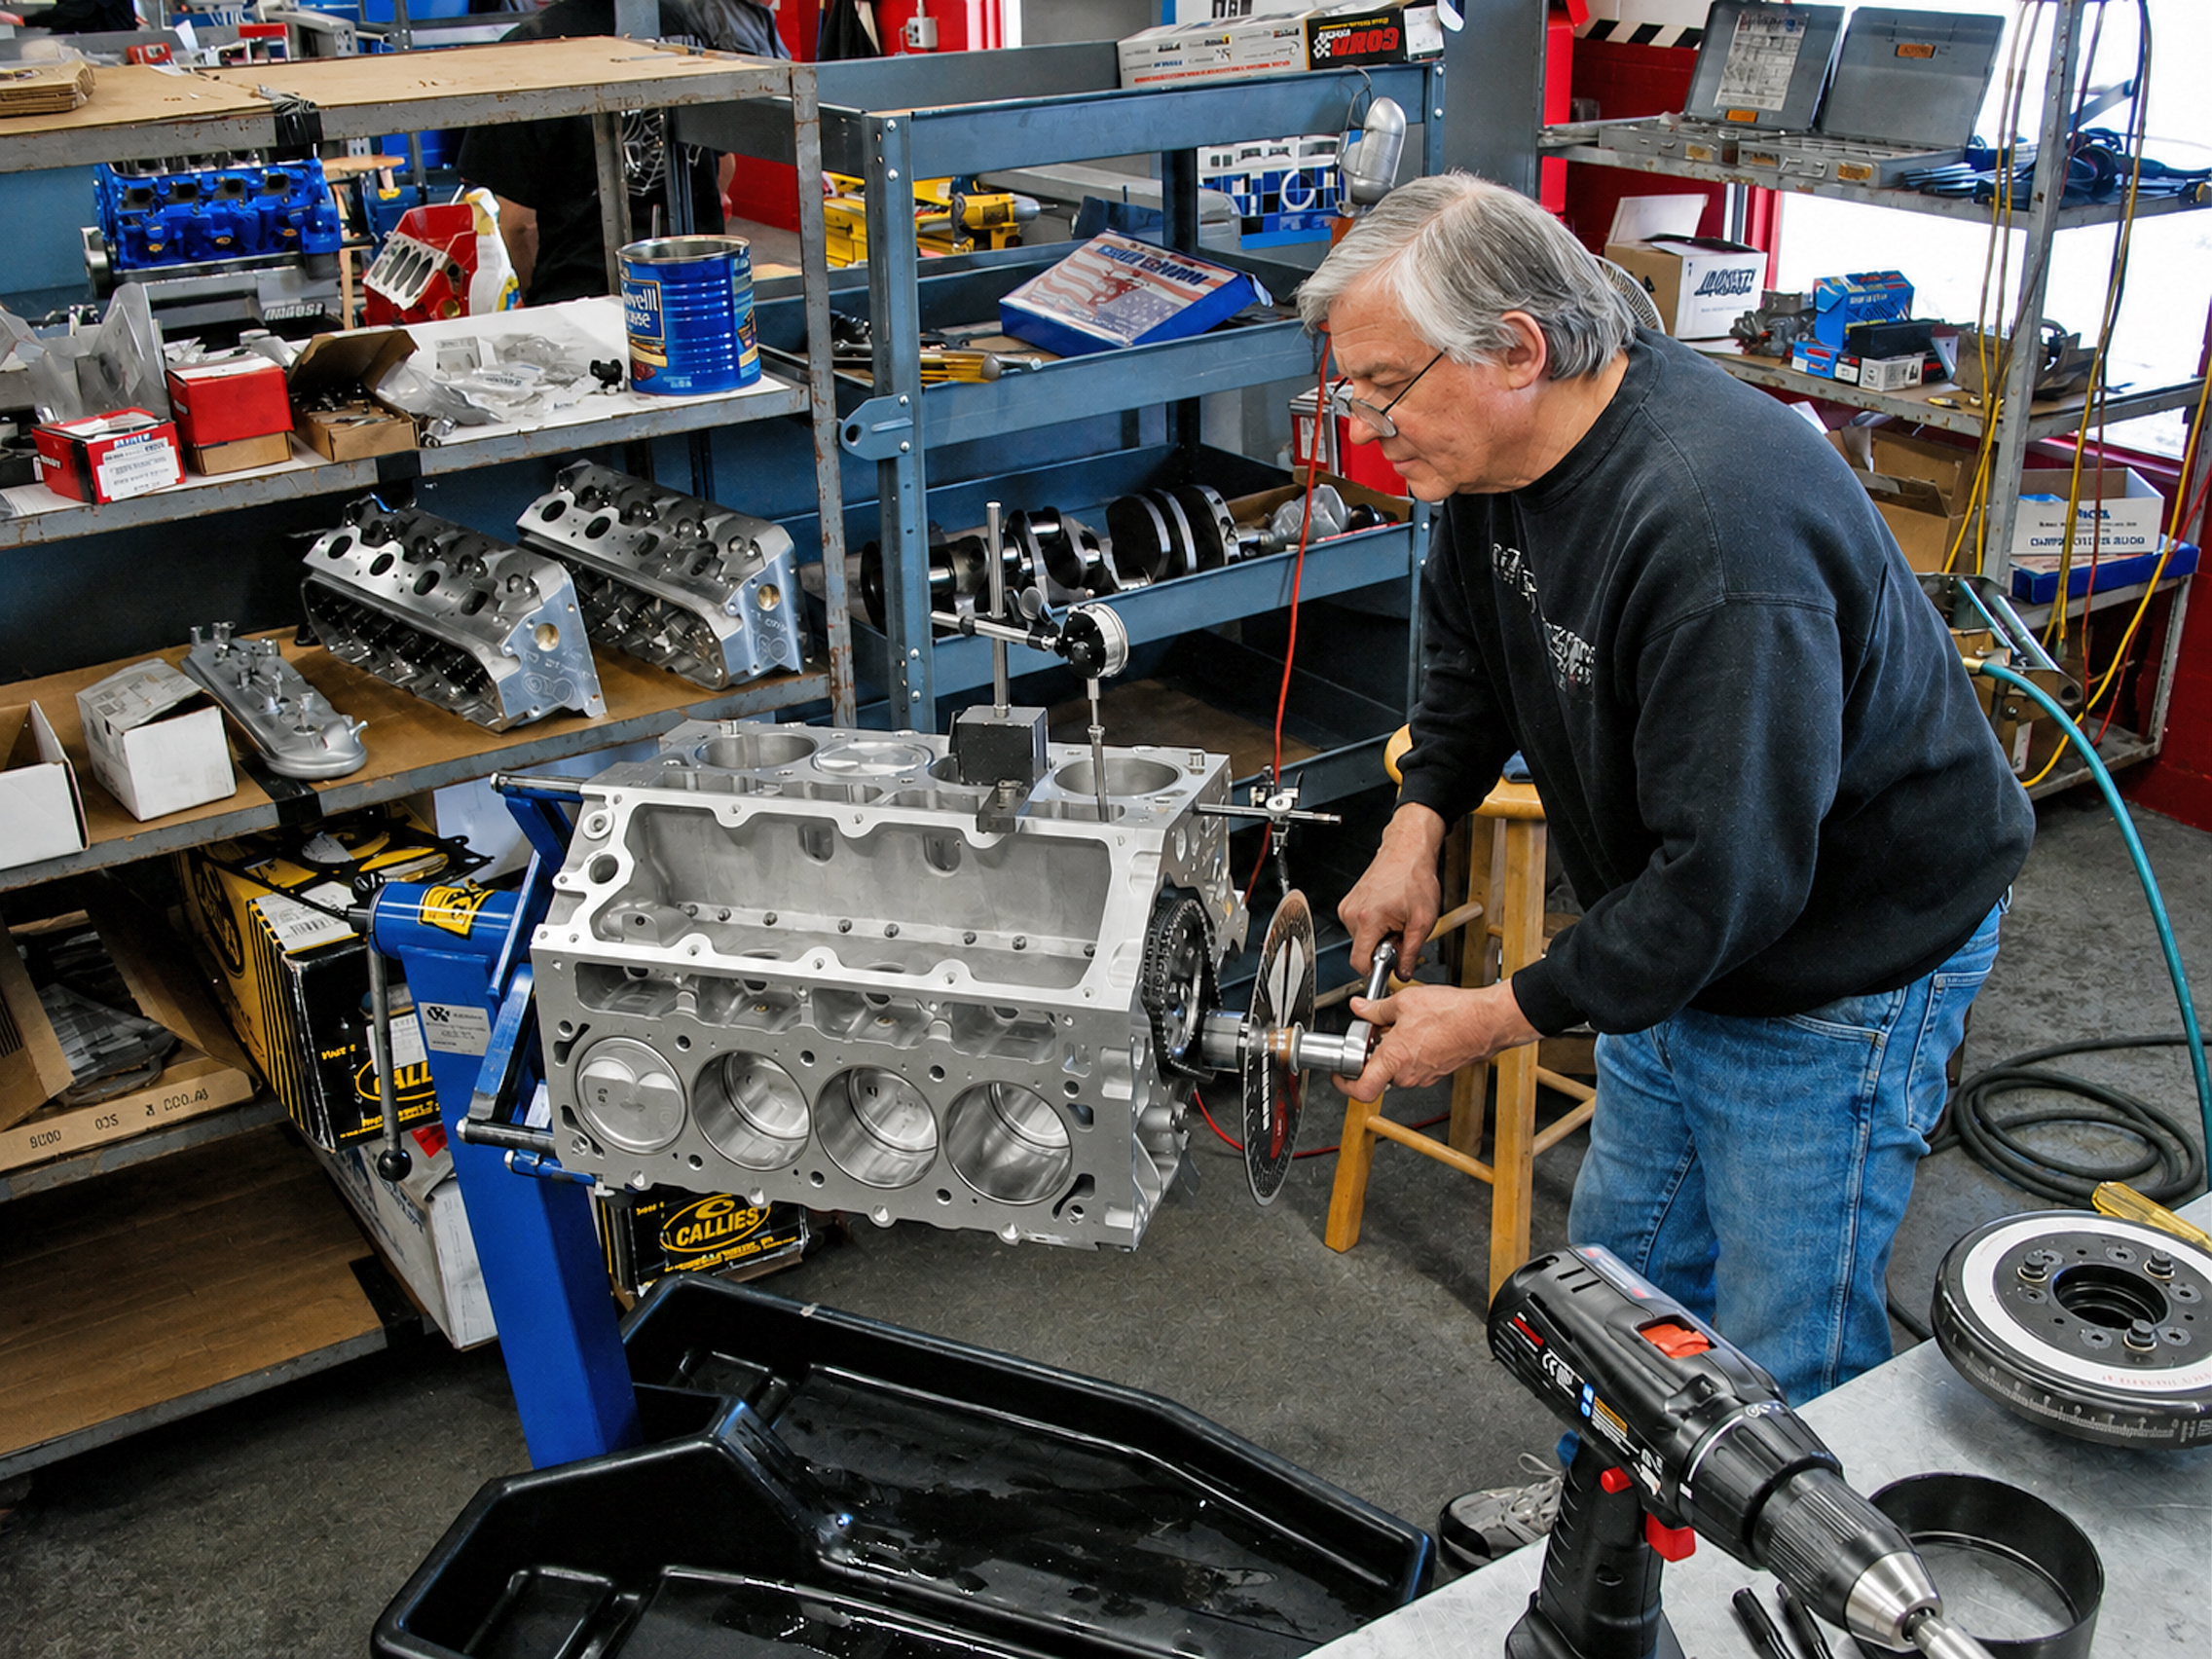
Not to be confused with Lobe Separation Angle, the installed centerline angle (ICA) concerns the camshaft’s location in correspondence to the crankshaft. This angle is determined with a degree wheel, which is great tool that ensures the cam timing is spot on. The ICA is figured from the amount of degrees the camshaft turns from TDC to the intake lobe’s max lift. So, if you have a camshaft ground on a 110-degree LSA and you install it straight up, with the dots aligned, you’ll have a 110-degree ICA if the camshaft doesn’t have any advance built-in. Some camshafts come with advanced timing built in, which makes all of the valve operations come in earlier. Rotating the camshaft one way or the other, to advance or retard the cam timing, changes the ICA. Most of the time, installing the cam straight up is the easiest route, but it’s always good to degree it in, just to make sure everything checks out.

16.) PRE-OILING

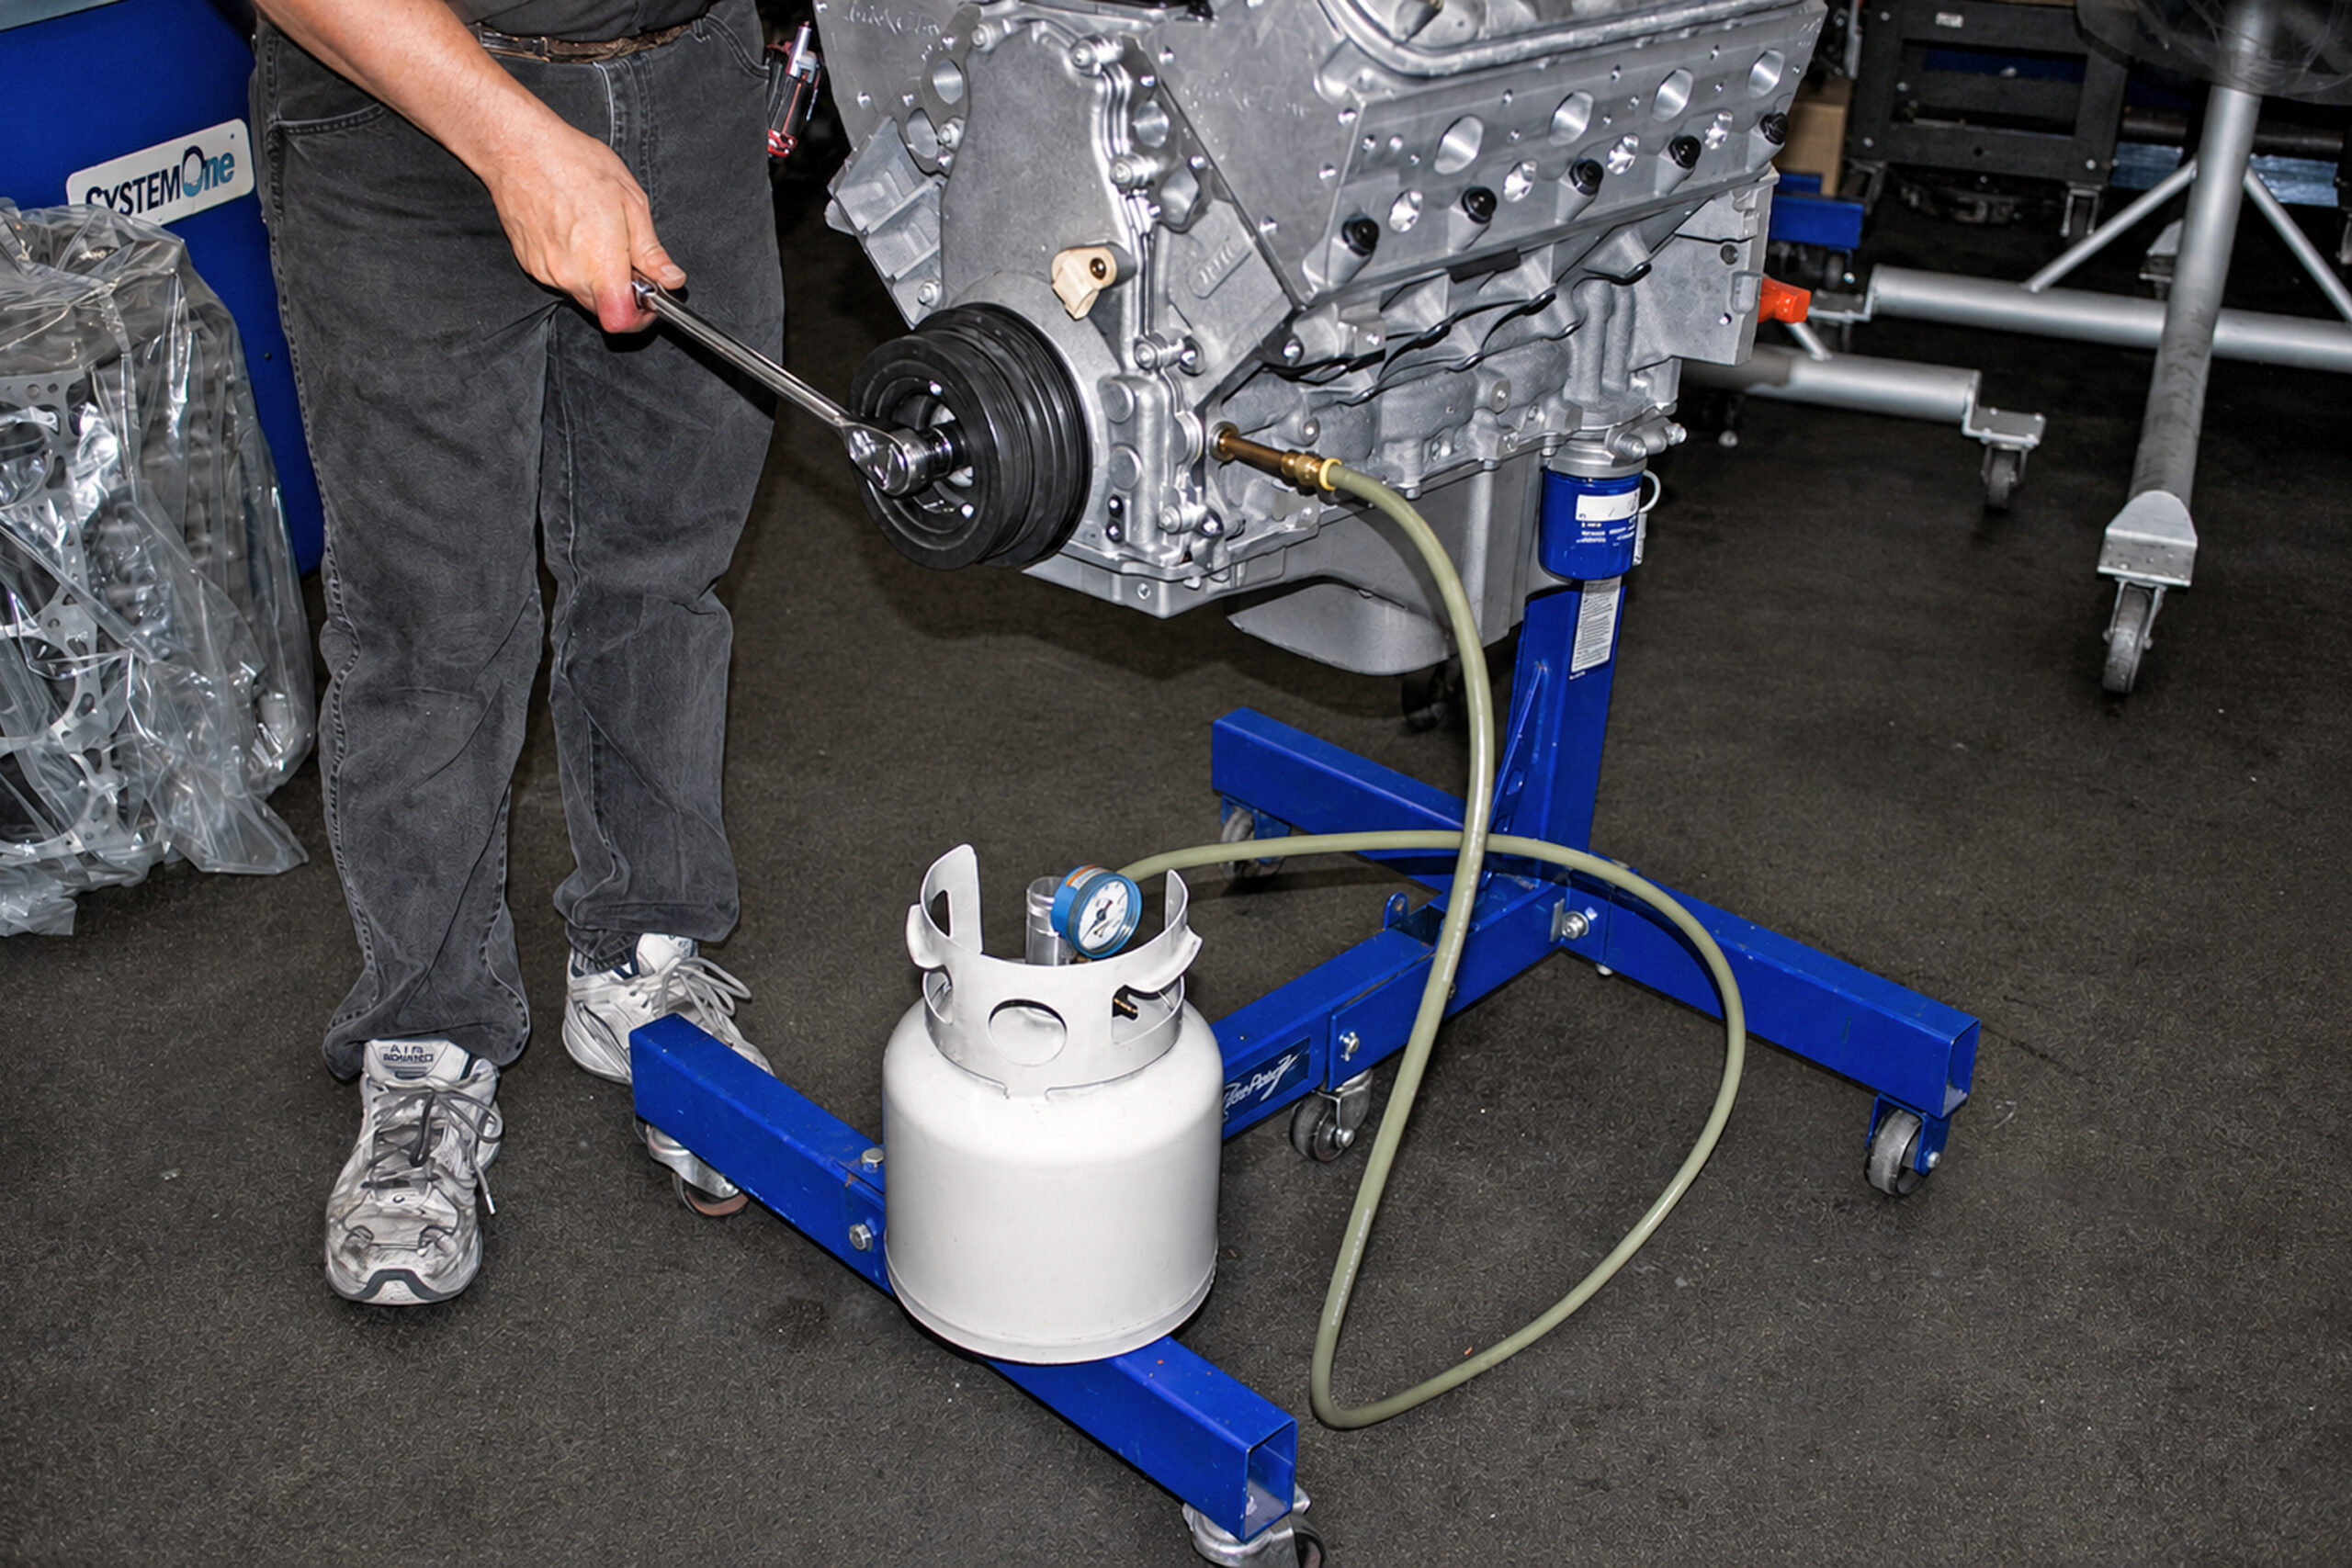
You can never be too cautious when it comes to firing a fresh engine, so we suggest pre-oiling the engine, since engine rpm determines oil flow and you don’t have the advantage of oil cling, since the engine is brand new. Here, we see a pressurized system that oils an LSX engine before it’s fired, and there’s an even easier approach with a Gen 1 small block Chevy. Using an electric drill to spin the oil pump drive shaft is an easy way to pre-lubricate the engine before sliding in the distributor and firing it.

17.) PUSHROD DEFLECTION

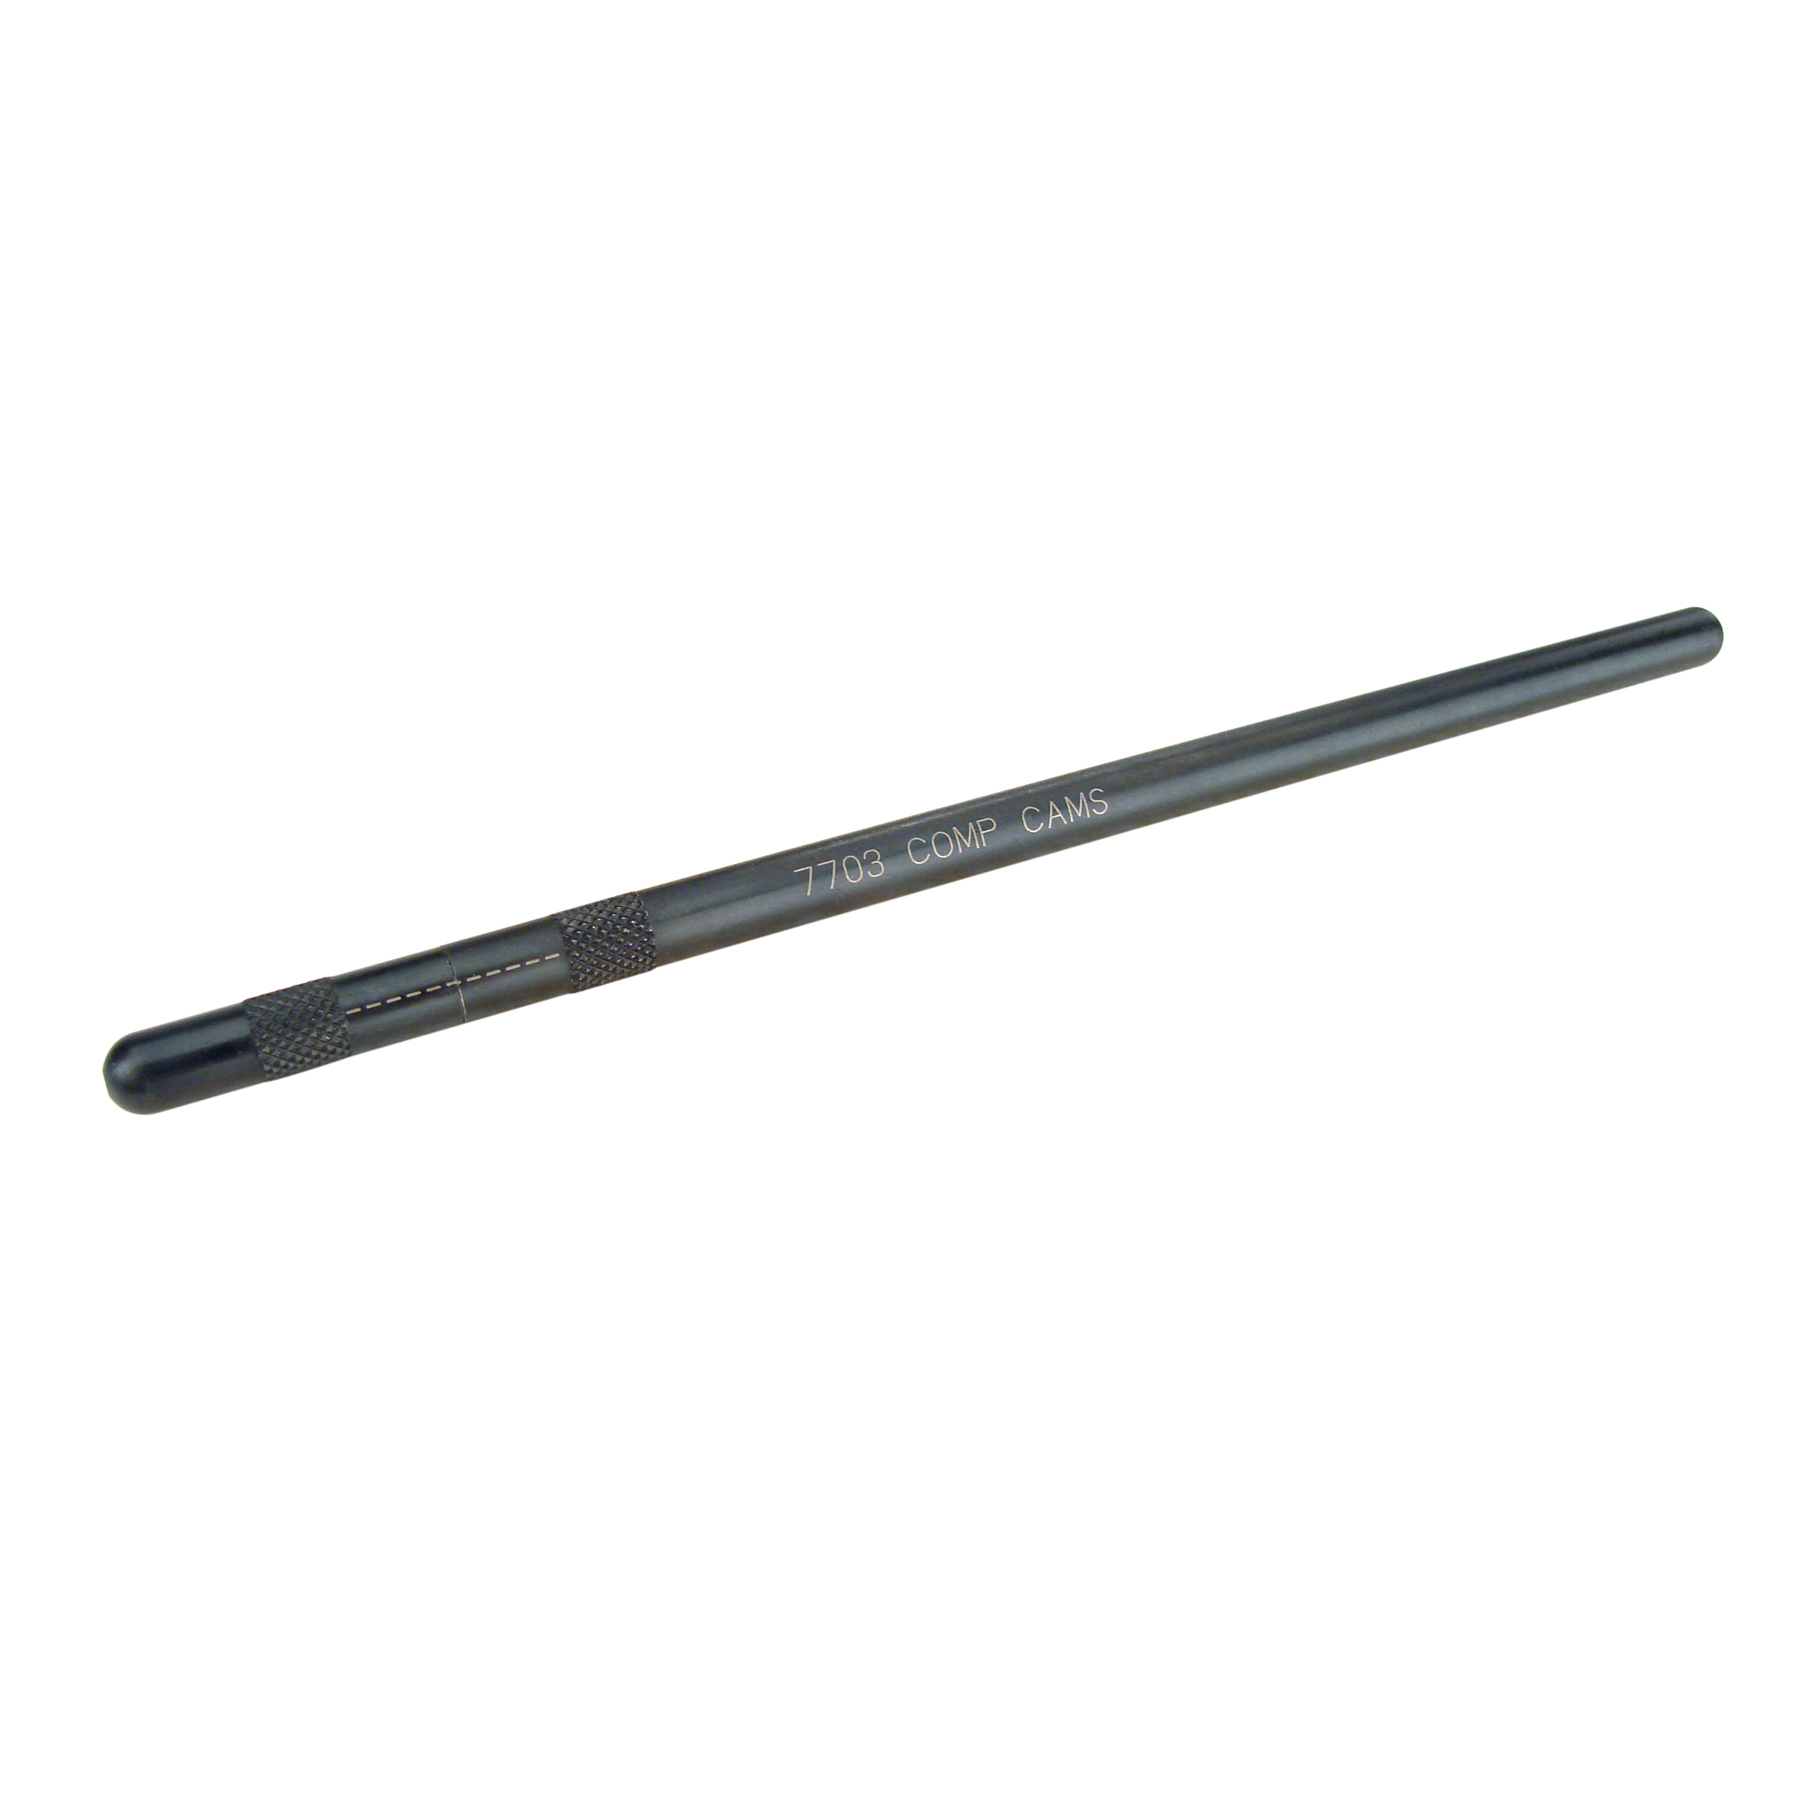
Anytime you upgrade an engine with larger cylinder heads, a larger cam and stiffer valve springs, you’ll want to also upgrade the pushrods. In most street applications, the stock length and diameter should work fine, but you want hardened pushrods to reduce deflection at high rpm. The idea is to reduce flex in the valve train and a set of hardened pushrods is a great start, in addition to screw-in studs and guide plates.

18.) CARNAGE!!!

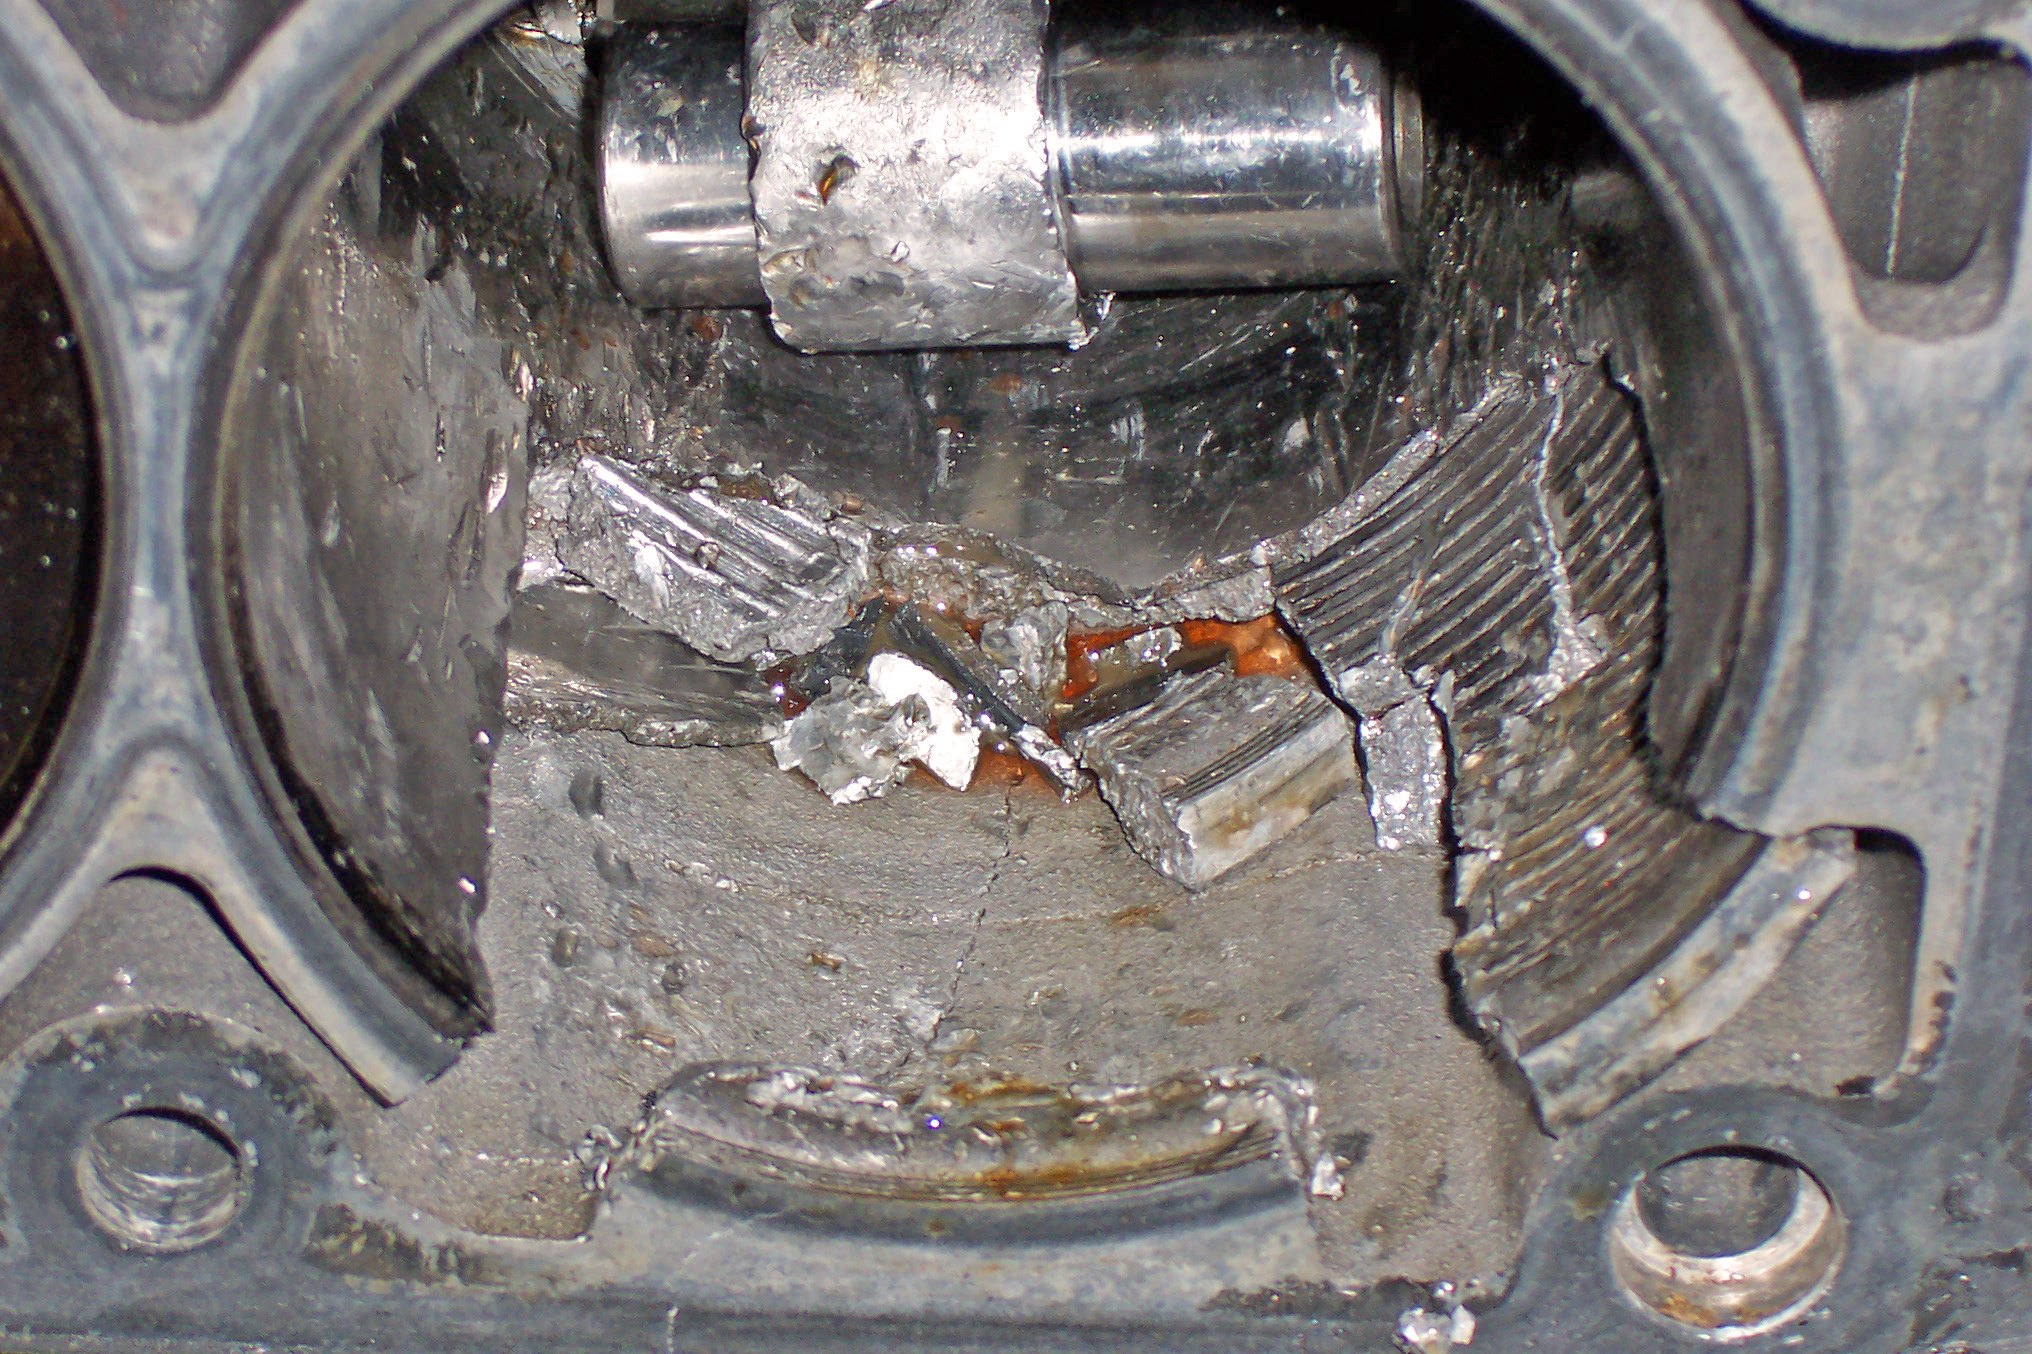
This is what happens when a piston fails and hammers the cylinder walls until there’s nothing left. This was more than likely caused by forced induction and the results are a toasted LS1 block, a disintegrated piston, a bent connecting rod and a damaged crankshaft. That’s a high-dollar breakage, but this kind of damage can also come from a hydro-lock situation, where large amounts of raw fuel collect atop a piston. When the fuel finally does ignite, it has enough force to bend factory connecting rods and damage pistons. With a carbureted engine, a stuck float could allow raw fuel to dump into one or all of the cylinders and cause this kind of damage, or turn your oil into a very thin mixture, which could damage bearings and journals.

19.) CAMSHAFT BREAK-IN

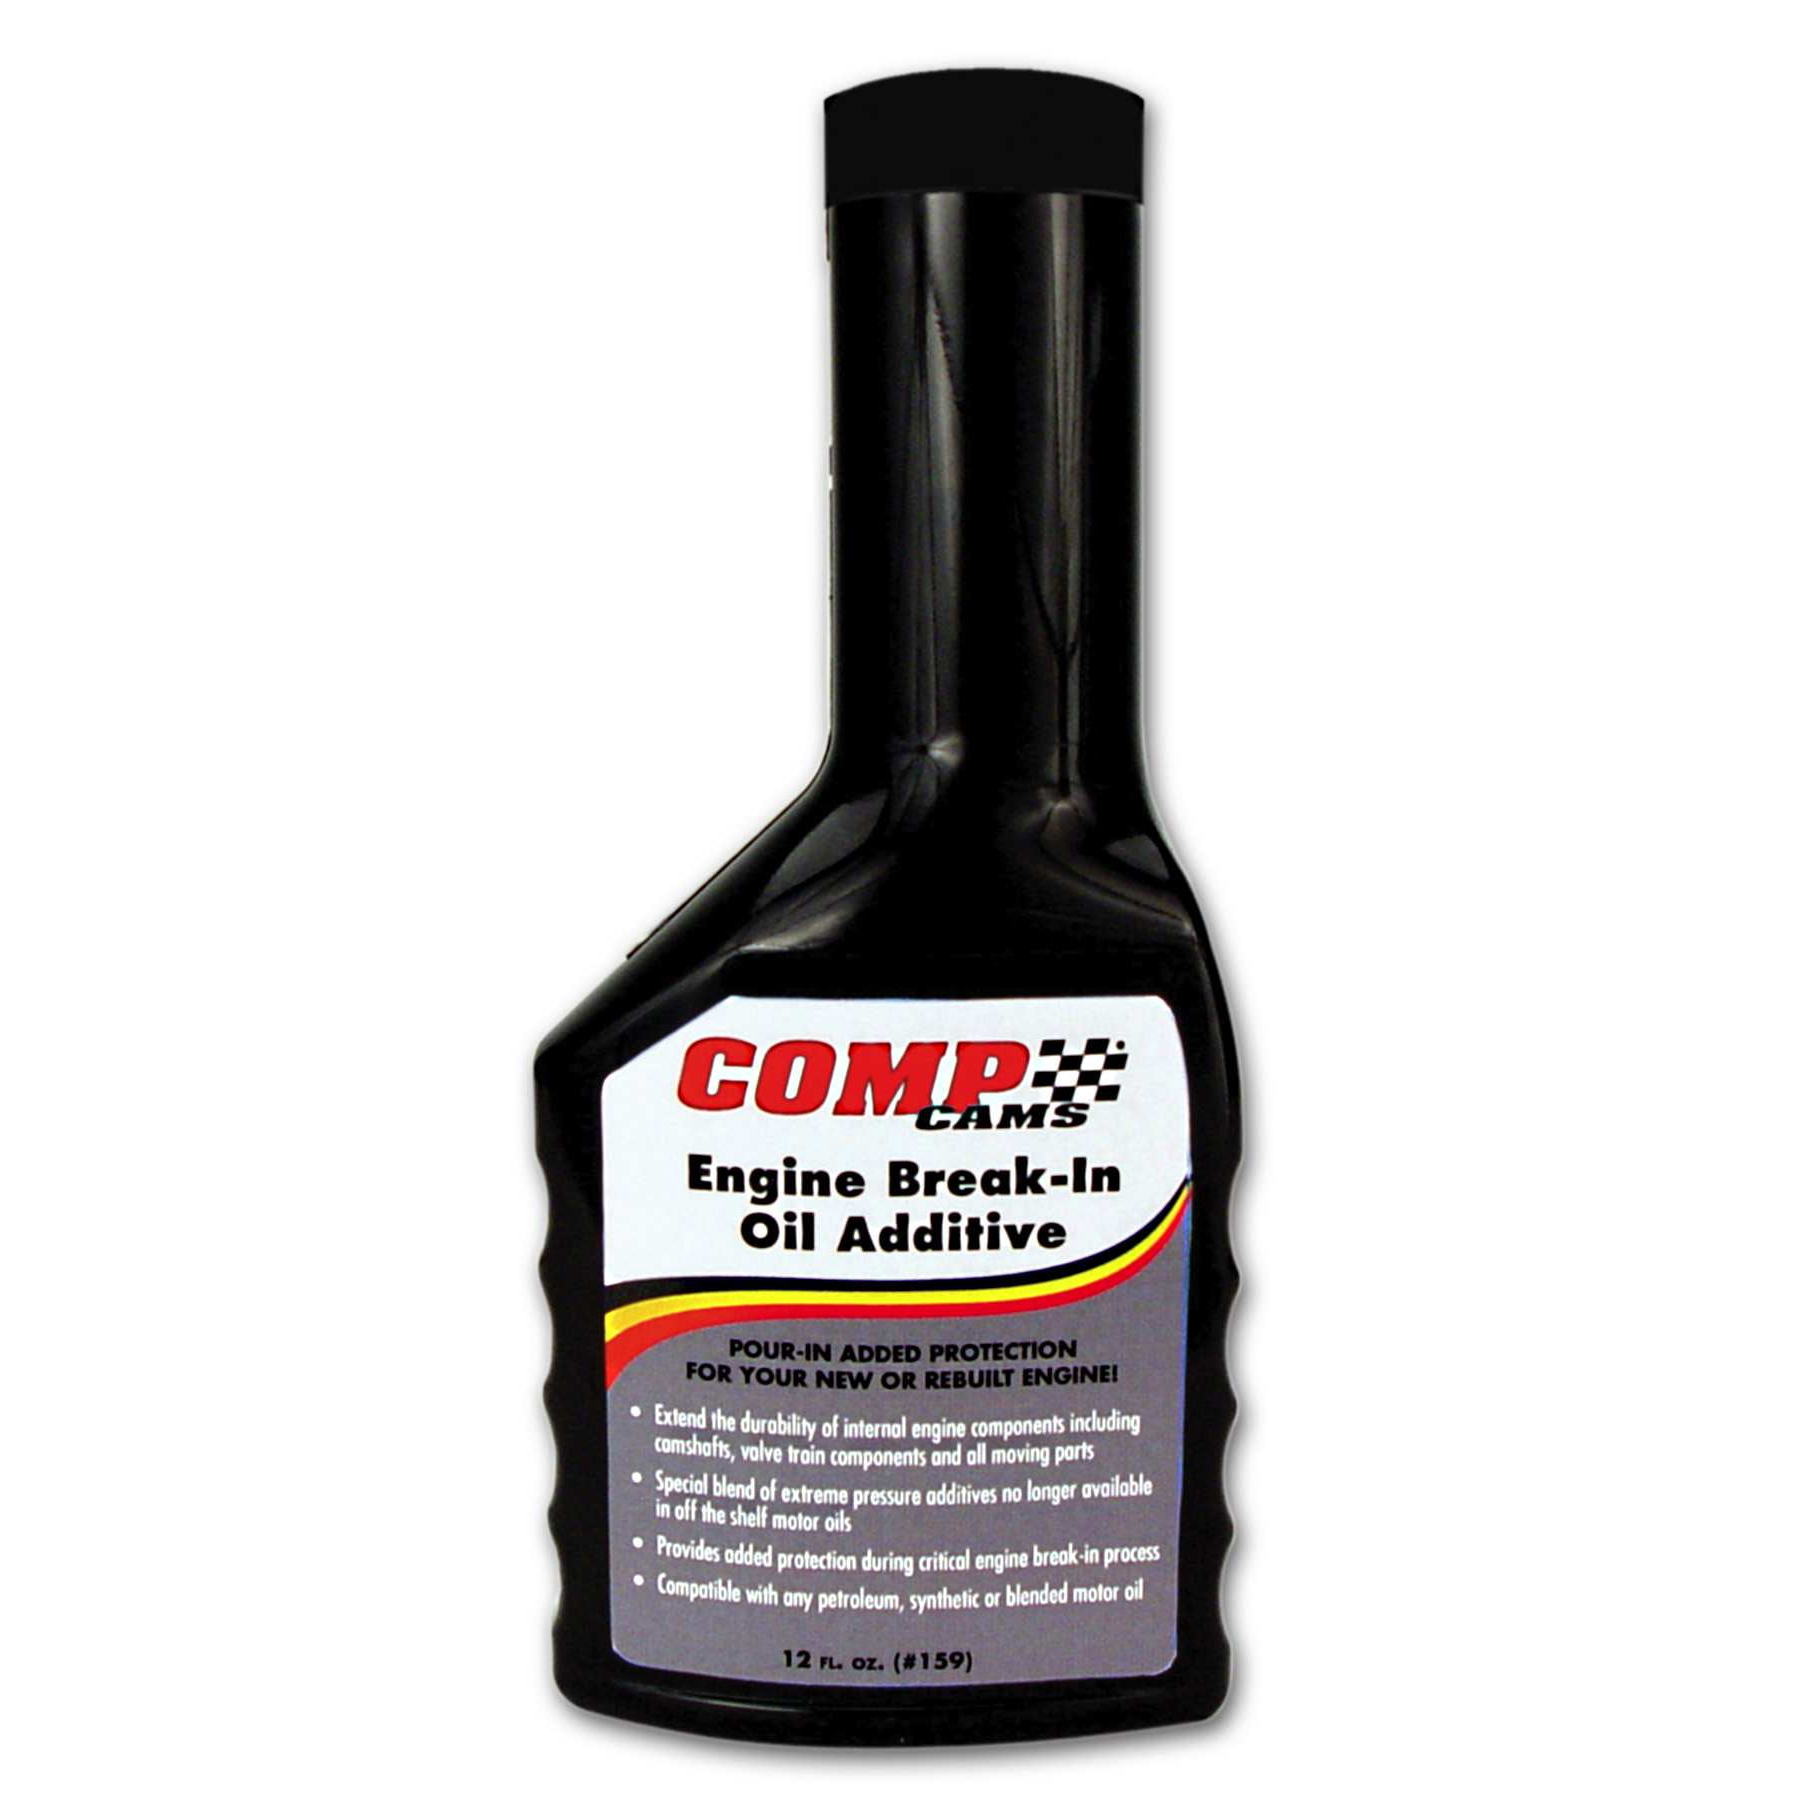
Since the EPA mandated the removal of zinc from most motor oils, camshaft break-in is very important and running the right oil is the most important step in the process. Companies like Brad Penn and  Joe Gibbs Racing produces oil with additive packages, suitable for camshaft break-in, but you still need to mix in some Comp Cams Break-In Oil Additive. With all of the proper oils poured in, you should make sure the engine has enough fuel supply to run for 30 minutes at 2,000-2,500rpm. That will feel like an eternity, but those are instructions from Comp Cams. Then it’s time for an oil and filter change, and you should be good to go. Another aid is to run lighter valve springs, which reduces the amount of force applied to the new lobes, but you can also remove the inner springs if you’re running dual springs. If you’d rather not swap springs, you can take a load off the lobes with a set of break-in (usually 1.3:1 ratio) rocker arms.

20.) JUST PLUGSJUST PLUGS

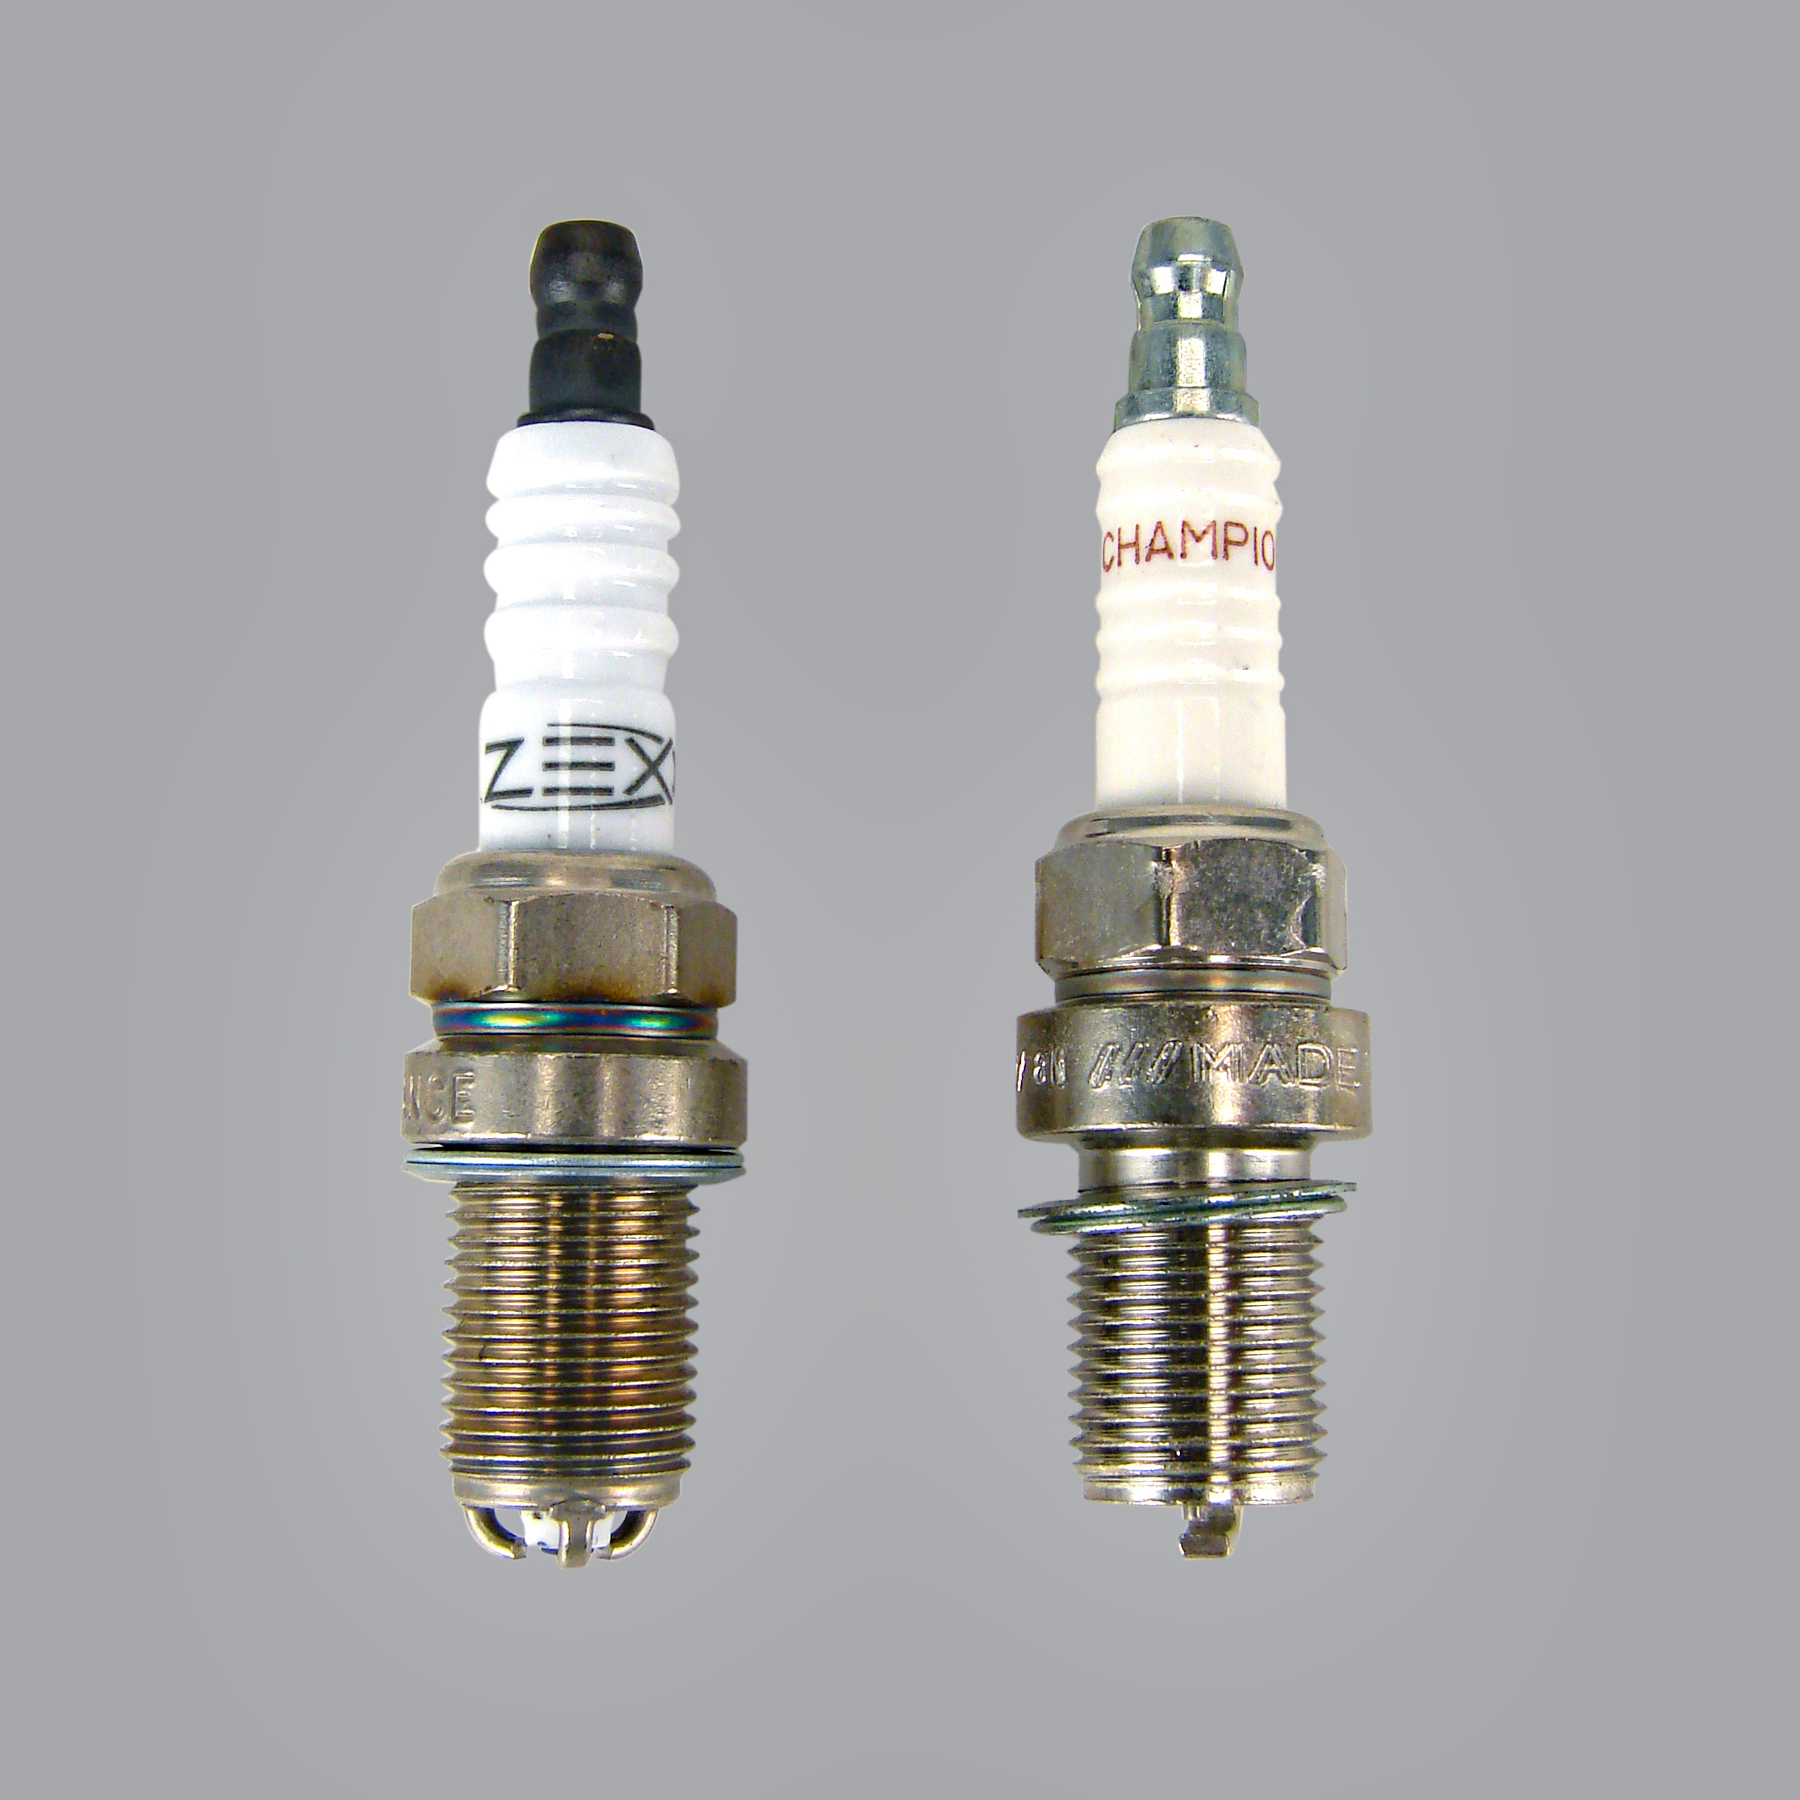
When it comes to performance, the last thing most people think about are spark plugs, when they do actually play a part in the hunt for horsepower. Though gapping is simple and straightforward, we’re betting most people don’t take the time to check it before installing a new set of plugs. Generally, the more compression you have, the tighter the gap needs to be, and in the case of a power adder, your gaps need to be very close to keep the forced air from blowing out the spark. Some folks may even use the wrong plug for their engine, and that can certainly rob horsepower, so pay attention to the small details, as they can provide additional horsepower, too.

Scroll to Top
image

Subscribe for Email Updates

Newsletter Categories *
Marketing by