



THE AUTO BUILDER
Featured

WHATZIT?
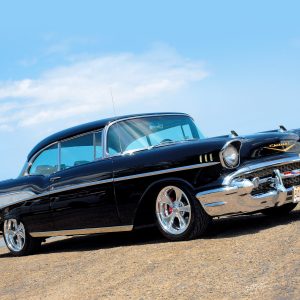
Our first thought was to try to figure out which make and model the custom started out as. Generally, there are enough clues that can enable you to determine the origin of a custom. This one, though, was so radically modified, yet nicely done, that it was particularly difficult to pinpoint exactly what vehicle the customizer started with. The custom had all the right proportions, and it flowed gracefully from front to rear.

RIDING ON AIR
Lowering a truck usually involved cutting coils and shaving bump stops. Out back, the rear end was treated to lowering blocks, a few pulled leaf springs or heated coil springs. Over the years, manufacturers began to address these demands, as lowering coils, spring leaf blocks, dropped spindles and flip kits were offered. Times changed with the introduction of airbags, as owners were able to slam their pickups with full ride height adjustability. Air Ride Technologies (ART) is one of those companies offering quality suspension solutions for truck owners, with kits that fit specific applications.

A Tough Act to Follow
Though clutches rank below power-adders on the desirability scale, they are every bit as important. In fact, you’d be better off not spending the time and money on a trick blower or turbo kit if you do not plan on upgrading the stock clutch assembly. Sure, it is possible on some applications to improve the performance of your motor without a clutch and pressure plate upgrade, but you can only take things so far. Eventually, the engine will let you know by racing to the moon when you least expect it. Your clutch will likely slip under full throttle, and most probably at the highest load. Better hope you have a rev limiter or things can really get ugly. But have no fear … Advanced Clutch Technology (ACT) has come up with a variety of effective combinations to cater to the needs of performance enthusiasts and racers.
Spotlighter
POPULAR READS
-
Product Spotlight: Bill Mitchell Products Aluminum LS Engine Block
-
PRODUCT SPOTLIGHT: 60-66 Chevy C10 Fresh Air Vent Block Off Plate
-
The Auto Builder’s Hottest Product Picks from The Triple Crown of Rodding 2026
-
Product Spotlight: Pyramid Optimized Design Sequential Aurora Taillight for 1964½–1966 Mustang
34 Expert Restoration Tips for Classic Car Enthusiasts
Pro techniques to elevate your car build while saving time and avoiding costly mistakes.
Author
Jeff Lilly
Words & Photography
1. Sealing Body Seams Before Paint
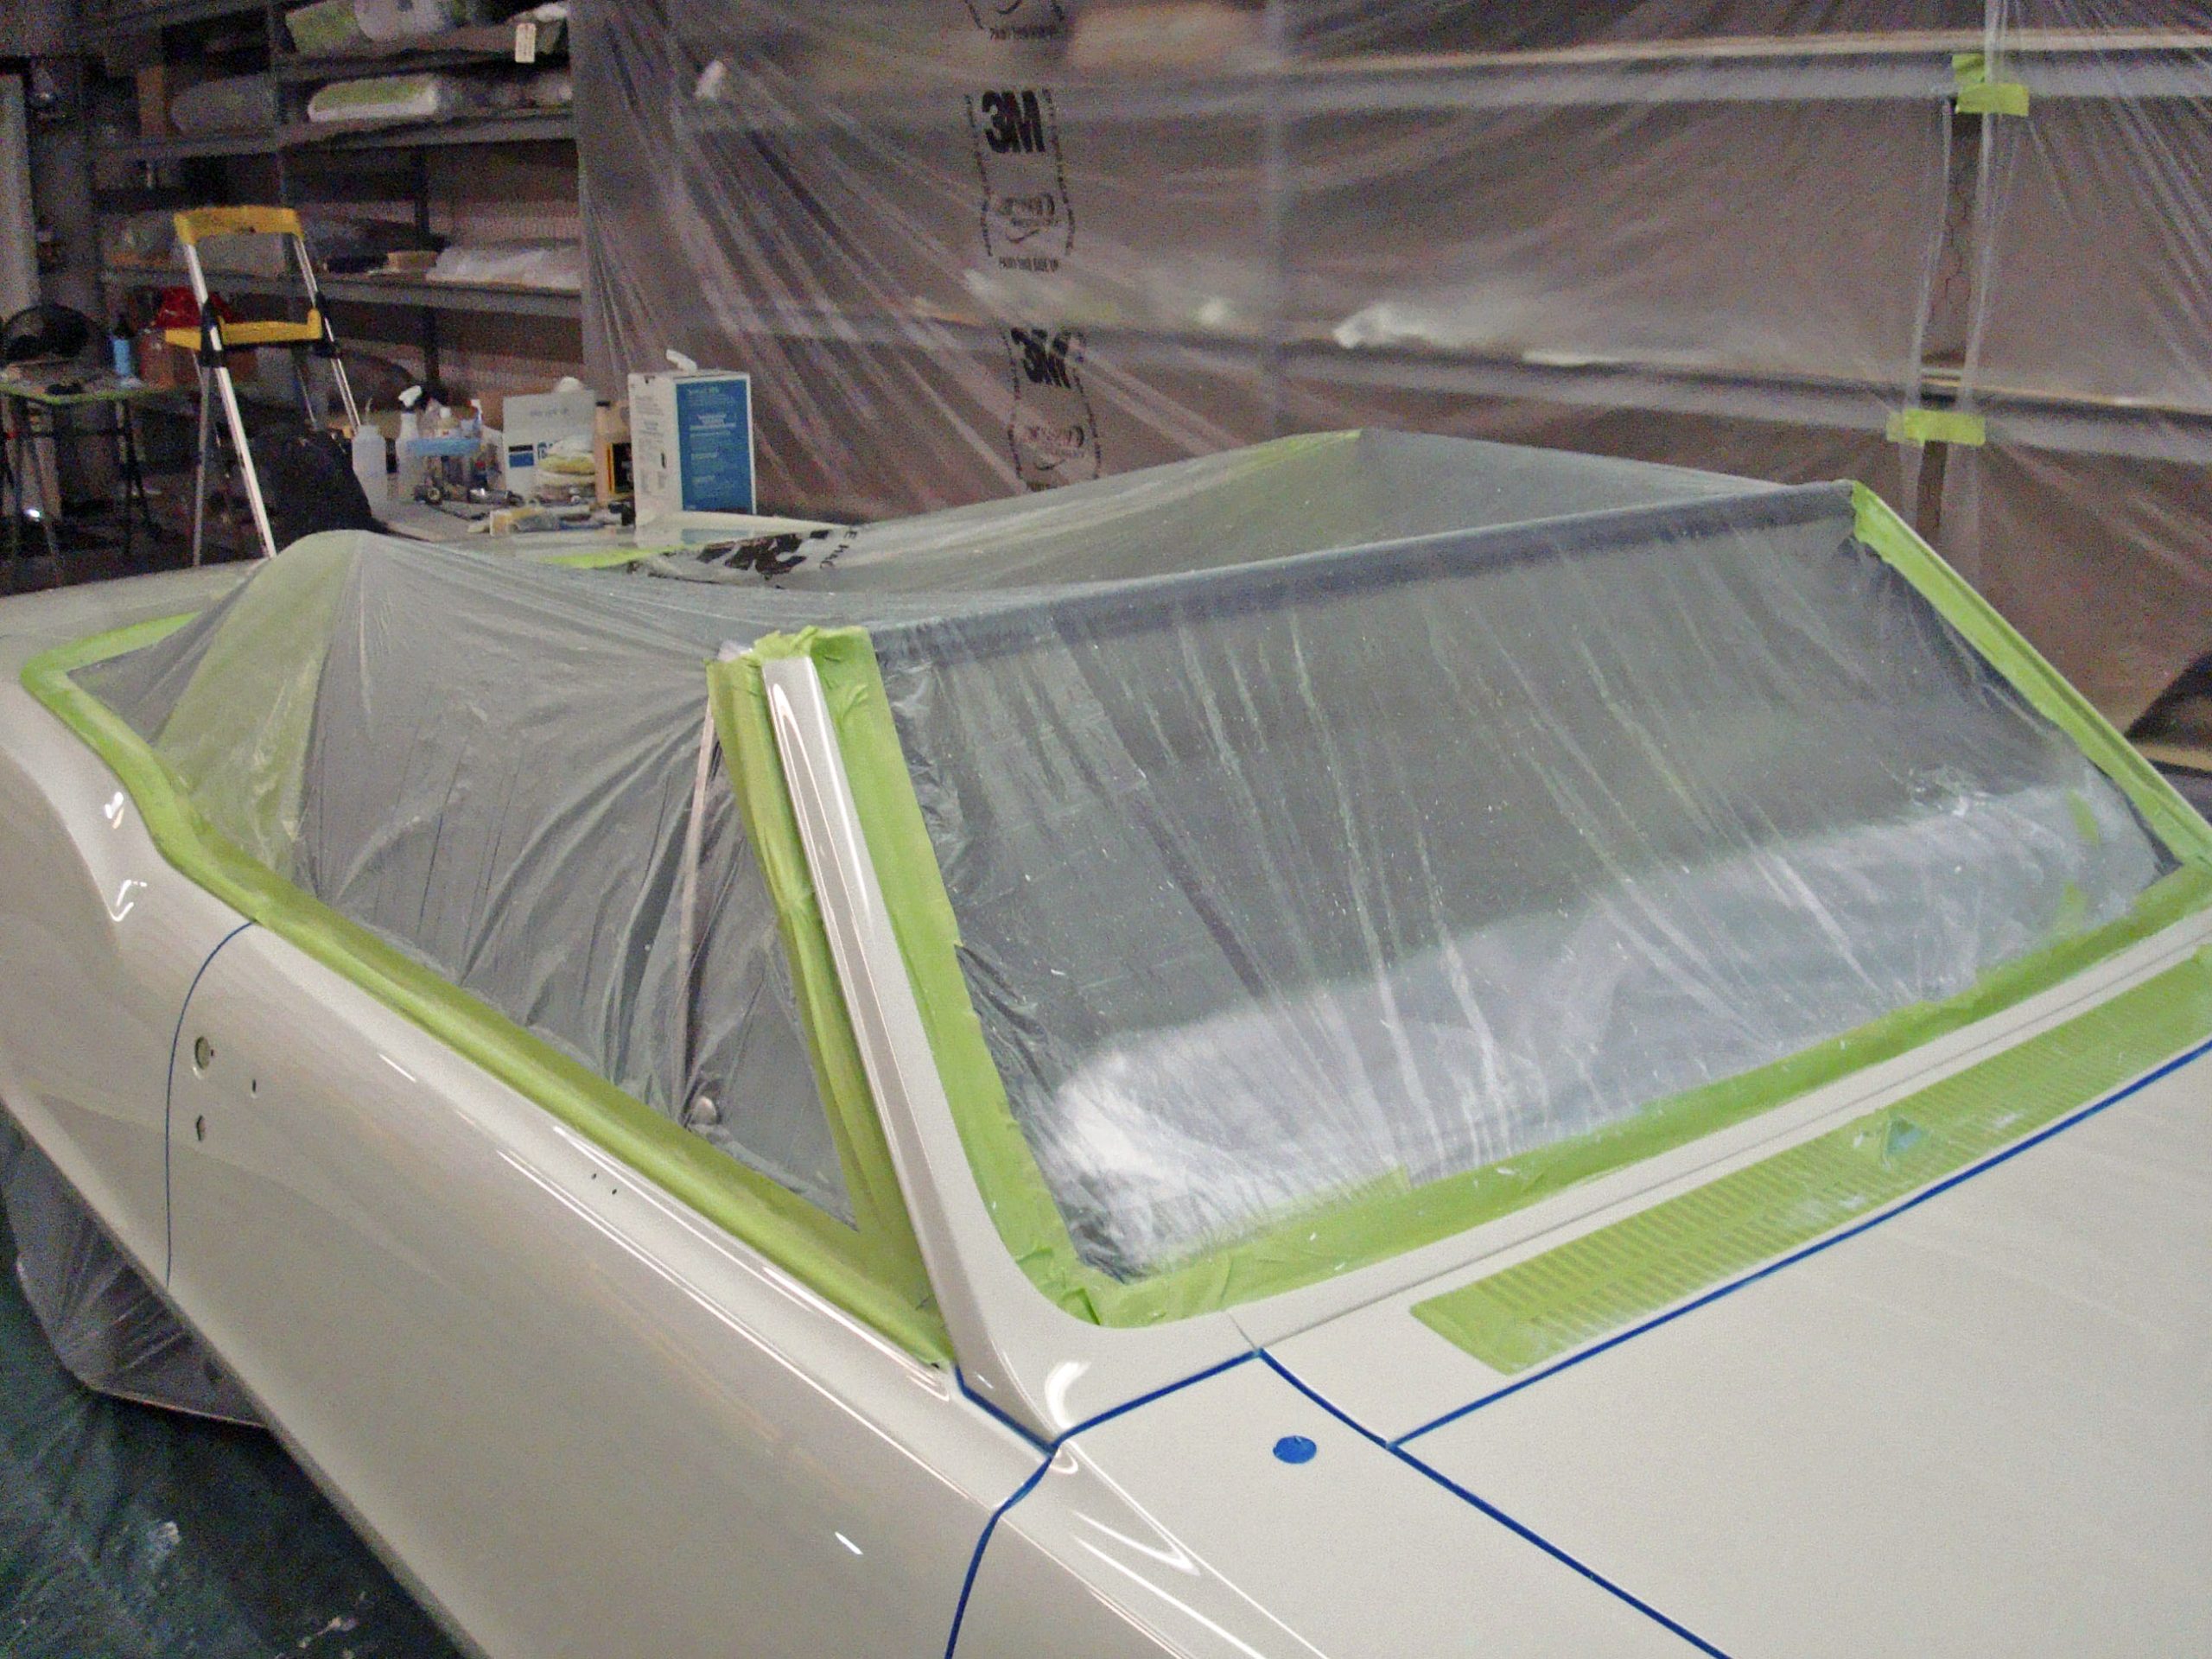
Just before paint, you will need to caulk the seams on your project’s body. Any visible seams should be done to give a smoother appearance and keep water and rust stains from appearing, especially if you tend to drive in the rain. Apply 3/4 masking tape on the lap side or higher edge about 1/16th from the drop-off edge. On the overlapped portion or lower side, move the tape back 1/8th to 3/16th of an inch. Using 3M 8300 sealer, cut the tip to allow a 1/8th bead. This product flows smoothly and can be finger-stroked with lacquer thinner to make it extra slick. Peel the tape away after one foot at a time is finished. After one hour, you can prime/paint over it.
As seen, the seams are all sealed, providing a very smooth transition from each panel. Once all is sprayed and assembled, it will look great.
2. Preventing Mess with Dynamat
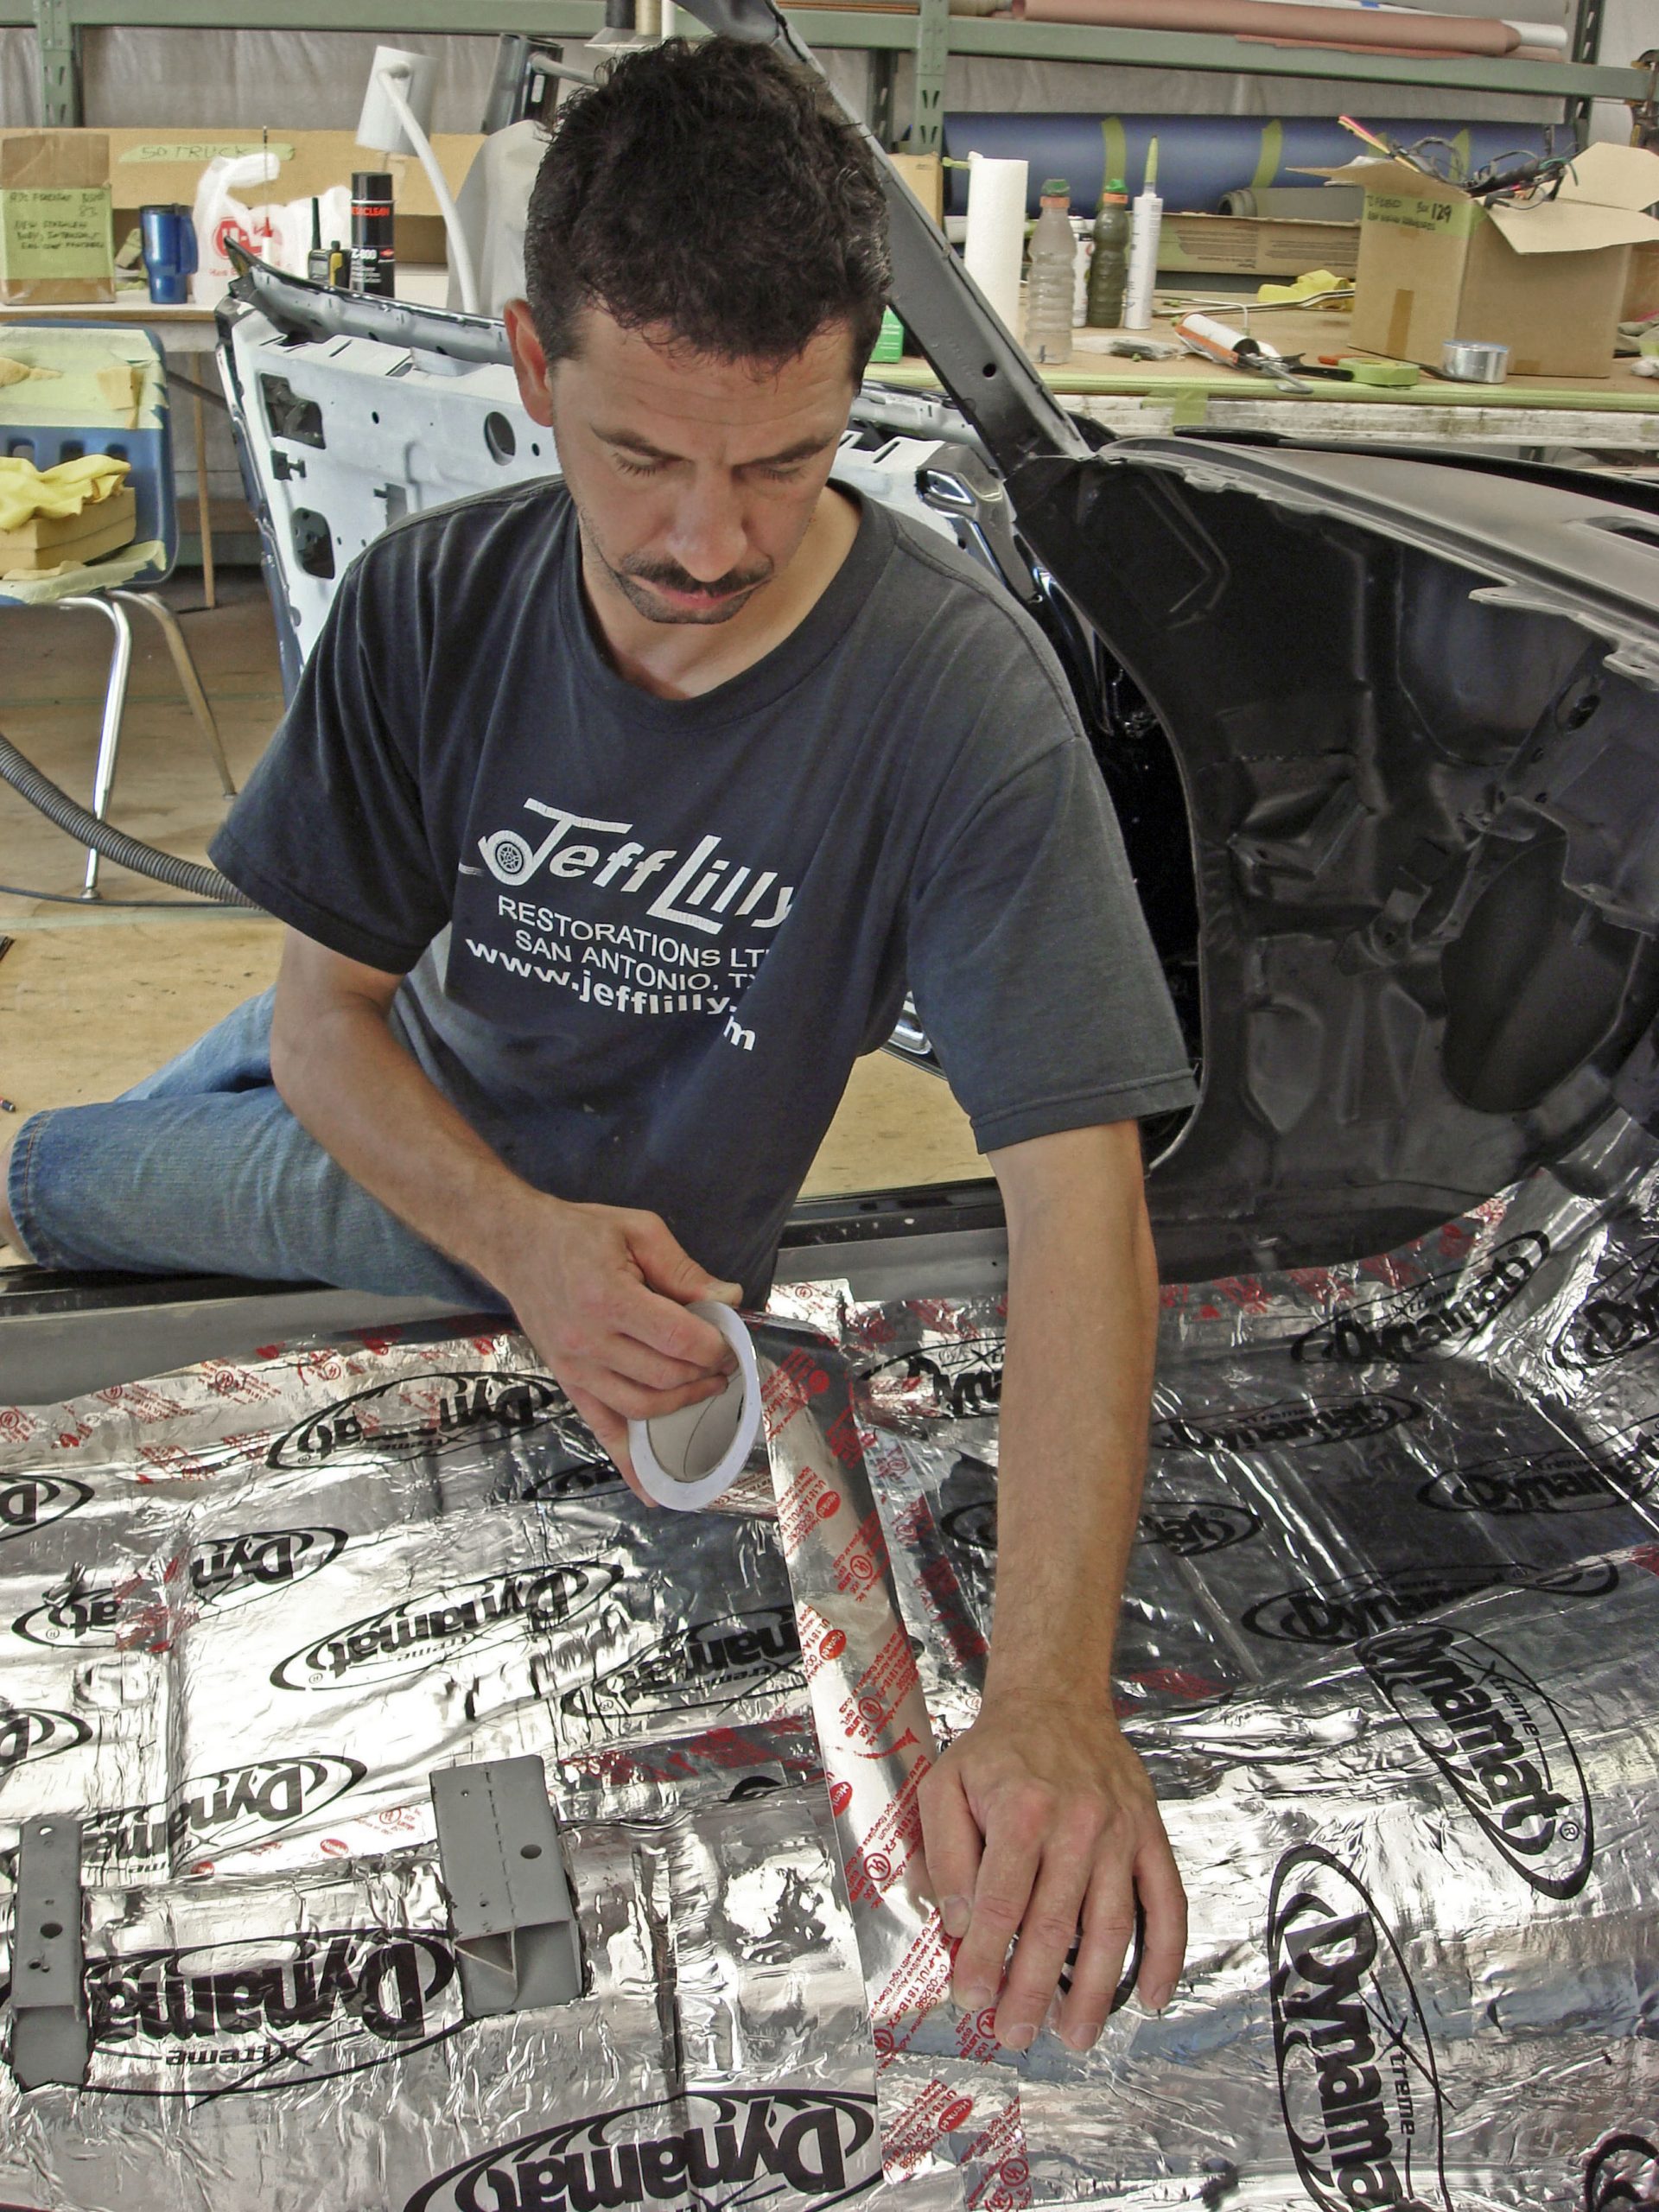
When installing Dynamat to sound-deaden your ride, place aluminum tape on all the overlaps “available from any hardware store.” This will keep the sticky black butyl from getting on your clothing/skin while working inside the vehicle, especially if it will be several weeks before the carpet is installed.
As seen, the seams are all sealed, providing a very smooth transition from each panel. Once all is sprayed and assembled, it will look great.
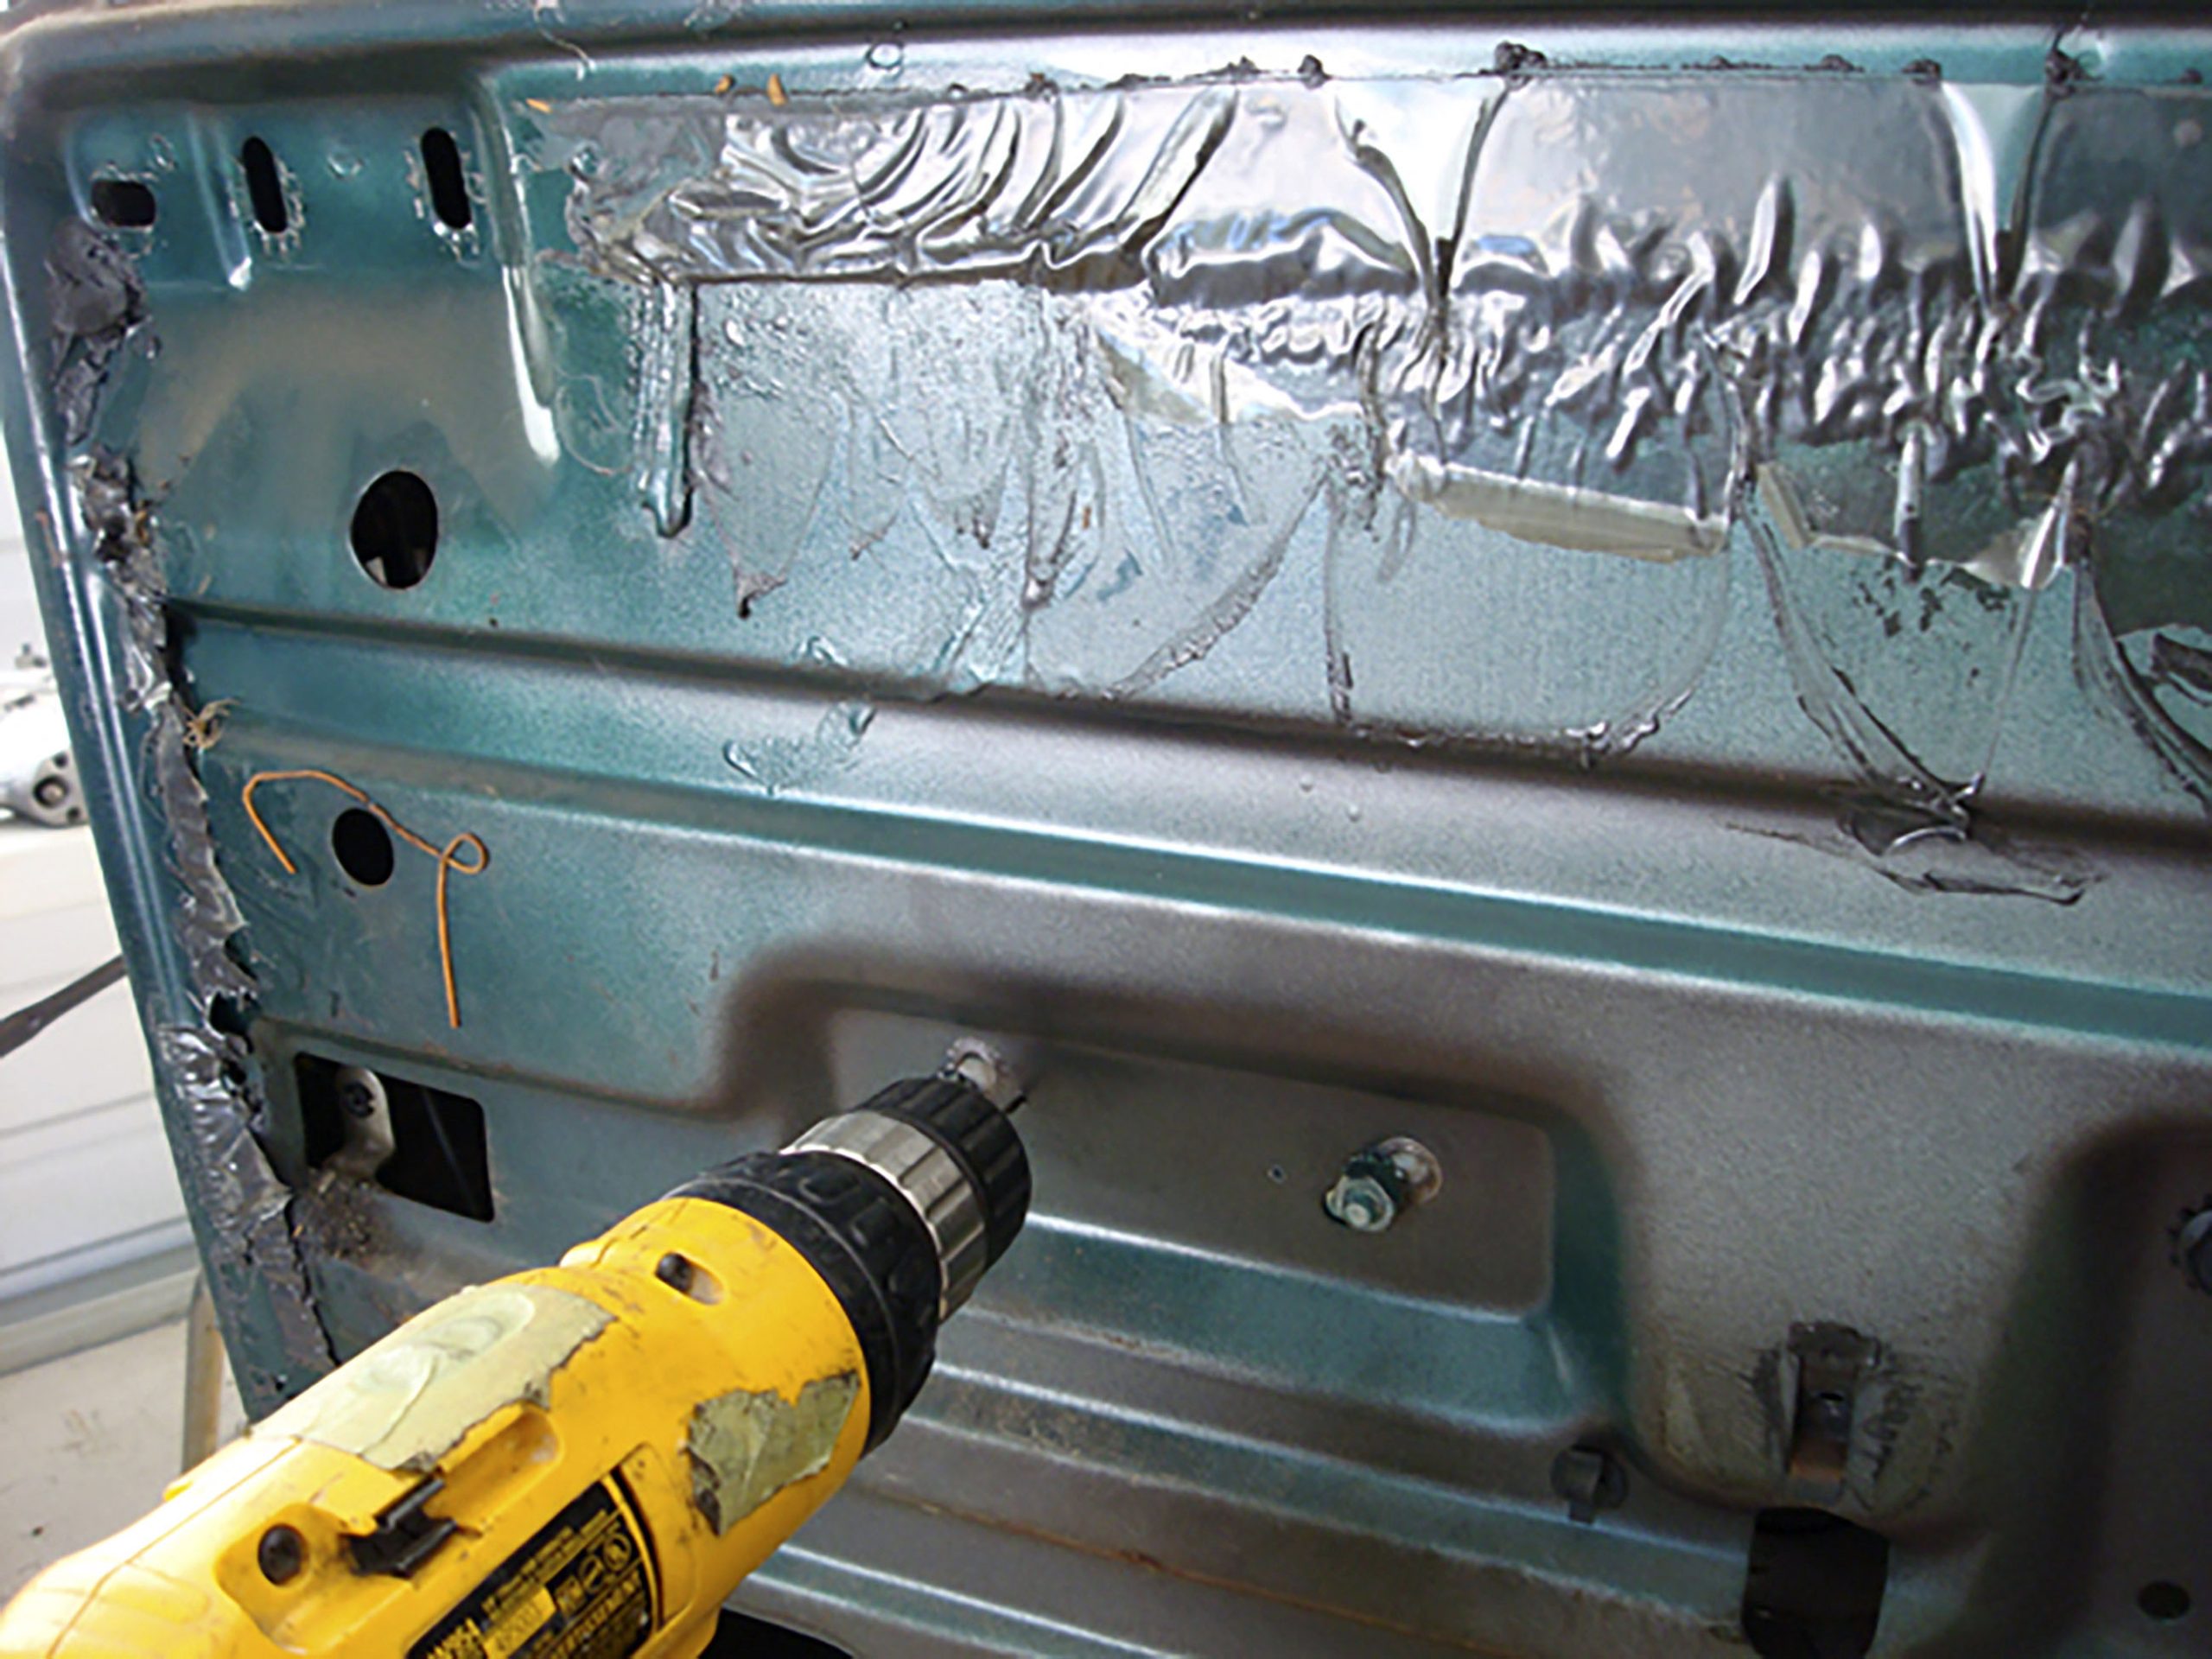
3. Protecting Inner Panels During Paint Stripping
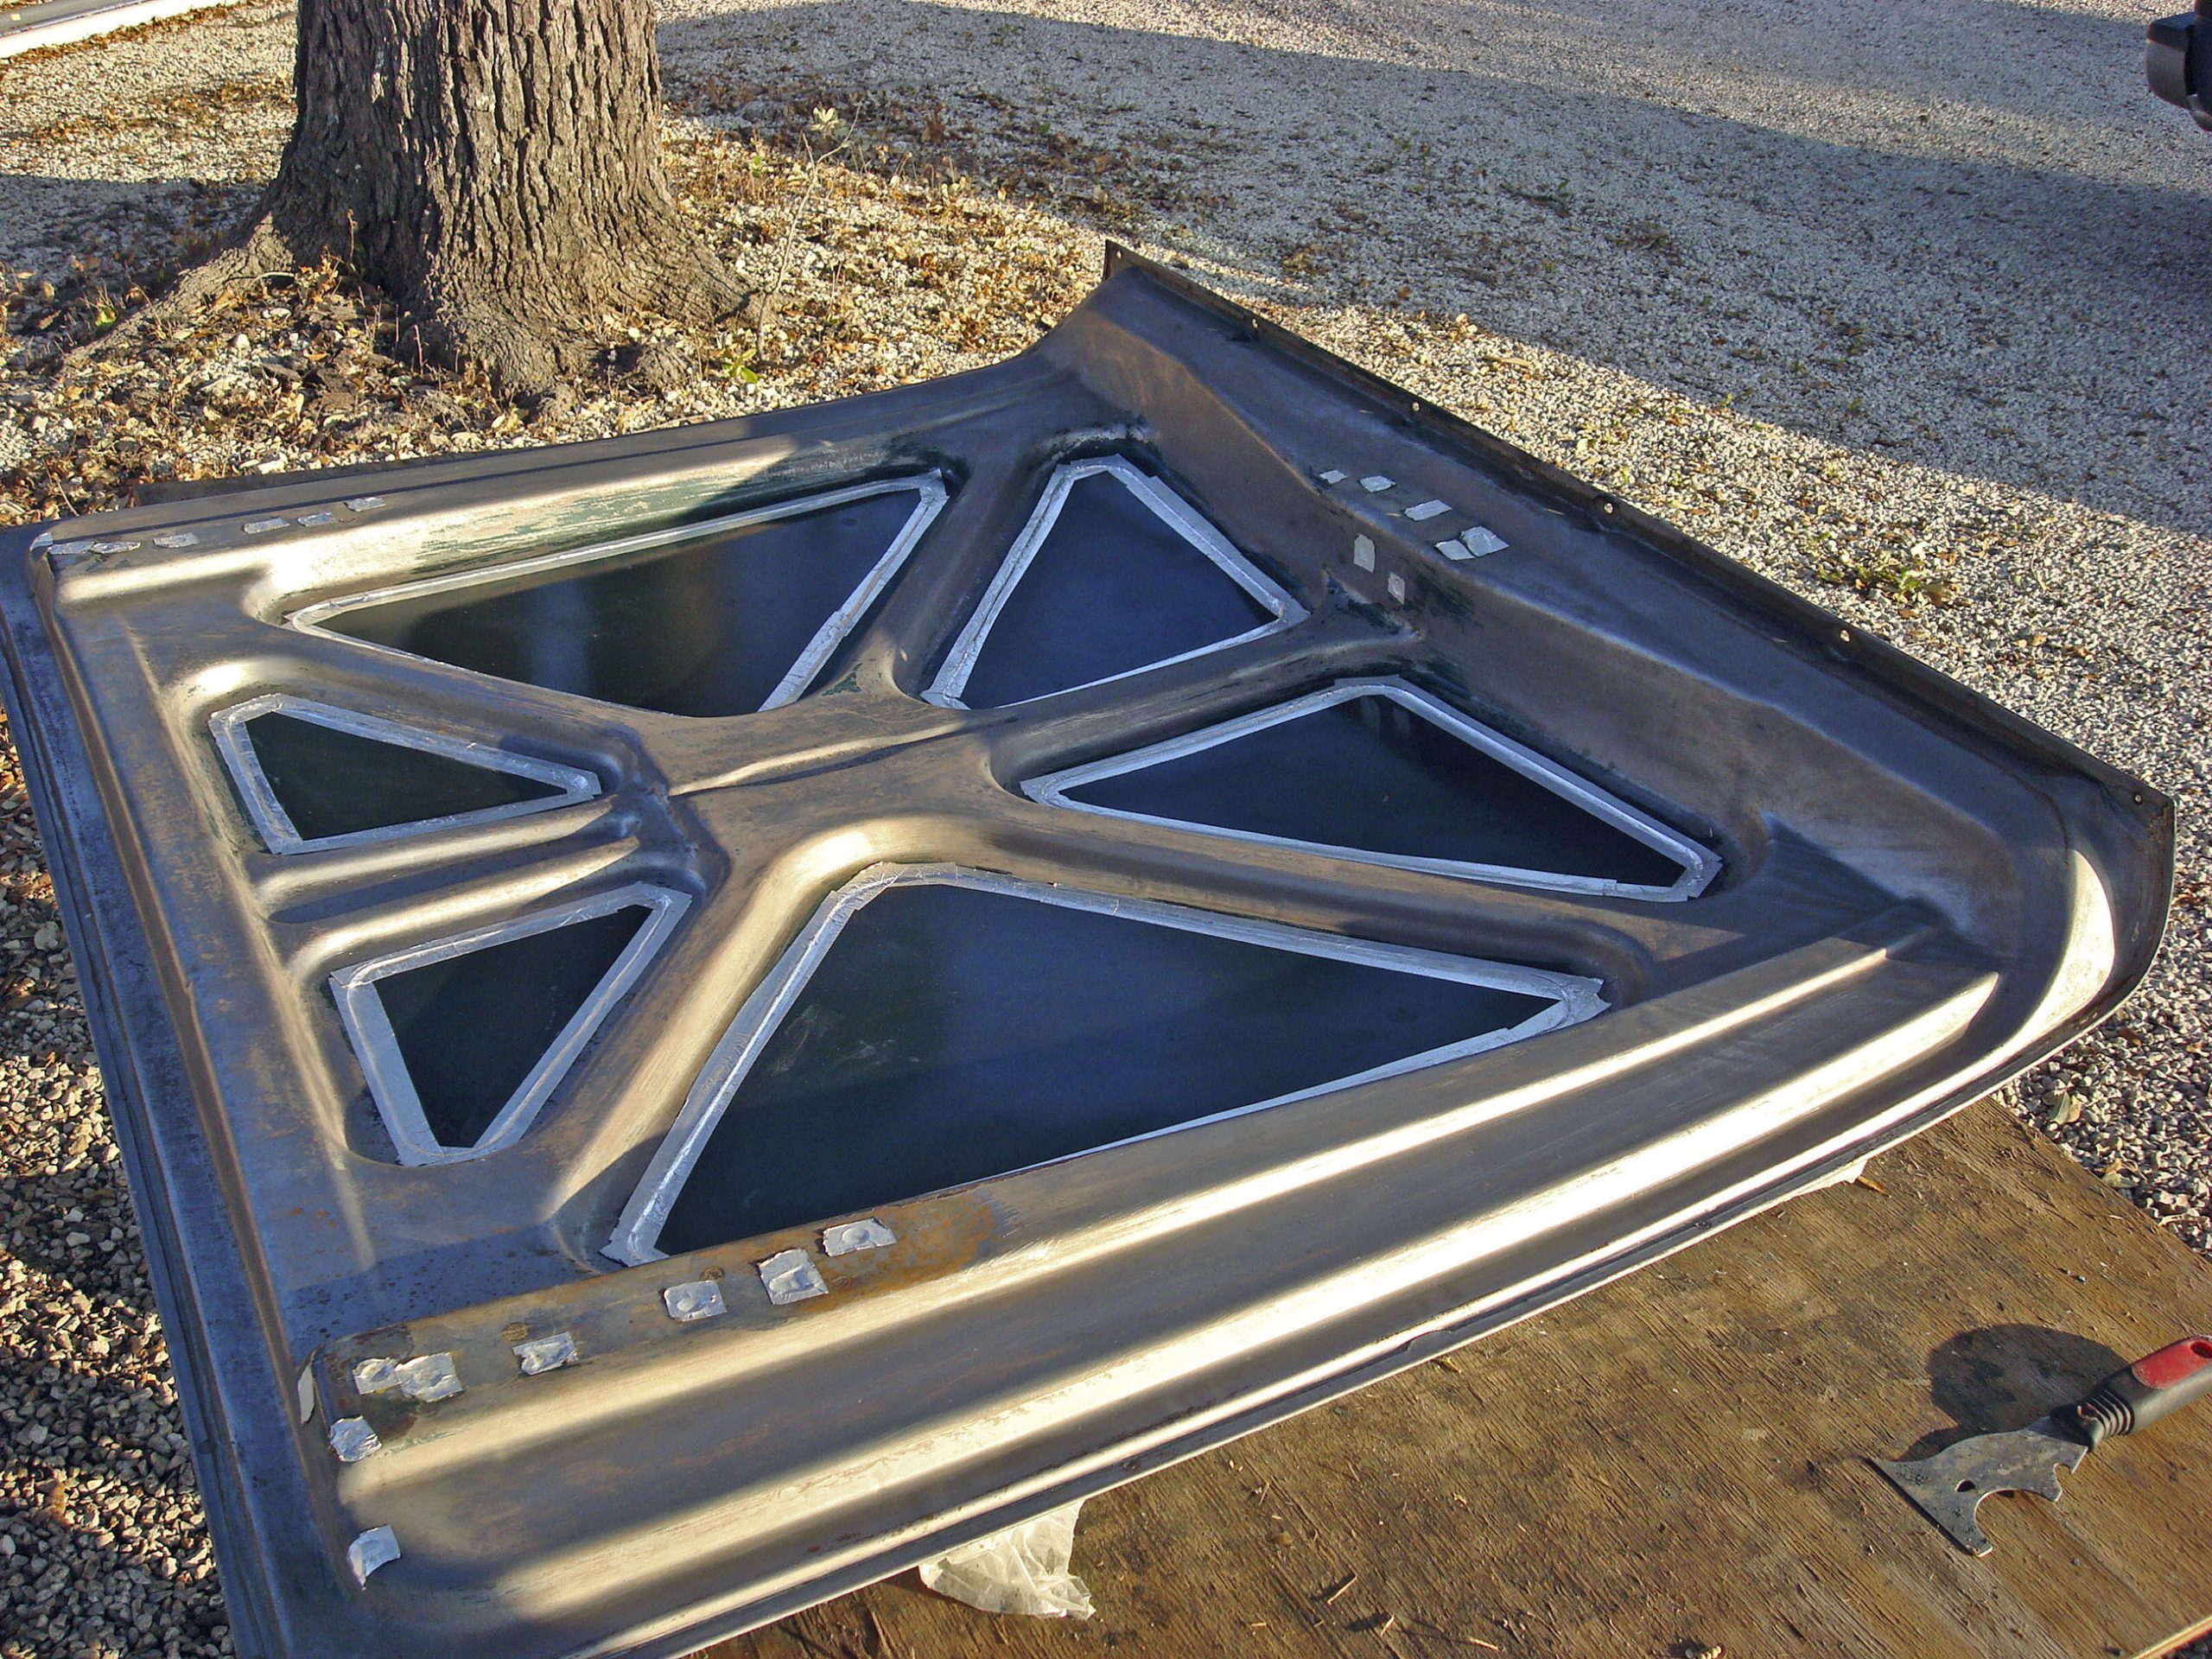
During paint stripping, use aluminum foil tape to seal off the inner panel from the outer. This will keep the old paint and stripper from entering the inner structure and becoming trapped, causing a big problem later on during refinishing. In addition, place it over any holes. Simply take a Scotch-Brite disc on an angle grinder to clean all the paint off the edges down to the bare metal where the tape covered it to finish the process.
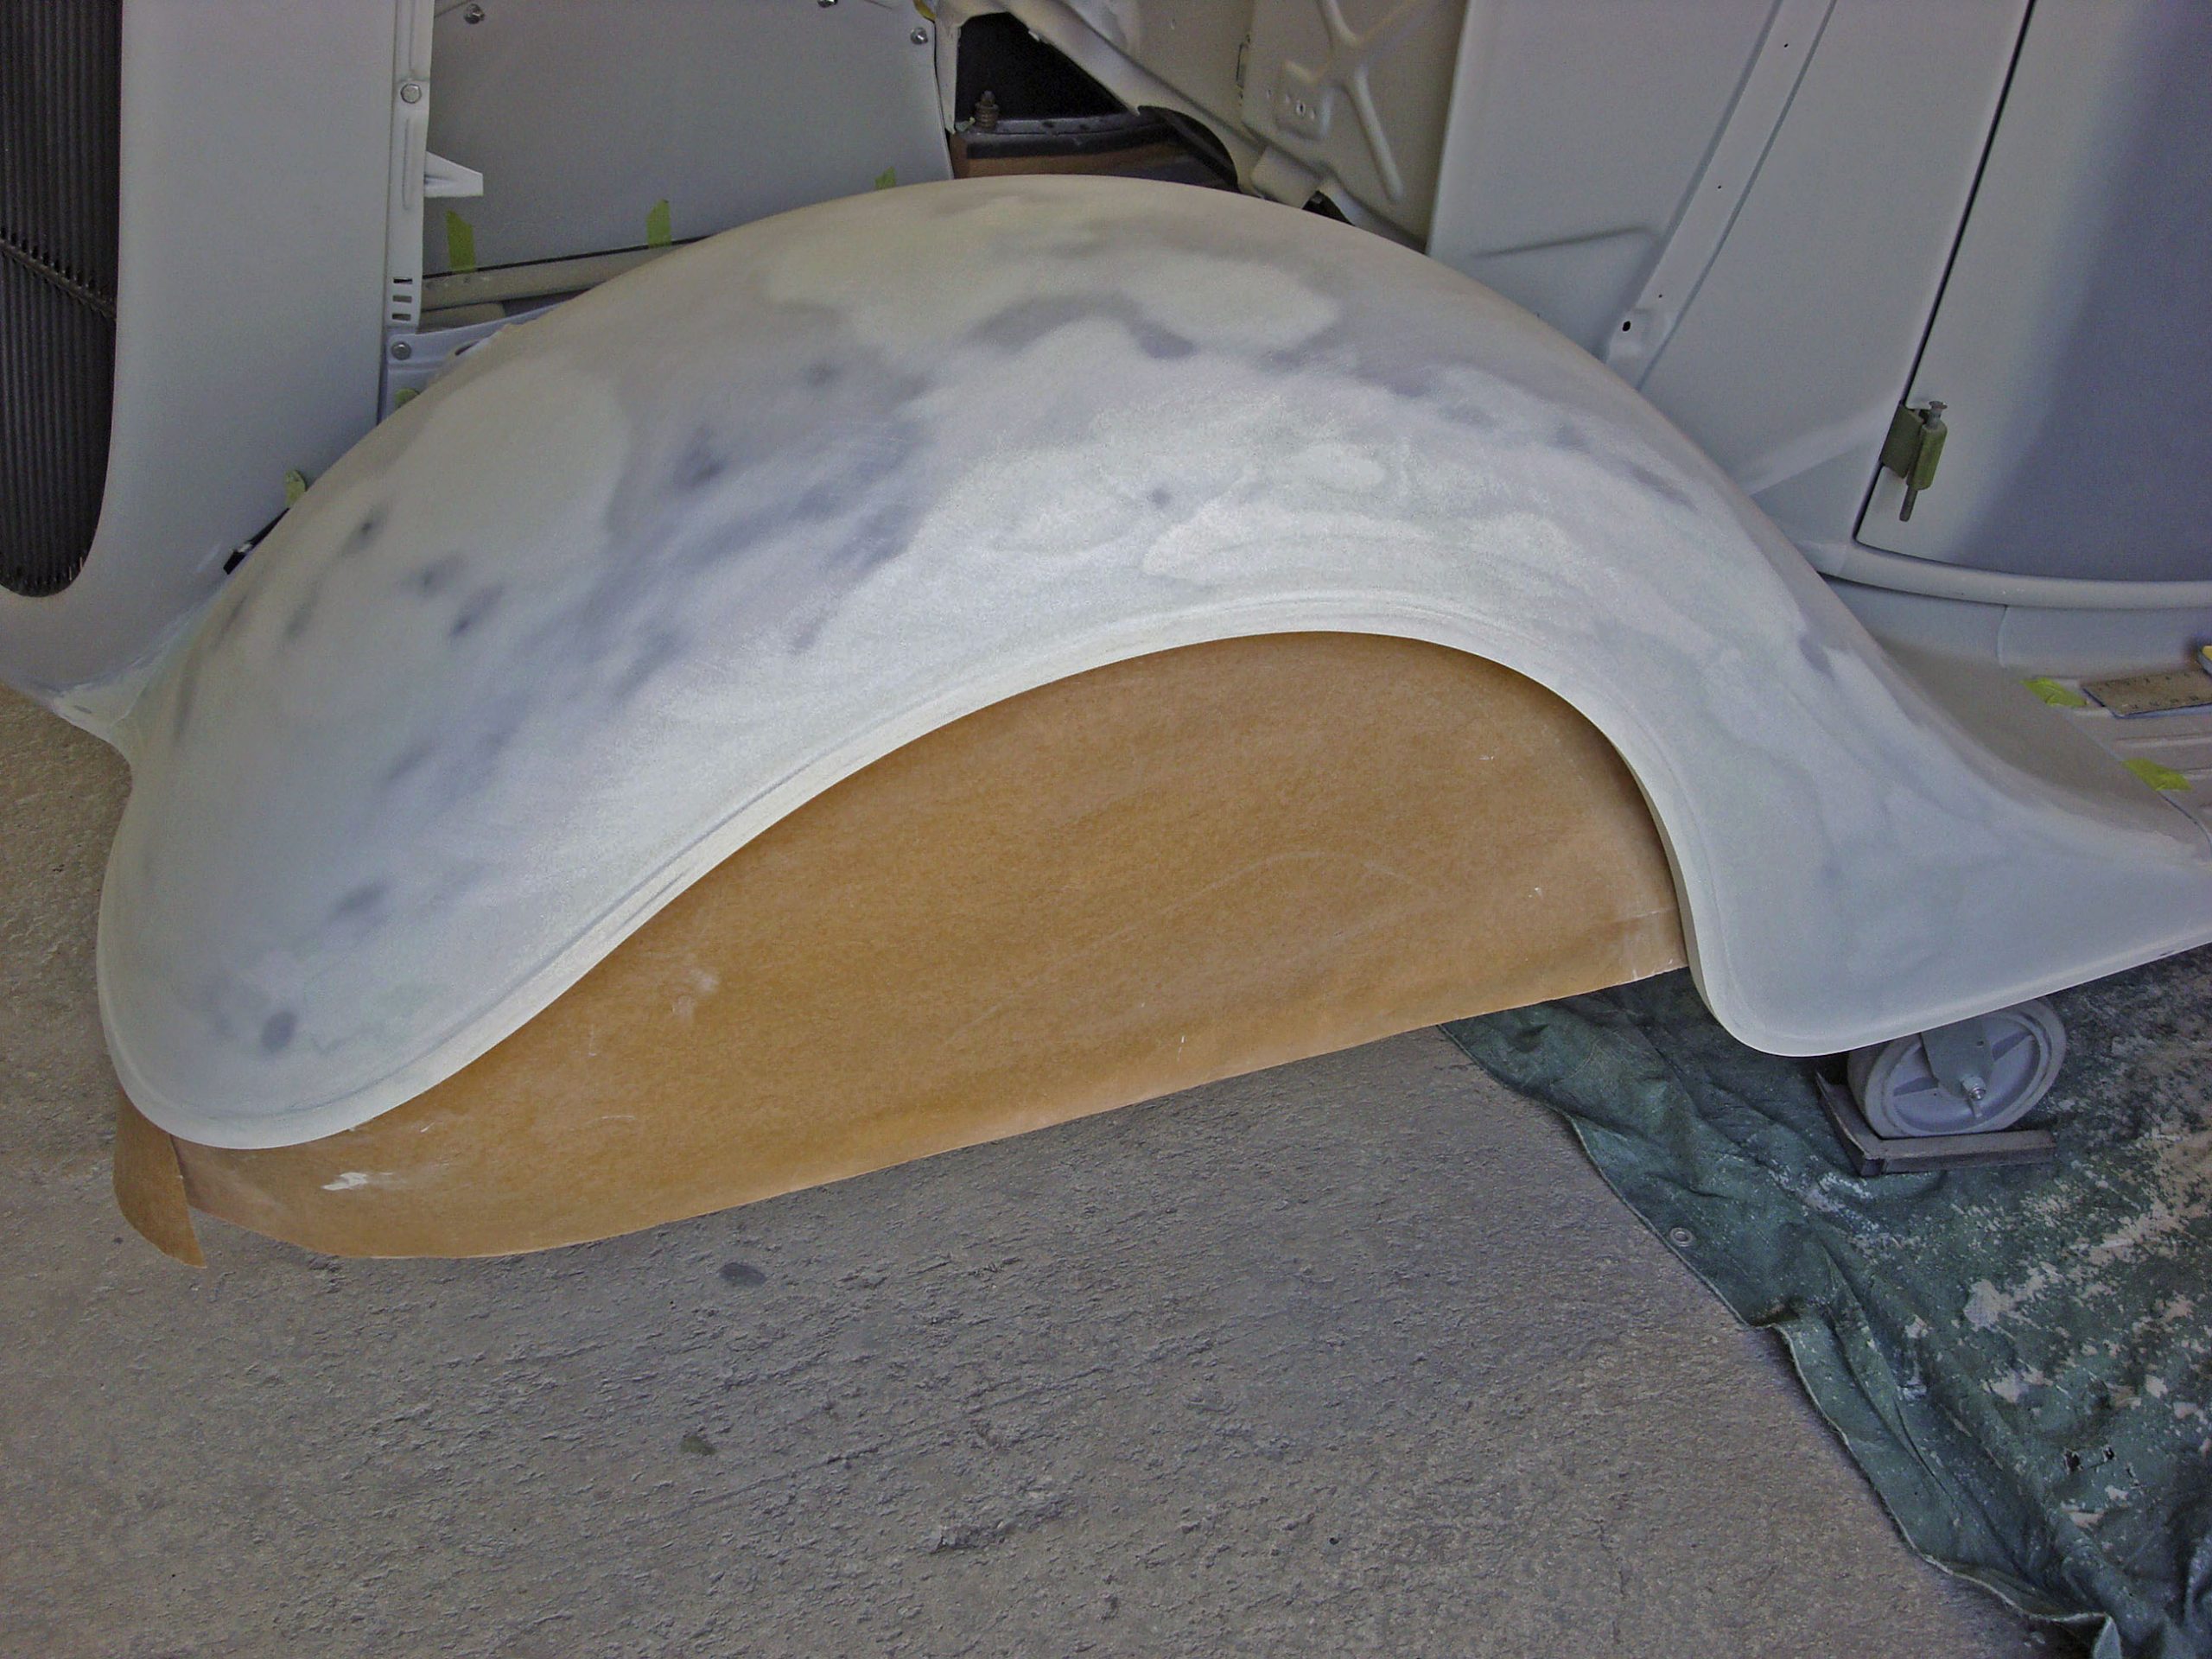
6. Ensuring Wheel Opening Perfection
As seen on this body-worked fender, masking paper was taped behind it. This not only provides cleanliness during priming but allows you to see how perfect your wheel opening is when standing back 5-10 feet. It eliminates your eyes from trying to focus on too many areas at once for the ultimate inspection.
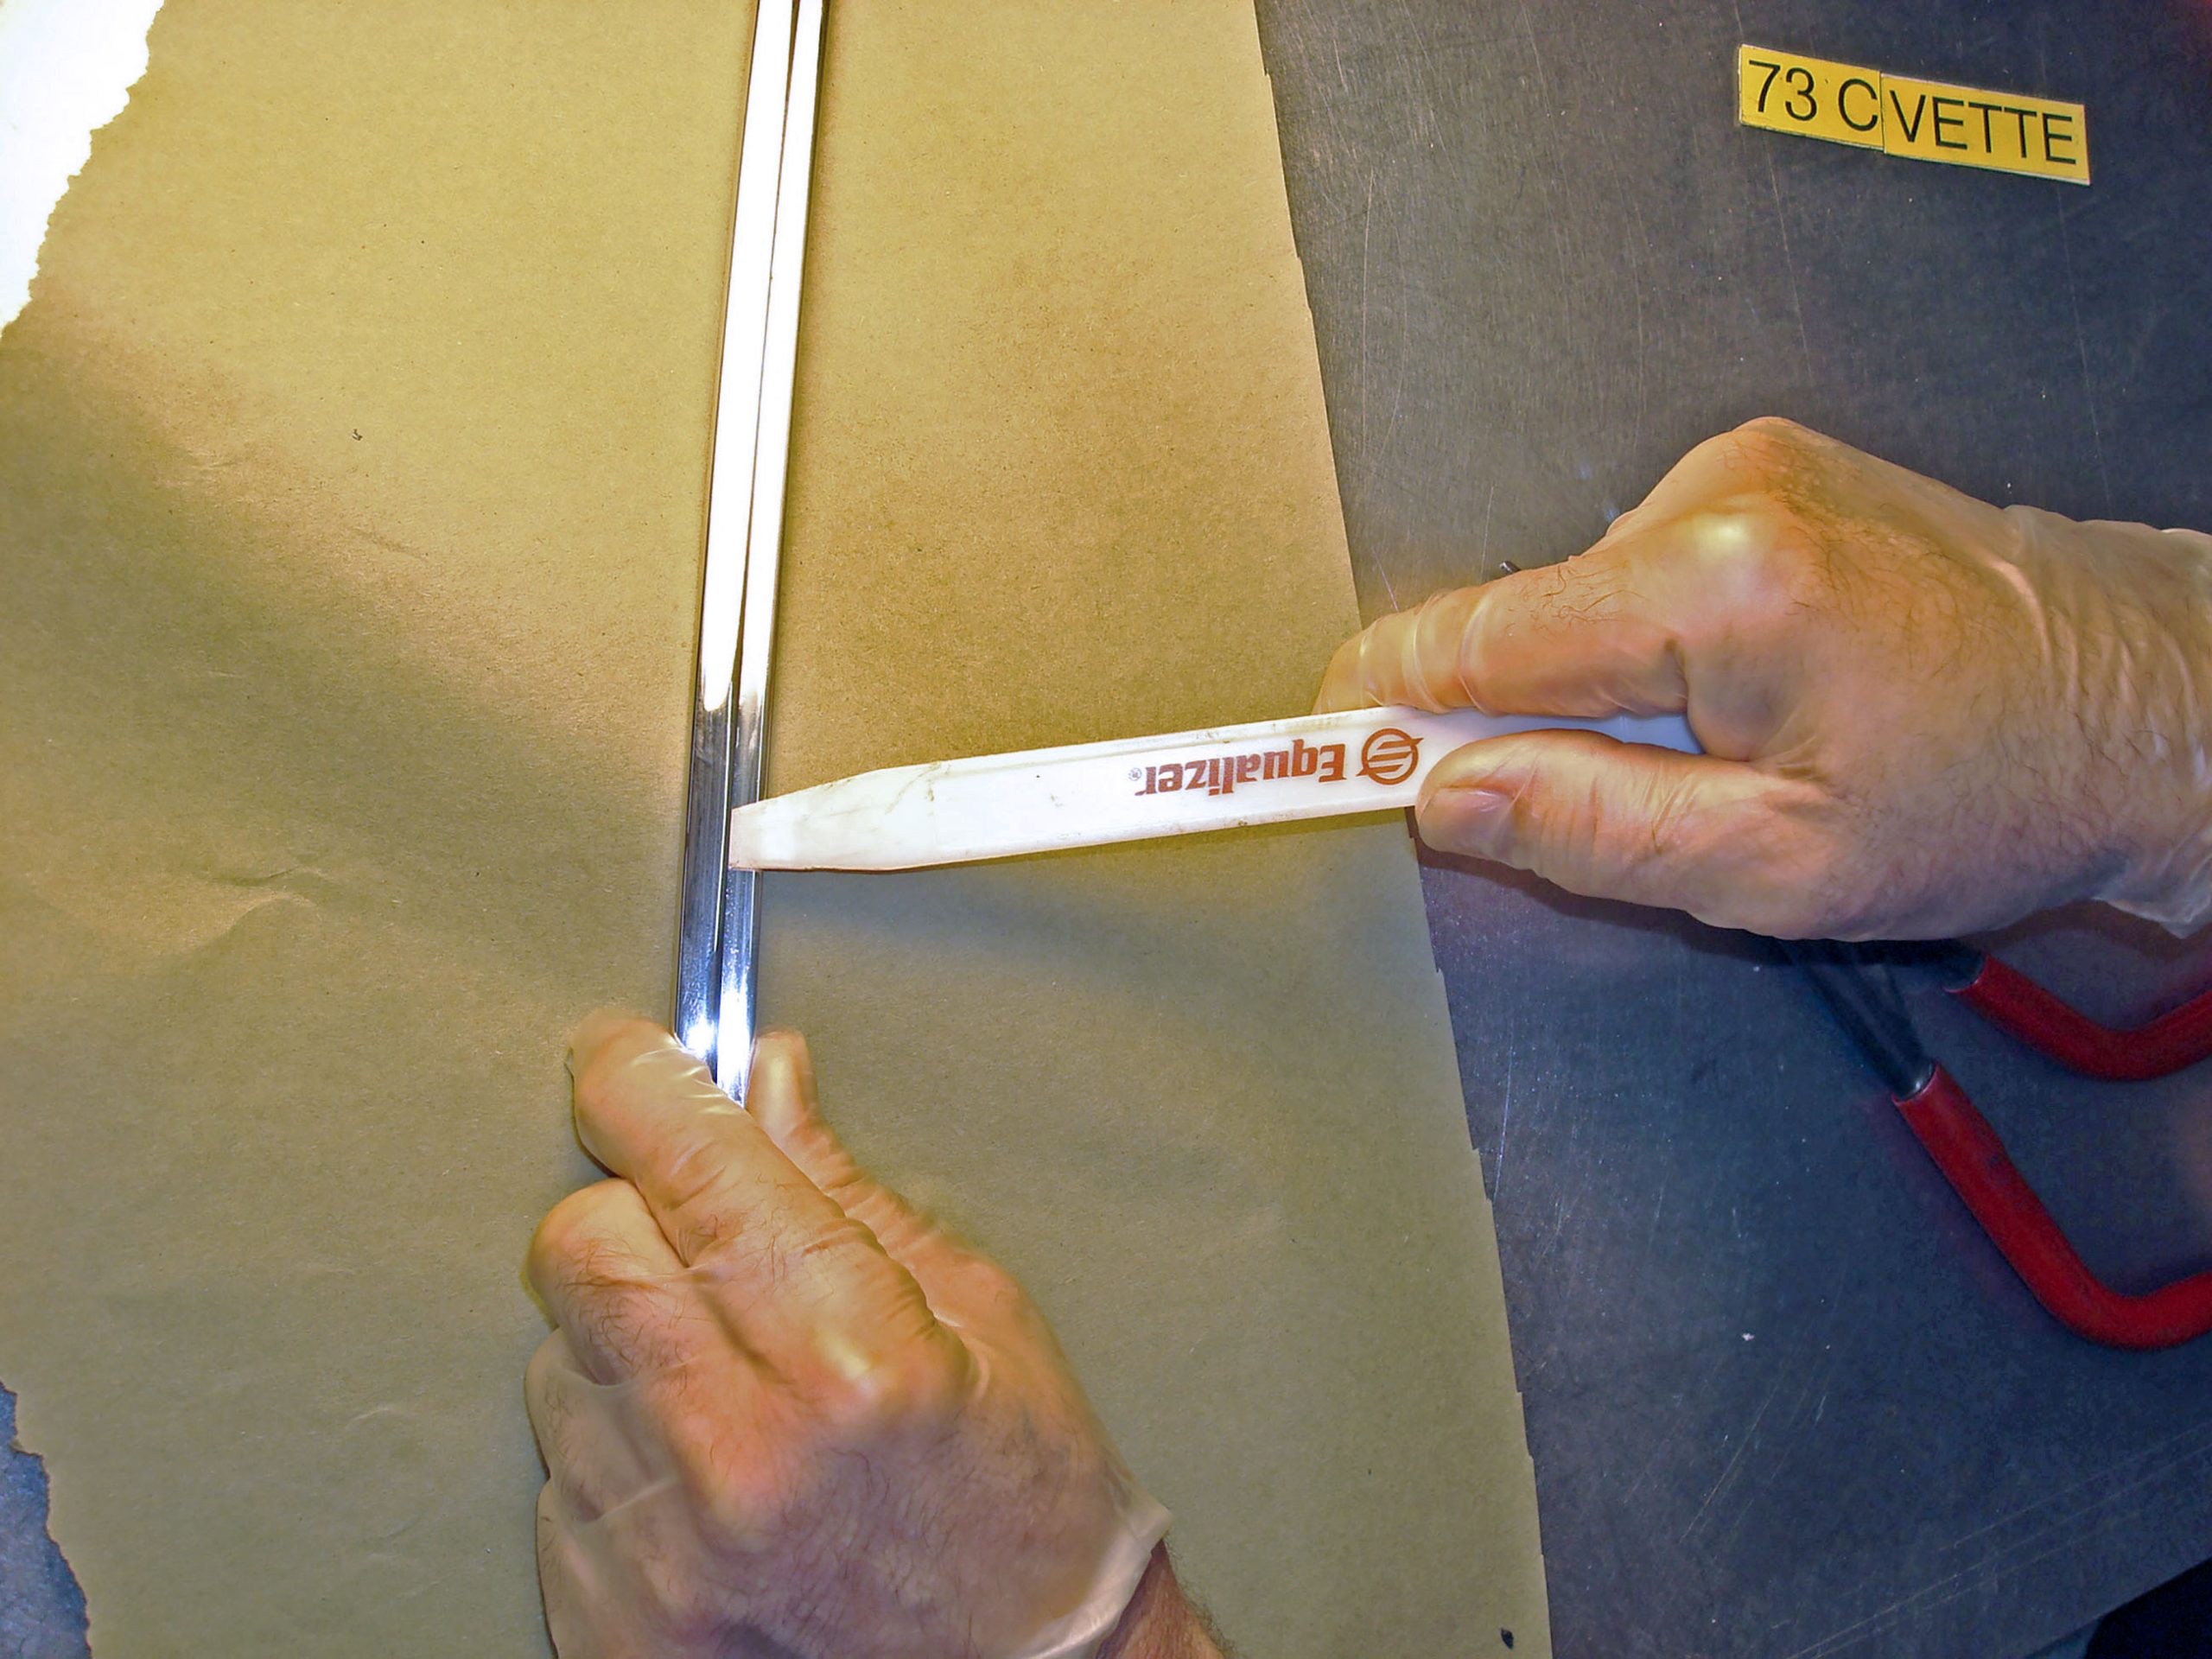
7. Fitting Metal Trim Before Chroming
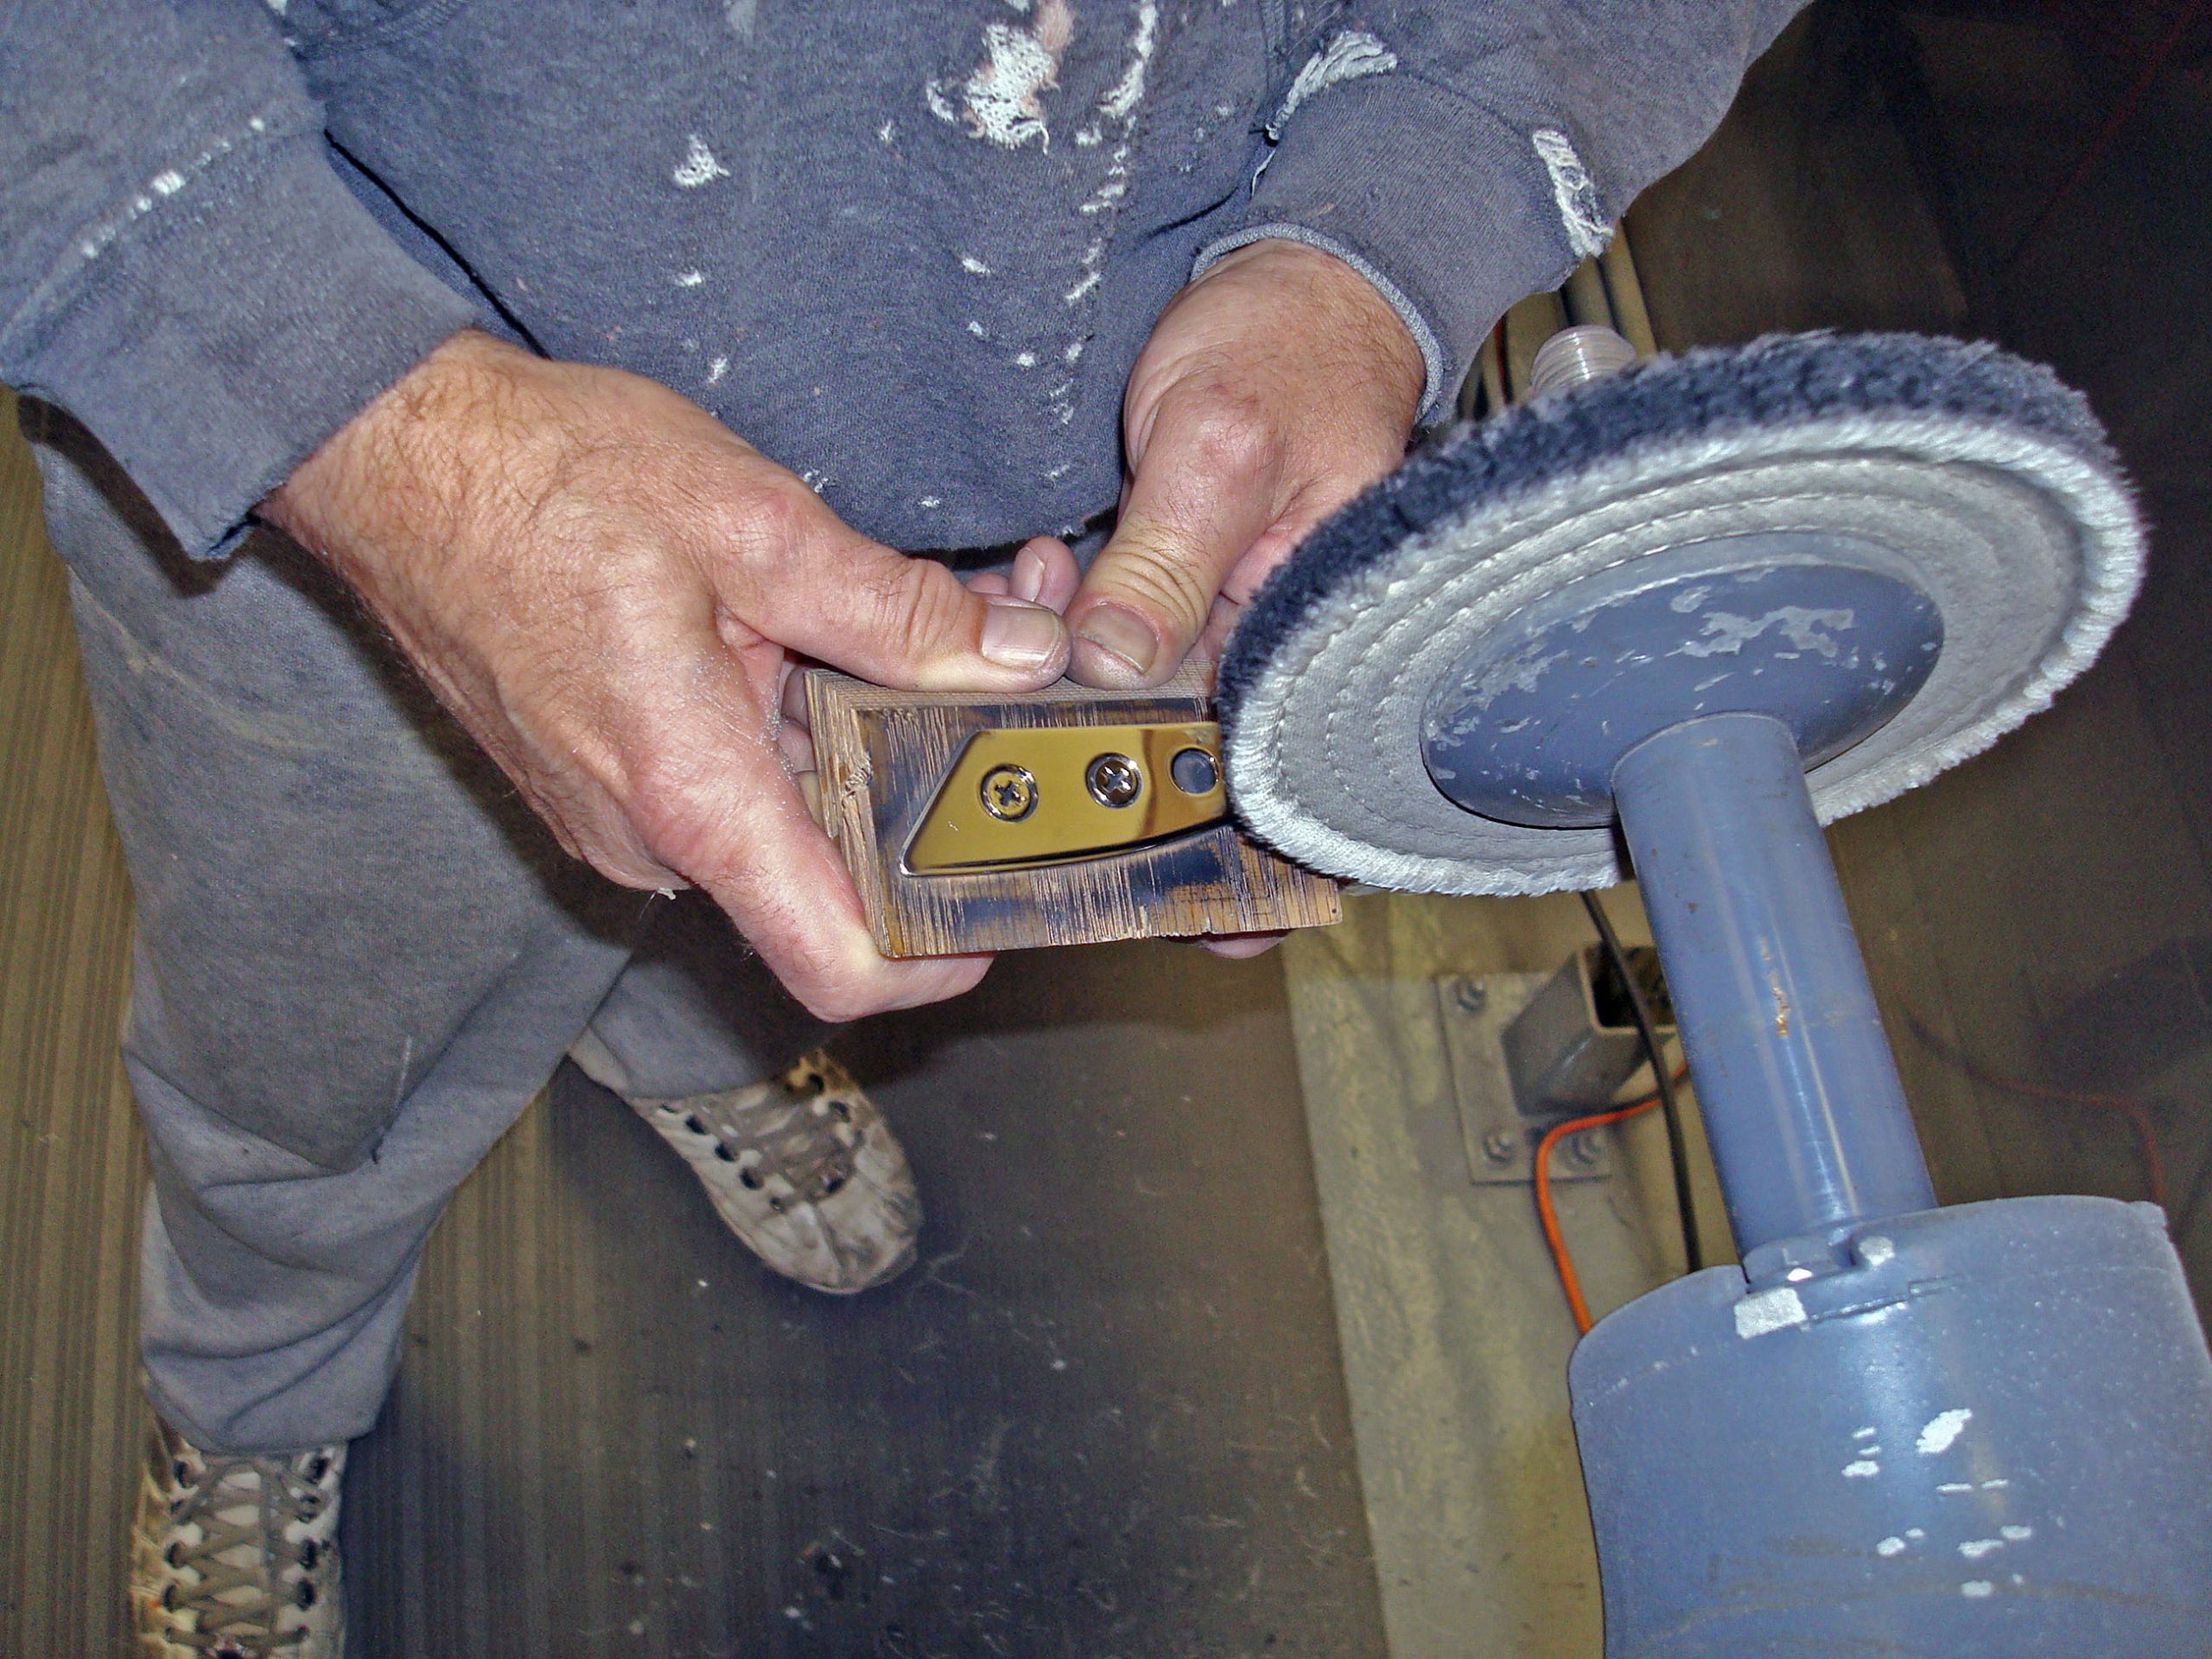
It is best to fit all the metal trim in its copper state before final nickel and chrome is done. This is the last time you will be able to correct any fit problems. Most platers over-grind and tend to tweak the parts a bit during preparation, and being they do not have the car in front of them to check the fit, you can correct any areas you are not happy with at this time.
10. Strengthening Wavy Panel Edges
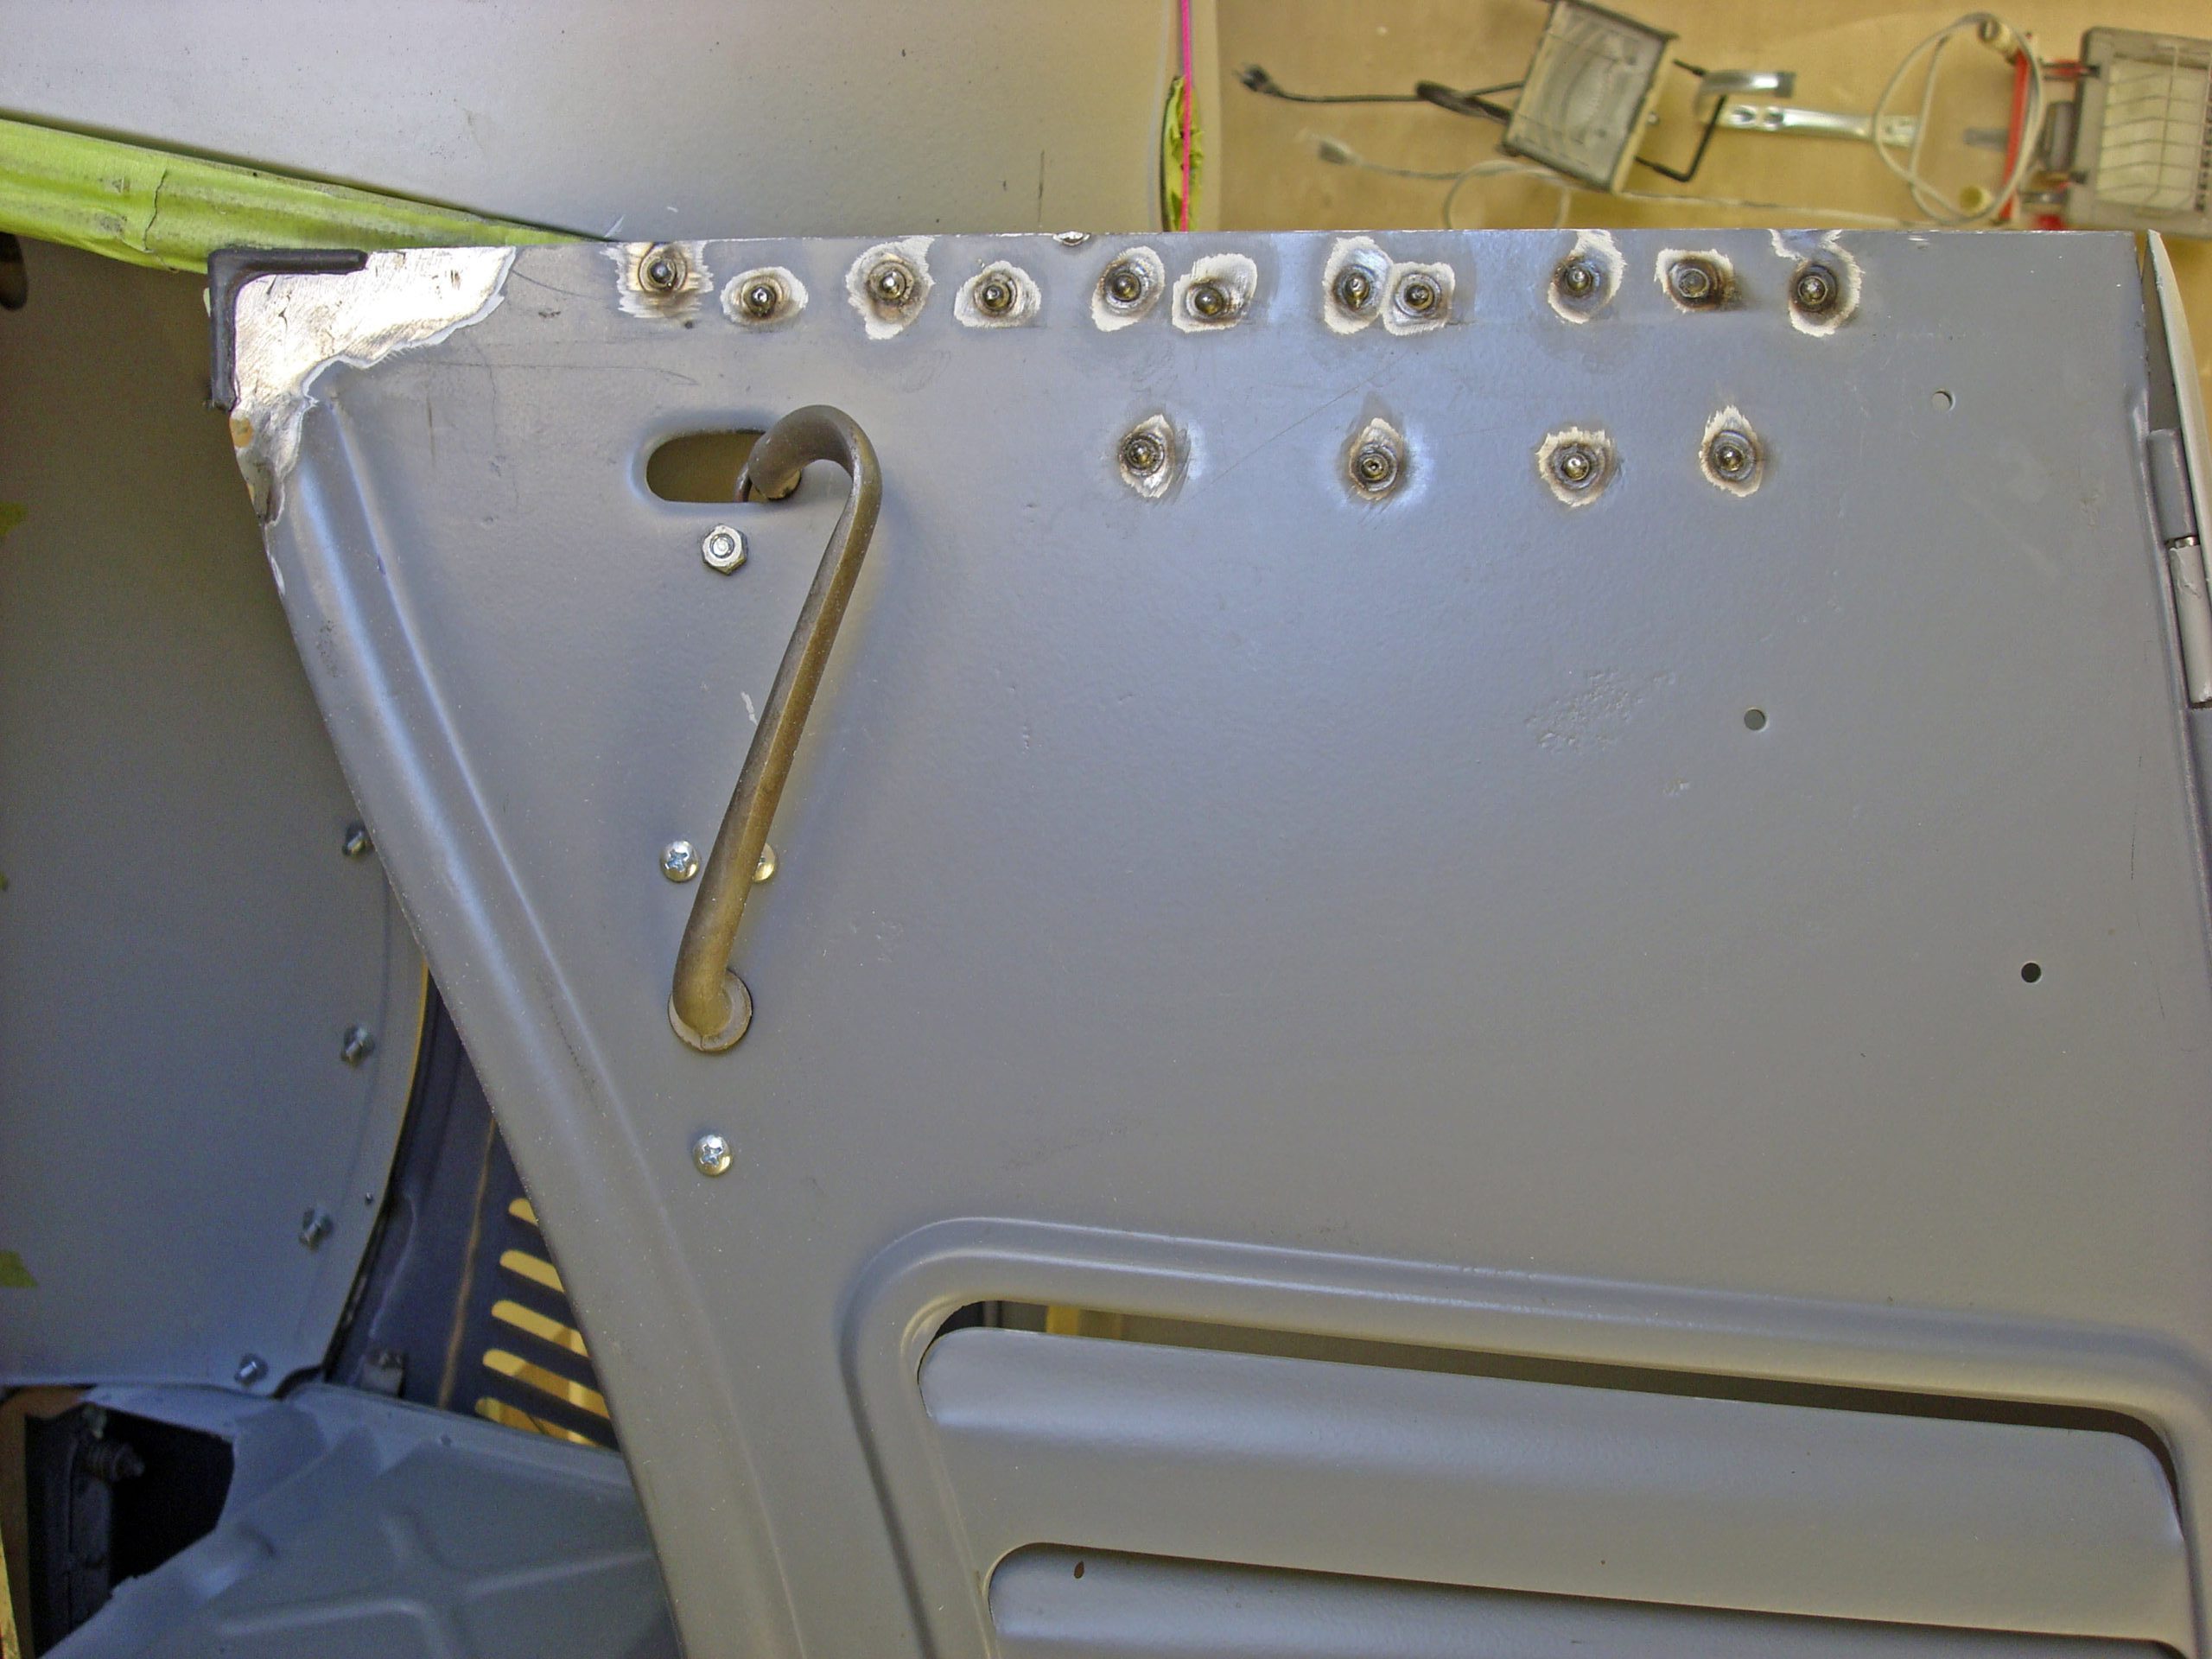
Often, the edge of a panel will be wavy or unstable compared to the center, especially on open panels that are not folded back. The use of a MIG welder to spot a few areas and then cool with a wet rag will stiffen the panel just enough. Simply grind them back down slowly to the surface before bodywork and priming.
13. Custom Fitting Factory Door Panels
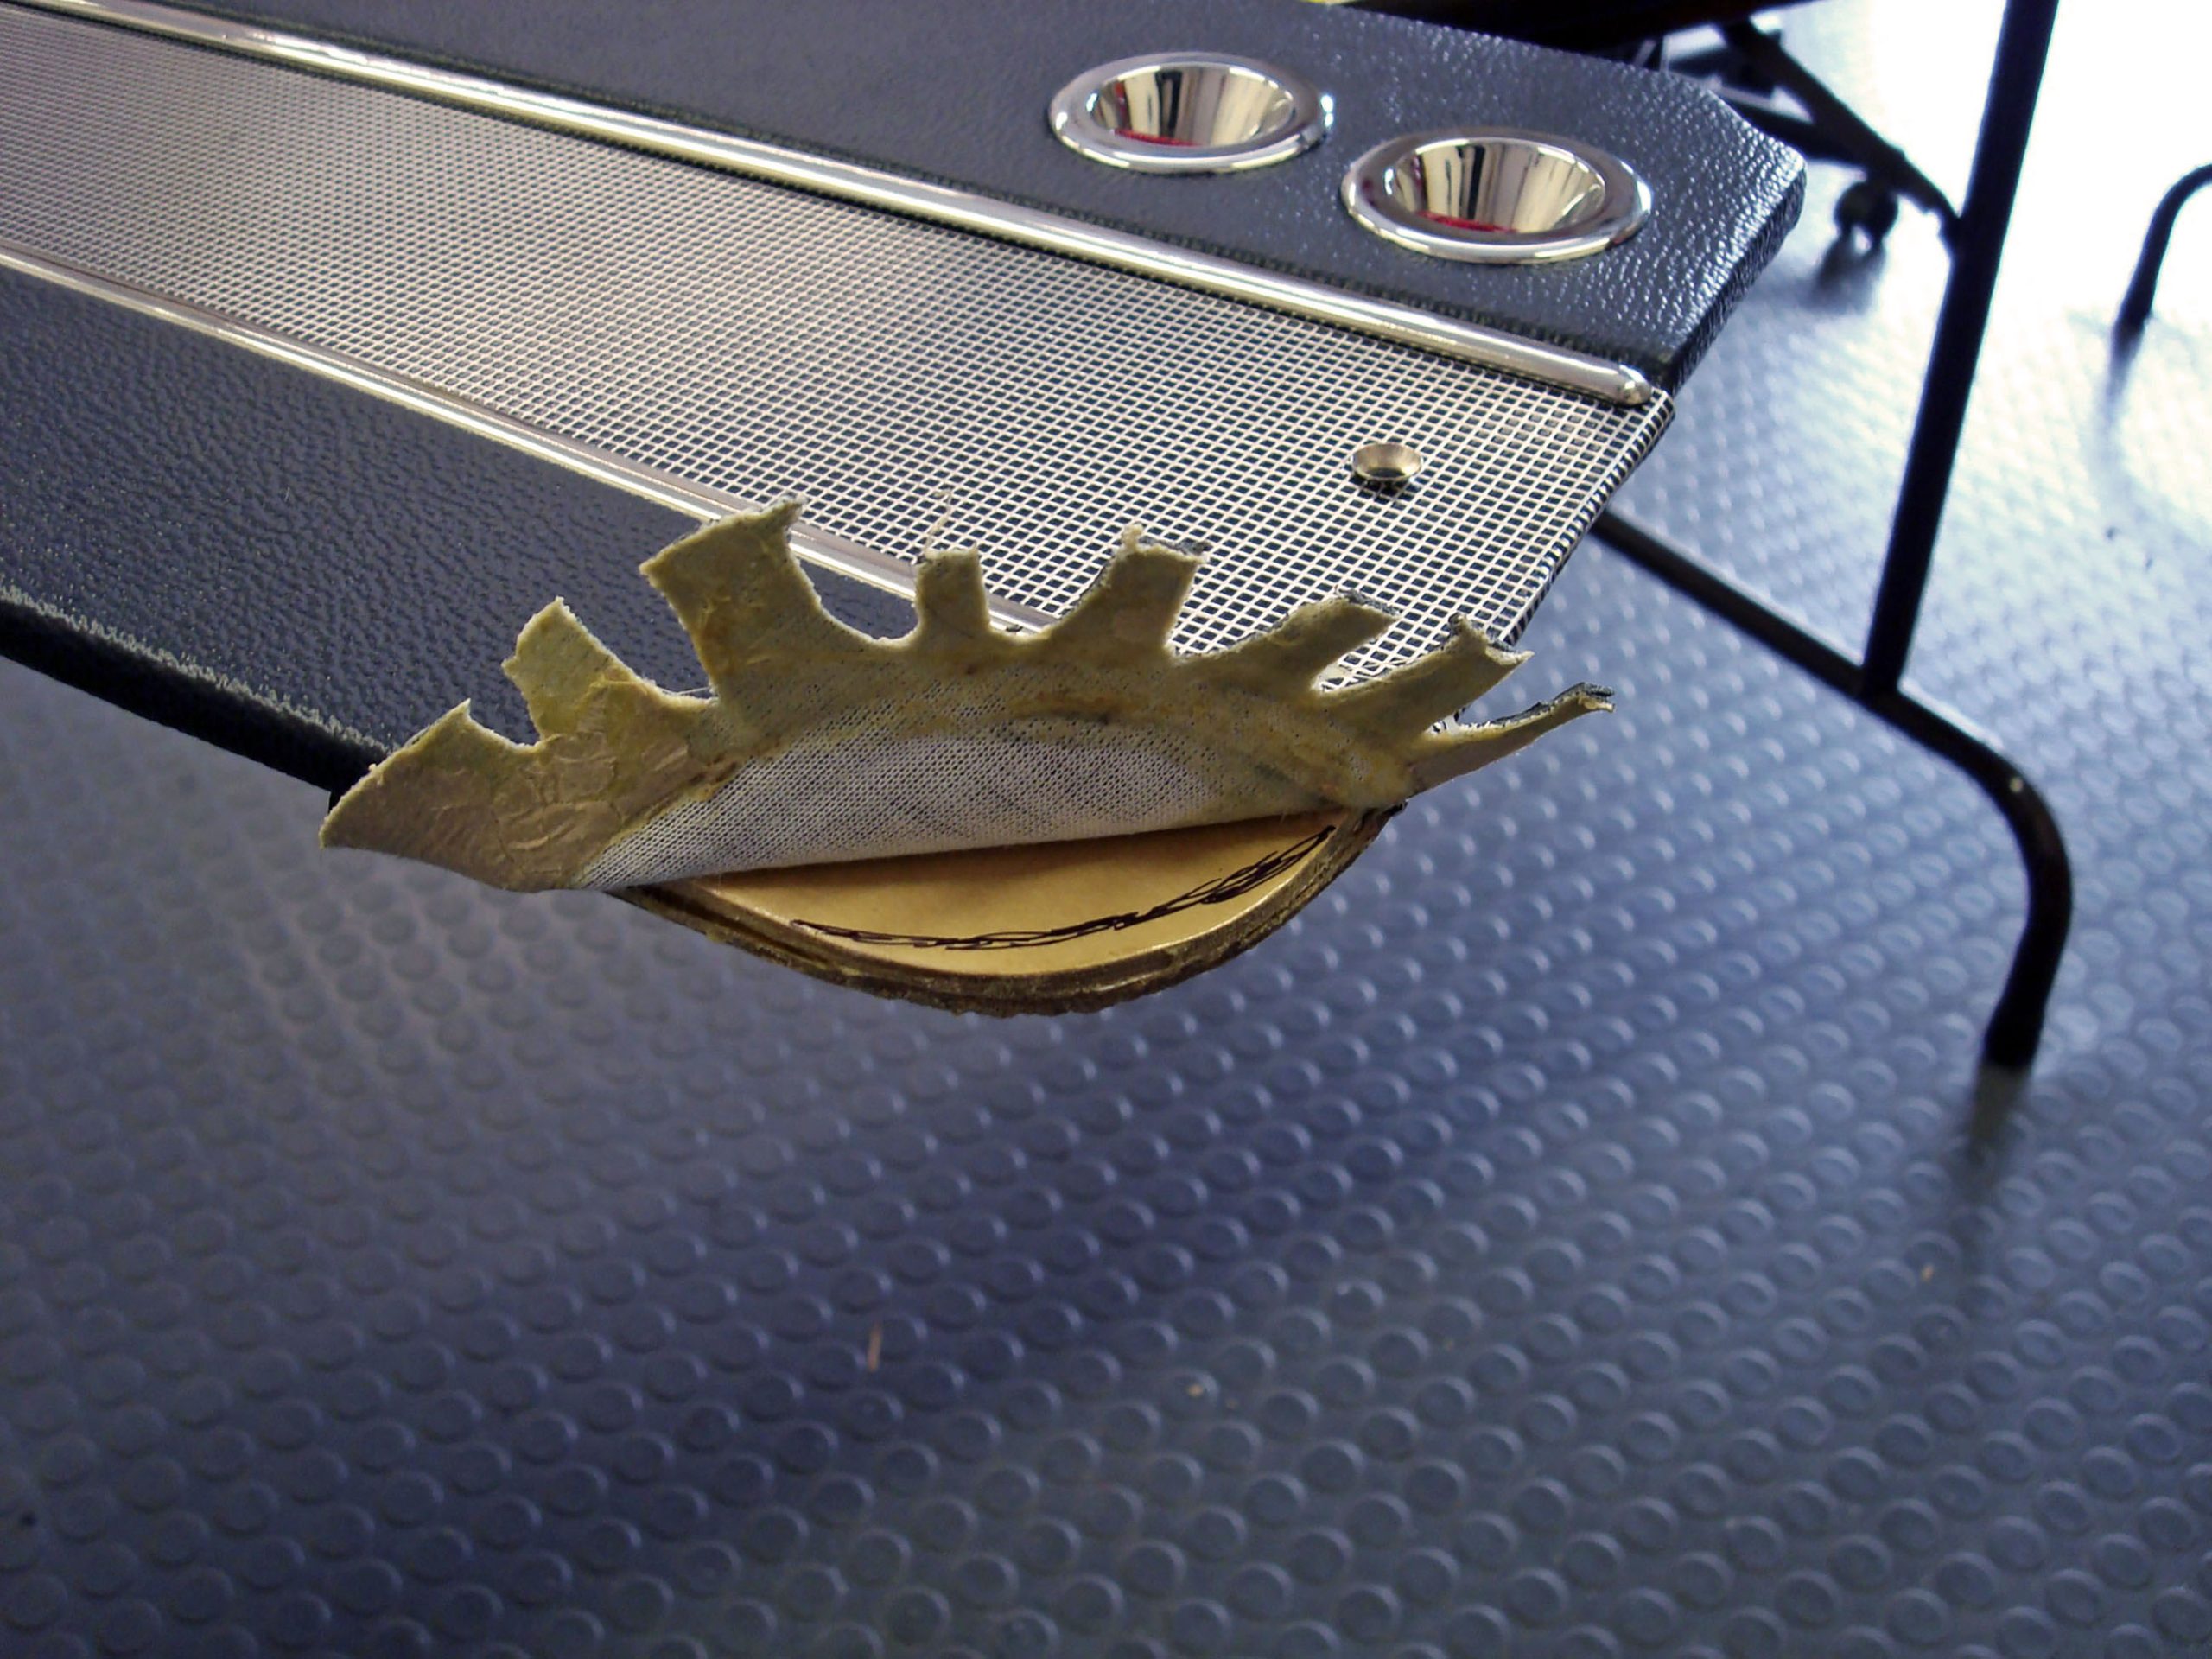
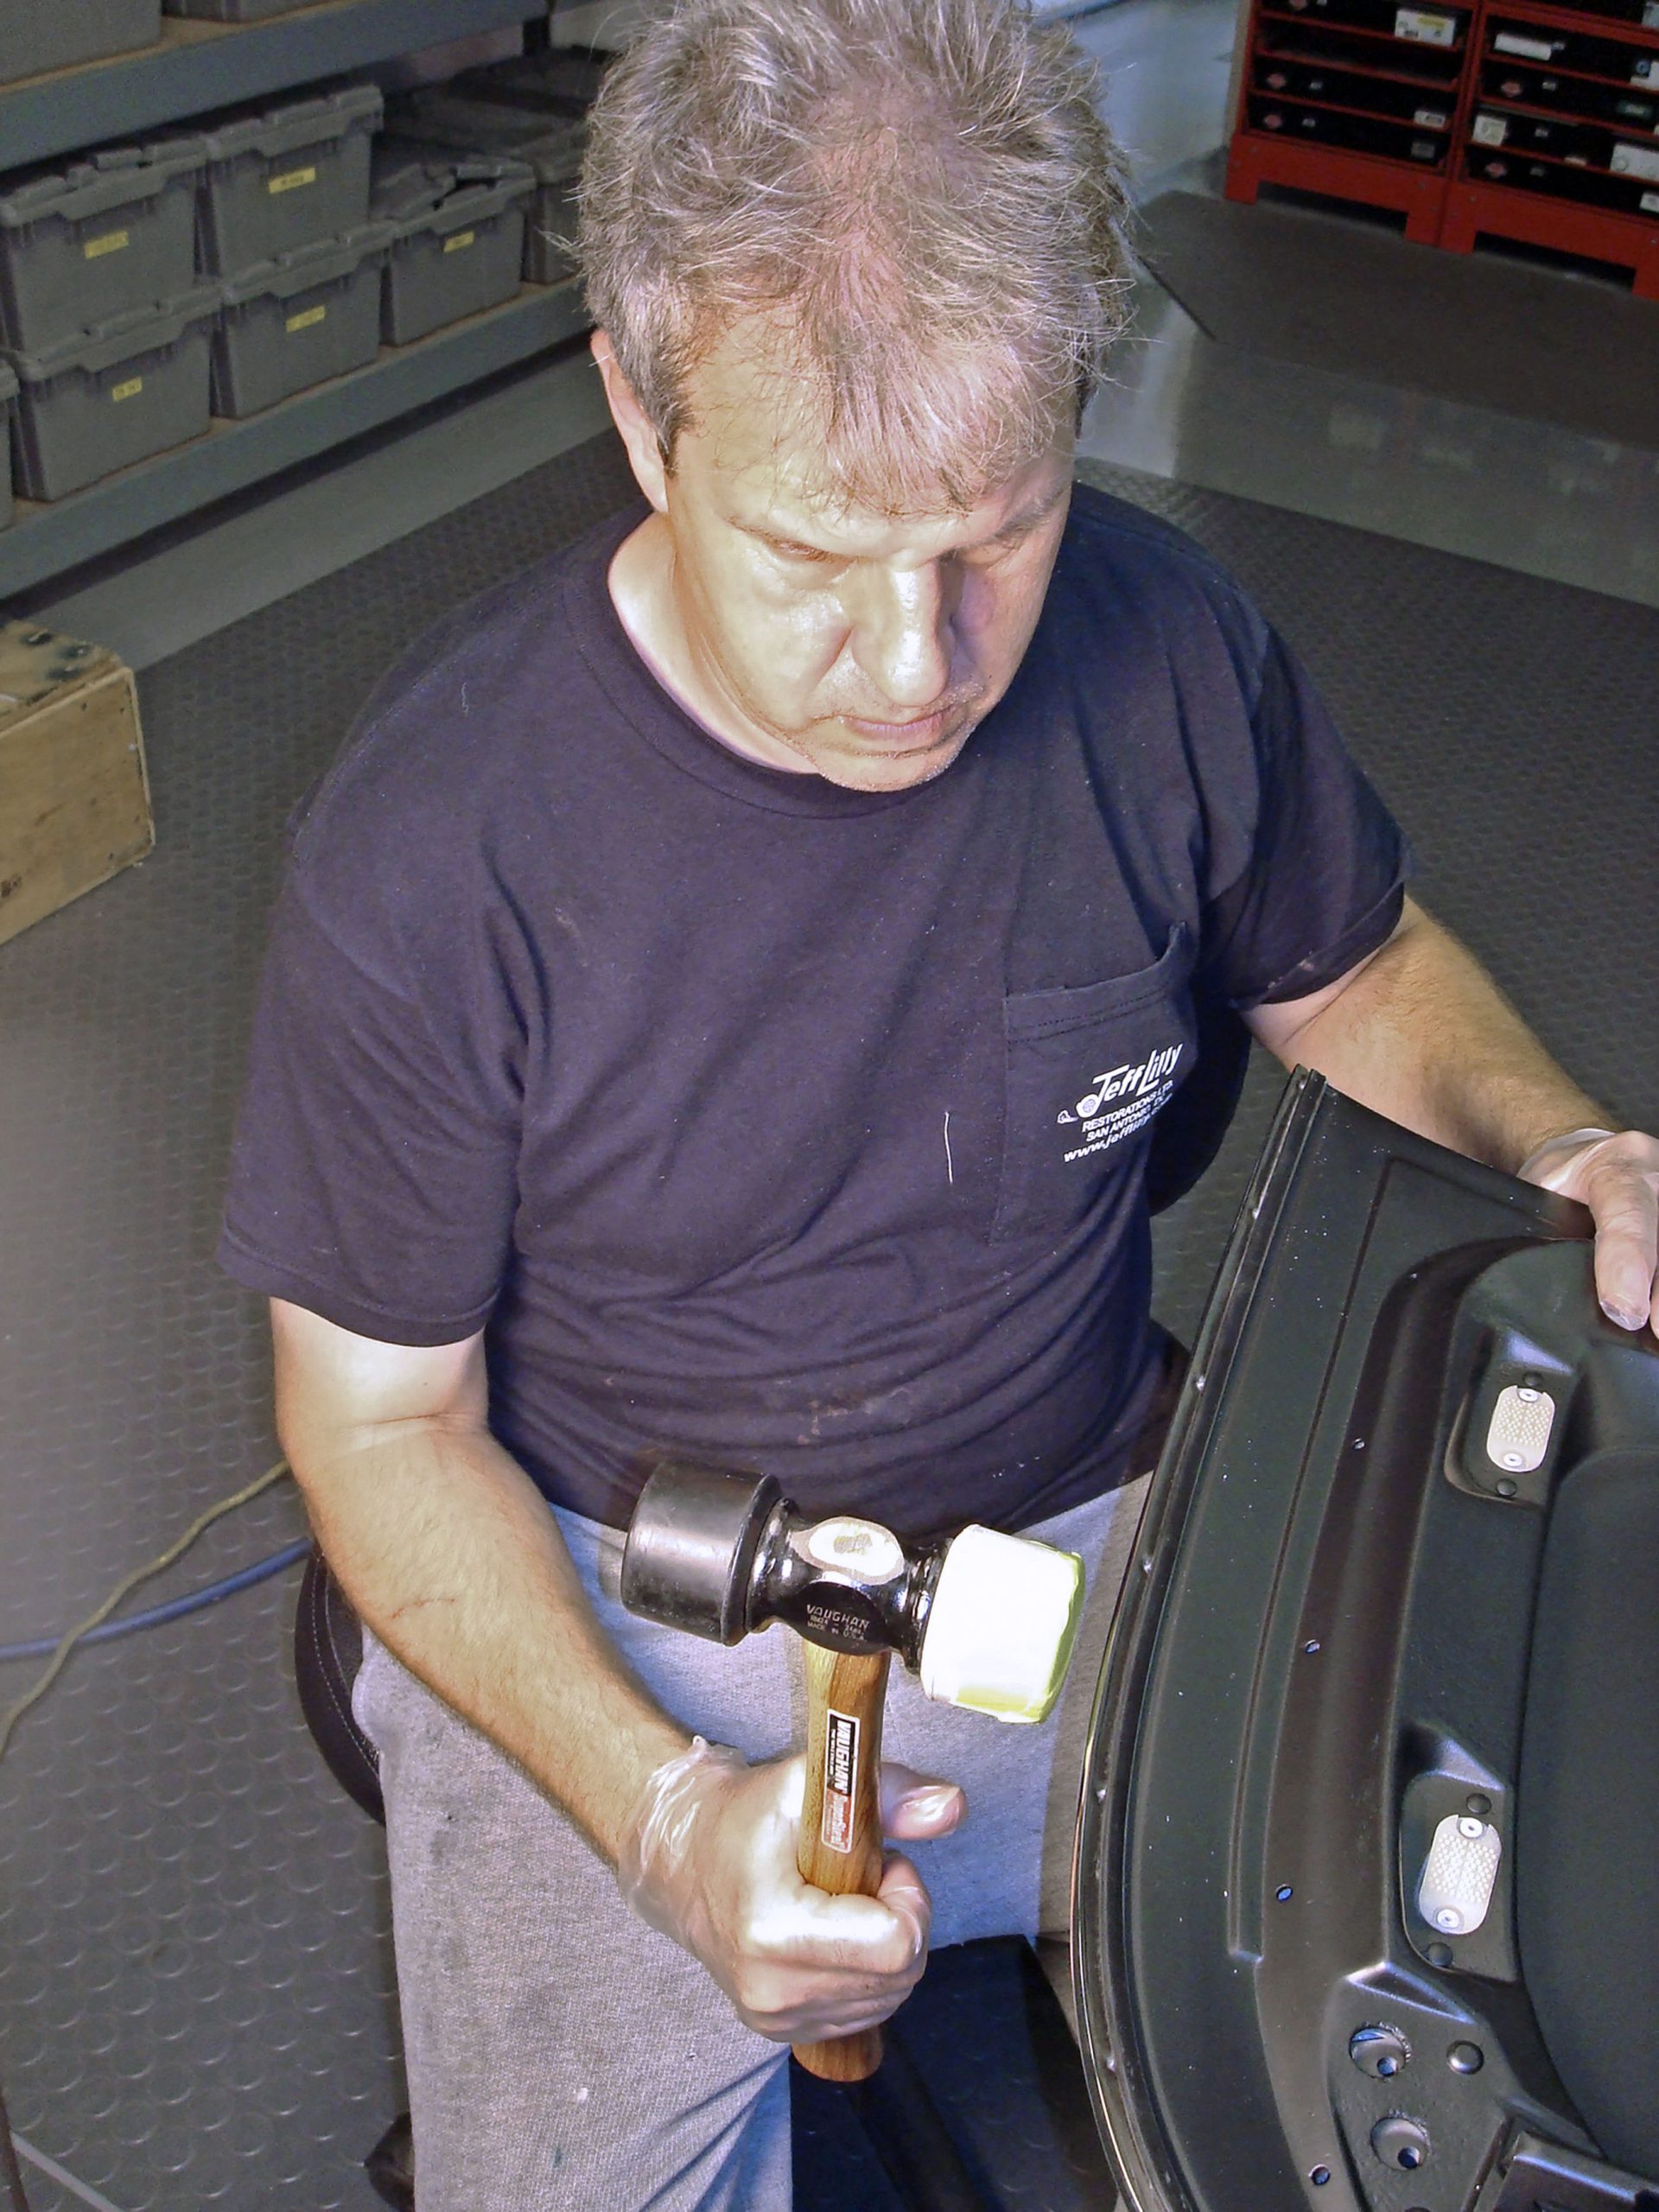
When installing factory parts such as this interior door panel, they will more than likely not fit well. Hold the panel up to your door and simply mark the panel where it needs trimming, then pull back the material from around the backside and trim off the excess. Then rewrap and glue for a custom-fit door panel.
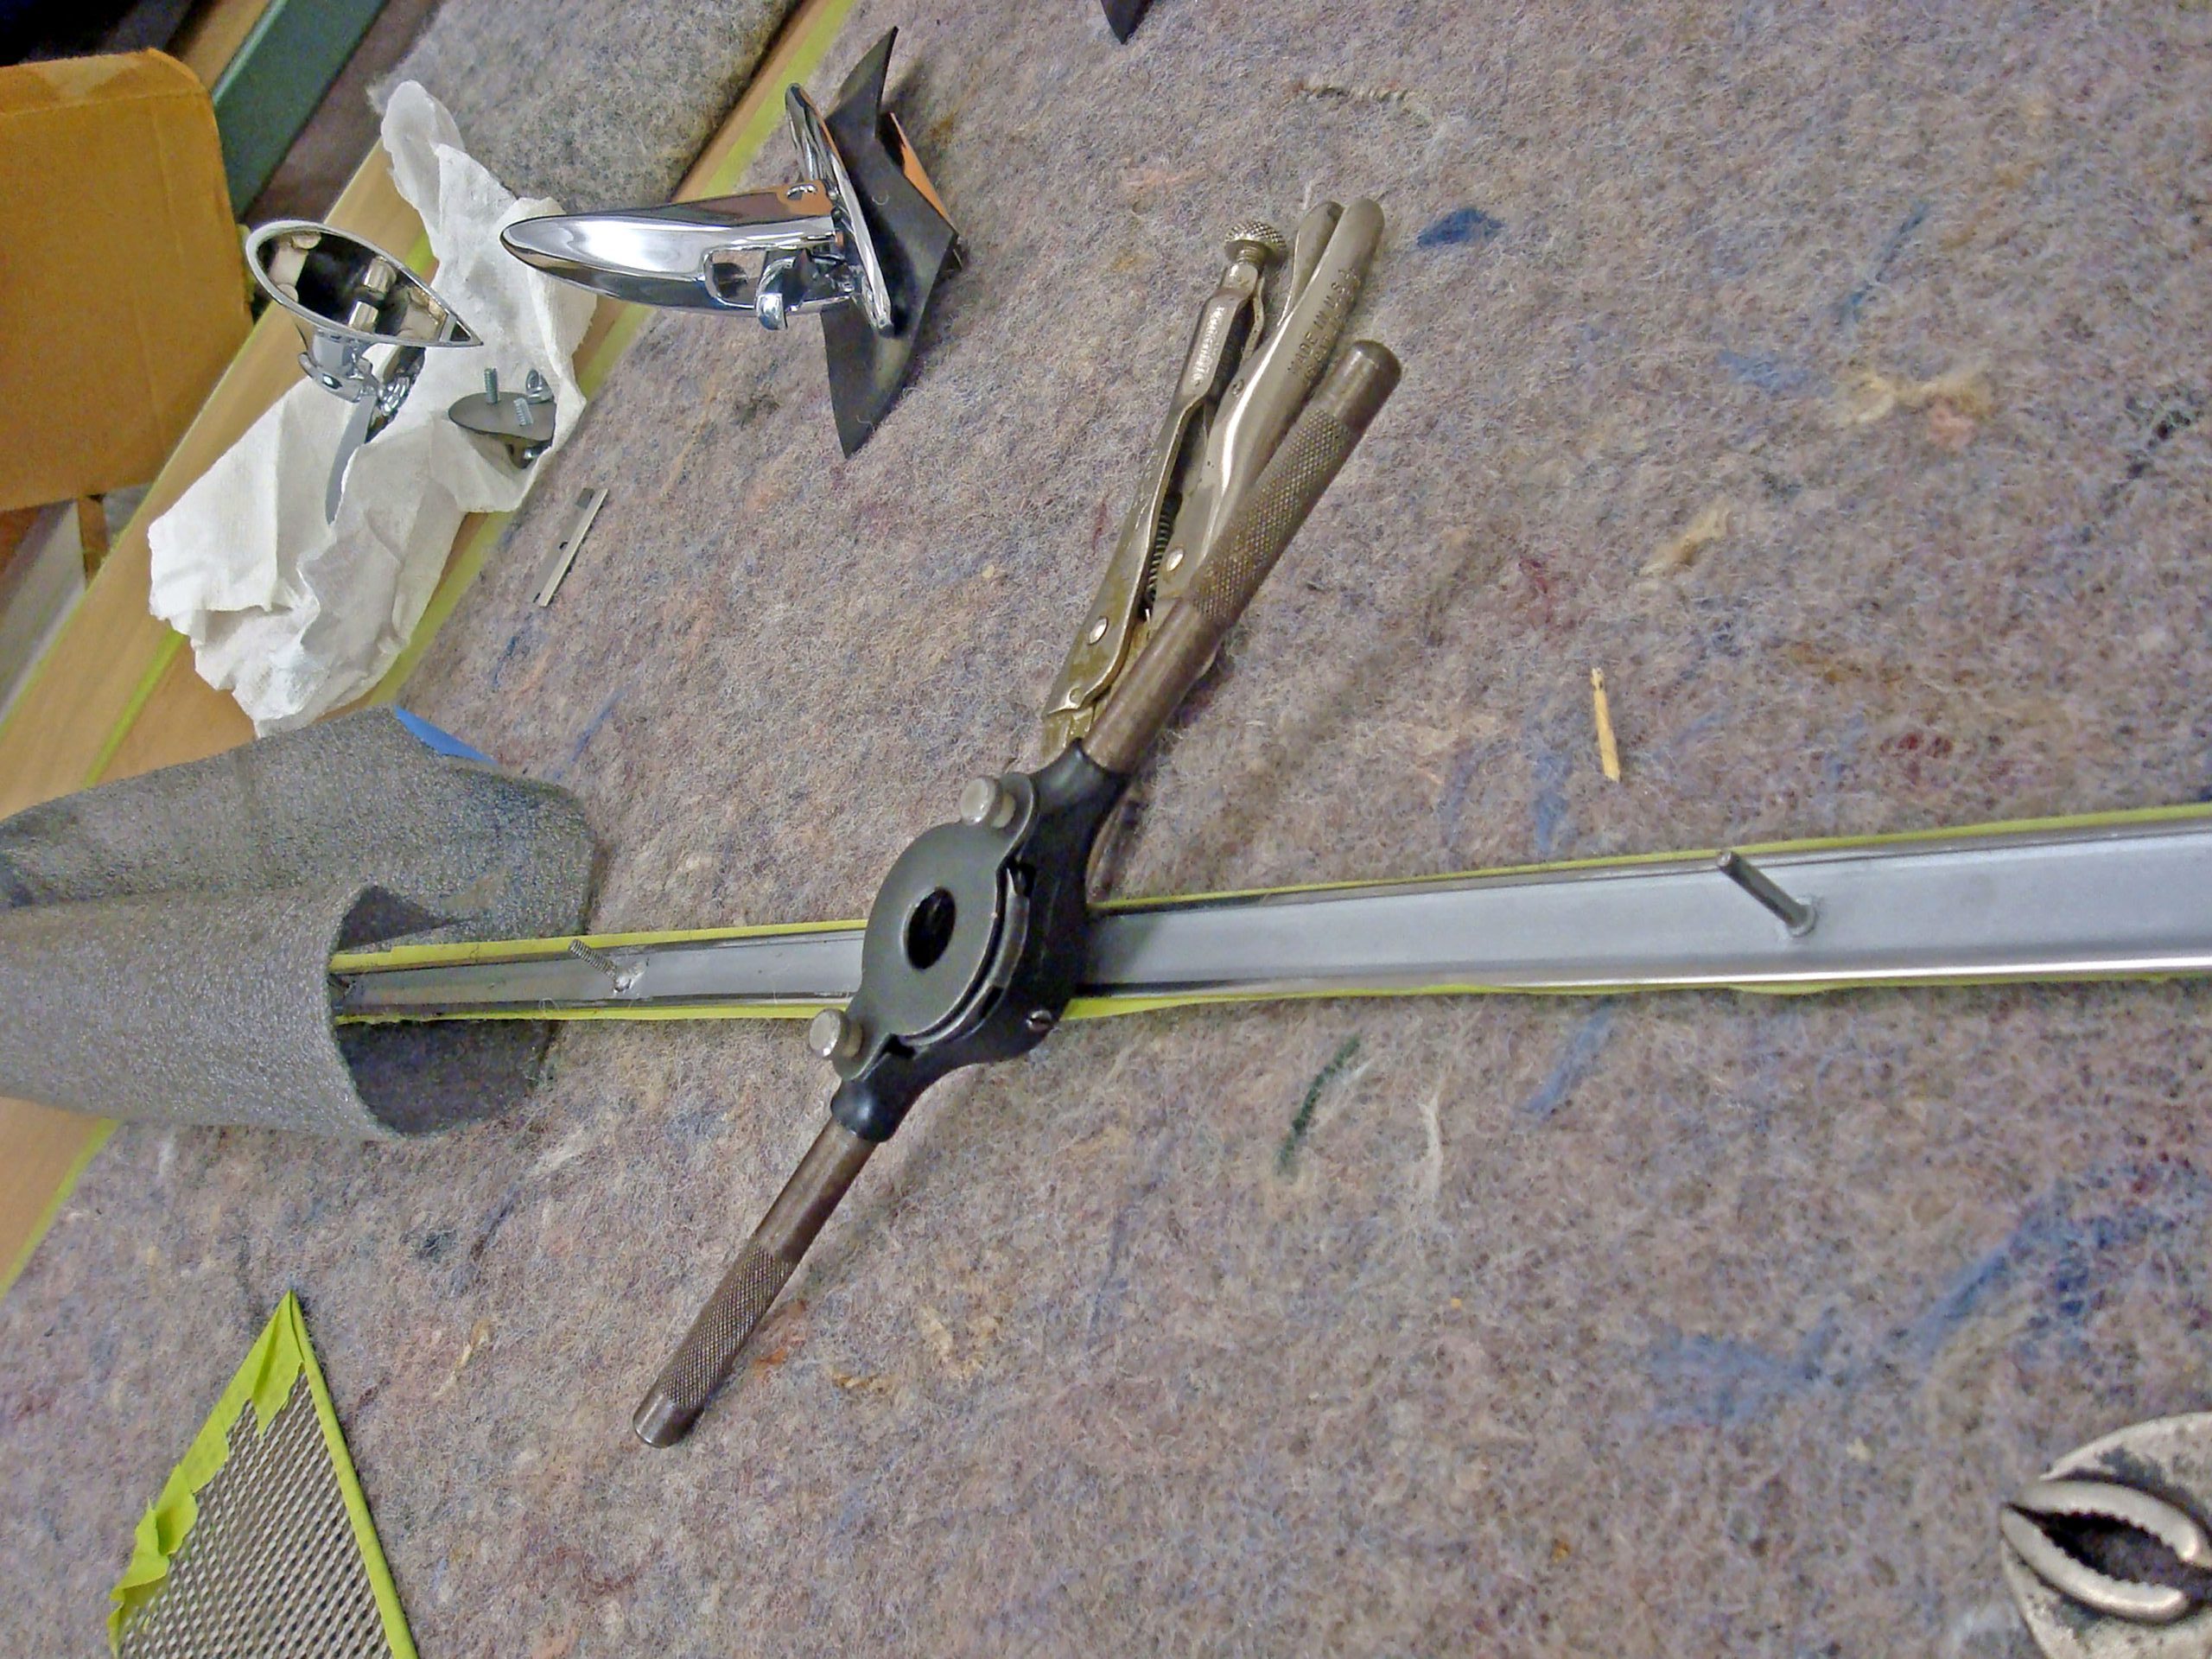
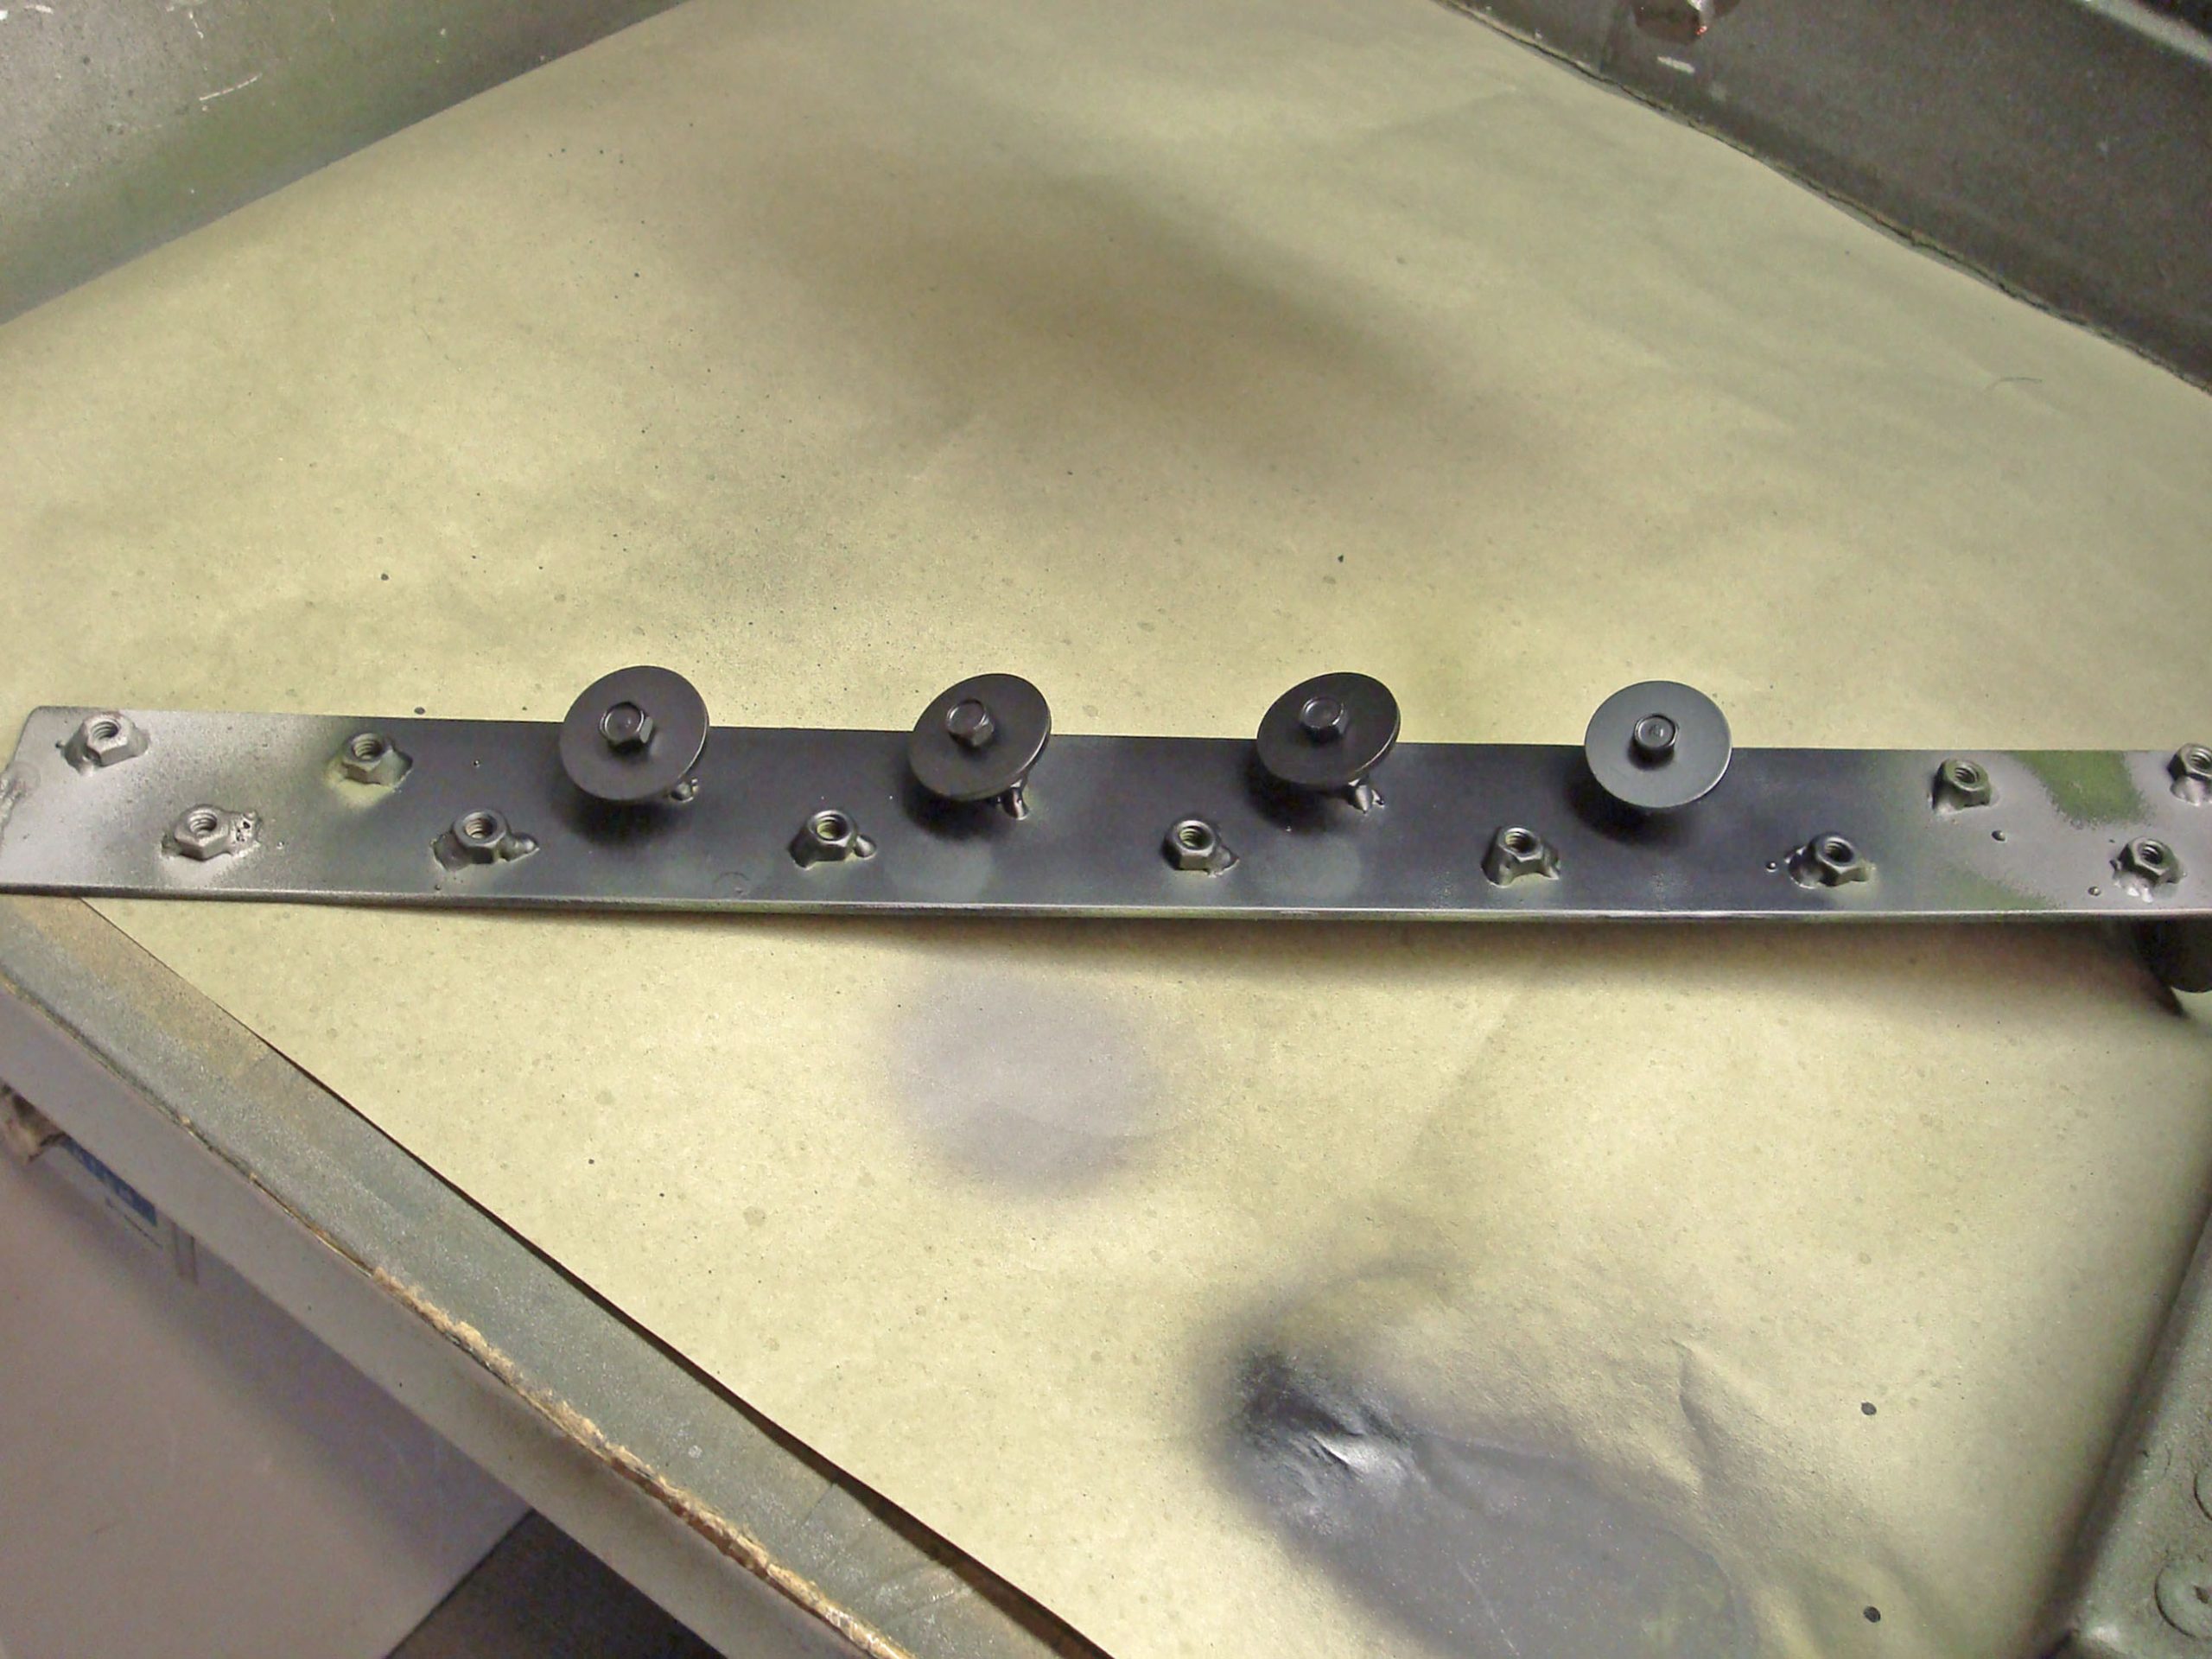
15. Converting Pot Metal Studs for Trim
Some trim, such as this stainless steel molding, came with pot metal studs that accepted thread-cutting nuts, which often slip when tightened. Using the proper thread-cutting die, you can change them over into a regular threaded nut to avoid snapping off the studs during assembly if they were too tight and also avoid a loose molding when the thread-cutting nuts have already cut too many grooves on the stud.
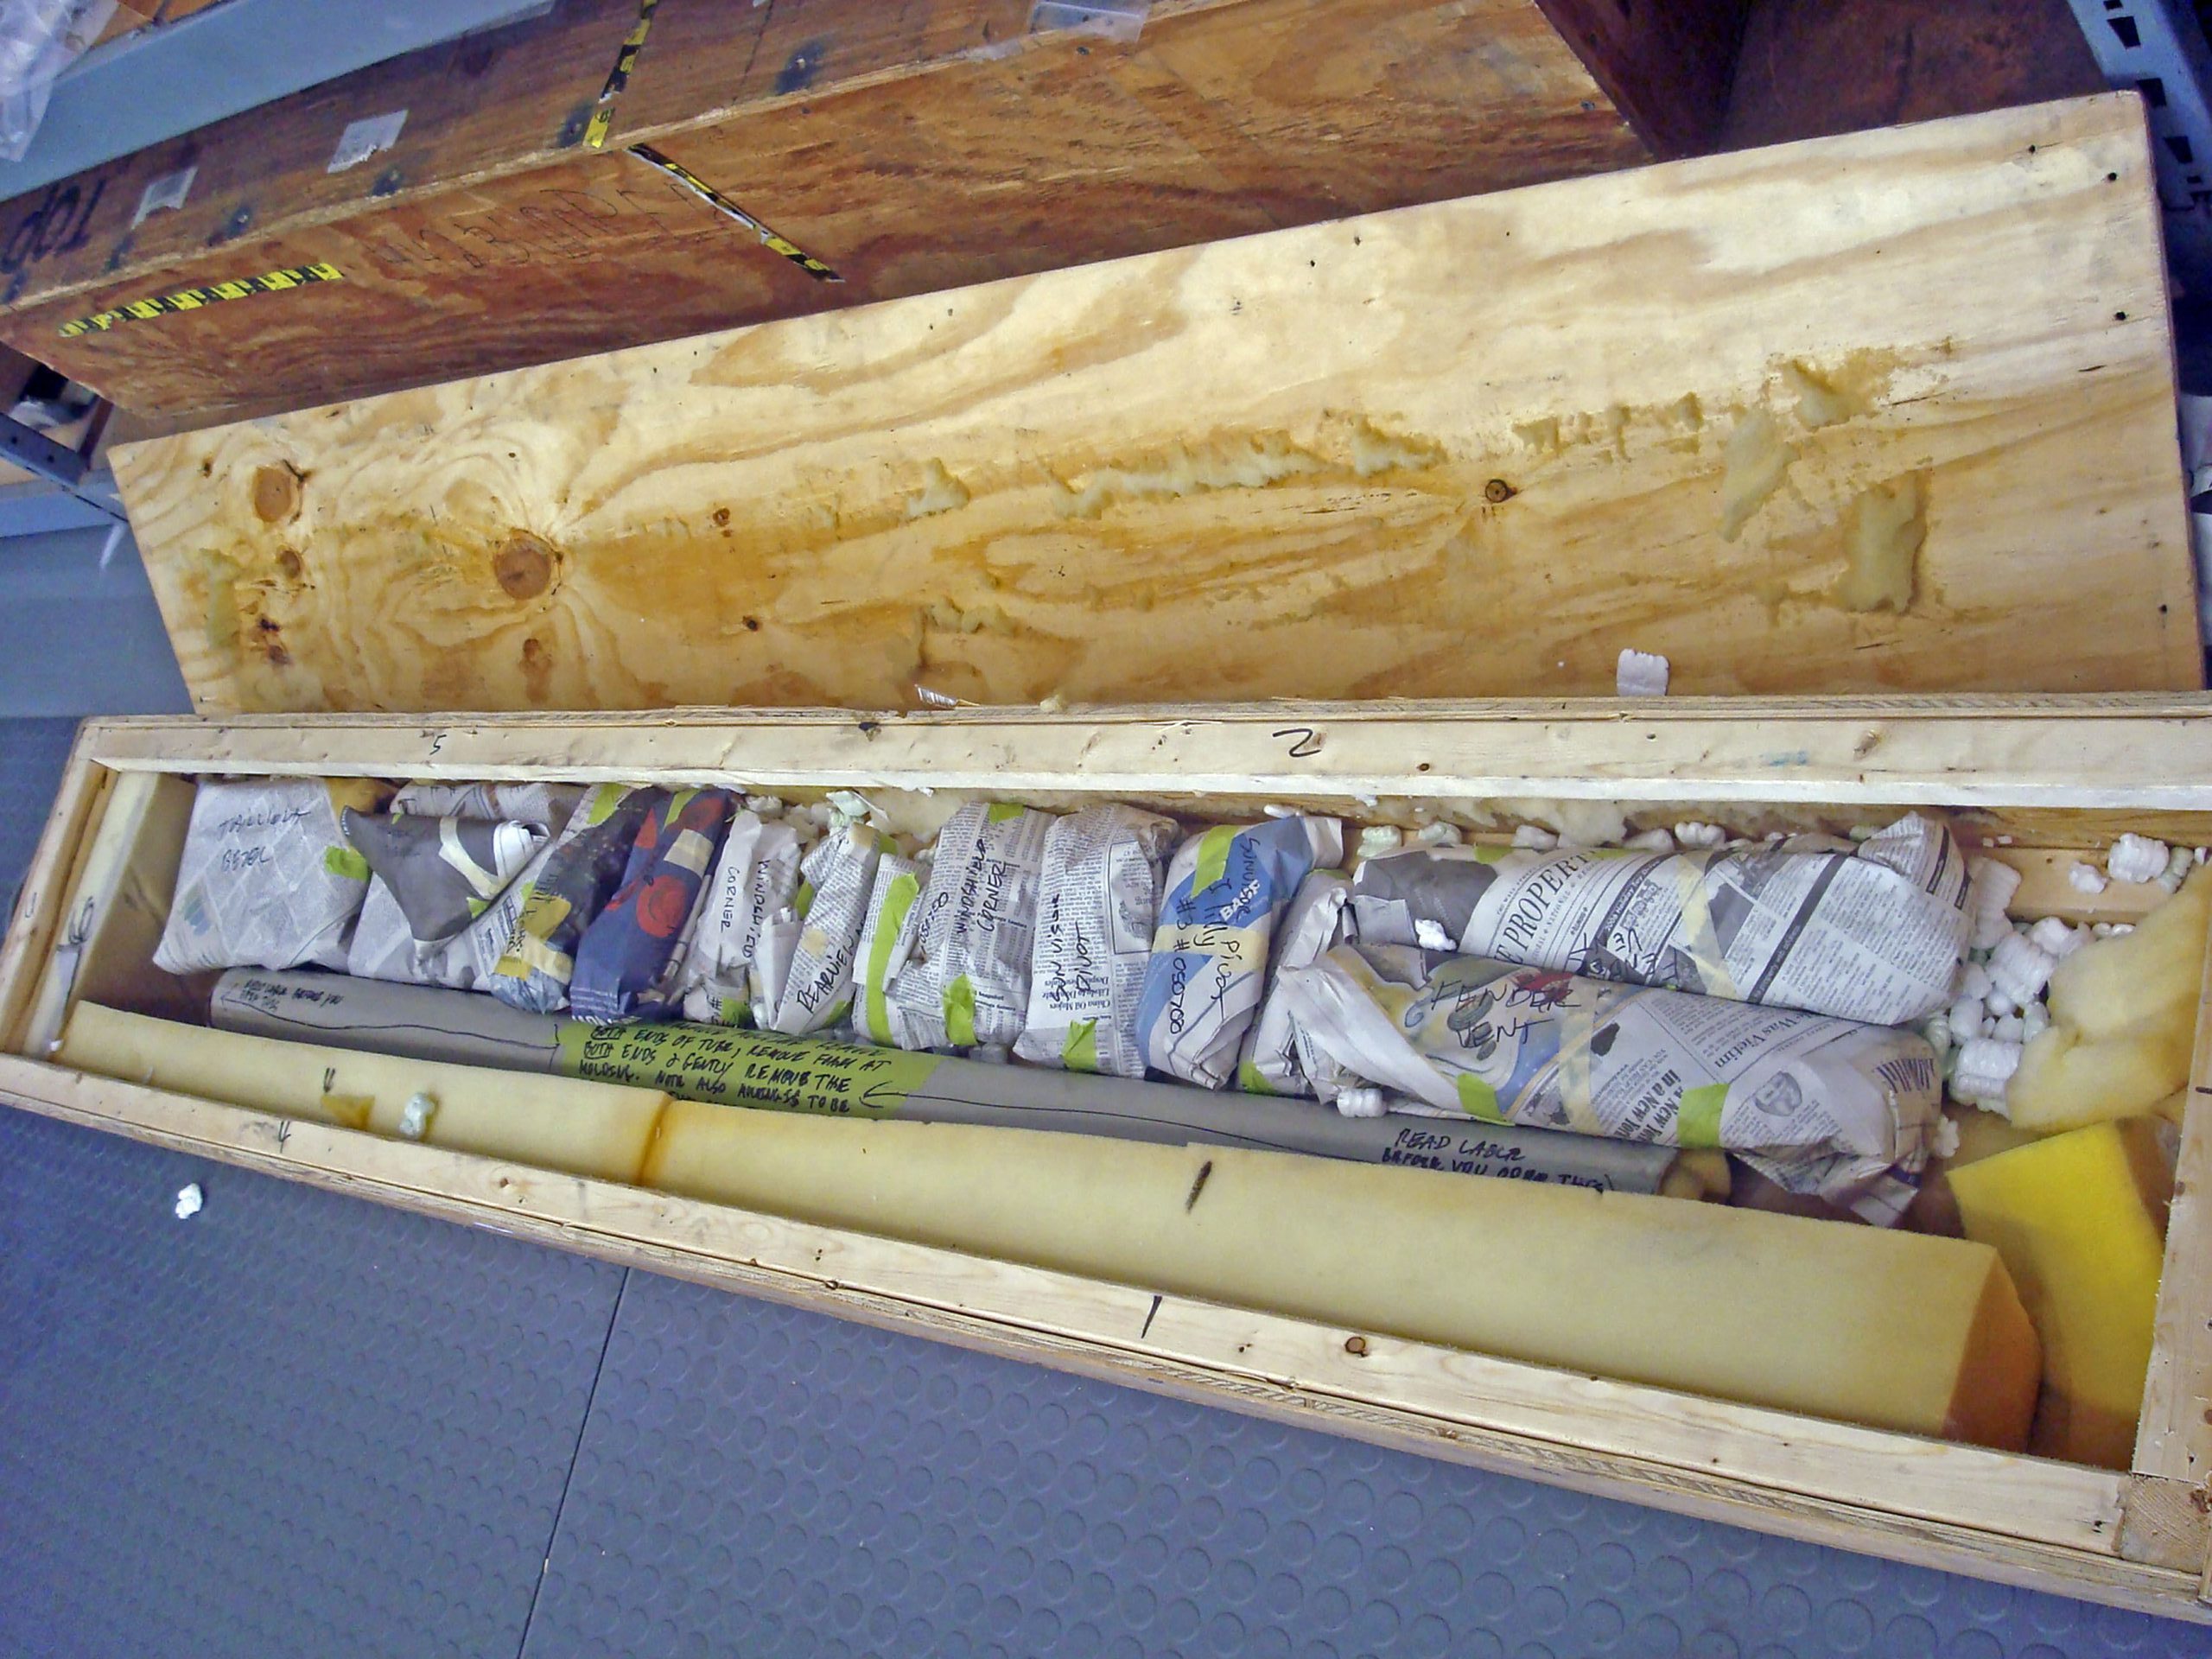
16. Shipping Rare Parts Safely
During shipping of rare parts, always use wooden crates with foam and peanuts to keep them safe. I am not going to insinuate or call anyone by name, but those people wearing brown shorts can ruin irreplaceable parts, so be extra cautious and spend the money to transport right.
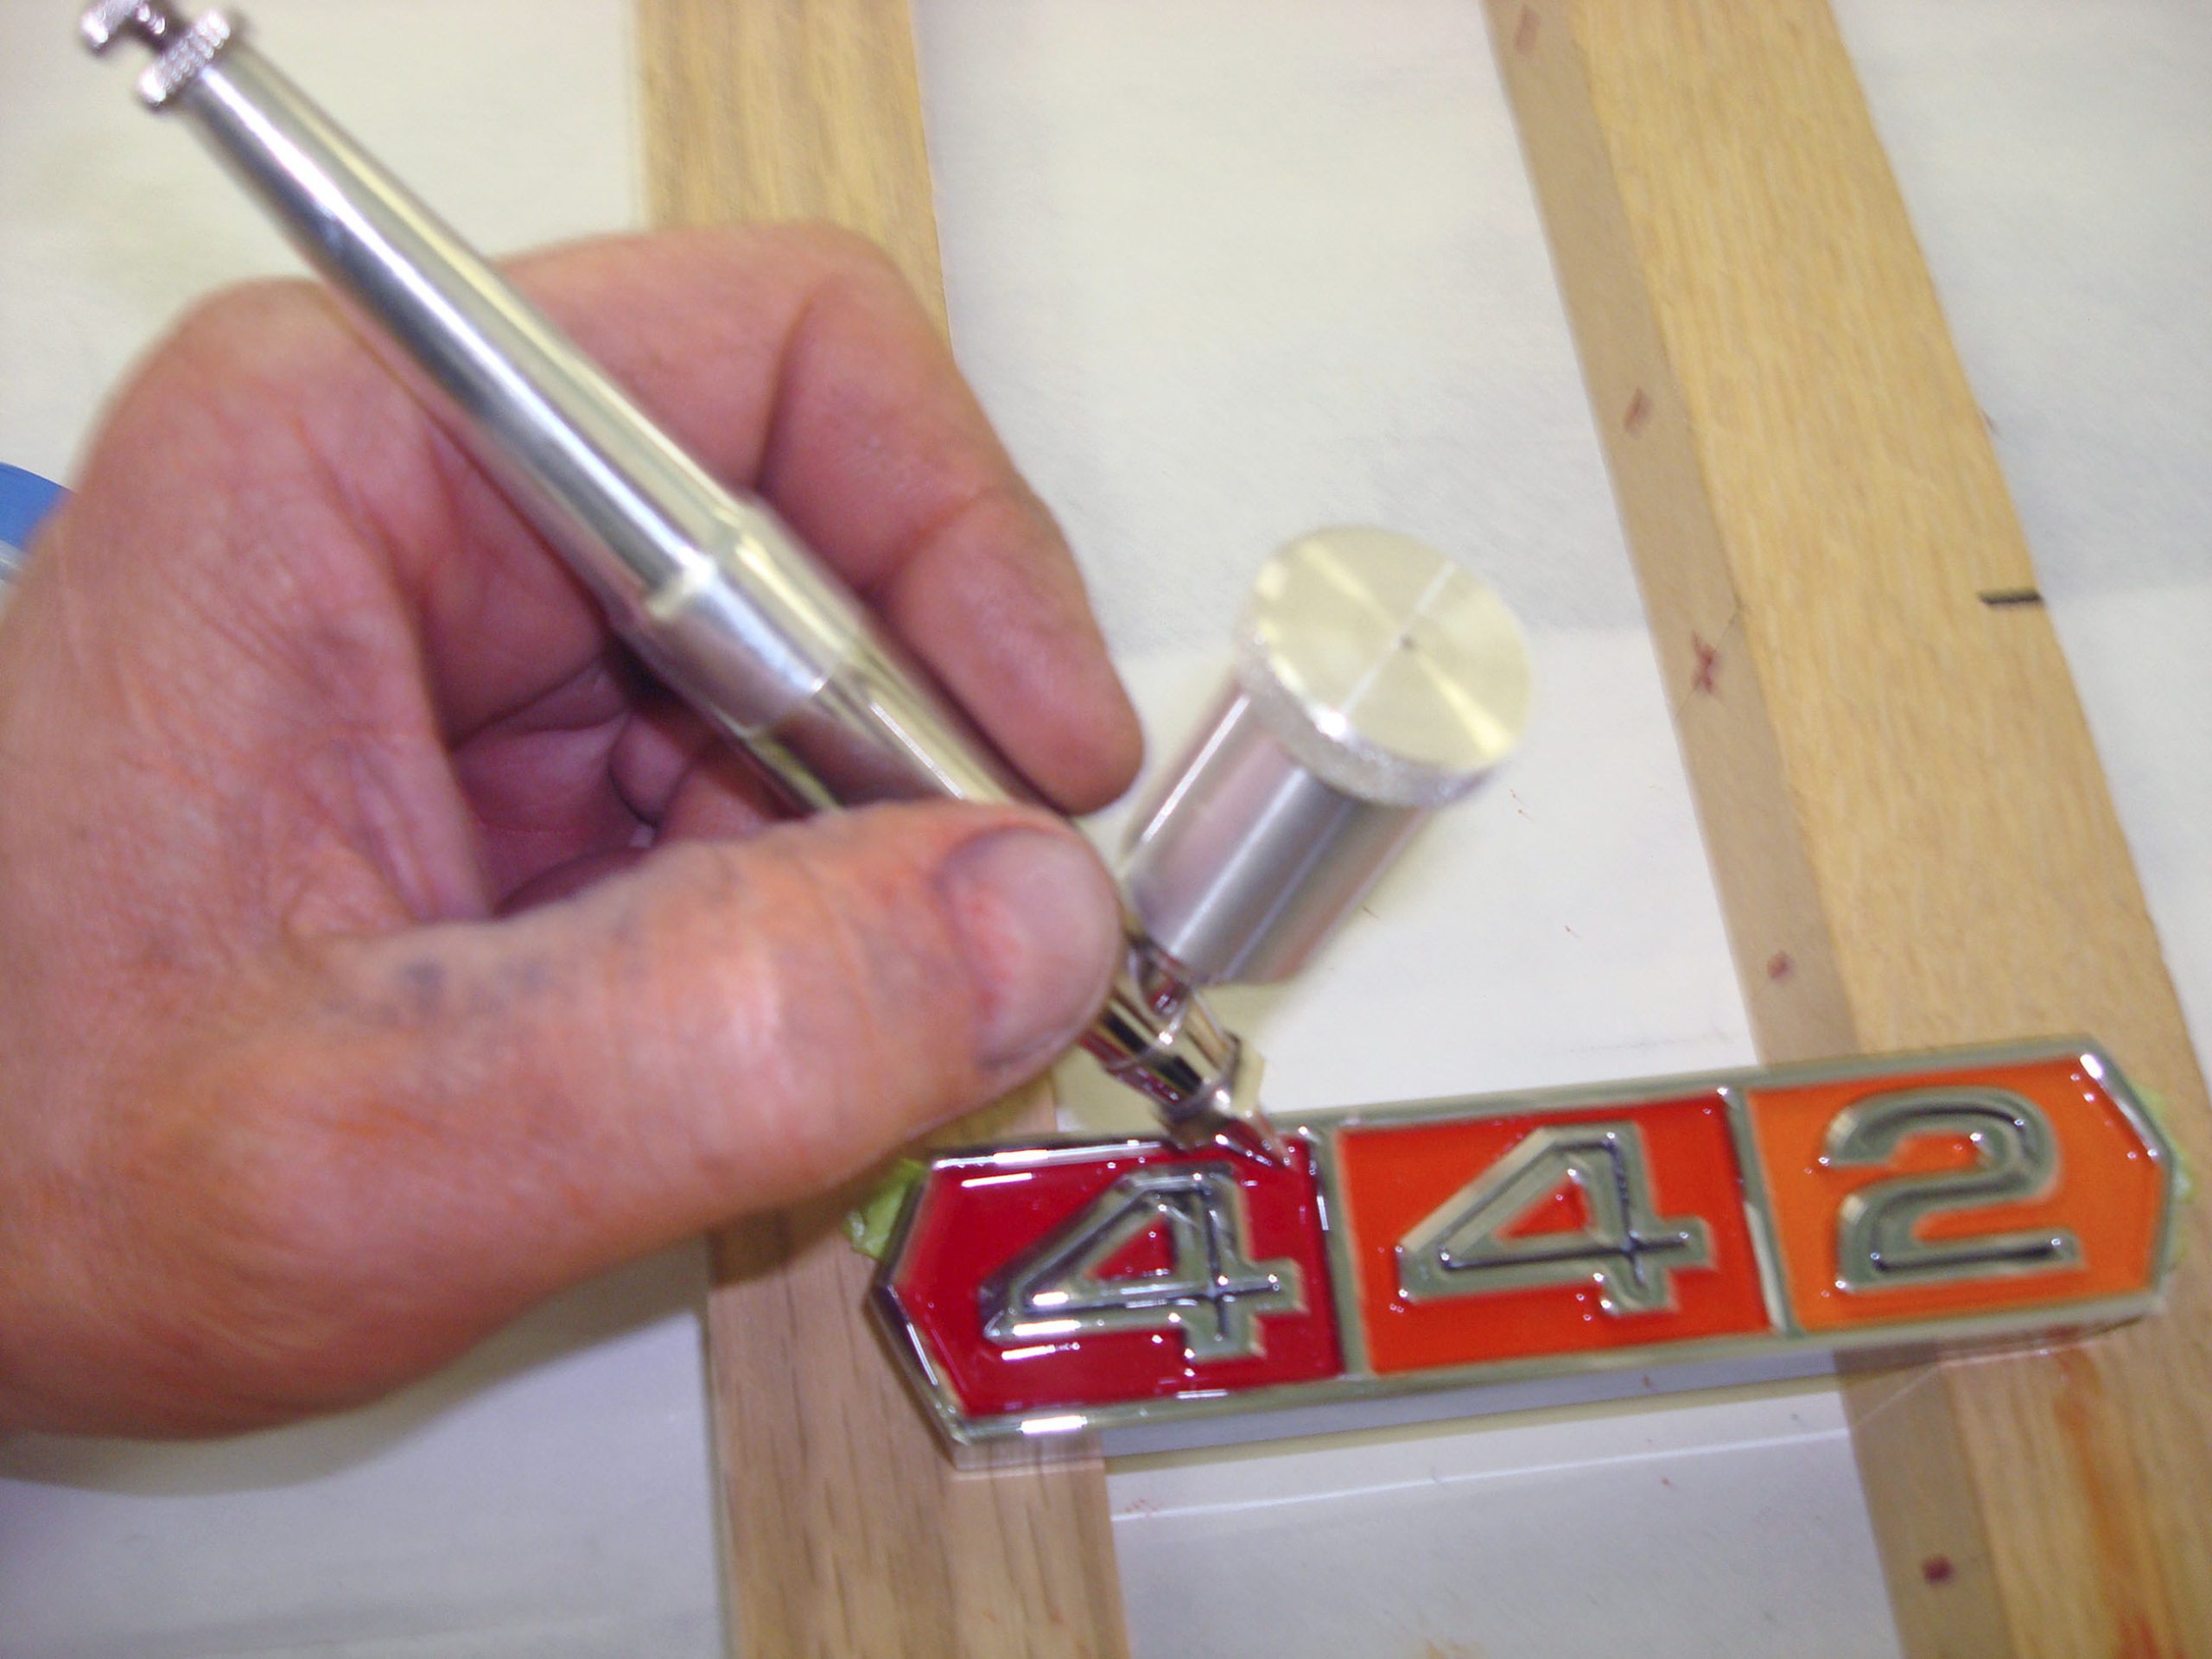
24. Polishing and Painting Moldings
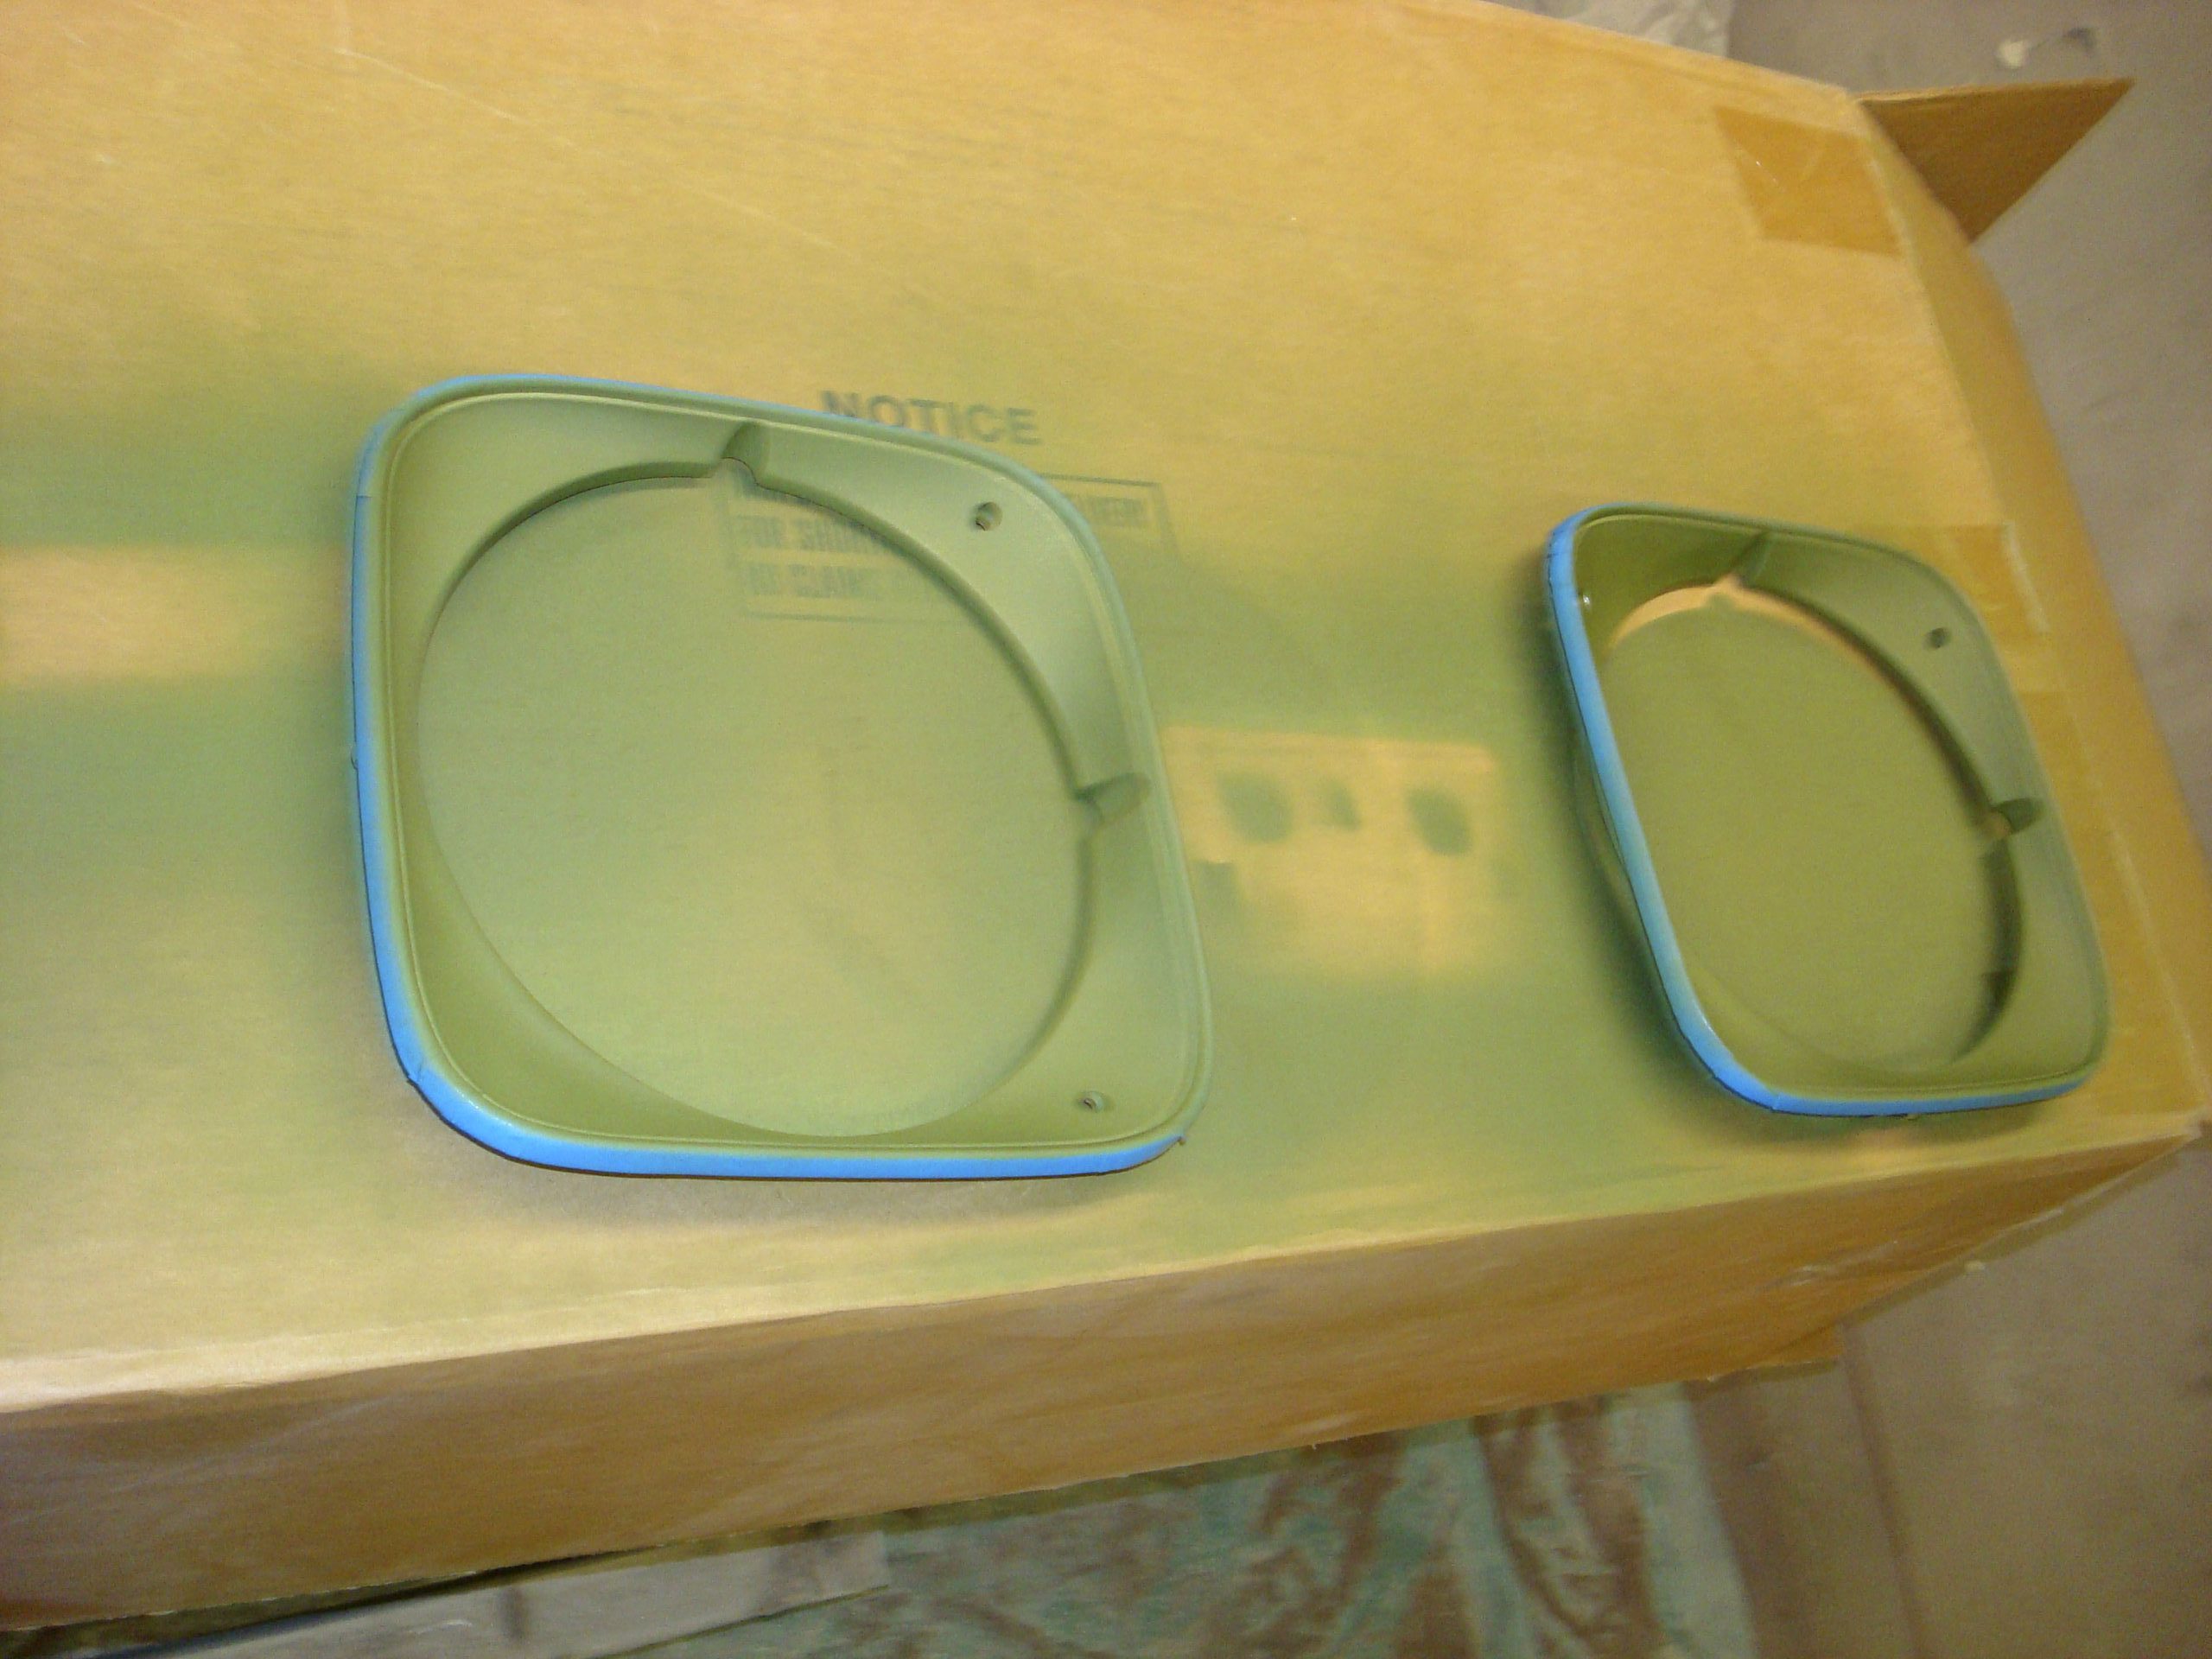
On this two-step tip, polish the outer edges of the moldings as needed. For the centers that need painting, perform any required bodywork because neither glossy nor satin paints will cover dings.
Use Slick Sand primer by Evercoat and brush it onto the spots. Allow it to dry for 45 minutes, then block sand all ripples out. Mask the moldings off, and they will be ready to paint. Apply Ditzler’s epoxy primer for adhesion, followed by the desired topcoat.
As seen, the seams are all sealed, providing a very smooth transition from each panel. Once all is sprayed and assembled, it will look great.
28. Breaking in Rubber Seals During Final Assembly
To break in rubber seals at final assembly, use a small binder strap between the doors. Install J-hooks to the door by drilling a small 1/4-inch hole at the bottom or top of the door, depending on where the rubber is tightest. Attach the binder and adjust it incrementally every two to three days. Remove the striker during this process to eliminate restrictions. Once the doors close easily, reinstall the striker.
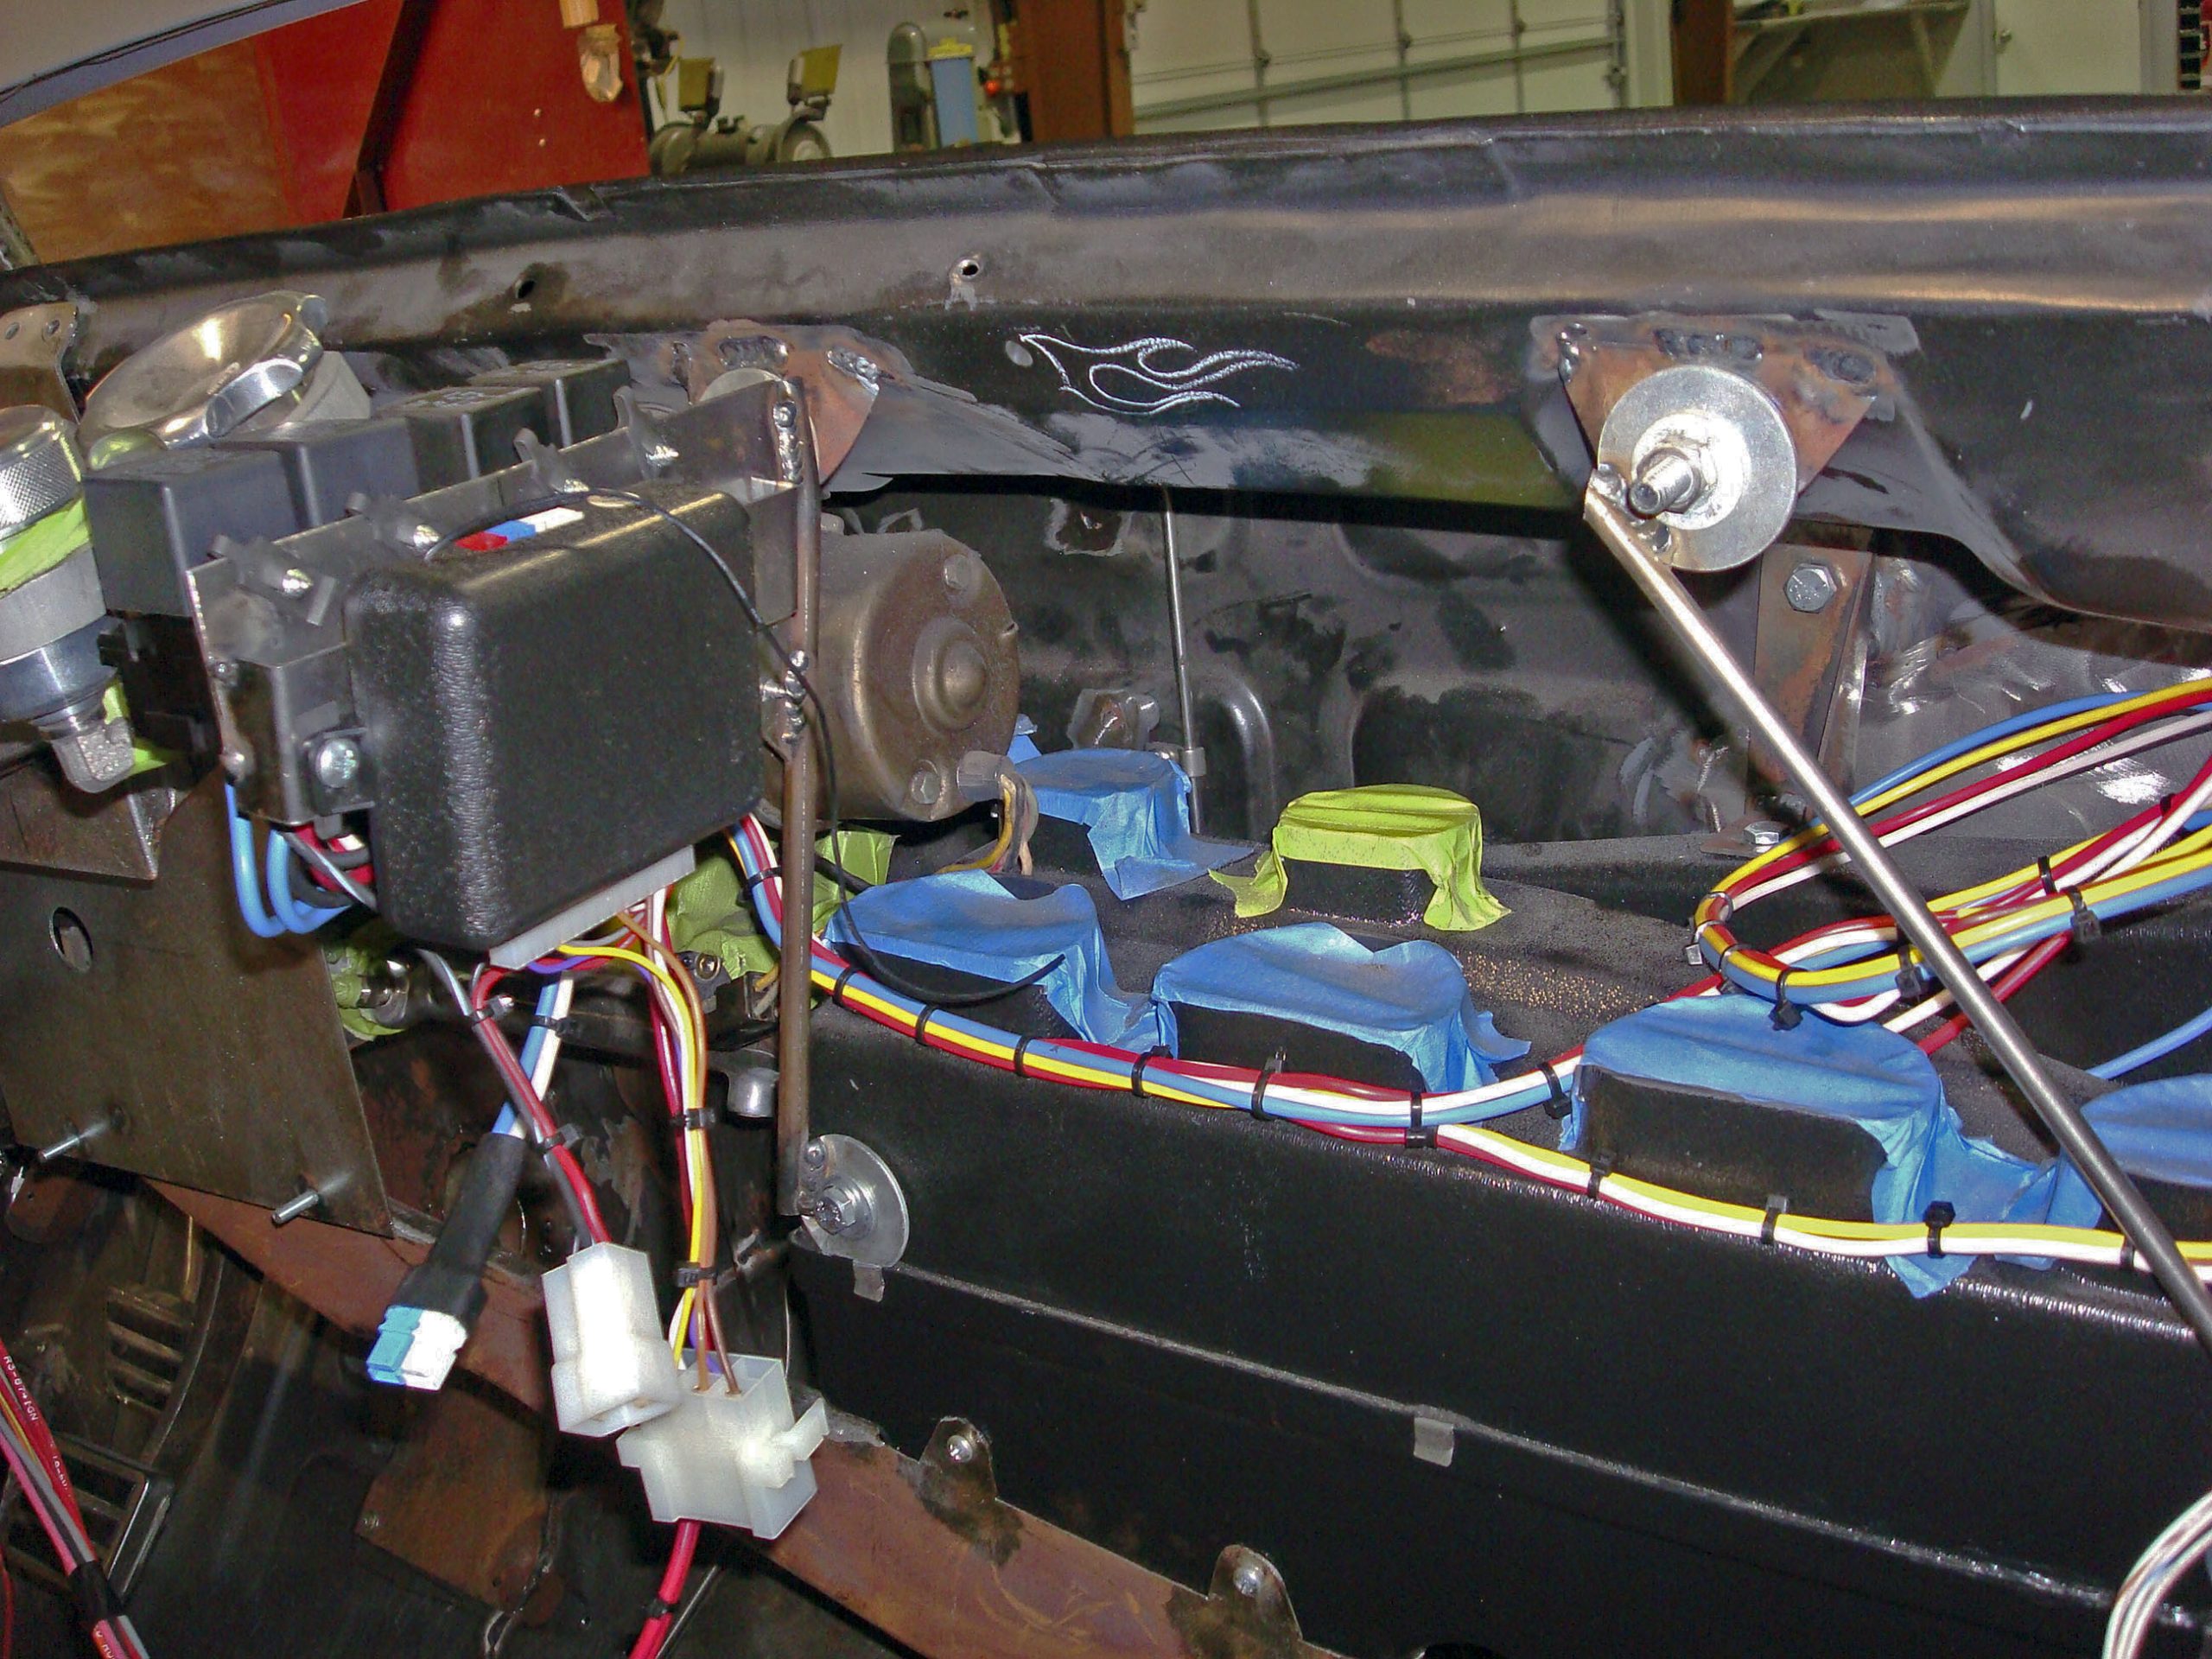
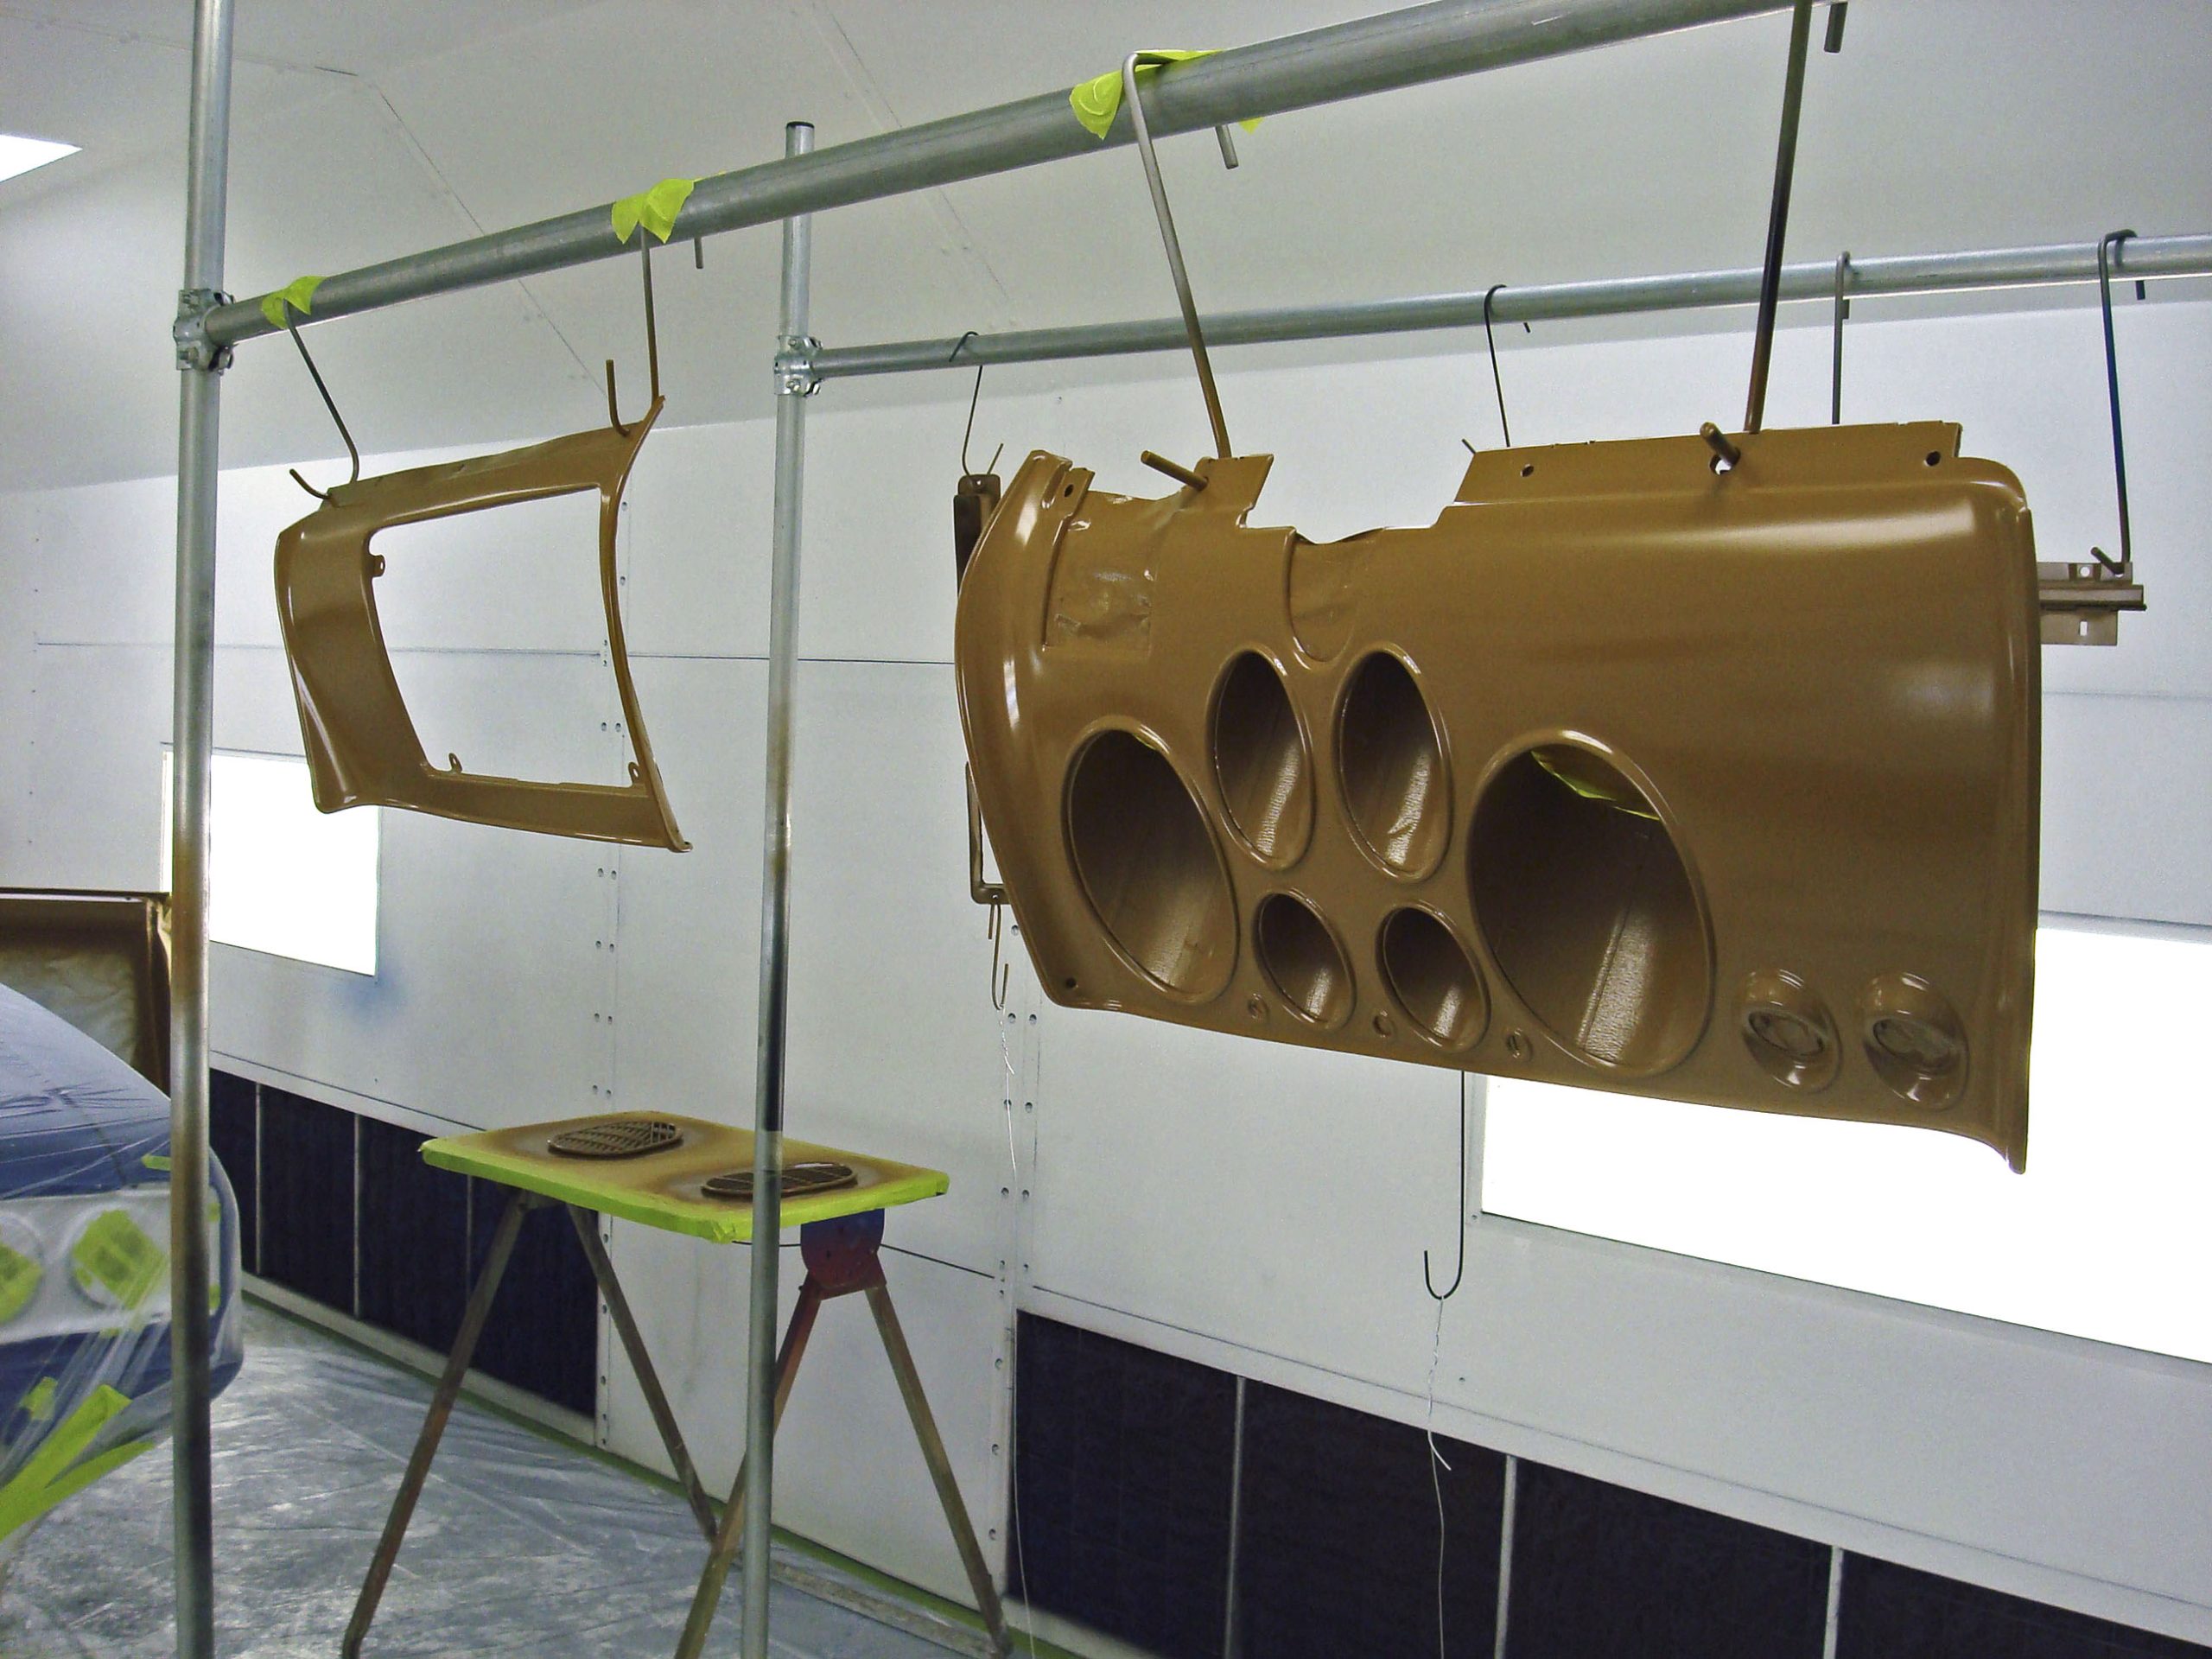
30. Adjusting Heater Plenums and Air Vents
If a heater plenum hits an upgraded speaker system, cut away the interfering section.
Use a piece of ABS plastic cut to fit and shape it with a heat gun.
ABS adheres well to the old box, forming a clearance while maintaining airflow to the defroster.
31. Reshaping Plastic Trim
Most plastic on a car or truck’s body can be reshaped using a heat gun. For example, overly curved kick panel wind lace can be tweaked. Heat it, place it within 30 seconds, and hold it in place while it cools for a precise fit.
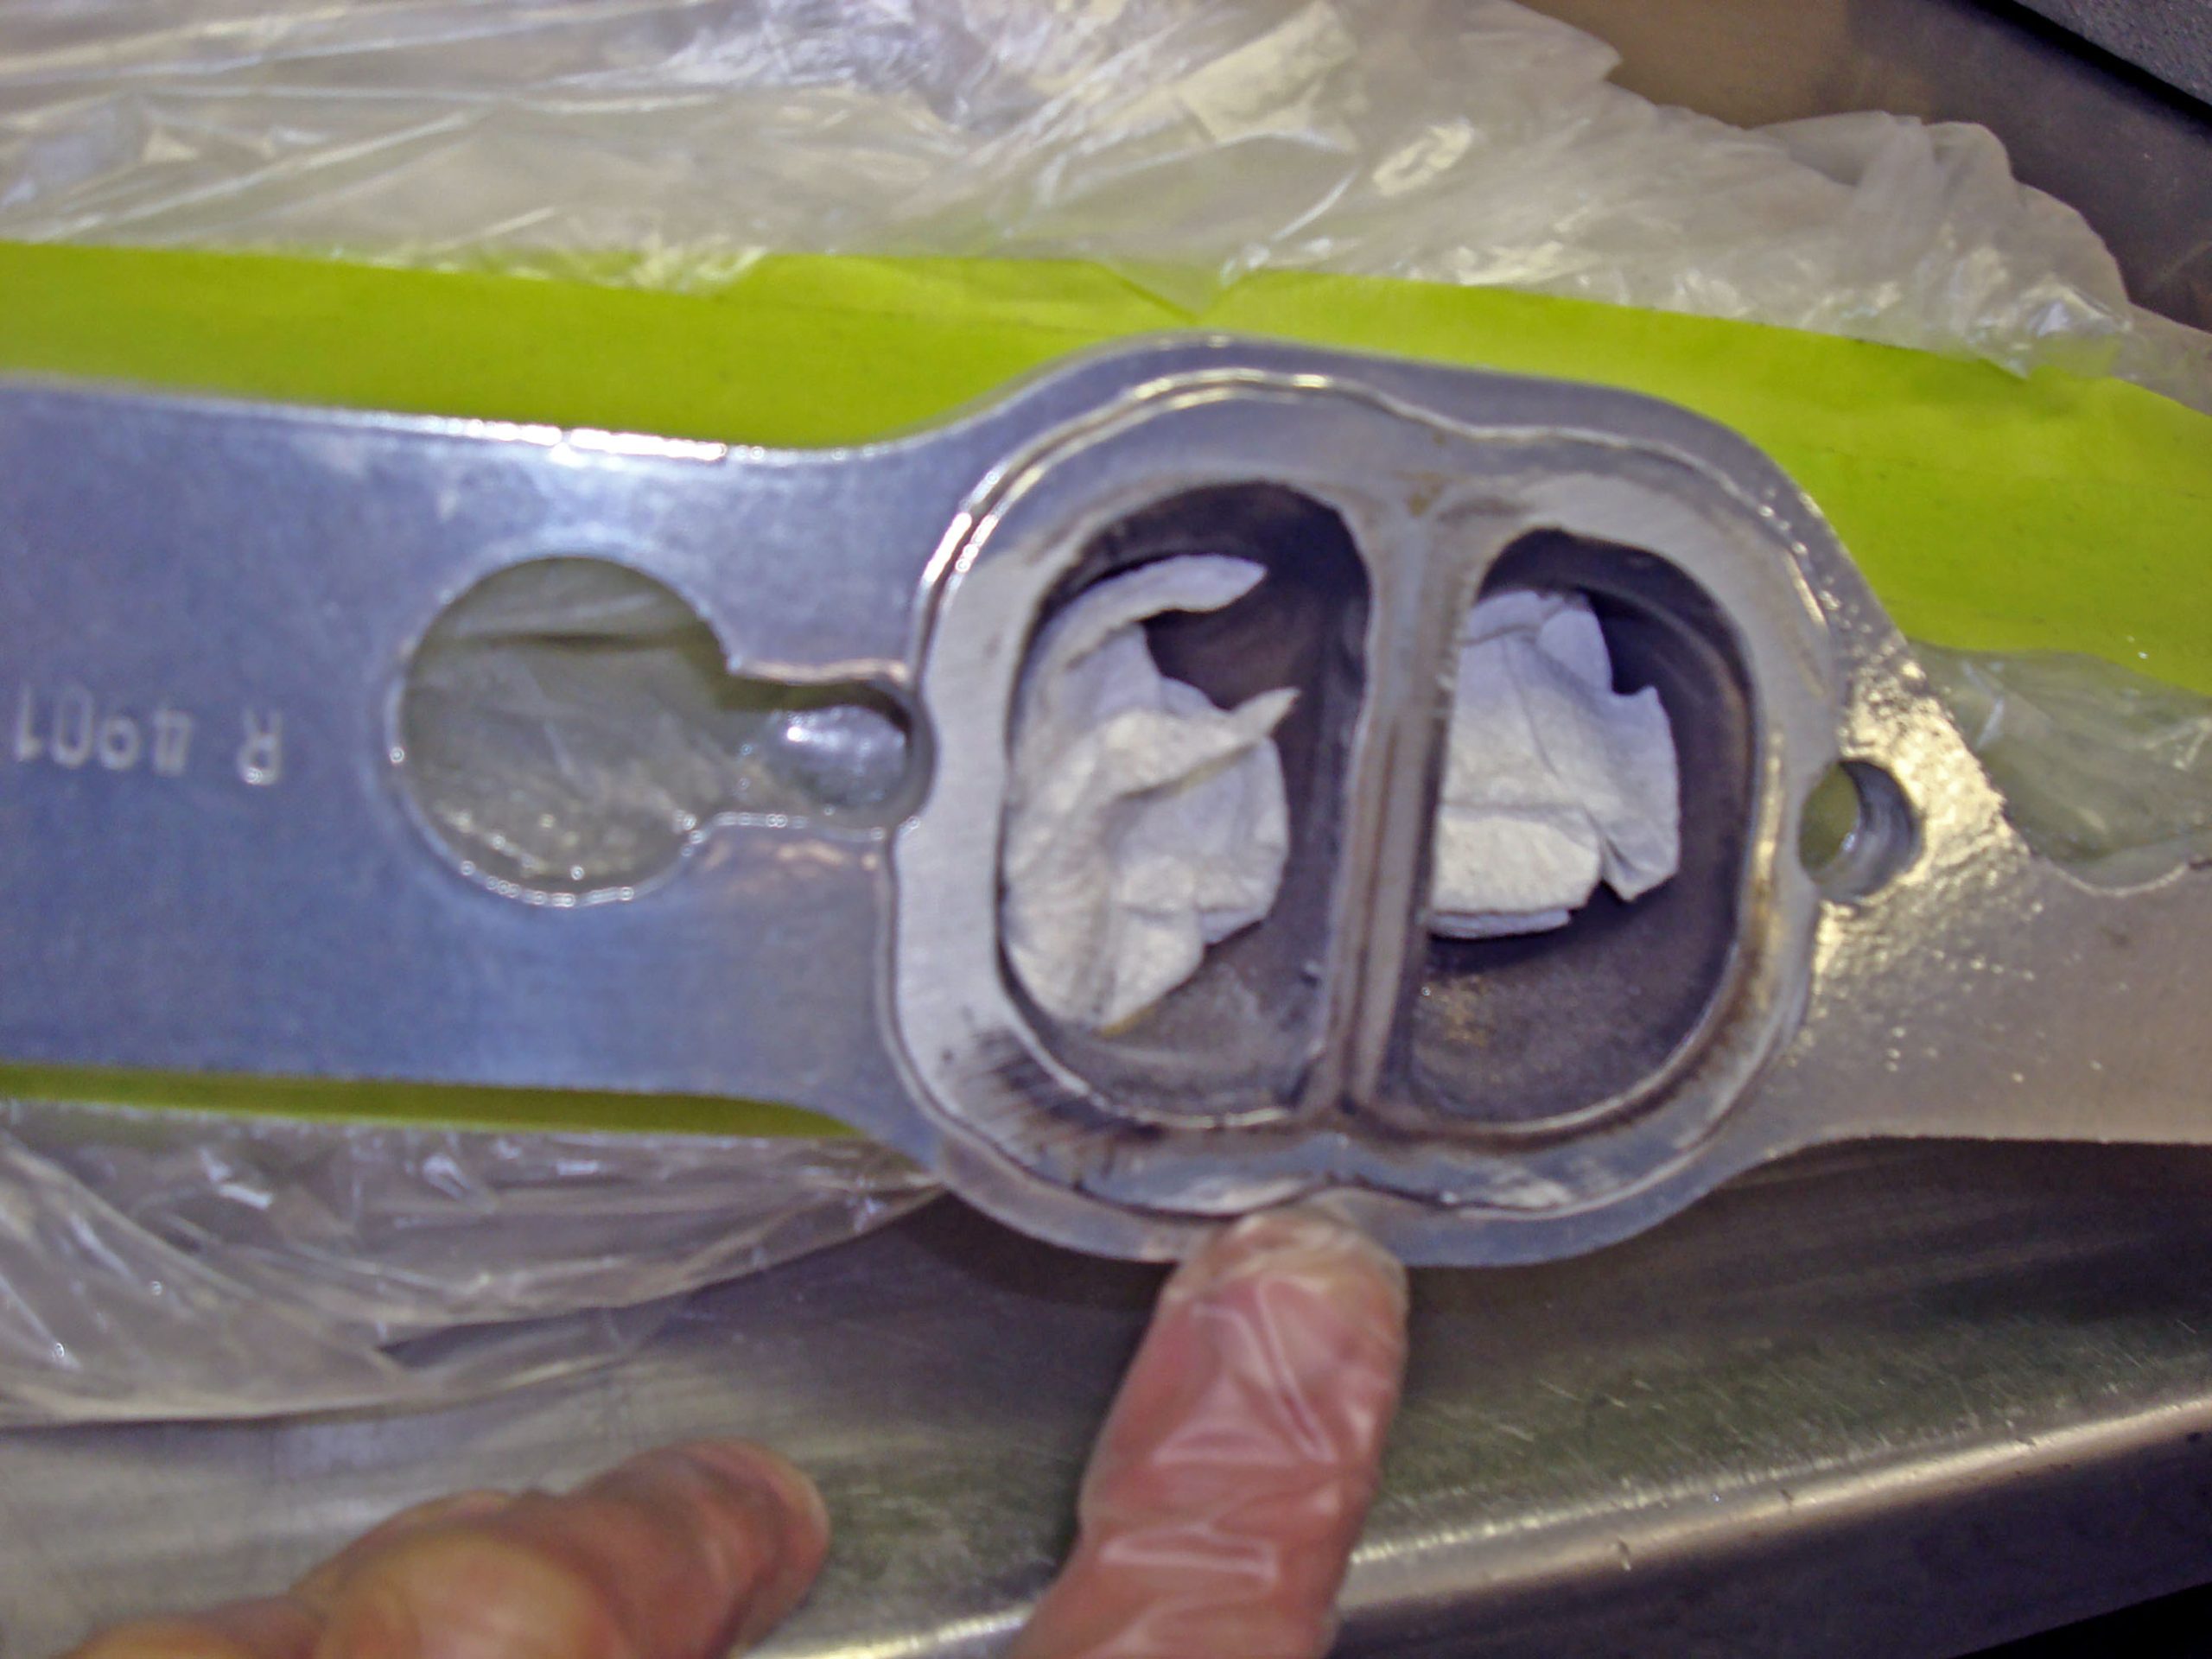
32. Correcting Header Fitment
Headers often do not fit correctly. Check them with a straight edge before coating and installation. If needed, weld on the lower bead and file it to level. Ensure the gasket matches the header and the heads. Tighten the headers, remove the gasket, and check alignment to avoid sealing issues.

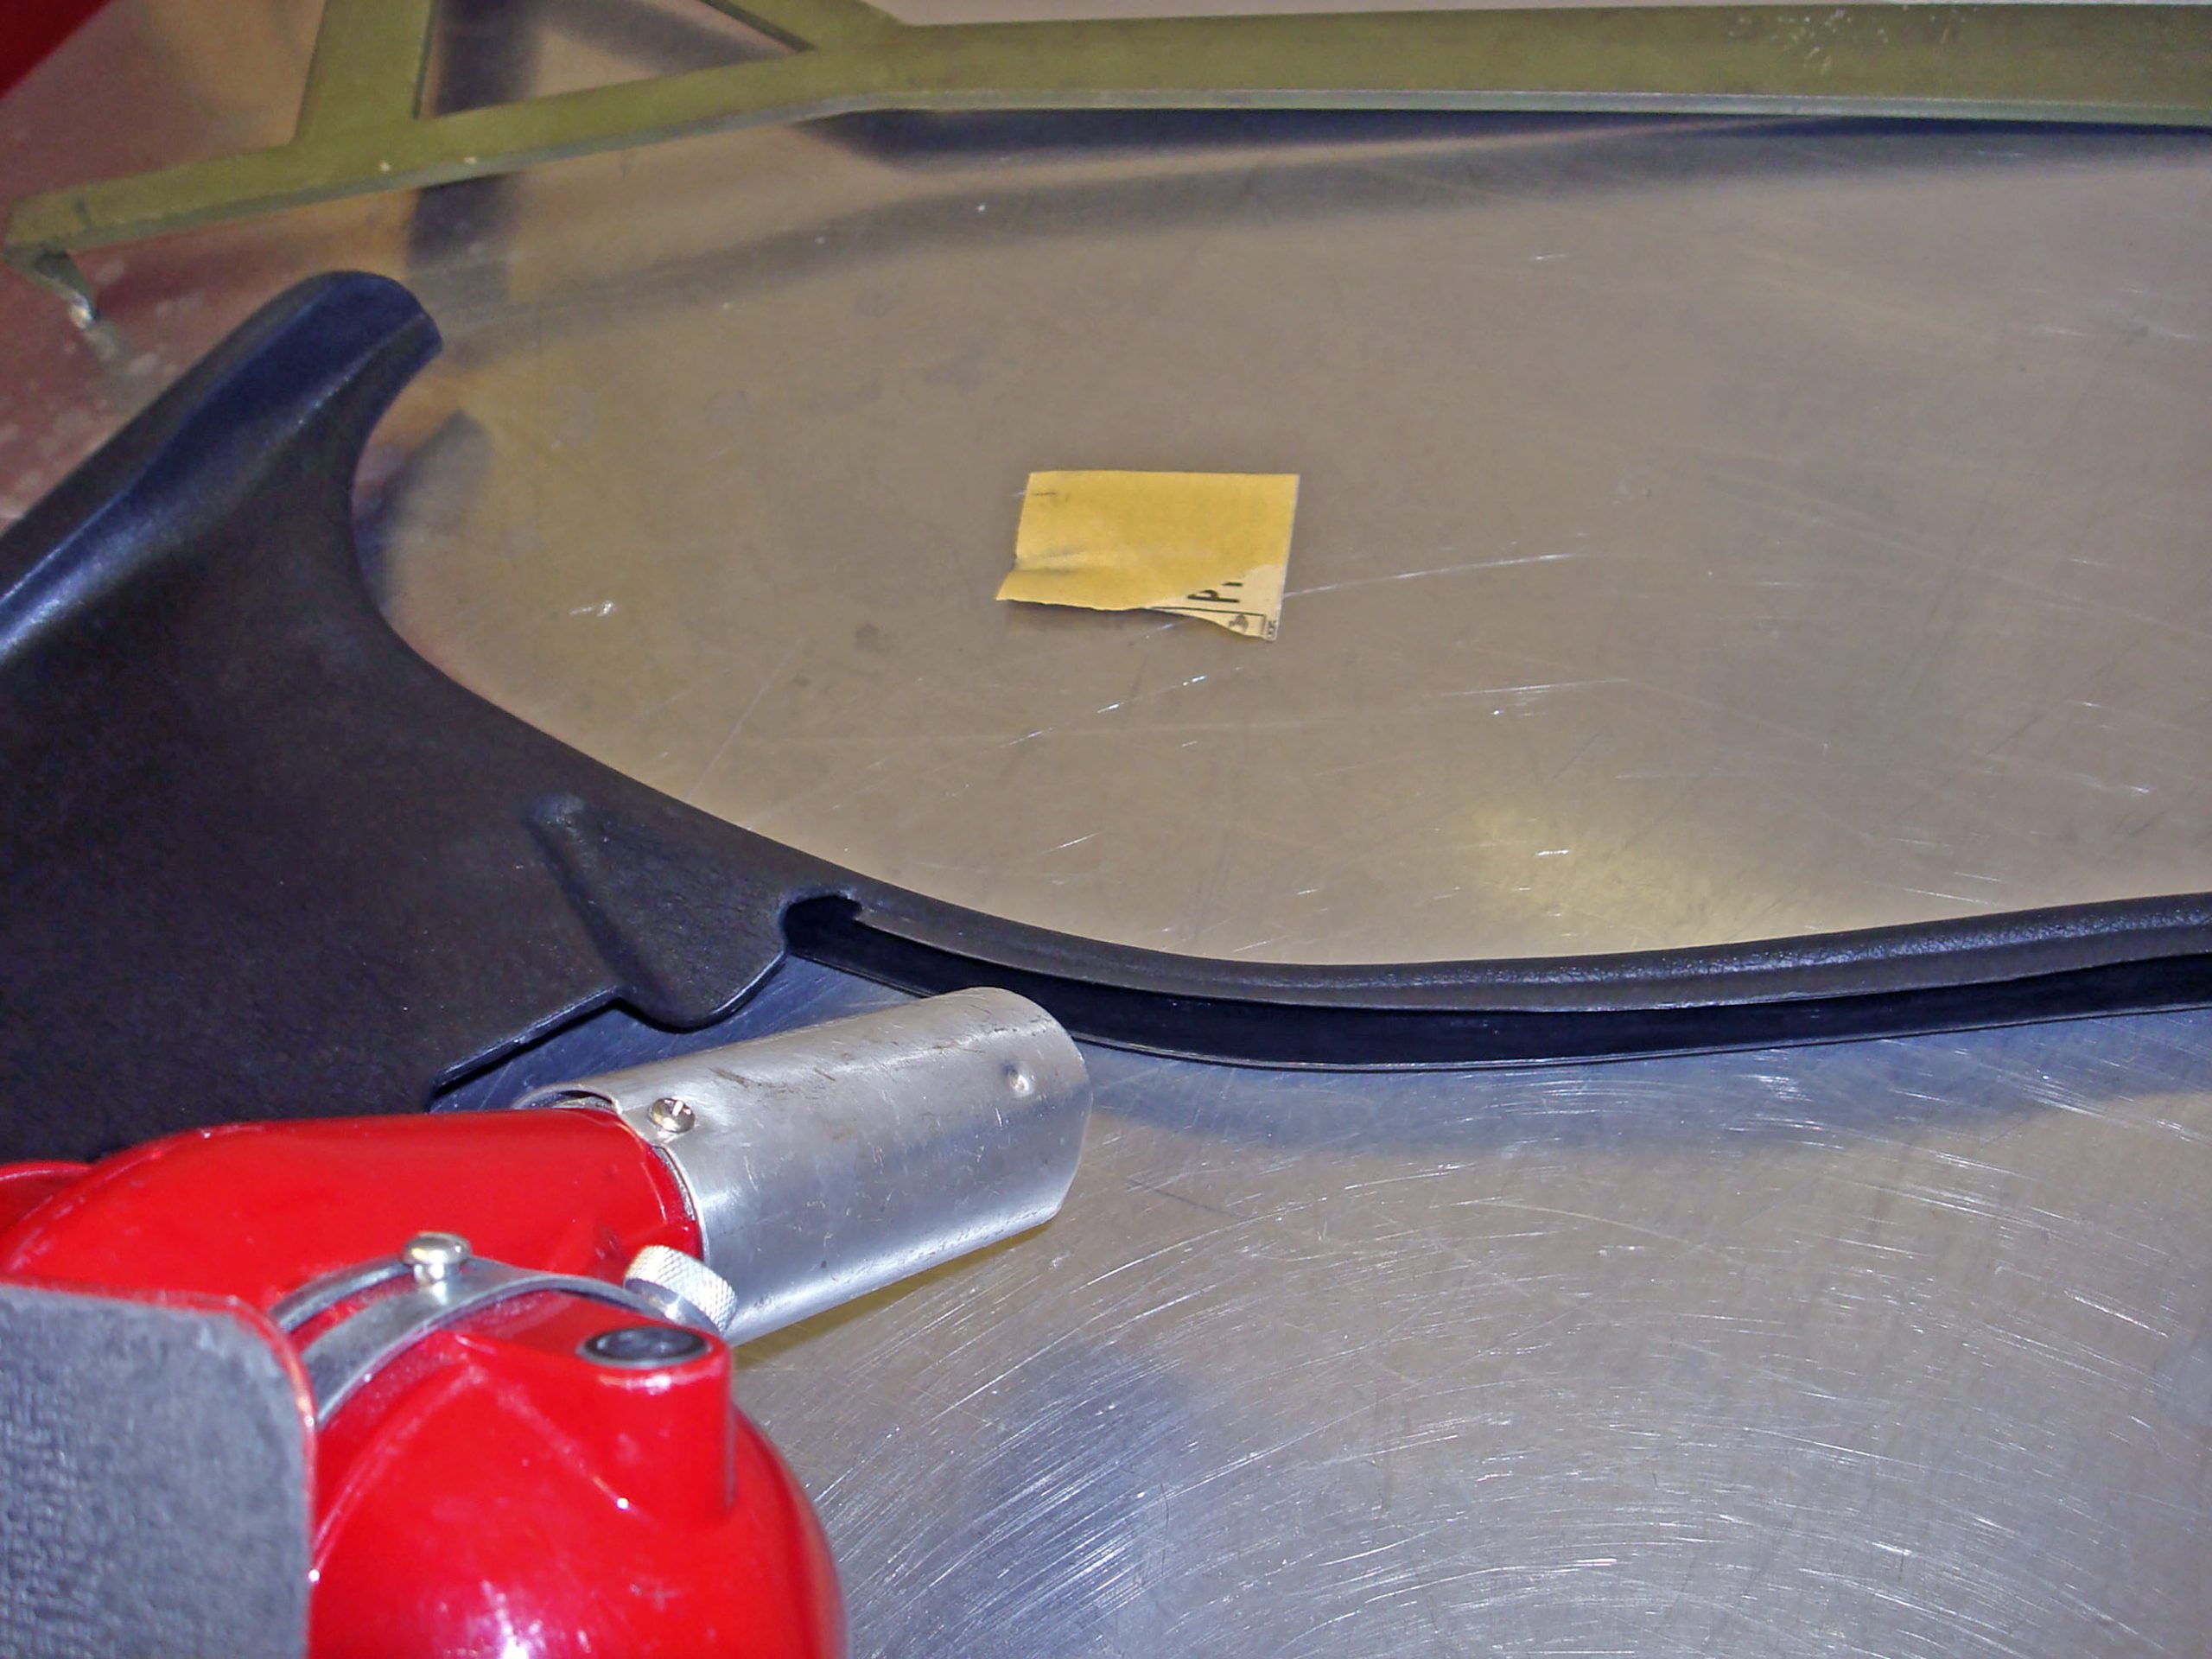
33. Trimming Side Dash Pieces for Perfect Fit
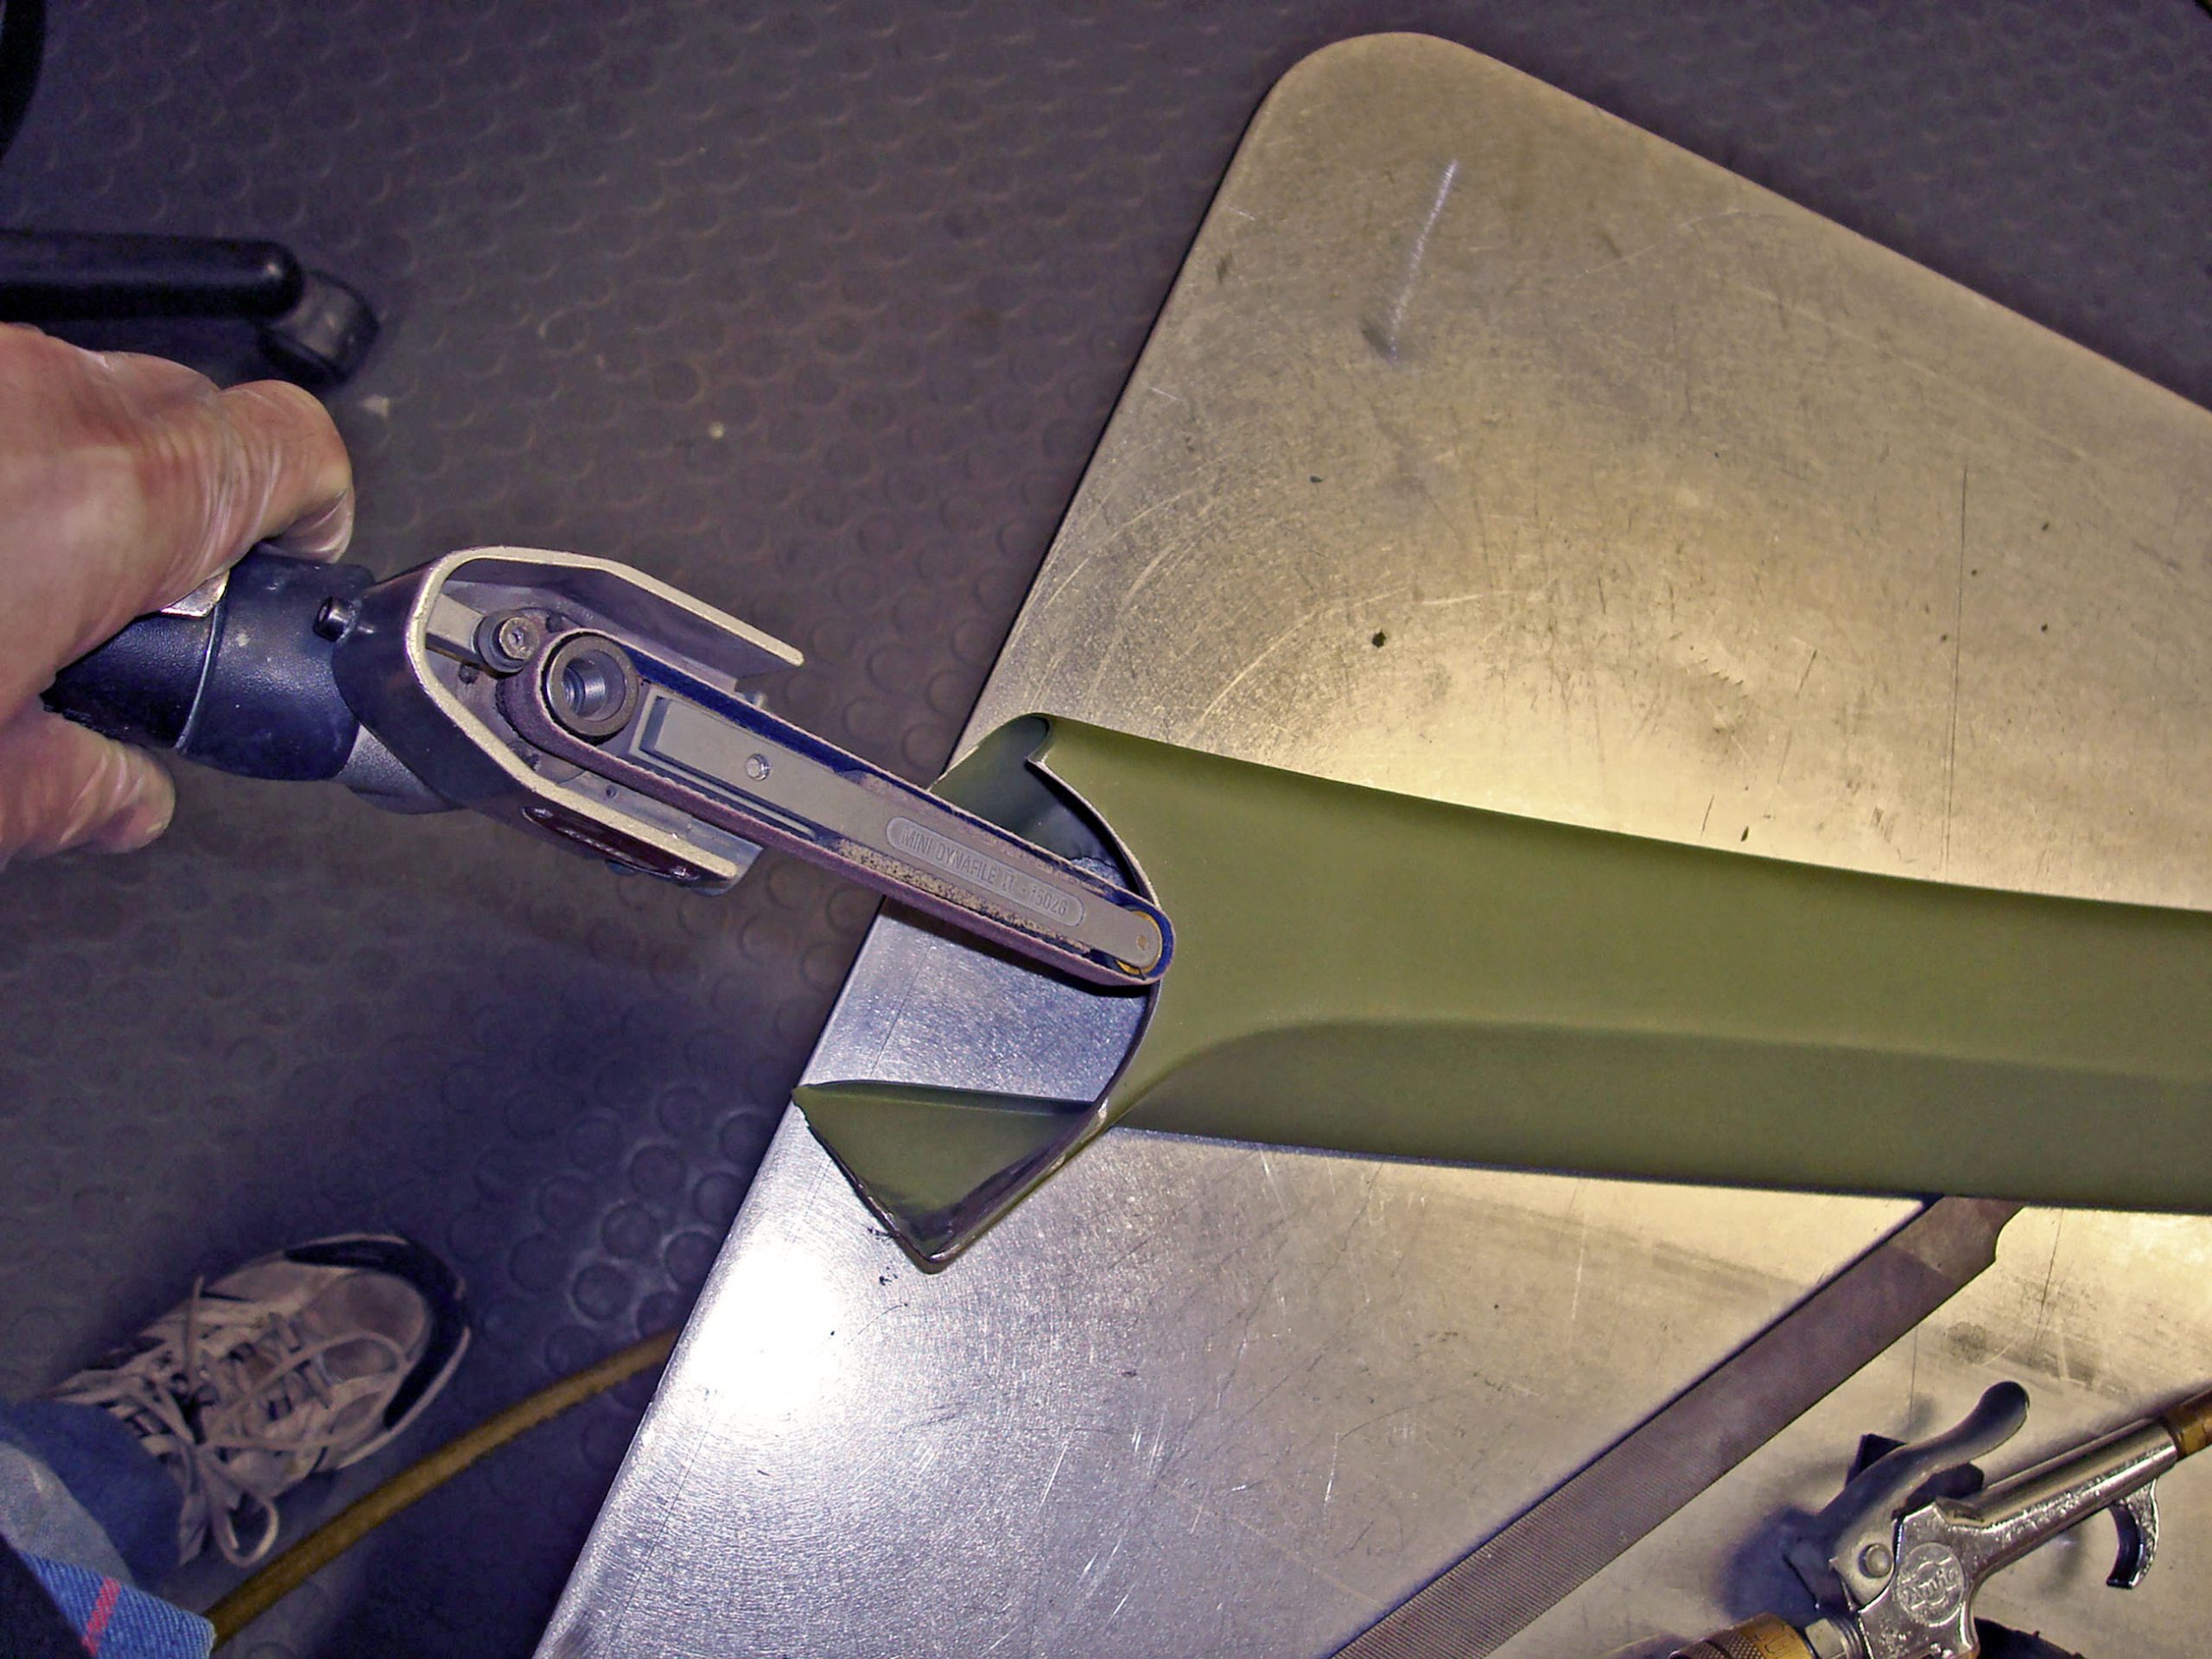
Above the dash pad on each corner, side trim often doesn’t fit well. Mark the area and use a mini belt sander to remove the excess metal for a precise fit.
34. Verifying Cable Thickness
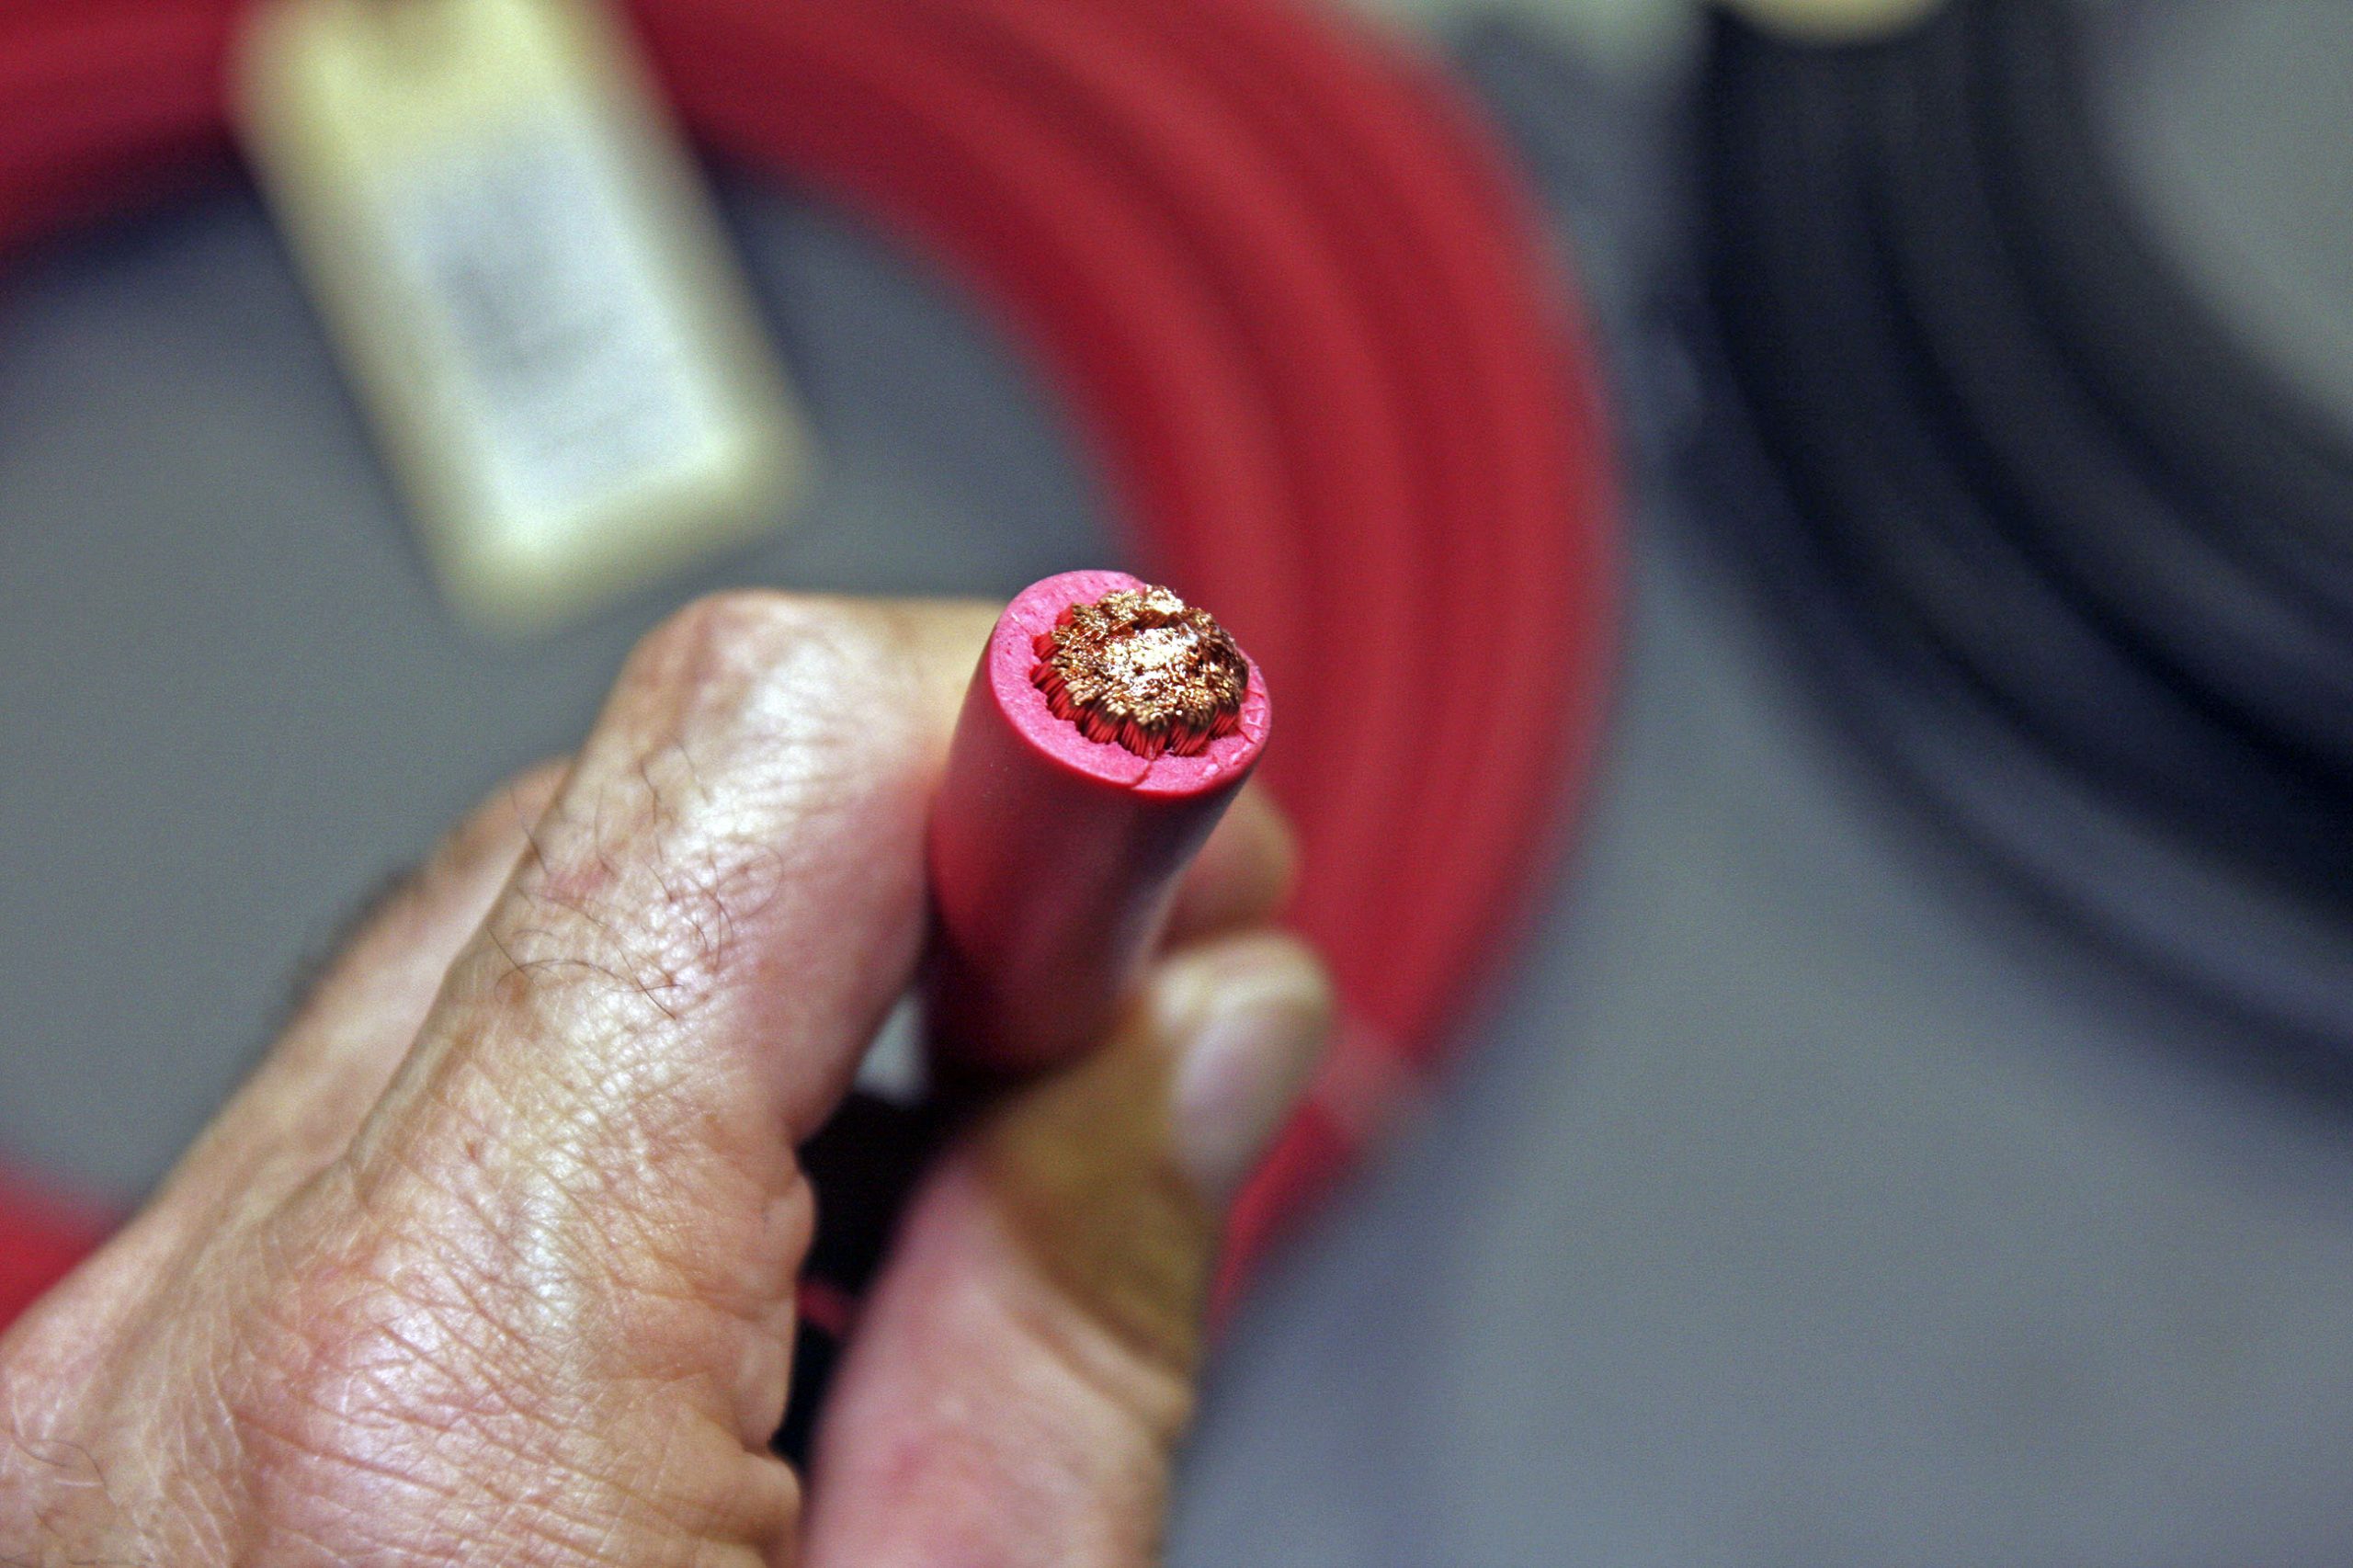
With rising copper prices, be selective when choosing large cables for battery and stereo leads. Some manufacturers use extra-thick plastic coatings to make the cable appear correct, but the copper inside may be undersized. Always ask for a sample or ensure the cable is gauged correctly before purchasing.